- Home
- content hub
- Converting RGB to CMYK for Print: Essential Tips & Guide
Converting RGB to CMYK for Print: Essential Tips & Guide
Emma Davis
Content Writer
Jun 17, 20252096 views
Jun 17, 20252096 views

Why Your Screen Colors Look Different on Paper

Ever poured your heart into a design, only to have the printed version look…off? Like a washed-out version of its vibrant on-screen self? I've been there, and it's frustrating. The culprit? Screens and printers use fundamentally different color systems.
Your monitor uses RGB (Red, Green, Blue), which is additive. It mixes light to create colors. Imagine shining red, green, and blue flashlights onto a black wall. The more light you add, the brighter and more vibrant the color becomes.
Printers, however, use CMYK (Cyan, Magenta, Yellow, Black), a subtractive system. Instead of adding light, CMYK uses inks to absorb it. Think about layering colored cellophane over a white piece of paper. Each layer subtracts some of the light, resulting in darker colors. This core difference is why what you see on your screen doesn't always match what comes out of the printer.
This difference in how colors are created means the bright, almost glowing colors you can achieve with RGB often can't be replicated with CMYK. That electric blue logo? Stunning on screen, but likely to be a bit duller when printed. This isn't your printer's fault, it's simply a limitation of CMYK.
RGB has a much wider color gamut than CMYK–it can simply create more colors. In fact, around 20% of RGB colors don't have a direct CMYK equivalent. This inevitably leads to color shifts during the conversion process. Discover more insights into RGB and CMYK color gamuts.
So, what's a designer to do? We can’t just design in RGB and cross our fingers. We need to be mindful of CMYK limitations from the start. This might mean opting for slightly less saturated colors in our designs or using clever techniques to give the illusion of vibrancy on the printed page. For instance, if you're looking for flyer printing, check out 4OVER4's options. Understanding this fundamental difference is the first step to getting consistent color across different media.
Mastering Color Profiles That Actually Matter
Let's be honest, color profiles can feel like a bit of a mystery, even for seasoned designers. ICC profiles are essential for preventing color mismatches between your screen and the final printed piece, but they're often overlooked. Think of them as your insurance policy against unexpected color shifts – and who doesn't want that peace of mind? We're going to demystify this whole process and help you pick the right profile every single time, whether you're printing locally, with a high-end magazine, or even with an overseas manufacturer.
Understanding the difference between Coated, Uncoated, and Web profiles is the key. Let me give you some real-world examples of how these profiles can save your project (and your budget!). Imagine you're designing a brochure, and the colors on your screen are vibrant and eye-catching. You send it off to the printer, and when it comes back, the colors look dull and lifeless. What happened? You probably printed on uncoated paper without using the correct profile. An "Uncoated" profile compensates for the paper's absorbency, keeping your colors bright and true to your original design.
Similarly, "Coated" profiles are designed for glossy paper stocks, preventing colors from becoming overly saturated. Think of a high-gloss magazine – you want the colors to be rich and vibrant, but not so intense that they lose detail. The right coated profile helps achieve that balance.
Let's say you're printing a photography book. You've spent hours perfecting the colors, and you want them to be absolutely spot-on in the final product. A coated profile like PSO Coated v3 would be a great choice for ensuring accurate color reproduction on glossy paper. But what if you're working on a flyer for a local event, something printed on a more standard, uncoated paper stock? In that case, an uncoated profile like GRACoL 2013 Uncoated is likely a better fit. And for web printing, where speed is of the essence, profiles like SWOP v5 Web Coated are designed specifically for the inks and paper types used in that process.
Setting Up Your Workspace
Now, let's talk about making this whole process easier. Wouldn't it be great if your design software automatically applied the correct profile every time you started a new project? You can absolutely set this up in the Adobe Creative Suite. Imagine opening a new Illustrator document, and it already has the right CMYK profile for your regular printer. No more last-minute panics about color mismatches! This simple step streamlines your workflow and ensures consistent results across all your projects.
To help you choose the right profile for your next print job, I've put together this handy table:
Essential CMYK Color Profiles for Every Project The most important CMYK profiles every designer should know, when to use them, and what makes each one unique.
| Profile Name | Best Use Case | Paper Type | Geographic Standard |
|---|---|---|---|
| PSO Coated v3 | High-quality photo books, magazines | Glossy/Coated | Europe (primarily) |
| GRACoL 2013 Uncoated | Flyers, brochures, stationery | Uncoated/Matte | North America |
| SWOP v5 Web Coated | High-speed web offset printing | Glossy/Coated | North America (newspapers, magazines) |
| Fogra 39 | High-quality art prints, proofing | Various | Europe |
| Japan Color 2011 Coated | Print materials for the Japanese market | Glossy/Coated | Japan |
This table gives you a starting point for choosing the right profile. Remember to check with your printer for their specific recommendations, as they might have a preferred profile based on their equipment and inks.
Mastering color profiles might seem technical, but it's one of the most important things you can do to ensure accurate, stress-free printing. It's the secret to bringing your RGB designs to life in CMYK and creating printed pieces that perfectly match your vision. No more guessing games, just beautiful, consistent color every time.
Photoshop Conversion Techniques That Actually Work
Let's be honest, converting RGB to CMYK for print can be a real pain. Just switching the color modes in Photoshop often results in dull, lifeless prints that look absolutely nothing like what you see on your screen. It's a common trap, but any professional print shop will tell you it's a recipe for disaster. They see these poorly converted files all the time, and it makes their job so much harder. So, how do the pros get it right? They use a smarter approach that maintains image quality and produces reliable results.
One key difference you need to understand is "Convert to Profile" versus "Assign Profile." They might sound similar, but they have drastically different effects on your images. "Convert to Profile" actually changes the underlying color data in your file. It's like translating the colors from the language of RGB to the language of CMYK. This is exactly what you want for print. "Assign Profile," on the other hand, just tells Photoshop how to interpret the color data, not change it. This is useful for color management workflows, but it's not what we're after when converting for print.

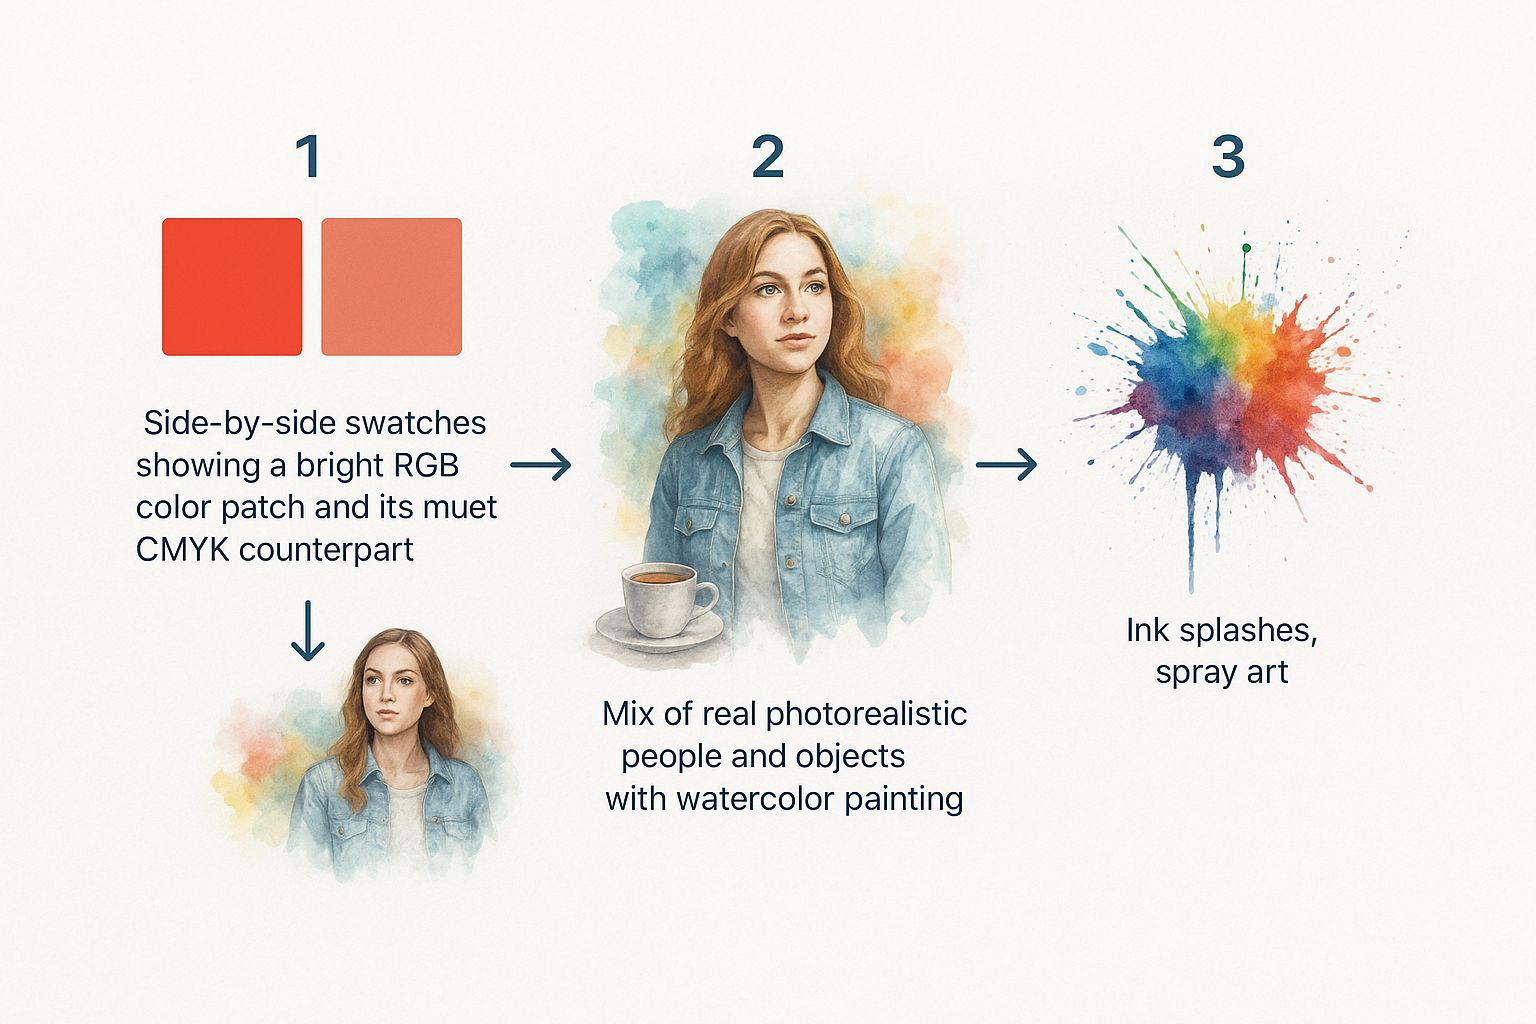
This infographic shows the color shift that happens when converting from the larger RGB gamut to the smaller CMYK gamut. See how the vibrant RGB colors on the left become more subdued in their CMYK versions on the right? This highlights why understanding these color spaces is so important.

This screenshot shows you the "Convert to Profile" dialog box in Photoshop. This is where the magic happens. You select the specific CMYK profile that matches your printer's settings, which ensures accurate color translation. Look closely, and you'll see options for rendering intent and black point compensation – these give you precise control over how the colors are mapped.
Another vital technique is soft proofing. Think of it as a preview of your print. Soft proofing shows you how your colors will look when printed, letting you fix any issues before they end up costing you money. It's more than just seeing a muted version of your image. It's about spotting out-of-gamut colors and making adjustments that make your design printable without compromising your artistic vision. Pros use soft proofing all the time to avoid costly reprints and make sure the final printed piece matches their original idea. Because of this, many print professionals will tell you to make all image corrections in RGB before converting to CMYK. This helps to minimize color shifts and keep your final print true to your digital design. Learn more about color management for print here. Designing brochures? Check out 4OVER4's brochure printing options to see how these techniques translate to the real world. By mastering these Photoshop techniques, you'll take control of the conversion process and get prints that actually reflect your creative vision.
Vector Graphics and Logo Conversion Strategies
Converting logos and vector artwork to CMYK for print can be tricky. Seriously, mess up a client's brand colors and you're in for it! Unlike photos, vector graphics don't always convert predictably. What looks perfect in Photoshop might come out wonky in Illustrator. Trust me, I've learned this the hard way. Let's talk about some crucial things to keep in mind.
One thing that always got me was the difference between Illustrator's and Photoshop's color engines. Even with identical CMYK settings, the output can be different. Illustrator sometimes throws slightly different CMYK values because of how it handles conversions internally. Understanding this little quirk is key to getting predictable, consistent results. I always double-check color values after conversion in both programs. It saves a lot of headaches later. For photographers looking to improve their print post-processing, checking out resources on Photography Editing can be a great help.
Complex illustrations with gradients, drop shadows, and transparency effects can also be a pain. These elements can cause all sorts of problems on press if they aren't converted correctly. My workflow involves carefully checking each element in Illustrator and making absolutely sure all colors are defined in CMYK. With gradients, I sometimes simplify them into shapes with solid CMYK fills. This helps avoid banding or weird color shifts when printing. This is especially important when working with logos destined for business cards – something as simple as a business card can make or break a first impression, so make sure you check out all the options available, such as those provided by 4OVER4's business cards printing. Converting RGB to CMYK is a fundamental process in graphic design, ensuring that digital creations translate accurately to print.
InDesign is a lifesaver when dealing with documents that mix RGB photos and CMYK vector elements. I rely heavily on InDesign's ability to manage color profiles for different parts of a document. This keeps the color consistent across everything, even when the elements come from different applications.
Finally, knowing when to use spot colors instead of process colors (CMYK) is really important. Spot colors are pre-mixed inks that give you absolute color accuracy, whereas process colors rely on CMYK combinations. For important brand logos or super-specific color matches, I always go with spot colors. This guarantees the final printed piece will be exactly the color the client wants, no matter what printing process or paper stock is used. Brand consistency is everything, and this helps keep it locked in.
Soft Proofing: Your Preview of Print Reality

Soft proofing. It's like holding a magnifying glass up to your work before it hits the printing press. Think of it as a dress rehearsal for your print project, a chance to catch those sneaky color gremlins before they wreak havoc on your final product (and your budget!). Trust me, I've learned this the hard way. Nothing worse than a vibrant blue sky in your design file turning into a dull, washed-out mess on the final printed poster. Soft proofing saves you from those headaches. When preparing visuals for print, solid graphic design principles help. Graphics Design offers some helpful resources on this topic.
Understanding Soft Proofing
So, how does this digital magic work? Soft proofing essentially simulates what your printed piece will look like on your monitor. It uses your selected CMYK profile and rendering intent to translate your RGB design into a preview of the printer's output. It's like a sneak peek behind the curtain, letting you see how your colors will actually appear on paper before you commit to a full print run, saving you from costly reprints and keeping your clients happy.
Let's say you're working on a vibrant brochure design. On your screen, the colors pop, everything looks fantastic. But then you soft proof, using the correct CMYK profile for your printer, and bam – those vibrant colors look a little duller. That's the difference between the wider color gamut of RGB and the limitations of CMYK in print. Soft proofing allows you to see this discrepancy before it's too late, so you can adjust your design accordingly.
Soft Proofing Settings
To truly unlock the power of soft proofing, you need to understand the settings. One of the most important is the rendering intent. Think of it as the director of your color conversion, controlling how colors that are outside the CMYK gamut are handled. You've got four main options: Perceptual, Saturation, Relative Colorimetric, and Absolute Colorimetric.
Perceptual: This one tries to preserve the overall visual relationship between colors, even if it means shifting them a bit. Great for photographs.
Saturation: This one prioritizes vibrant, saturated colors, making it good for graphics, but sometimes at the expense of color accuracy.
Relative Colorimetric: This one tries to match the colors as closely as possible, keeping the white point of the source image. Good for maintaining color accuracy when feasible.
Absolute Colorimetric: Similar to Relative, but it also simulates the paper color, giving you the most accurate preview of the final print. Good for proofing specific colors.
Black point compensation is another critical setting. It manages how black is handled during the conversion, making sure your shadows retain detail and your overall image contrast stays sharp. Without it, things can get muddy fast.
Different Print Scenarios, Different Settings
Now, here’s the thing. Every print job is different. You wouldn’t use the same settings for printing on newspaper as you would for a high-gloss magazine, right? Different paper stocks, different inks, different printers – they all have their own quirks.
I've put together a handy table to guide you through some common scenarios:
To give you a clearer understanding of how to tailor your soft proofing setup, I've compiled this table:
Soft Proofing Settings for Different Print Jobs
| Print Scenario | Rendering Intent | Color Profile | Black Point Compensation |
|---|---|---|---|
| Newspaper | Relative Colorimetric | SWOP v2 | Yes |
| Glossy Magazine | Perceptual | PSO Coated v3 | Yes |
| Matte Brochure | Relative Colorimetric | GRACoL 2013 Uncoated | Yes |
| Art Print | Absolute Colorimetric | Fogra 39 | Yes |
This table gives you a solid starting point. However, I always recommend chatting with your printer. They know their equipment and processes best and can offer specific recommendations. By mastering soft proofing and understanding how these settings interact with the RGB to CMYK conversion for print, you’ll ensure your final pieces look exactly as you envisioned.
Solving Common Conversion Nightmares
Converting RGB to CMYK for print can be tricky. Even when you think you’ve nailed it, some colors just have a mind of their own. It's like they're rebelling against the very idea of print! Truth is, some colors just can't be replicated in CMYK. Knowing how to tackle these issues is a key skill for any designer. Let's look at some of the usual suspects.
Out-of-Gamut Colors
Ever designed something with a vibrant, almost neon green, only to see it go dull and lifeless in CMYK? That's an out-of-gamut color. RGB has a much wider range of colors than CMYK, meaning some RGB colors simply don’t have a CMYK equivalent.
One solution? Find a similar, more muted color within the CMYK range. It won't be identical, but it'll be the closest you can get. If you absolutely need that neon green, consider a spot color. Spot colors are pre-mixed inks that can hit those out-of-gamut colors, but they’ll add to your printing costs.
Shifting Skin Tones
Another common problem is skin tones changing during conversion. A warm, healthy complexion can suddenly look sickly or even greenish. I’ve lost count of how many times I've seen this happen! This often comes down to how different CMYK profiles handle conversions. The fix? Soft proofing.
By using the right CMYK profile for your printer and paper in Photoshop or Illustrator, you can see these shifts and fix them before printing. A small tweak to the original RGB image can prevent a lot of headaches.
Troubled Brand Colors
Brand colors can be a real pain point. Imagine a client's logo looking washed out in print. Yikes! Consistency is everything with brand colors. Soft proofing is crucial here, too.
You might also think about spot colors for logos, especially if they have out-of-gamut colors. This helps ensure a perfect match. It's a small detail, but it makes a big difference for maintaining brand integrity. Interestingly, RGB to CMYK conversion was even used in CPU benchmarks back in the early 2000s, highlighting its importance in digital image processing.
Client Communication
Sometimes, the hardest part isn’t the technical stuff, but managing client expectations. Ever had a client insist their neon green logo has to look exactly the same in print? Clear communication is essential.
Explain the limitations of CMYK printing simply. Show them soft proofs. Offer options like spot colors. A little compromise can go a long way in saving everyone time, money, and frustration. For more inspiration on printing projects like postcards, check out 4OVER4's postcard printing options. By mastering these troubleshooting tips and communicating clearly, you’ll be able to handle even the trickiest color conversions and get great print results every time.
Your Bulletproof Print-Ready Export System
So, you've nailed the RGB to CMYK conversion, soft proofed your masterpiece, and you're ready to send files to the printer. This is where it all comes together—or falls apart spectacularly. A solid export process prevents those frantic late-night calls about missing fonts or color mishaps. Let's build a system for creating print-ready files that will make your printer love you and guarantee you consistent results every single time.
Think about the export settings you'll need for different projects. Business cards aren't going to use the same settings as, say, a giant banner. Even seemingly small details can really mess things up. I once had a poster print with jagged edges because I forgot to embed the fonts. Rookie mistake, but it cost me. Learn these little quirks early and save yourself the trouble. 4OVER4's Sales Sheets printing options can be a good real-world example of how settings change for different projects.
Packaging your files the right way is also key. Give your printer everything they need to do their job well. That means including fonts, linked images, and the correct color profiles. It also means clear file names and a sensible folder structure. Trust me, I've learned this one the hard way. A chaotic mess of files just leads to confusion and errors. Organized files make everyone's life easier.
Creating a Sustainable Filing System
Speaking of organization, a good filing system is gold. Imagine being able to instantly find settings from past projects! This saves so much time and helps keep that high quality your clients expect. I use a cloud-based system with labeled folders for each client and project. I can find anything in seconds, even years later. In the U.S., most commercial printers want files in CMYK for accurate color. This makes sure what you see on screen matches what comes out of the printer. Discover more insights about CMYK printing.
The Final Check
Lastly, double-check everything. Before hitting "send," take a moment to go through your checklist. Right color profiles? Fonts embedded? All files included? This extra step can prevent a major headache. A bulletproof print-ready export system isn't just about the tech stuff, it's about having a reliable process that lets your creative work shine.
Ready to take your printing to the next level? 4OVER4 offers a bunch of high-quality printing options, from business cards to huge banners. Explore 4OVER4's comprehensive printing services today!
More from converting rgb to cmyk for print
10
Want to know the real secret to getting a poster to stick to a wall without it peeling off in the middle of the night? It's all about what
 Emma Davis
Jan 28, 2026
21
When you hear "table tent specs," what we're really talking about are the foundational details for printing them correctly: the
 Emma Davis
Jan 27, 2026
84
When you're ready to print a poster, one of the first questions you'll face is, "What size should it be?" The industry has a
 Emma Davis
Jan 26, 2026
97
Picture this: you're at a networking event, and someone hands you their business card. You do the usual glance—name, title, company—an
 Emma Davis
Jan 25, 2026
116
Believe it or not, figuring out how to make a card in Word is surprisingly easy. You can knock out everything from slick, professional busines
 Emma Davis
Jan 24, 2026
108
Printing on packaging takes a simple container and turns it into one of your most powerful marketing tools. It’s the very first physical int
 Emma Davis
Jan 23, 2026
370
When you're getting ready to print a flyer, one of the first questions you'll face is, "What size should it be?" The most co
 Emma Davis
Jan 22, 2026
337
How Our Free Business Cards Program Works (Quick Overview) Free business cards are available through two different
 Emma Davis
Jan 22, 2026


