
How to Design Custom Food Packaging That Sells and Protects


Great food packaging keeps the food safe, survives the trip, and looks unmistakably yours. Here is how restaurants and bakeries design custom boxes, sleeves, and wraps that do all three.
Custom food packaging is food-safe boxes, sleeves, and wraps printed with your branding to carry restaurant and bakery orders. Good design starts with a food-grade, sturdy structure sized to the item, adds a dieline so artwork lands correctly on every panel, and finishes with a bold, consistent brand look so the package protects the food and markets your name at once.
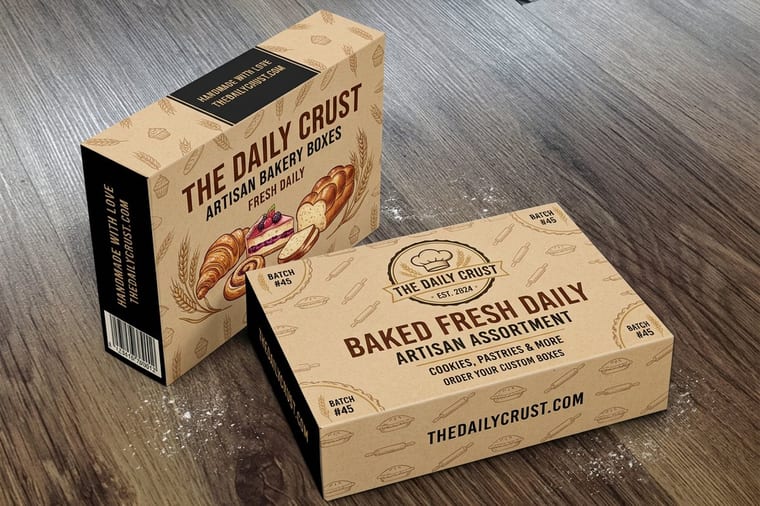
Start here
Food packaging design in one paragraph
Custom food packaging is food-safe boxes, sleeves, and wraps printed with your branding. Start with a food-grade, sturdy structure sized snugly to the item, lay your artwork on a dieline so it lands correctly across every panel and fold, then brand the whole unboxing, inside, sleeve, and wrap, not just the lid. Choose recyclable stocks where you can, and the package protects the food while marketing your name.
Design your own food packaging online
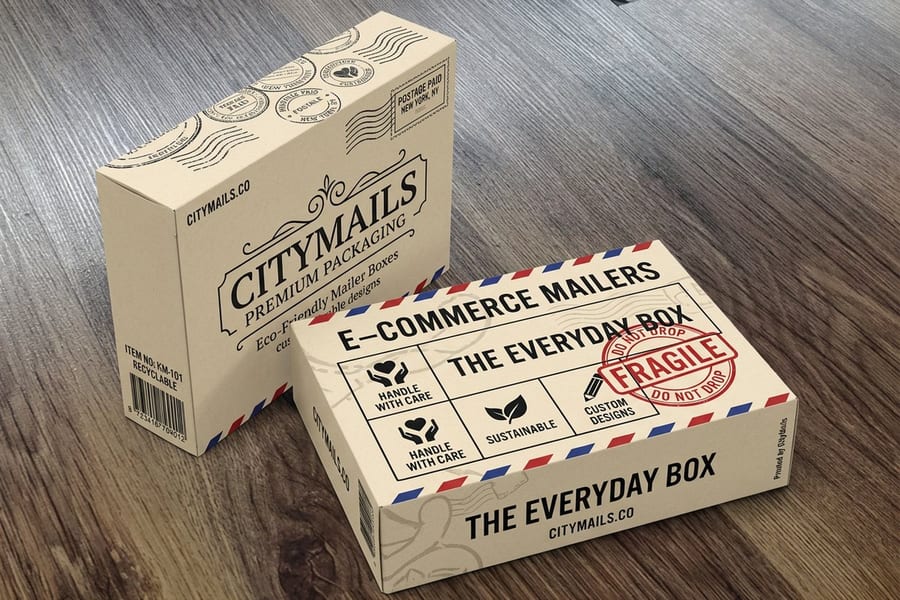
You can create your own food packaging in four moves, and none of them need a structural engineer. Work in this order and the artwork fits the box the first time instead of the third.
1. Pick the format and the size. Decide how the food is carried before you decide how it looks: a mailer box for meal kits and anything that ships, a bakery box for soft or delicate goods, a tuck-top or a sleeve for grab-and-go items assembled at the counter. Measure the food at its widest, tallest and deepest point, add a little clearance so it slides in without being forced, and size the box to that number rather than to a box you already have on the shelf.
2. Download the dieline for that format. The dieline is the flat map of your box: solid lines where the die cuts, dashed lines where the board folds, glue tabs, and a bleed edge outside all of it. Open it in Illustrator, InDesign or Photoshop and build the artwork on top of it, never beside it, because a layout designed on a plain rectangle will land halfway across a fold.
3. Place the artwork on the dieline layers. Keep the dieline on its own locked layer so it never prints, run color and images 1/8 in past every trim edge so no white slivers show after cutting, hold logos and type at least 1/4 in clear of folds and score lines, and set images at 300 dpi in CMYK. Panels rotate when the box is assembled, so check that every panel reads right side up before you call the file done.
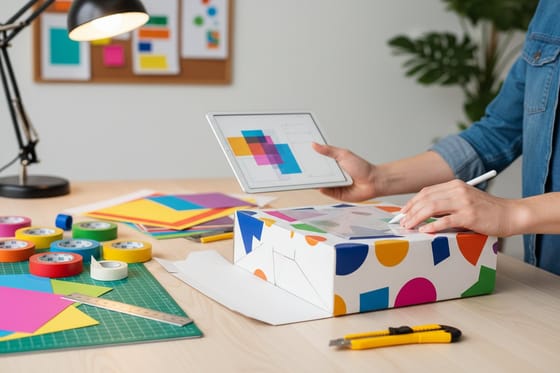
4. Proof it, then order. Print the dieline at 100 percent, tape up a paper mock and put the actual food in it. That five-minute test catches a lid that will not close, a sleeve that slides, and a logo that ends up on the bottom of the box. When the mock holds, upload your file or lay the artwork out in the online designer on the product page and place the order.
Start from the box you actually need in our packaging collection, then open the designer on that product page to build the artwork online, with 60+ paper stocks behind it.
Start with food-safe, sturdy materials
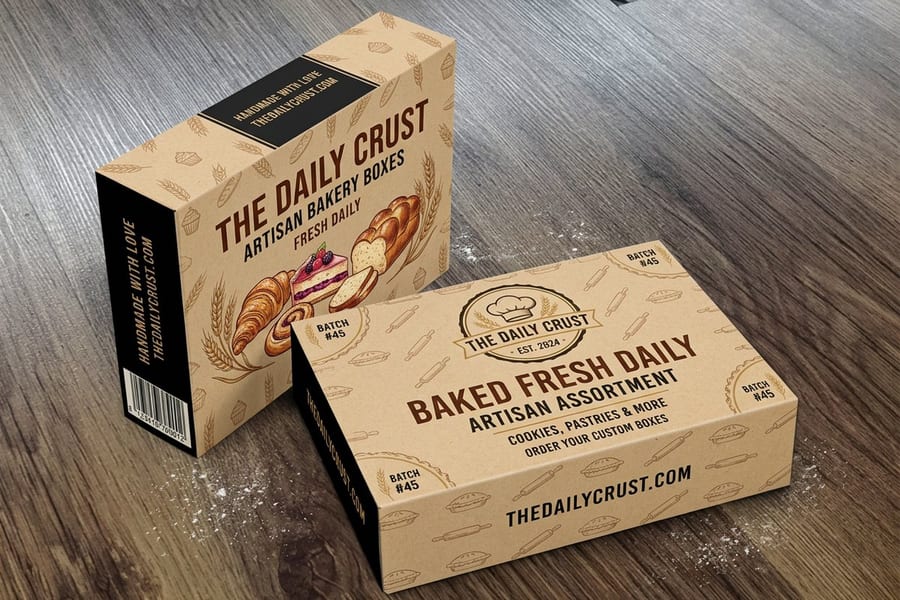
The first decision when you create your own food packaging is not the logo, it is the board. Before any artwork, the material has to do two jobs: be safe against food and be strong enough to protect it. Food-grade board and greaseproof liners keep the contact surface safe, while the right thickness and structure keep a box from crushing in a delivery bag stacked under three other orders. A beautiful box that arrives dented or lets grease through has failed at the only jobs that matter, so structure leads and design follows. Settle the board, the wall strength and the liner first, then hand the finished panels over to the artwork.
Match the material to the food's demands. Hot, greasy, or saucy items need a sturdier, greaseproof board, delicate baked goods want a rigid box that will not crush, and dry items forgive a lighter stock. Kraft and recyclable boards add a sustainability story on top of protection. Explore the structural options in our packaging collection before locking in a look.
Choosing the right box format
Format is about how the food is served and carried. A mailer box with a secure tuck is ideal for meal kits and items that ship, a bakery box is built to protect soft, delicate goods, and a tuck-top or sleeve suits grab-and-go items that need quick assembly at the counter. The structure you choose shapes both the customer experience and your labor at service time.
Size is the other half of format. A box sized snugly to the item protects it better, ships lighter, and looks far more intentional than an oversized box with the food sliding around inside. Measure your largest common item and pick the closest fit rather than defaulting to big. For the deeper structural choices between board types, our guide on cardstock versus corrugated boxes helps you decide.
Designing your artwork on a dieline
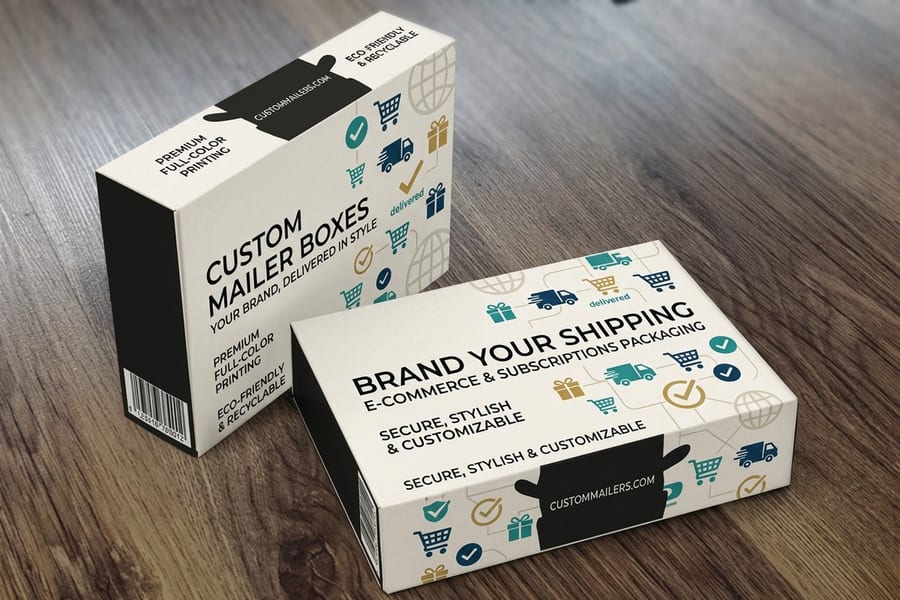
A flat box is deceptive: what looks like one surface is really several panels connected by folds and glue tabs. A dieline is the flattened template that maps all of it, and designing on it is the difference between artwork that wraps cleanly and a logo that ends up bent across a crease. Place key elements, your name, your mark, the hero panel, well inside each face so nothing important lands on a fold.
Build to the dieline with bleed where color runs to an edge and a safe margin that keeps text off the folds, then remember the box is three-dimensional, so plan what shows when it is closed, opened, and stacked on a shelf. Our companion guide on preparing print files for packaging products walks through this panel-by-panel thinking in detail, and the online designer can help you place art within the template.
Branding the whole unboxing experience
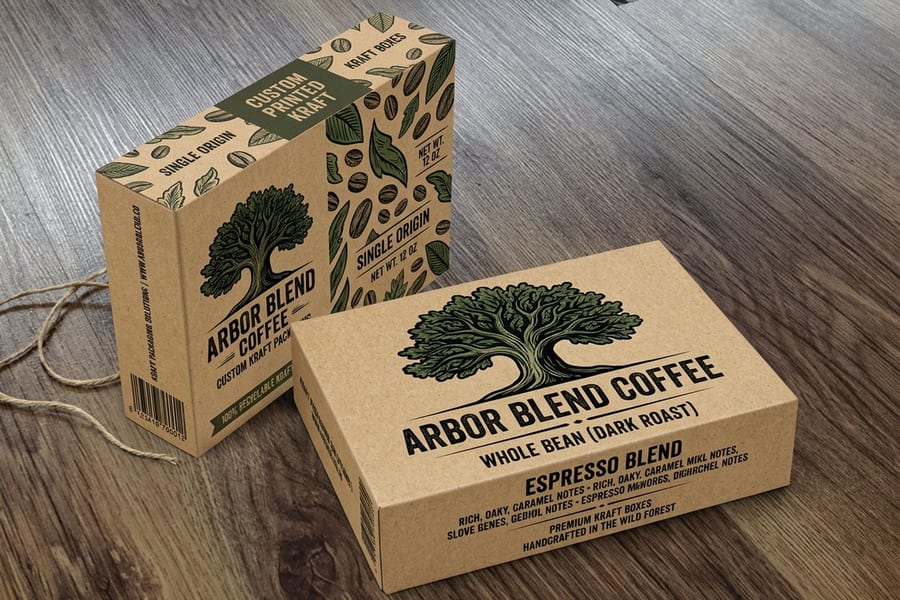
The lid is only the first impression. The moment a customer opens the box is when your brand has their full attention, so the inside deserves as much thought as the outside. Printing the interior, adding a branded sleeve or band, and lining with a logo tissue turns a plain container into a designed reveal that people photograph and share, which is free reach for your restaurant or bakery.
Keep the system consistent: one logo, one palette, and one voice across the box, the sleeve, the wrap, and the labels. Bold, high-contrast marks survive the folds and the handling far better than fine detail, and a single well-placed logo often beats a busy pattern. Tie in matching custom tissue paper and labels so every layer of the unboxing carries your name.
Making it sustainable without losing strength
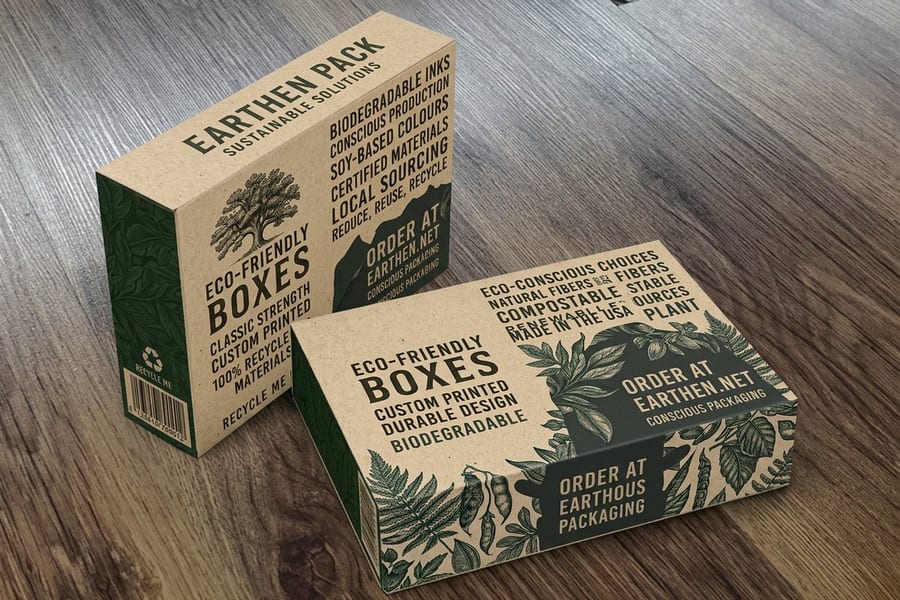
Sustainability and protection are no longer a trade-off. Kraft and recyclable boards are strong enough to carry most food orders while giving you a genuine eco story that customers increasingly look for. Choosing a recyclable structure, a natural stock, and food-grade inks lets the packaging itself reinforce your values instead of quietly working against them.
Design can amplify the message: a visibly natural kraft box with a simple one-color logo reads as thoughtful and premium at once, and it photographs beautifully. Where an item needs extra grease protection, a greaseproof liner keeps the eco board practical. Browse recyclable options like eco-friendly boxes and pair them with kraft wrap for a fully sustainable set.
How prices are set and how to order
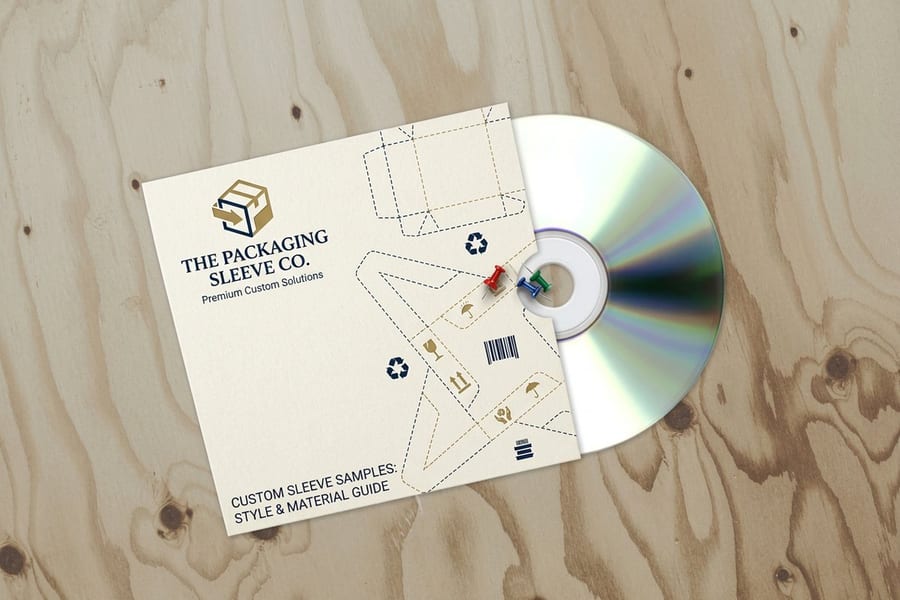
Custom packaging price scales with structure, size, material, print, and quantity. Because boxes carry real setup and material cost, the per-unit price drops meaningfully as the quantity climbs, so ordering the run you will actually use over a season is usually the smart move. Add-ons like interior printing, a sleeve, or a specialty finish each add to the total, so decide which touches earn their place.
To order, choose the box format, set the size and material, upload art built on the dieline, and pick your quantity, and the configurator shows your live total as you go. Start with a mailer box for shipped items or a bakery box for delicate goods, band it with a packaging sleeve, and explore the full range in the packaging collection.
Wally folds protection and branding into one box
Food-safe structure, artwork on the dieline
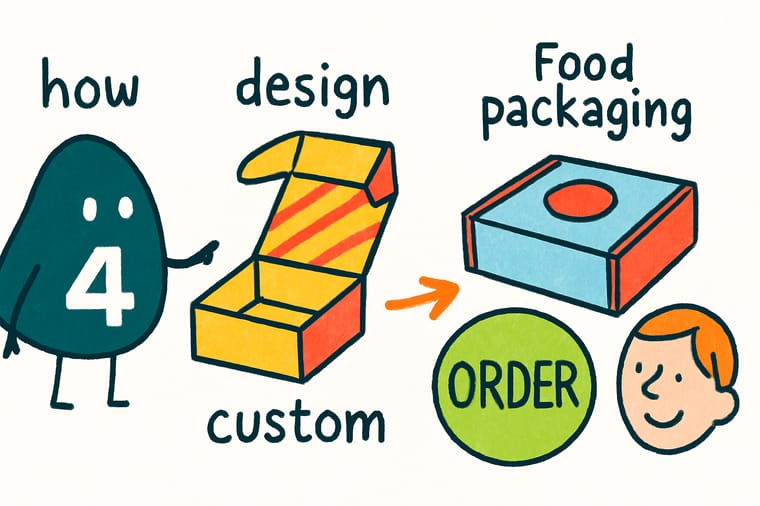
Wally starts with a food-grade, sturdy box sized snugly to the food, lays your artwork on the dieline so nothing lands on a fold, then brands the inside, the sleeve, and the wrap for a reveal worth photographing. Pick recyclable stock where you can, upload your dieline art, and let 4OVER4 print packaging that protects and sells.
Order custom food packaging →Quick reference
Food packaging formats and where each fits
Pick the structure by how the food is served, carried, and protected, then size it snugly to the item.
| Format | Structure | Best for |
|---|---|---|
| Mailer box | Secure tuck, ships well | Meal kits and items that travel or get delivered. |
| Bakery box | Rigid, protects soft goods | Cakes, pastries, and delicate items that must not crush. |
| Tuck-top or sleeve | Quick counter assembly | Grab-and-go items that need fast, tidy packing. |
| Kraft or eco board | Recyclable and sturdy | Brands that want protection plus a sustainability story. |
| Dieline artwork | Maps every panel and fold | Keeping logos and text off creases and glue tabs. |
| Snug sizing | Fits the item closely | Better protection, lighter shipping, a more intentional look. |
Step by step
Design custom food packaging in 6 steps
- Pick a food-safe structure Choose a food-grade, sturdy material that protects the item, matching greaseproof board to oily or saucy foods.
- Choose the format and size Select a mailer, bakery box, or sleeve and size it snugly to your largest common item.
- Design on the dieline Lay artwork on the flattened template with bleed and safe margins so nothing important lands on a fold.
- Brand the full unboxing Print the interior, add a sleeve, and line with logo tissue so the reveal feels designed and photo-ready.
- Choose an eco stock Where you can, pick a recyclable kraft or eco board to add a genuine sustainability story.
- Set quantity and order Upload your dieline art, choose the run, watch the live total, and place the order.
Specs and pricing
Live mailer box specs and pricing
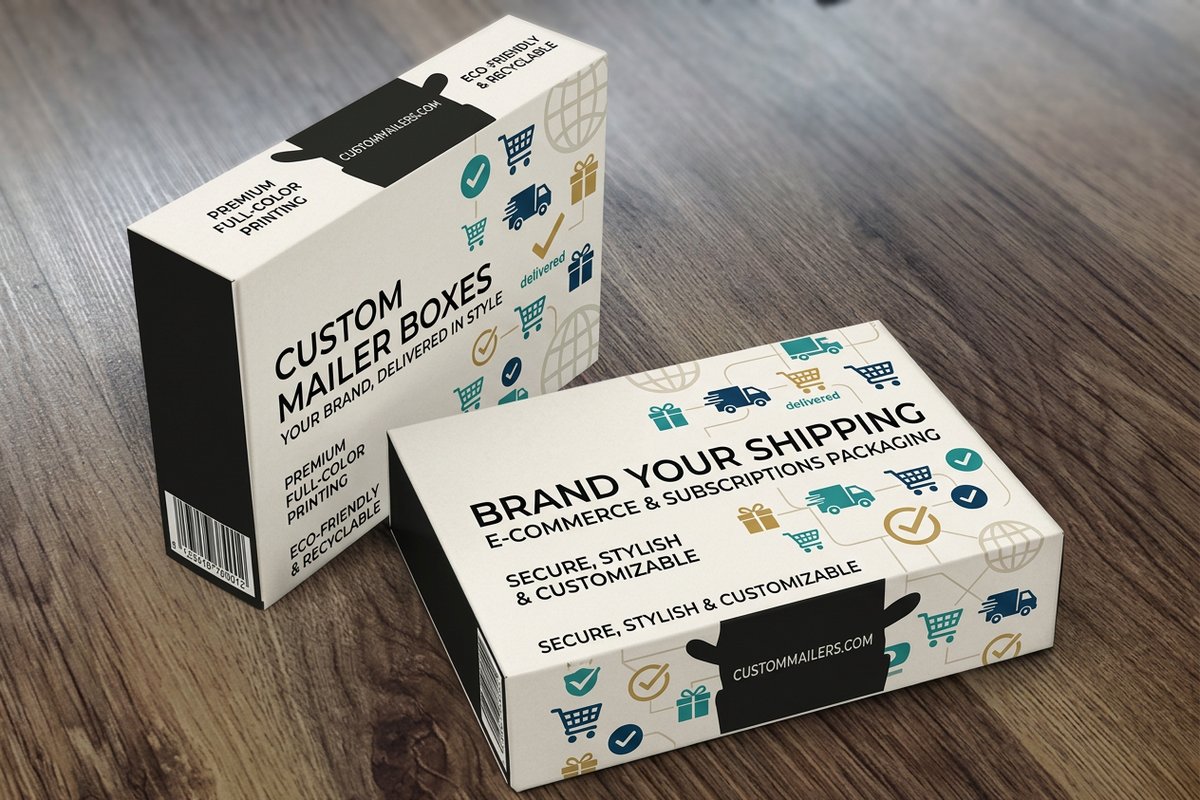
Mailer boxes are the workhorse of shipped food orders. Here are the live specs and price-per-unit at 4OVER4, straight from the configurator.
| Quantity | Price Per Unit | Total |
|---|---|---|
| 250 | $2.85 | $711.78 |
| 500 | $1.42 | $711.78 |
| 1,000 | 79.7¢ | $797.02 |
| 2,500 | 53.5¢ | $1,338.30 |
| 5,000 | 44.6¢ | $2,231.42 |
| 10,000 | 40.4¢ | $4,044.70 |
| 15,000 | 39.0¢ | $5,844.45 |
| 20,000 | 38.3¢ | $7,657.73 |
Order it
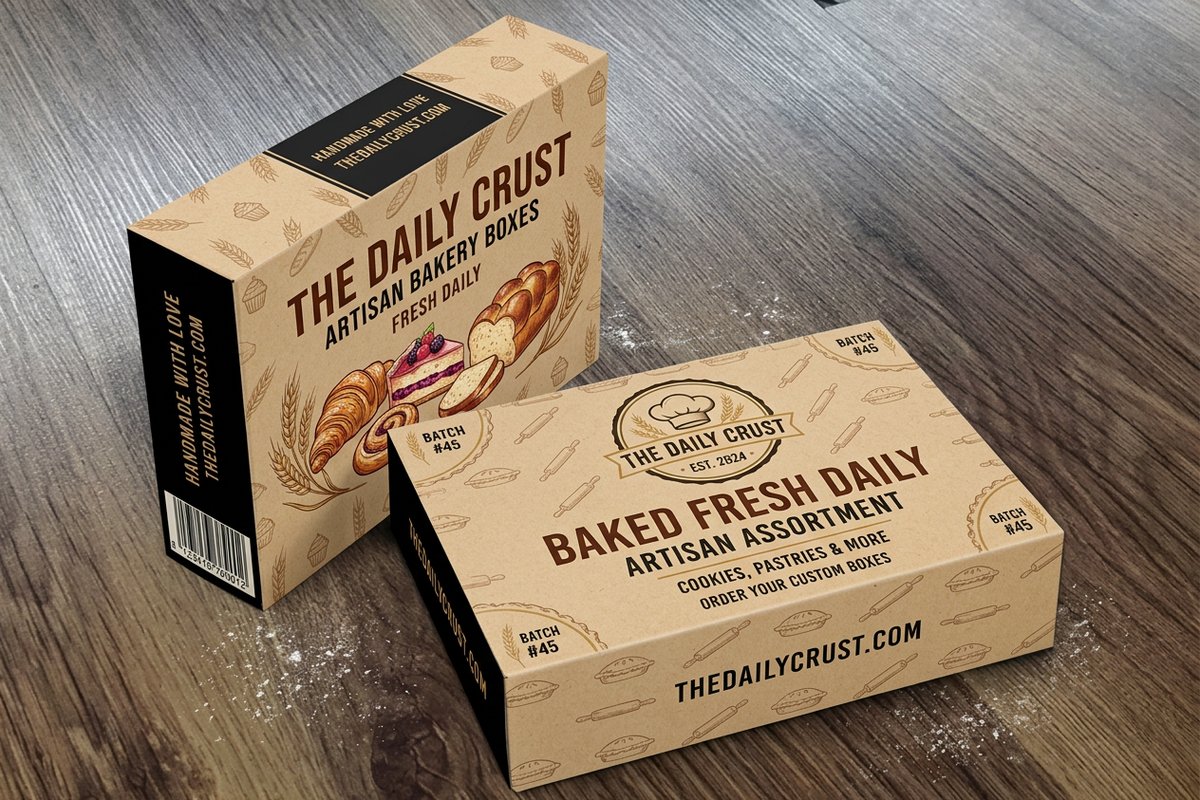
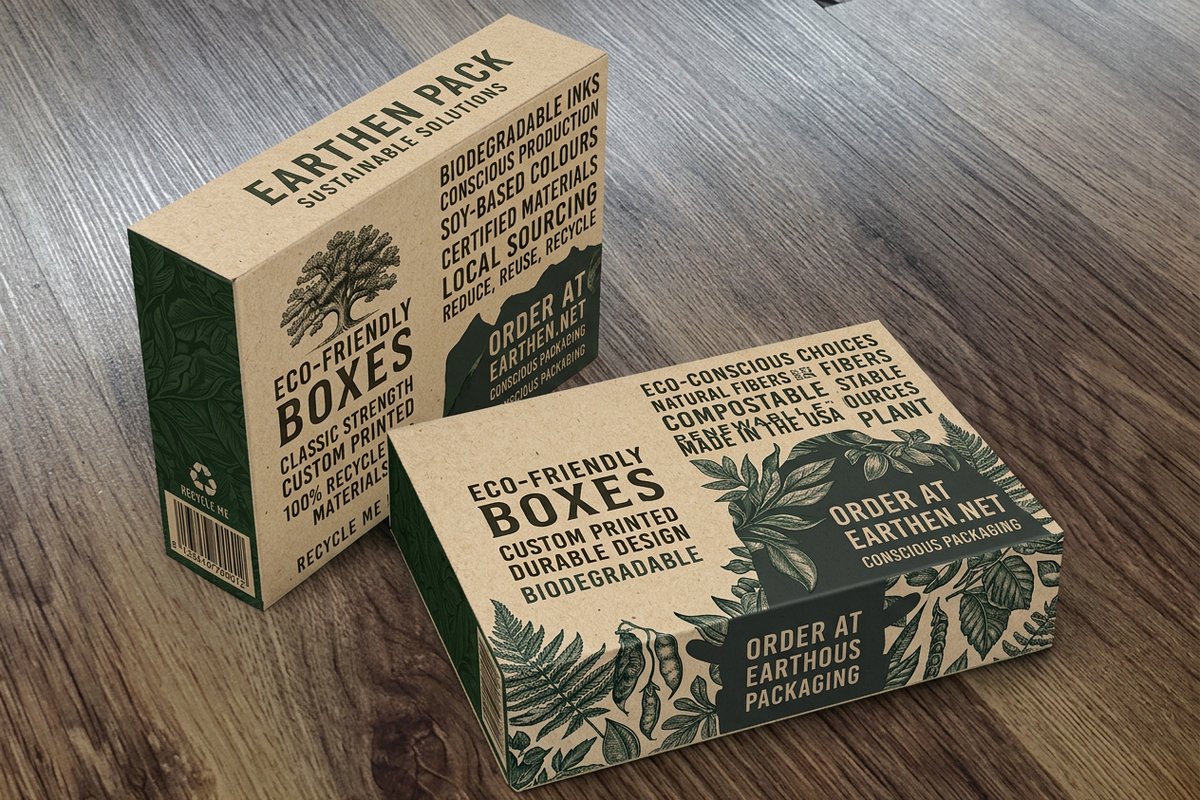
Food packaging to build your set from
See it in use
Real packaging work, printed in-house

Explore more
Where to go next

By the numbers
Packaging you can count on at 4OVER4
Common Questions
Common questions about custom food packaging
What is custom food packaging?
Custom food packaging is food-safe boxes, sleeves, and wraps printed with your branding to carry restaurant and bakery orders. It combines a food-grade, sturdy structure that protects the item with printed artwork that markets your name, so the same package keeps the food safe on the trip and turns every order into a branded, photo-ready moment.
How do I choose the right custom food packaging?
Start with the food's demands: pick a food-grade, greaseproof material strong enough to protect the item, then choose a format that matches how it is served, a mailer for shipped meal kits, a bakery box for delicate goods, or a sleeve for grab-and-go. Size the box snugly to the item for better protection and lighter shipping, and choose a recyclable stock when you want a sustainability story.
What does custom food packaging cost and how are prices set?
Price scales with structure, size, material, printing, and quantity. Because boxes carry real setup and material cost, the per-unit price drops meaningfully as the quantity climbs, so ordering a season's run is often the smart move. Add-ons like interior printing, a sleeve, or a specialty finish each add to the total. You set every option in the configurator and the live total updates as you go.
What sizes, stocks, and finishes are available for custom food packaging?
Formats include mailer boxes, bakery boxes, tuck tops, and sleeves in a range of sizes, on food-grade boards from standard to kraft and recyclable eco stocks. Finishes and add-ons include interior printing, matte or gloss surfaces, and greaseproof liners for oily foods. Design on the product's dieline so your artwork lands correctly across every panel and fold.
How long does custom food packaging take to print and ship?
Custom boxes take longer than flat print because they are printed, cut on a dieline, and often folded or assembled, and any add-on like interior printing extends production. Standard turnaround is the most economical, with faster options at an added cost. You can see the production and shipping estimate for your exact box and quantity in the configurator before ordering.
Can custom food packaging be eco-friendly and still protect the food?
Yes. Kraft and recyclable boards are strong enough to carry most food orders while giving you a genuine sustainability story, and a greaseproof liner keeps an eco board practical for oily items. Pairing a recyclable structure with food-grade inks and natural kraft tissue lets the packaging protect the food and reinforce your values at the same time.
Get Started
Ready to package your food in your brand?
Choose a food-safe structure, design it on the dieline, and brand the whole unboxing. Upload your art and watch the live total as you set the size and quantity.
Legal Disclaimer
Gold Standard guarantees apply to all standard orders placed through 4over4.com. Price match requires verifiable proof of a competitor's published price for an equivalent product with matching specifications and turnaround time. Satisfaction guarantee covers manufacturing defects and print quality issues. Contact support with order number and documentation. On-time delivery rate based on tracked orders 1999 to 2026. Individual results may vary based on shipping carrier performance.
