
How to Prepare Print Files for Packaging Products


Jordan is our labels, packaging and sustainability voice, built from the knowledge of our production team, with over 20 years in printing.
Build your artwork on the 4OVER4.COM box template in CMYK, add 1/8" bleed on every side, and upload a separate 100% black mask for any Spot UV or WonderFoil finish. Packaging file setup rests on five things: the right template, the dieline kept on its own layer, bleed, clean glue tabs, and a 300 DPI print-ready PDF.
To prepare files for packaging products, design on the 4OVER4.COM packaging template in CMYK, extend backgrounds 1/8" past the trim for bleed, and keep text inside the safe area. For finishes, upload a separate black-and-white mask that is 100% black where you want Spot UV gloss or WonderFoil foil and white everywhere else. Boxes ship flat, so fold along the scores using the assembly PDF for your style. Two rules do most of the work: keep the template dieline on its own layer so the cut, crease and glue-tab lines guide you but never print as ink, and leave the glue tabs free of ink and UV coating so the box still bonds when it is assembled. Export at 300 DPI as a print-ready PDF.
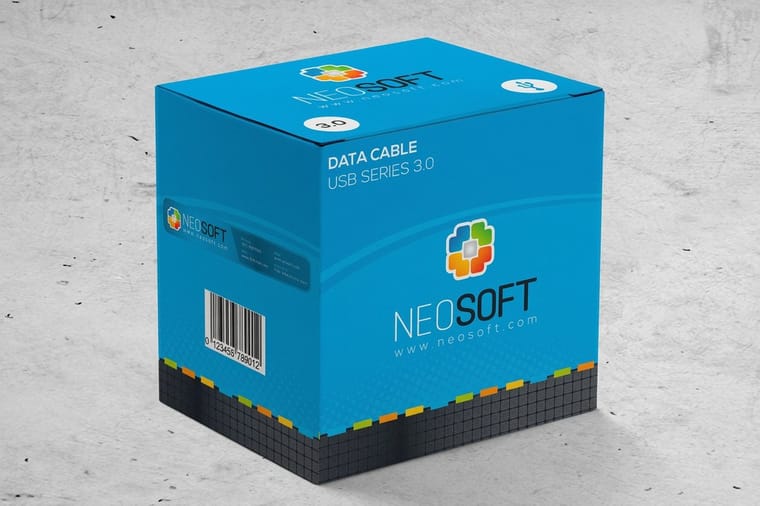
How to Assemble Your Packaging Products
Boxes ship flat. Download the assembly instructions for your box style and fold along the scores.
- Cube Boxes Assembly Instructions Download from here
- Golf Ball Boxes Assembly Instructions Download from here
- Pillow Boxes Assembly Instructions Download from here
- Roll End Tucked Boxes Assembly Instructions Download from here
- Wine Boxes Assembly Instructions Download from here
Quick tips
Quick tips for packaging file setup
Design on the 4OVER4.COM packaging template in CMYK and add 1/8" bleed on all four sides. Keep text and logos inside the safe area, and save a print-ready PDF at 300 DPI. For a Spot UV or WonderFoil finish, upload a separate mask that is 100% black where the effect goes and white everywhere else. Boxes arrive flat and scored, so fold along the scores with the matching assembly guide.
Prepare print-ready files for packaging products
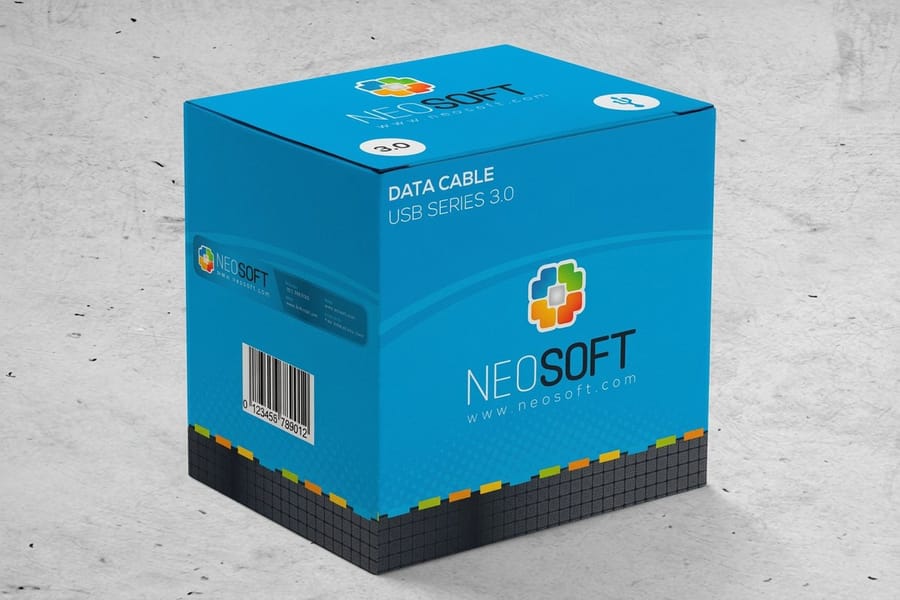
Custom packaging starts as a flat, diecut sheet, so the file you upload has to line up with the dieline before we print, score, and ship it. Build your artwork in CMYK on the 4OVER4.COM packaging template for your box, keep important text and logos inside the safe area, and save a print-ready PDF at 300 DPI. Get those basics right and the printed box folds up clean every time.
This guide walks through the parts people miss most: setting bleed so no white edges show, downloading the correct assembly instructions, and building the black-and-white mask files that switch on a Spot UV or WonderFoil finish. If file setup is new to you, our bleed and trim guide and CMYK vs RGB guide cover the fundamentals first.
Want a box shape we do not list, or a fully custom size? Read how to get custom boxes, or browse custom box printing to see the packaging we run in-house.
Packaging file setup: the six-point pre-flight checklist
Run these six checks on every packaging file before you upload. Print the list or keep it open beside the artboard, because this is the short list of things that send a job back to the customer instead of onto the press.
- Bleed, 1/8 inch on every side. Push backgrounds, photos and color blocks 1/8 inch past the cut line, 1/4 inch total across the sheet, so no white edge shows after diecutting. Pull logos and body copy back inside the safe area marked on the template.
- Dieline on its own layer. Keep the cut, crease and glue-tab lines on a single top layer named Dieline, design on the layers underneath, and switch that layer off before you export. The dieline is a guide, not artwork, so it must never print as ink.
- Mask files in 100 percent black. Spot UV and WonderFoil each need a separate black-and-white mask that is 100 percent black exactly where the gloss or foil lands and white everywhere else. No grays, no tints, no drop shadows, no strokes, and nothing over a glue tab, since glue will not stick to UV coating.
- Fonts outlined. Convert every piece of type to outlines, or embed the fonts in the PDF, so nothing reflows or substitutes on our end. Do this on a copy of the file, because outlined type is no longer editable.
- CMYK, not RGB. Convert the document and every placed image to CMYK before you export. Bright RGB blues and greens shift on press, so check them once converted and rebuild rich blacks in process color.
- Print-ready PDF at 300 DPI. Flatten transparency, keep raster art at 300 DPI at final size, and name the file after the box style so the right template and the right art stay together.
Download your box assembly instructions
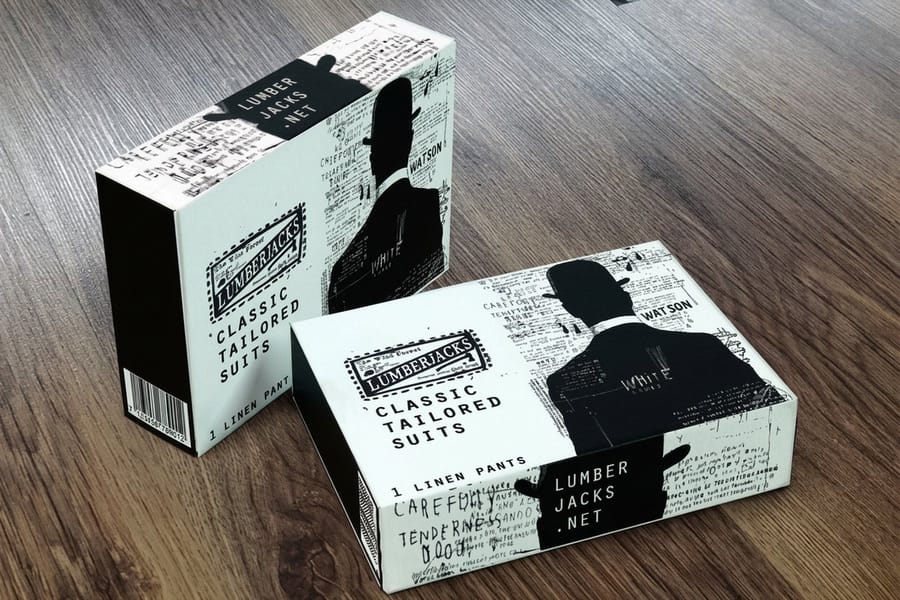
Every box ships diecut, scored, and packed flat so it travels safely and stores easily. Cube boxes and golf ball boxes lock together with sturdy edge-lock tabs and need no glue, roll end tuck top boxes self-tuck closed, and only the wine boxes and glued pillow boxes arrive pre-folded with one edge bonded. Assembly is quick once you fold along the scores that are already pressed into the sheet.
Grab the step-by-step PDF for the style you ordered and keep it handy at the folding table:
- Cube box assembly instructions (PDF)
- Golf ball box assembly instructions (PDF)
- Pillow box assembly instructions (PDF)
- Roll end tuck top box assembly instructions (PDF)
- Wine box assembly instructions (PDF)
Prefer to see the boxes first? Compare cube boxes, pillow boxes, and roll end tuck top boxes side by side.
Set bleed, trim, and use the packaging templates
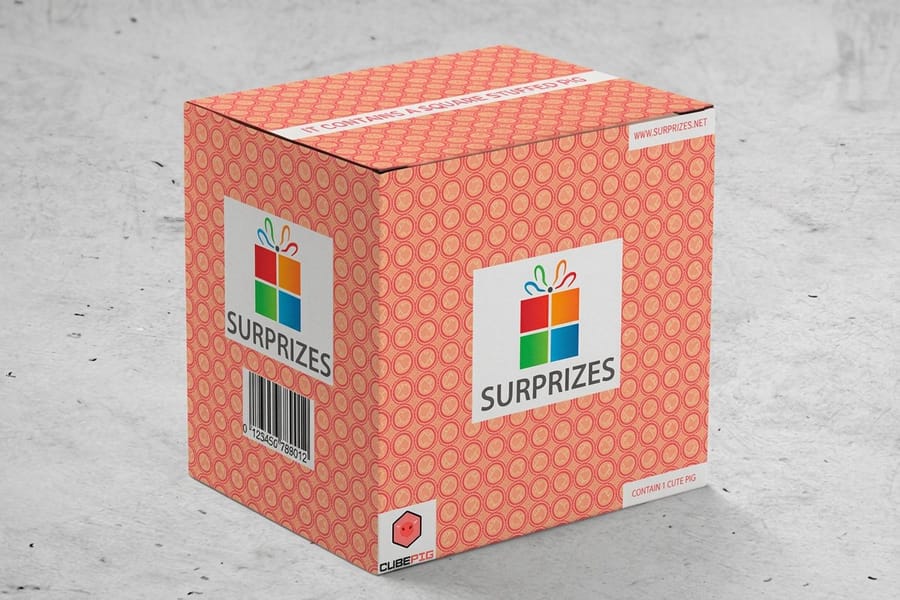
Bleed is the strip of artwork that runs past the cut line so a tiny shift on the diecutter never leaves a white sliver on the edge. For every packaging product the bleed is 1/8" on each side, which adds up to 1/4" total across the sheet. Extend any background color, pattern, or photo a full 1/8" beyond the trim, and pull live text and logos at least 1/8" inside it.
Always design on the 4OVER4.COM packaging template for your exact box. The template carries the dieline, the fold scores, and the glue tabs, so your panels land in the right place when the flat sheet folds into three dimensions. For a refresher on trim math and safe zones, see our bleed and trim guide and the standard print sizes reference.
How to set up a Spot UV mask file
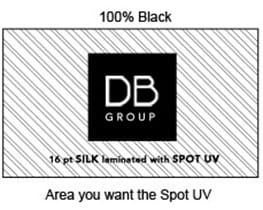
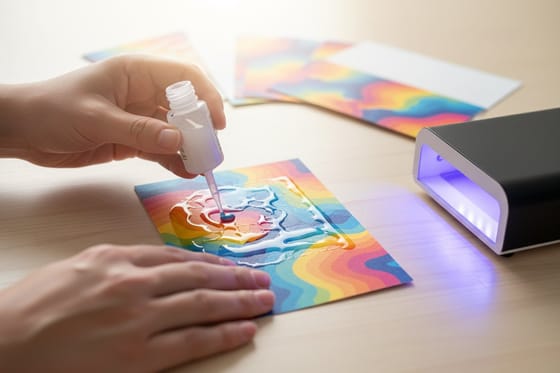
Spot UV drops a glossy, raised coating on chosen areas of an otherwise matte print, and it works on business cards, postcards, pocket folders, and packaging. To place it, upload a separate Spot UV mask alongside your full-color file. The mask must be black and white only: paint 100% black exactly where you want the gloss, and leave everything else white where you do not.
Keep the mask perfectly aligned to your CMYK artwork so the coating lands where you intend. 4OVER4.COM cannot be responsible for a mask saved in the wrong position, so double-check placement before you upload. Here is the same design shown three ways, as the color file, the 100% black mask, and the finished Spot UV result:
 CMYK file
 100% black Spot UV mask
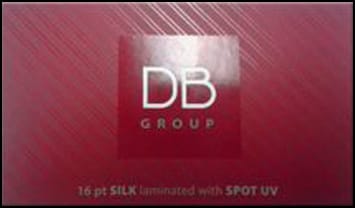 Spot UV finish
Want to feel the finish before you commit? For a printed sample of the example above, and of 16-point silk laminated Spot UV business cards, contact us and ask for samples. New to the effect? Our Spot UV printing guide explains where it looks best.
How to set up a WonderFoil mask file
WonderFoil turns most CMYK colors into a radiant, multi-colored foil, so you can put several foil colors in one design and transform solid areas, halftones, gradients, and reversed-out shapes into a sparkling metallic finish. Like Spot UV, it needs a black-and-white mask uploaded with your full-color CMYK file: 100% black where you want foil, and white where you do not.
Keep a few rules in mind for clean WonderFoil business cards from 4OVER4.COM:
- Printed on 16-point gloss cardstock with a hi-gloss UV coating.
- Foil is available on the front, the back, or both sides.
- Make sure the mask and the CMYK print file line up and match exactly.
- Avoid very thin or small text and art. Use sans-serif fonts above 12 point for the sharpest result.
- White in the CMYK file that reads as 100% black in the mask prints as metallic silver foil.
- WonderFoil pops most on lighter colors. The darker the CMYK color underneath, the softer the foil effect.
- Watch for a white halo around any knockout, and use the fix below if your art calls for one.
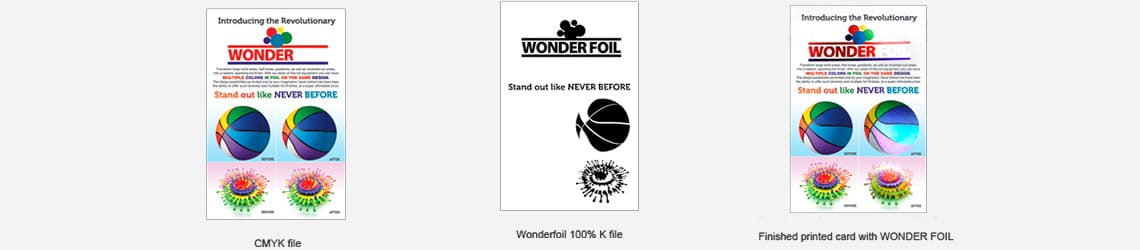
To avoid the white halo around a knockout, grow or stroke the WonderFoil area in the mask by about 12 pixels so the foil bleeds slightly into the CMYK area. Filling the knockout with a color reduces the effect further. As with Spot UV, save the foil mask in its exact final position, because 4OVER4.COM cannot be responsible for a mask that is placed incorrectly.
For a printed sample of the example above, and of 16-point high-gloss UV WonderFoil business cards, contact us and ask for samples. To compare foil methods, see our foil stamping guide and spot color guide.
Stocks, coatings, and finishes for packaging

Our boxes print on durable 14-point uncoated or 18-point coated-one-side cardstock. The 14-point comes with a standard finish, while the 18-point coated adds a standard coating, full UV coating, or Spot UV coating on the front only. Heavier coated stock gives packaging a premium hand feel and richer color, and it pairs well with the Spot UV and WonderFoil masks covered above.
One assembly note that saves headaches: glue will not bond to UV coating or to areas covered in ink. If you plan to glue a box yourself or at a bindery, choose the Spot UV coating option and mark NO UV on the tabs that need to bond. For extra reinforcement and branding you can add fully customizable roll labels or die-cut stickers. To go coating-free and greener, read about aqueous coating.
Wally explains packaging file prep
A clean dieline and a 100% black mask are the whole game
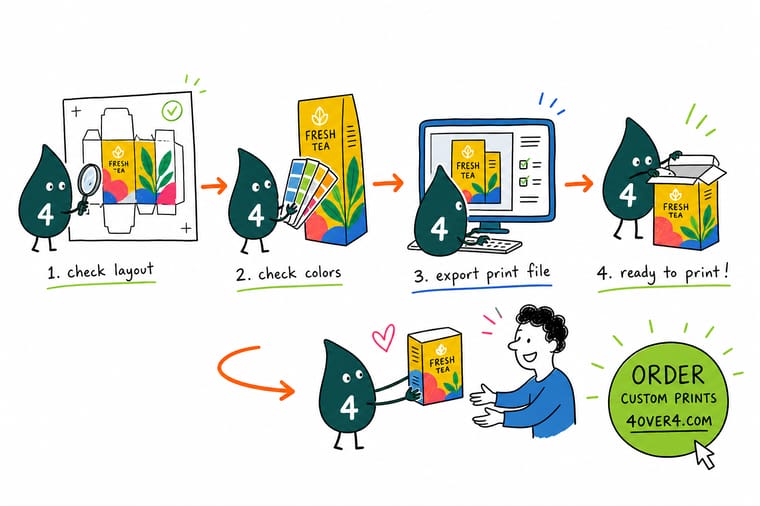
Wally treats a box like a flat map that folds into a shape: line your CMYK artwork up to the template, add 1/8 inch of bleed so no white edge sneaks in, and leave the glue tabs ink-free. For gloss or foil, hand over a separate black-and-white mask, solid black where the effect lands and white everywhere else. Do that and your box prints sharp, folds clean, and looks premium on the shelf.
Shop packaging boxes →%22%2F%3E%3Ccircle%20cx%3D%2243%22%20cy%3D%221%22%20r%3D%2218%22%20fill%3D%22%23f59e0b%22%20opacity%3D%220.15%22%2F%3E%3Ccircle%20cx%3D%2240%22%20cy%3D%2250%22%20r%3D%225%22%20fill%3D%22%23f59e0b%22%20opacity%3D%220.1%22%2F%3E%3Crect%20x%3D%2273%22%20y%3D%22-7%22%20width%3D%2228%22%20height%3D%2210%22%20rx%3D%224%22%20fill%3D%22%23f59e0b%22%20opacity%3D%220.08%22%20transform%3D%22rotate(8%2080%2030)%22%2F%3E%3C%2Fsvg%3E)
Specs and pricing
Custom packaging box specs and pricing
Once your file is ready, here is what a made-to-order box gives you at 4OVER4.COM, with live specs and price-per-unit straight from the configurator. Cube boxes come in a 2.75 or 4 inch cube die and pillow boxes at 3.625 by 1.5 by 7.25 inches, both on 14pt uncoated or 18pt cover gloss one side, printed on the outside, from 50 boxes.
| Quantity | Price Per Unit | Total |
|---|---|---|
| 50 | $4.26 | $213.09 |
| 100 | $2.50 | $250.42 |
| 150 | $1.89 | $283.38 |
| 200 | $1.59 | $317.44 |
| 250 | $1.43 | $356.98 |
| 500 | 76.7¢ | $383.34 |
| 1,000 | 42.7¢ | $427.27 |
| 2,500 | 29.0¢ | $723.84 |
| Quantity | Price Per Unit | Total |
|---|---|---|
| 50 | $5.69 | $284.49 |
| 100 | $3.17 | $317.44 |
| 150 | $2.70 | $405.32 |
| 200 | $2.08 | $416.28 |
| 250 | $2.02 | $504.15 |
| 500 | $1.21 | $603.01 |
| 1,000 | 76.8¢ | $767.77 |
| 2,500 | 48.3¢ | $1,207.12 |
Print it
Order custom packaging at 4OVER4
Cube boxes from $213.09 for 50 in 7 business days, pillow boxes from $284.49 with an edge lock or glued join, and wine boxes at 3.23 by 3.23 by 13.125 inches with a tuck top or a handle.
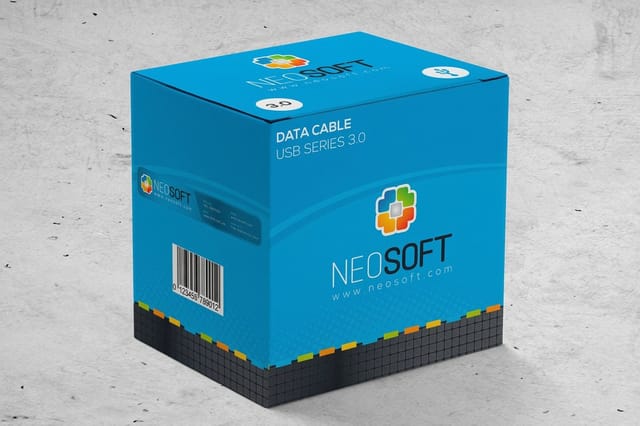
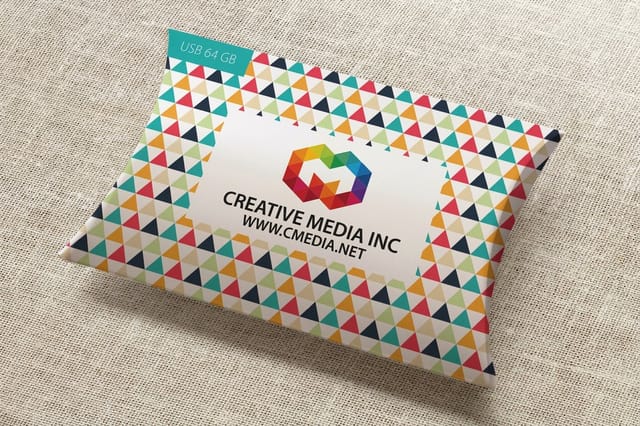
See it in use
Real packaging print, made in-house
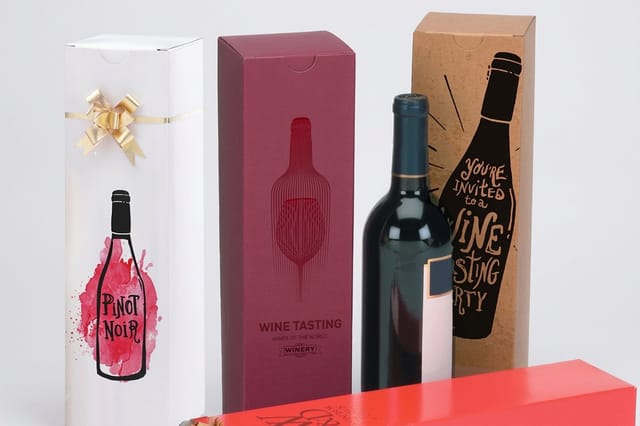
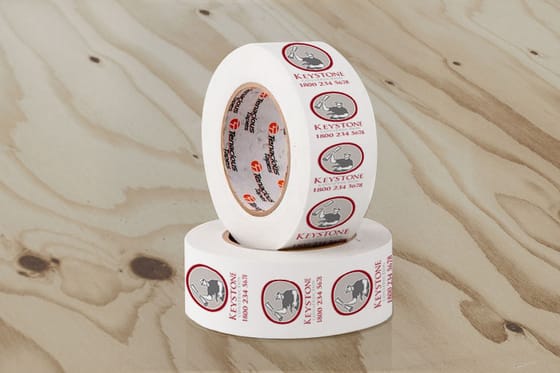
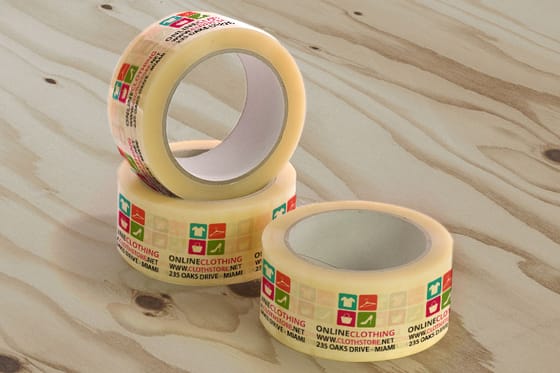
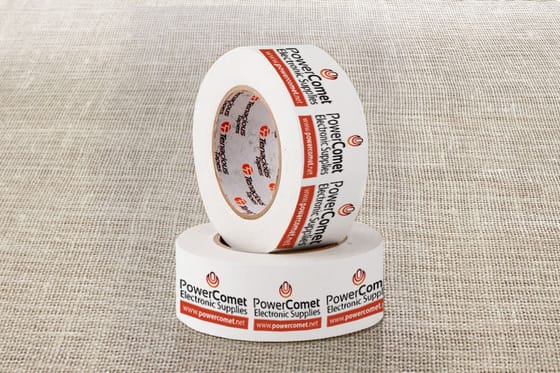
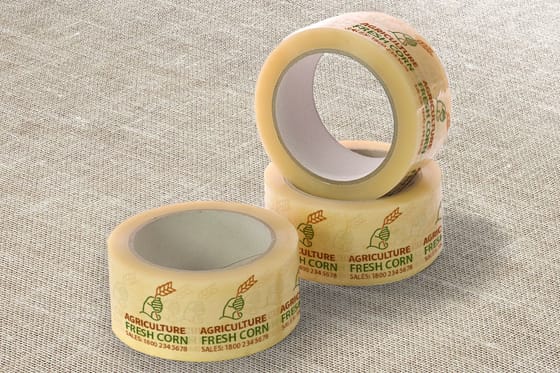
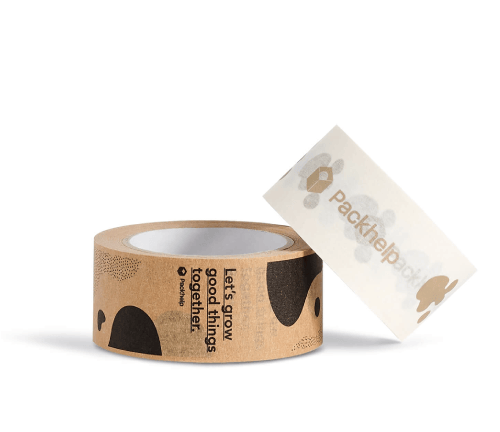
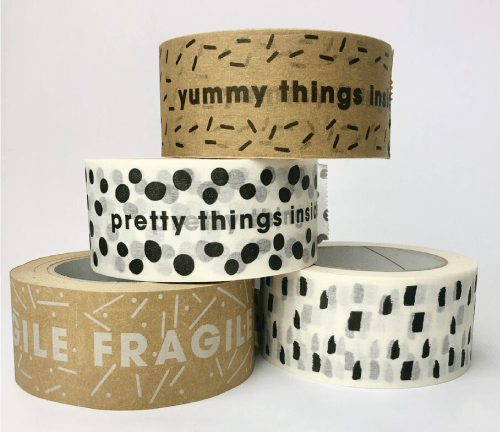
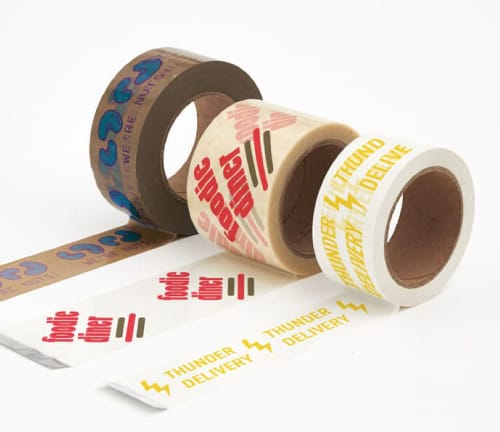
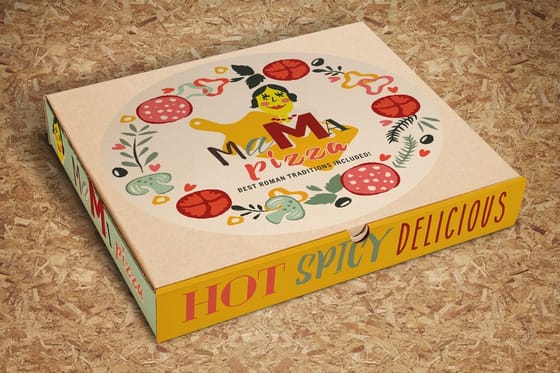
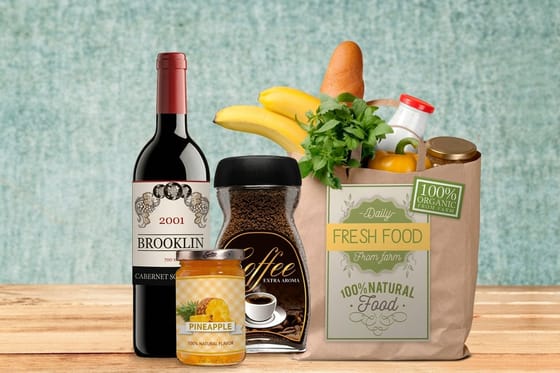
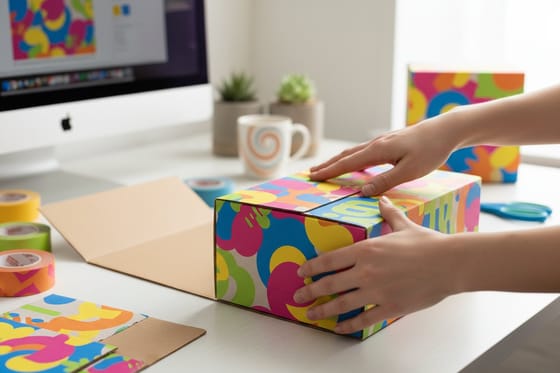
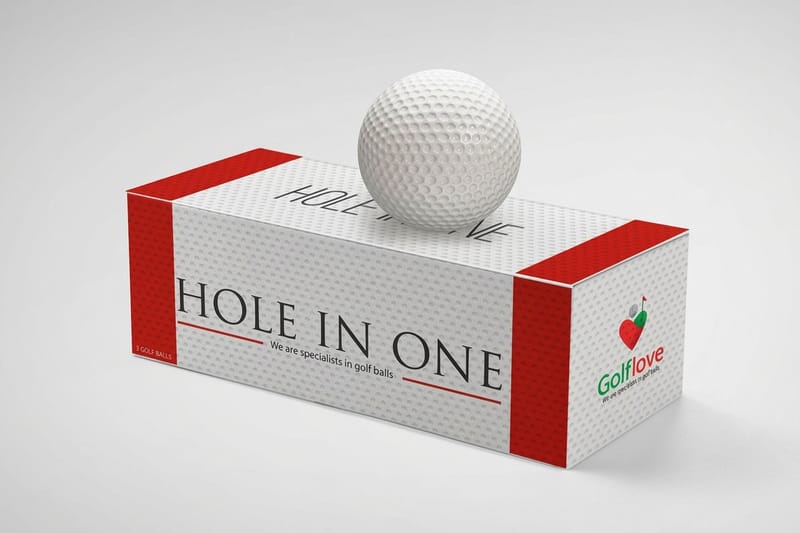
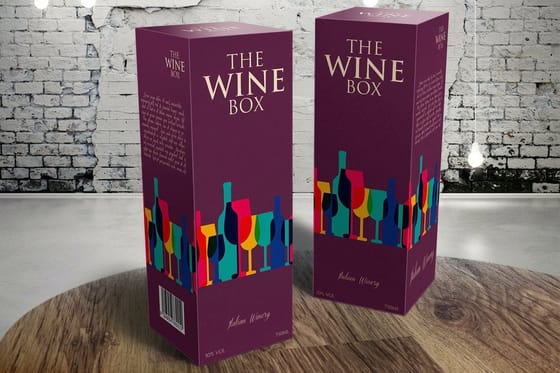
These are customer packaging jobs printed at our Queens facility, so you can see how bleed, folds and finishes land on real boxes before you build your file.

Explore more
Where to go next
Five guides cover checking a packaging proof, product and carton labels, getting custom boxes, Spot UV and bleed. Then come custom box printing, the packaging showcase and printing FAQs.


By the numbers
The die and score side of the shop
Common Questions
Common questions about packaging products
How do I read the dieline on a packaging template?
Every 4OVER4.COM packaging template carries four kinds of line, and each one tells you something different. The solid cut line is where the diecutter trims the flat sheet. The dashed crease or score lines are where the box folds, so nothing you want read in one piece should straddle them. The glue tab and edge-lock tab shapes are the flaps that bond or slot into each other when the box goes up. The outer bleed line sits 1/8 inch beyond the cut on every side, 1/4 inch total, and your background has to reach it. Keep all of that on one layer named Dieline at the top of the file, build your artwork on the layers underneath, and switch the dieline layer off before you export so it never prints as ink. Two things must stay clear: keep logos and body text inside the safe area marked on the template, because a small shift at the folder will clip anything sitting on the cut, and keep the glue tabs free of ink and coating. Glue will not stick to UV coating or to inked areas, so mark NO UV over every tab that has to bond.
What is a dieline and how do I use it?
A dieline is the flat blueprint of the box: one drawing that shows the outline the diecutter cuts, the scores the box folds along, and the tabs that lock or glue together once it goes up. Every 4OVER4.COM packaging template comes with the dieline and fold scores already drawn, so you never have to build one. To use it, open the template for your box style, lock the dieline as the top layer, and build your artwork on the layers below it in CMYK at 300 DPI. Run backgrounds 1/8 inch past the cut on each side, 1/4 inch total, keep text and logos inside the safe area, then switch the dieline layer off and save a print-ready PDF so the guide lines do not print. If you need a shape or size we do not list, read how to get custom boxes or browse custom box printing.
What stocks and coatings are available for packaging products?
Boxes print on durable 14-point uncoated or 18-point coated-one-side cardstock. The 14-point comes with a standard finish, and the 18-point coated is available with a standard coating, full UV coating, or Spot UV coating on the front only.
Are your packaging boxes glued?
It depends on the style. Cube boxes and golf ball boxes use sturdy edge-lock tabs and need no glue. Pillow boxes come with edge-lock tabs, plus a side-glue option at quantities of 250 or more. Roll end tuck top boxes self-tuck. Sales presentation boxes arrive glued on one side with a tuck-and-tongue bottom and an optional velcro dot on the top flap. Wine boxes are glued on one side with double-sided tape at the base to hold a full bottle.
Can your packaging boxes be glued after printing?
Yes. If you glue the box yourself or use a bindery, remember that glue will not stick to UV coating or to inked areas. Choose the Spot UV coating option and mark NO UV wherever a tab needs to bond. For extra reinforcement and branding, our roll labels and die-cut stickers work well too.
What is the bleed for packaging products?
Bleed is 1/8 inch on each side, for 1/4 inch total. Always use the 4OVER4.COM packaging templates, which include the dieline and fold scores, for the full setup details.
Are your packaging boxes suitable for food packaging?
Our packaging is suitable for food only when an intervening layer of FDA-approved food-contact material is used. It is the customer or end user who is responsible for making sure the finished use meets the relevant FDA regulations.
Are your boxes assembled before shipping?
No, assembly is required for every box. They arrive diecut, scored, and packed flat, except for wine boxes and glued pillow boxes, which come with one edge glued, folded in half, and packed. Use the assembly PDF for your box style to fold it up.
Can I ship products in these boxes through USPS?
Because shipped packages get handled roughly and often, our boxes are not recommended for shipping on their own without added protection. For guidance on shipping them successfully, visit your local post office or www.usps.com.
Do you make custom boxes and packaging?
Yes. For a shape or size we do not list, contact us for a custom packaging quote, or read our guide on how to get custom boxes to start.
Get Started
Order 50 cube boxes from $213.09 with the dieline in place
Download the template, drop in your artwork, and we print, score, and pack your boxes flat so they fold up crisp on arrival.
Legal Disclaimer
Gold Standard guarantees apply to all standard orders placed through 4over4.com. Price match requires verifiable proof of a competitor's published price for an equivalent product with matching specifications and turnaround time. Satisfaction guarantee covers manufacturing defects and print quality issues. Contact support with order number and documentation.
