
How to Address a Postcard, Step by Step


Which side does the address go on, where does the stamp sit, and how do you send a whole stack at once? Here is the address side of a postcard, from the top-left corner to the last ZIP digit, so every card you mail arrives fast and lands where you meant it to.
The address goes on the back of the postcard, on the right-hand side. The back is split down the middle: your message goes on the left half, and the right half holds the recipient address in the lower-right, your return address in the top-left corner, and the stamp in the top-right corner. Keep the address as a clean, left-aligned block so postal machines can scan it, and the card moves quickly.
Start here
Addressing a postcard in one paragraph
The recipient address goes on the back of the postcard, on the right-hand side. The back is divided down the middle: your message goes on the left, and the right half carries the return address (top-left corner), the stamp (top-right corner), and the delivery address as a clean block in the lower-right. Write it clearly, keep the two halves separate, and the card sorts fast and arrives where you meant it. The diagram further down maps every zone at a glance.
What side of a postcard does the address go on?
The short answer: on the back, on the right-hand side. A standard postcard has two printed faces. The front is the picture side, where your photo, artwork, or marketing design lives. The back is the correspondence side, and it is split by a vertical line into two halves. Everything to do with delivery (the recipient address, your return address, and the stamp) sits on the right half of that back.
That layout is not a matter of taste, it is how postal sorting works. The post office reads the lower-right portion of the address side with automated equipment, so the address has to land where the machines expect it. Put it anywhere else and the card gets pulled for slower manual handling. If you are ordering cards to mail, our postcards printing already lays the back out this way, with the divide, the address block, and the stamp box in the right places.
The rest of this guide walks the address side from top to bottom, one step at a time. If you only need the mailing rules (stamps, rates, and what the post office will accept), the companion guide on mailing postcards covers those in depth.
Step 1: Start on the address side and split it in two
Flip the card over to the address side and find the line running down the middle. On most printed cards it is a real printed rule. On a plain card you can simply picture it. That line gives the back two jobs. The left half is yours to write on. The right half belongs to the post office and the recipient address.
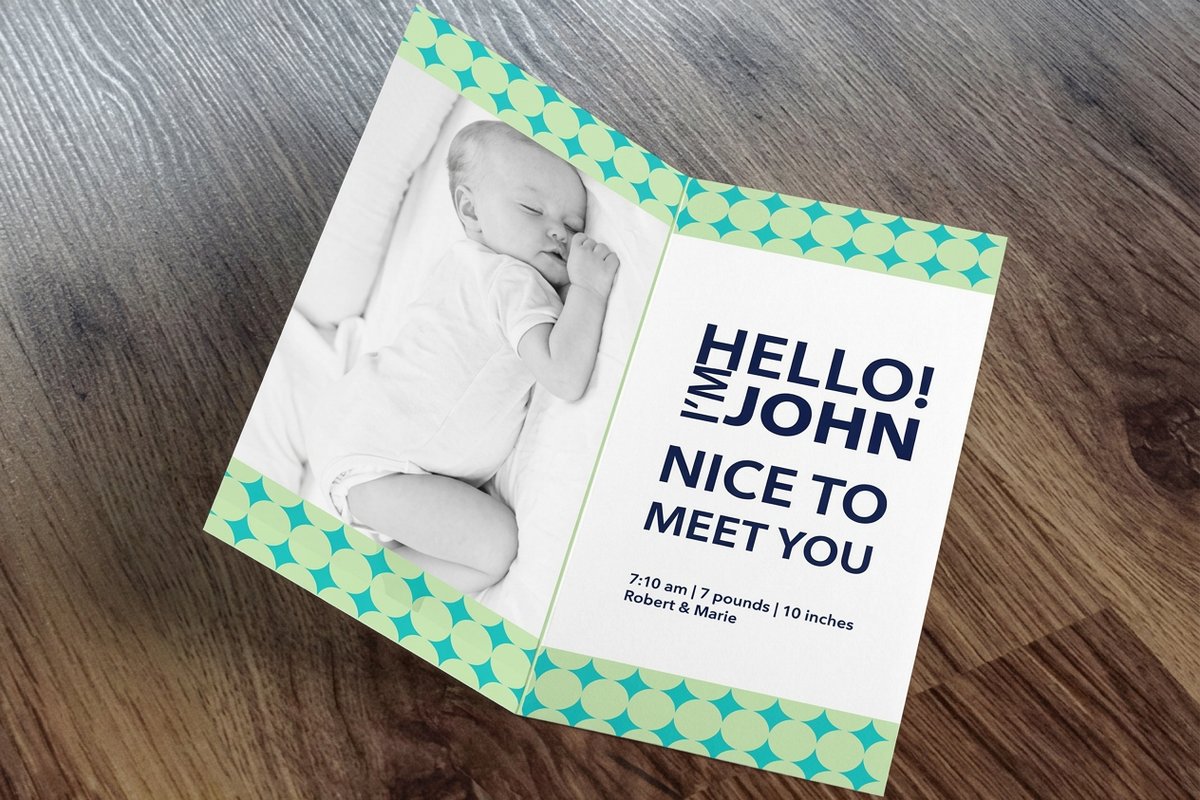
Keep those halves honest. Whatever you write (your note, the date, a quick sketch) stays on the left. The right side stays clear except for the address, the return address up top, and the stamp. Crowding a message into the address side is the quickest way to confuse a sorting machine. If you are printing rather than handwriting, a firm stock helps: a folded postcard or a heavier direct mail postcard stays flat, holds ink cleanly, and feeds through postal equipment without curling.
Not sure the stock you picked will survive a trip through the mail? Order free paper samples before you commit, or start from our postcards printing page, where every stock is already rated for mailing. And for a full run headed to a list, 4OVER4's direct mail service prints, addresses, and prepares the cards for you, which we come back to further down.
Step 2: Write the recipient address on the right
This is the part the post office actually reads, so it earns the most care. Write the recipient address as a clean, left-aligned block in the lower-right area of the back. Use three or four lines: the recipient name on the first line, the street address or PO box on the second, and the city, state, and ZIP code on the last. Adding the full ZIP+4 helps the card sort a step faster.
Legibility beats style here. Sorting machines read plain, evenly spaced characters far better than tight cursive or a decorative font, and they do not need commas or periods to do their job. If your handwriting is a gamble, printed address labels give you a crisp, scannable block every time, and they are the same kind of labels our mailing team applies on bulk runs. Leave a clear margin around the block so nothing runs off the edge.
Mailing something more formal, like an invitation set? The etiquette is different, with titles and inner envelopes to think about, and our guide on addressing wedding invitations covers that side. For an international card, add the destination country on its own final line in capital letters.
Step 3: Add your return address up top
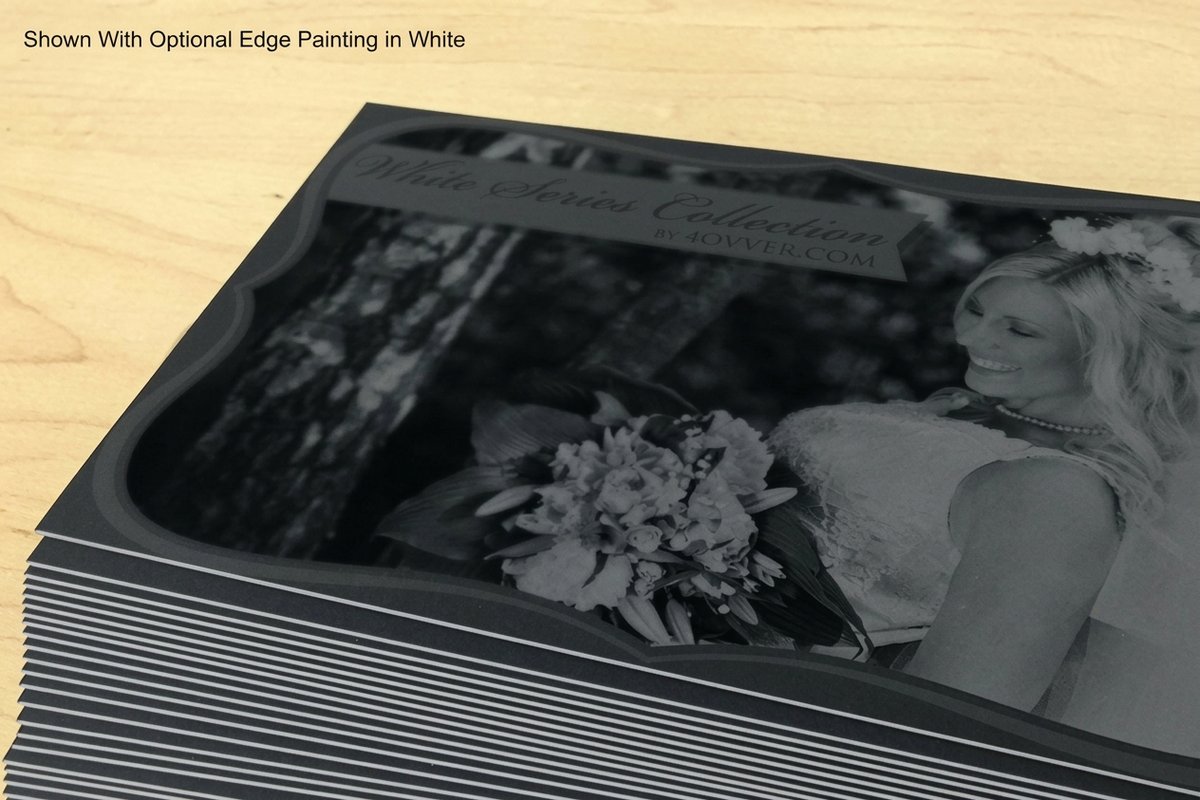
Your return address goes in the top-left corner of the address side. It is what lets the post office send the card back to you if it cannot be delivered, and it quietly tells the recipient who the card is from before they even turn it over. On a personal postcard it is optional. On anything you mail for a business it is close to essential.
Keep it small and out of the way. Two or three short lines in the upper-left corner is plenty, and it should never spill toward the middle where the recipient address needs room. If you are printing a marketing card, the smart move is to build the return address straight into the design so it prints in place every time instead of being written by hand.
Deciding where and how to print a run of cards with your details baked in? Our guide on where to print postcards weighs the options, and the how to make postcards walkthrough covers building the layout from front to back.
Step 4: Write your message and date on the left
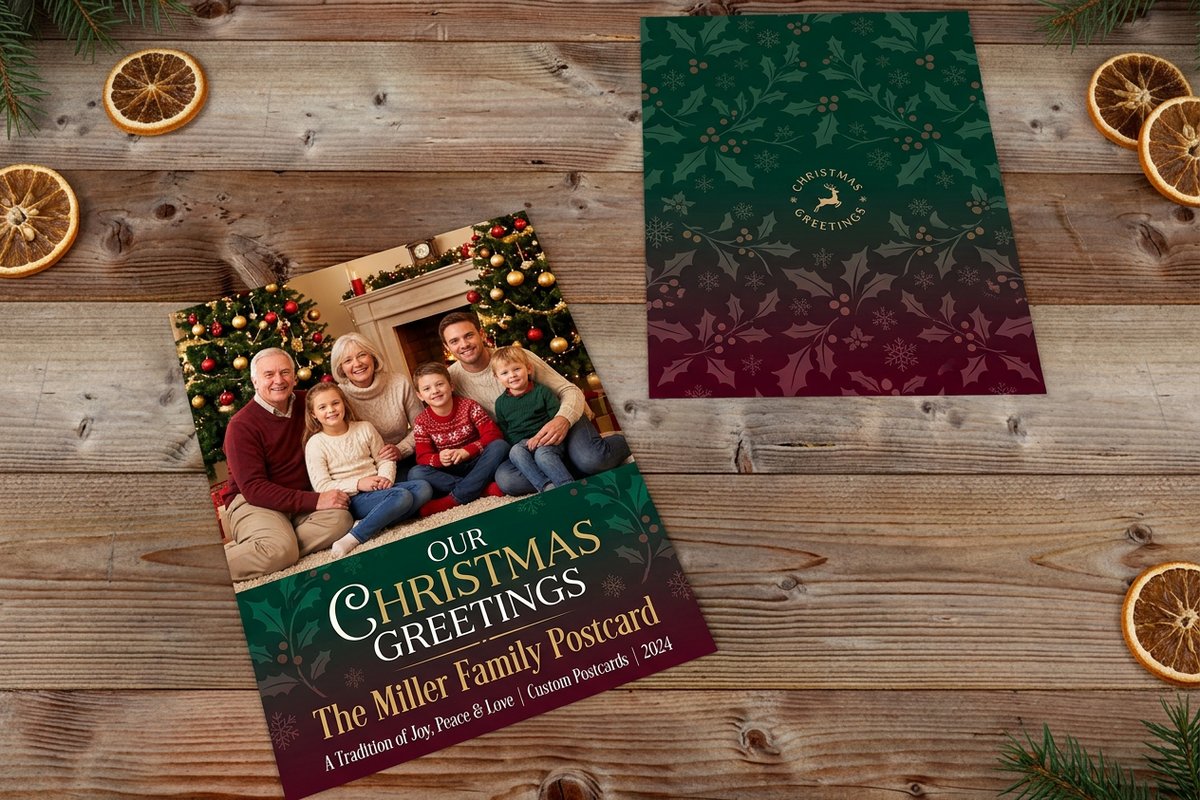
Now the fun half. The left side of the back is your open space for a note. Many people start with the date in the top-left of that message area, then write below it. Postcards are short by design, so a few warm lines usually beat a wall of text, and there is no envelope, which means anyone who handles the card can read it. Save anything private for a sealed letter.
Stay inside the left half. When your writing drifts across the center line it lands in the address zone and can trip up the sorting equipment. If you run out of room, tighten the message rather than spilling over. On a printed marketing card the left side is where your headline, offer, and details live, so treat that space with the same care you would give the front.
Want the card to do more than sit on a fridge? A QR code turns that quiet left half into a link to your site, a booking page, or a promotion, and it is one of the easiest ways to make a printed card measurable.
Step 5: Sign off so the card feels like yours
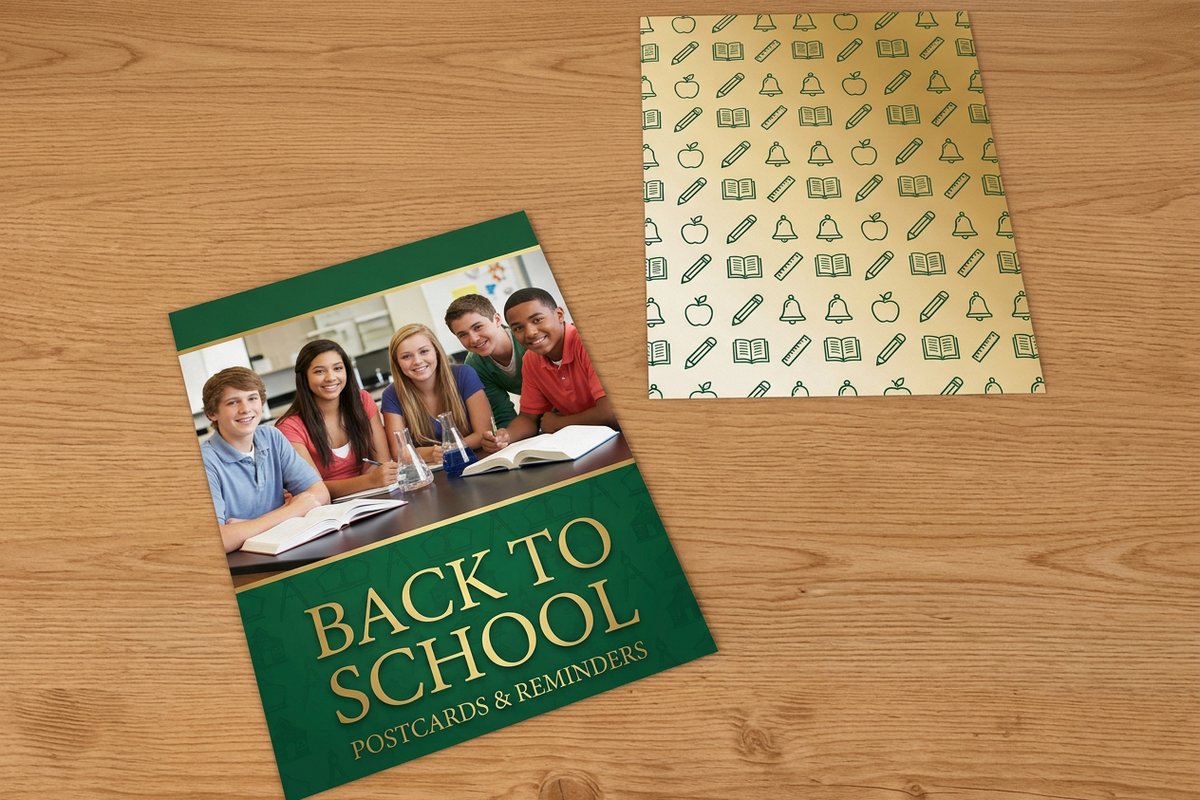
Close the message with a sign-off and your name. It sounds small, but it is what turns a note into something personal. For friends and family a simple closing and your first name does the job. For a card that is part of a mailing, a signature line, a business name, or a short tagline gives the piece a human ending instead of trailing off mid-thought.
Fit the sign-off to the reader. A travel postcard can be playful. A thank-you card to a customer wants to sound sincere and specific. Either way, keep it on the left side with the rest of the message so the address zone stays clean.
If a postcard is not quite the right size for everything you want to say, it may be worth comparing formats before you print. Our look at postcards versus greeting cards lays out when a folded card earns the extra space, and when a single postcard is exactly enough.
Step 6: Add postage in the top-right corner
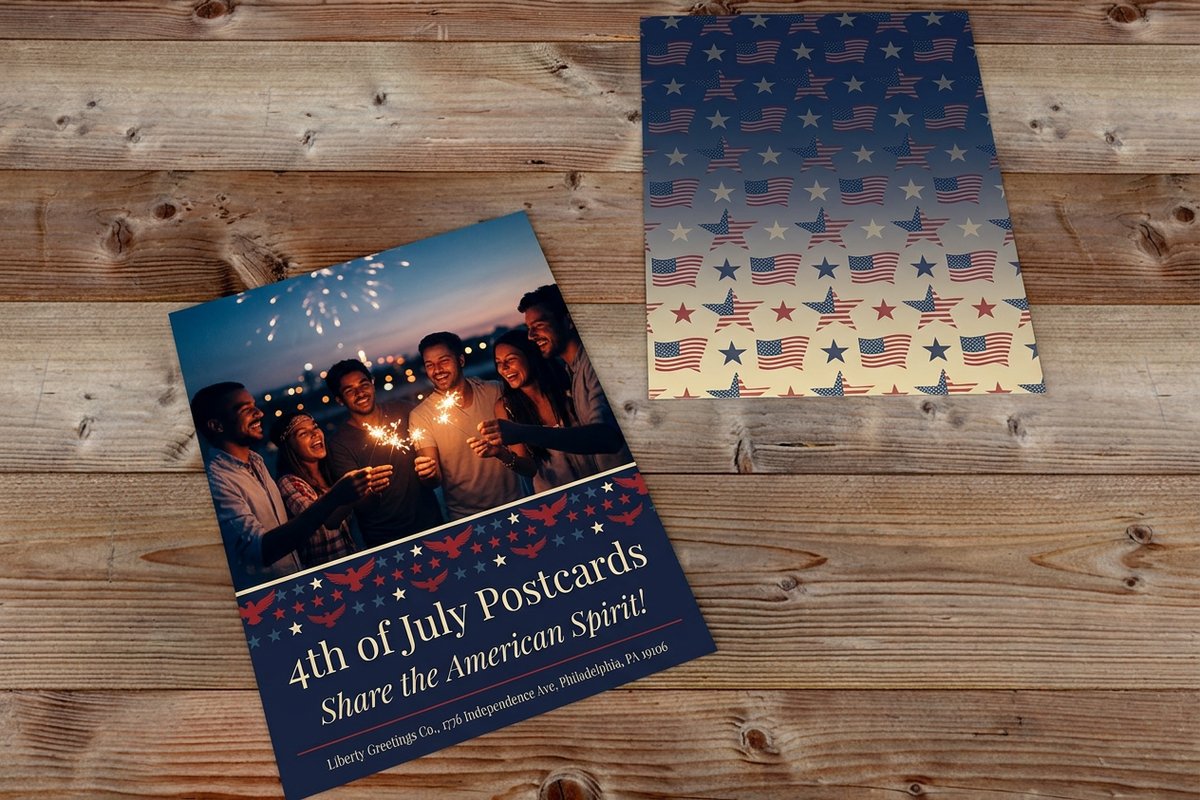
The last step is postage, and it goes in the top-right corner of the address side, above the recipient address. Postcards mail at the reduced postcard rate, which is cheaper than a standard letter, so reach for a postcard stamp or a Forever stamp and check the current USPS postcard price before you drop it in the box. One stamp, one corner, done.
Two things to watch. First, the card has to meet the post office size limits to qualify for the postcard rate. An oversized card mails at letter prices instead. Second, keep the stamp corner clean so the cancellation mark has somewhere to land. Our guide on stamps, addresses, and mailing rules spells out the sizes and rates in full.
Mailing a stack rather than a single card? You do not have to lick a single stamp. A printed indicia or permit imprint replaces individual postage on bulk runs, which is exactly how the direct mail approach in the next section works.
Addressing postcards in bulk without the hand cramp

Hand-addressing is fine for a birthday card. It falls apart at a hundred. When you are sending a real campaign, you supply a mailing list and the addresses are printed straight onto each card with variable data, so every piece comes out unique, aligned, and machine-ready. No handwriting, no labels, no second-guessing whether the ZIP is legible.
This is the engine behind direct mail. At 4OVER4.COM a run of direct mail postcards can be printed, addressed, and prepared for the post office in one pass, and you can browse the full lineup on the postcards printing page. If you would rather reach a whole neighborhood without buying a list at all, Every Door Direct Mail routes cards by postal route instead of by name.
New to running a mailing end to end? Our five quick steps to send direct mail postcards takes you from artwork to mailbox, and it pairs naturally with everything you just read about where each element belongs on the card.
Common addressing mistakes that delay delivery

Most delayed postcards come down to the same handful of slips. The biggest one is putting the address on the wrong side or the wrong half, so it lands where the scanner is not looking. Close behind is a missing or wrong ZIP code, which forces the card into manual sorting. Both are easy to avoid once you know the address belongs in the lower-right of the back.
The rest are about legibility and space. Writing too close to the edges, using a decorative or heavily slanted font, printing pale ink on a busy background, or letting your message cross into the address zone all make the card harder to read, by a person and by a machine. Skipping the return address is another quiet mistake, because a card that cannot be delivered then has nowhere to go.
The fix for nearly all of them is the same: a clean, high-contrast, left-aligned block on the right side, a clear stamp corner, and a return address up top. If you are printing at volume, letting the addresses print by variable data removes the human error entirely.
What it costs to print and mail postcards

Once you know where everything goes, printing is where the choices become real, and the price is easy to reason about. It scales with a few simple levers: quantity (more cards lower the unit price), size, paper stock, and finish. A run of direct mail postcards starts around $19, and the per-card price drops as the quantity climbs, with the number updating live in the configurator as you adjust each option.
Stock and finish change both the feel and the read of the card. You can choose everyday cardstock or a heavier premium sheet, matte or high gloss, and specialty routes like folded, die-cut, or laminated when you want the card to stand out in a stack of mail. To compare exact combinations, use the specs and pricing panel below, or order free paper samples first so the stock is in your hand before you decide.
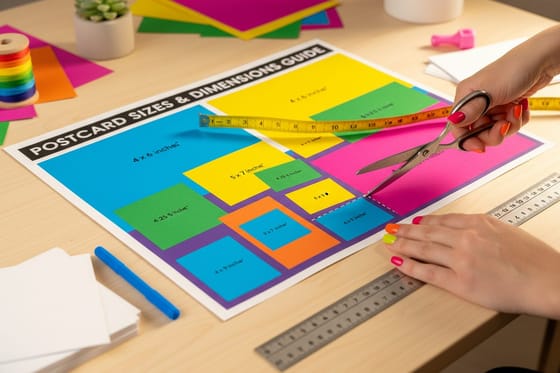
Postage is the other half of the total. Postcards ship at the discounted postcard rate when they meet the size limits, so choosing a standard mailing size keeps your per-piece cost down. Our guide on postcard sizes and dimensions shows which sizes qualify before you commit a whole run.
Diagram
The address side of a postcard, mapped
One frame, four zones. Print the recipient address in the lower-right, the return address top-left, and the stamp top-right, and keep your message on the left half.
The four zones never overlap. Message on the left. Return address, stamp, and delivery address share the right side, each in its own corner so a person and a sorting machine can both read the card at a glance.
Specs and pricing
Direct mail postcard specs and live pricing
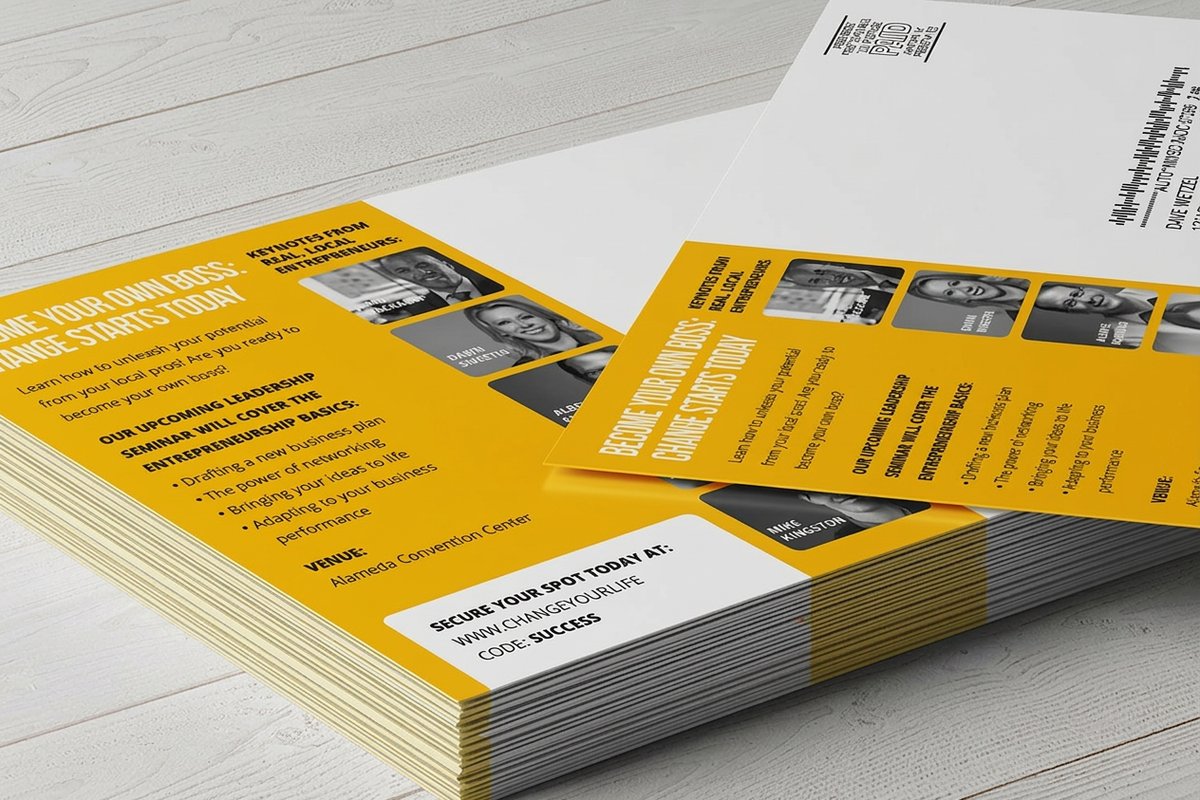
When the design is ready, the printing decisions come down to size, stock, and finish. Here are the live specs and price-per-unit for direct mail postcards at 4OVER4.COM, straight from the configurator.
| Quantity | Price Per Unit | Total |
|---|---|---|
| 500 | 17.9¢ | $89.68 |
| 1,000 | 17.1¢ | $170.53 |
| 2,000 | 9.35¢ | $186.95 |
| 3,000 | 6.84¢ | $205.13 |
| 4,000 | 5.58¢ | $223.31 |
| 5,000 | 4.83¢ | $241.51 |
| 6,000 | 4.56¢ | $273.85 |
| 7,000 | 4.37¢ | $306.18 |
Print it
Postcards, ready to address and mail
Wally explains addressing
Right side for the address, left side for the note
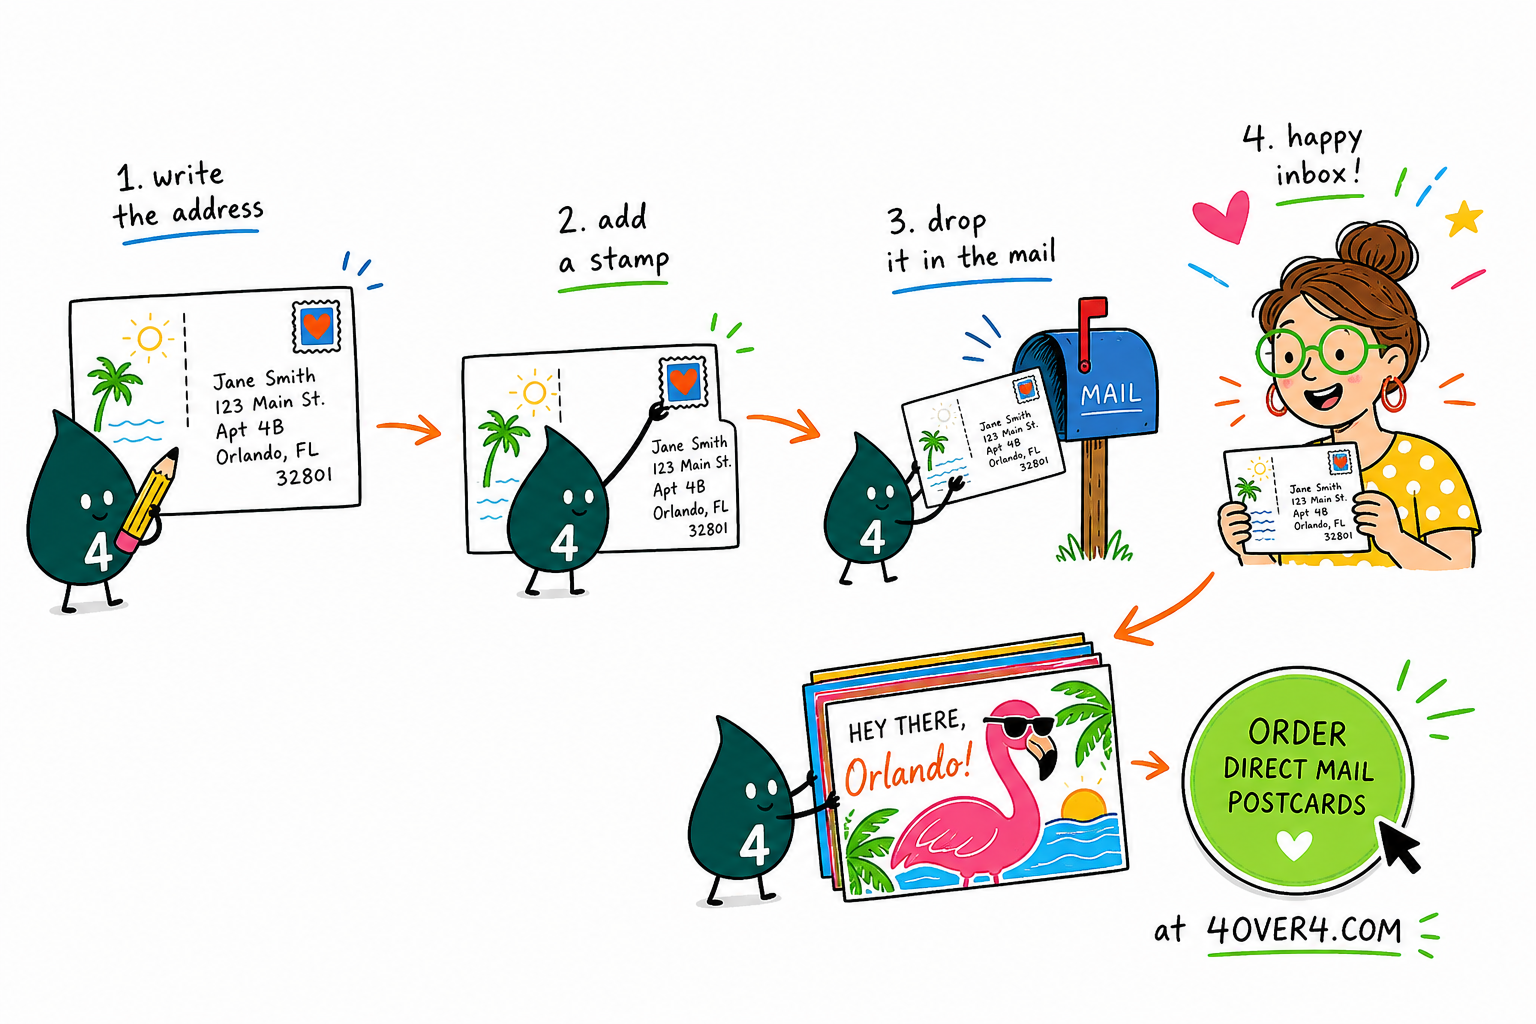
Wally keeps it simple: flip the card over, and the back does two jobs. The left half is for your message. The right half is for the recipient address in the lower-right, your return address top-left, and the stamp top-right. Write the address in a clean, straight block so the sorting machines can read it, and the card moves fast. Get the layout right, then let 4OVER4 print, address, and mail the whole run for you.
Design and print postcards →See it in use
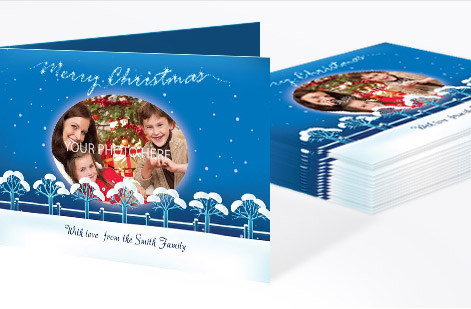
Real postcards, printed in-house






Explore more
Where to go next

By the numbers
Printing and mailing you can count on at 4OVER4
Common Questions
Common questions about addressing postcards
What side of a postcard does the address go on?
The address goes on the back of the postcard, on the right-hand side. A standard postcard has two printed faces: the front is the picture or design side, and the back is divided by a vertical line into two halves. The left half is for your written message. The right half holds the recipient address, your return address, and the stamp. Post office equipment scans the lower-right area of that back side, so the delivery address has to sit there to move quickly.
How do you address a postcard correctly?
Write the recipient address as a clean, left-aligned block in the lower-right area of the back. Use three or four lines: the recipient name on top, the street address or PO box on the next line, and the city, state, and ZIP code on the last line. Keep it inside the right half, away from the edges, and print or write clearly so the address is easy to scan. Add your return address in the top-left corner and the stamp in the top-right corner.
Do you need a return address on a postcard?
It is not strictly required for a personal postcard, but it is strongly recommended and often expected on anything you mail for business. The return address is what lets the post office send a card back to you if it cannot be delivered, and it tells the recipient who the card is from before they even flip it over. On marketing postcards the return address is usually built right into the printed design.
Where does the stamp go on a postcard?
The stamp goes in the top-right corner of the address side, the same back face that carries the delivery address. Postcards mail at the reduced postcard rate, which is cheaper than a standard letter, so use a postcard stamp or check the current USPS postcard price before you send. For a large mailing you can skip individual stamps and use a printed indicia or permit imprint instead.
Can you address postcards in bulk for a mailing?
Yes. Instead of hand-addressing each card, you supply a mailing list and the addresses are printed directly onto the cards using variable data, so every piece is unique and machine-ready. This is how direct mail campaigns and EDDM (Every Door Direct Mail) work. At 4OVER4.COM you can have postcards printed, addressed, and prepared for mailing in a single run, which is far faster and more accurate than doing it by hand.
What information goes on the address side of a postcard?
Four things share the back of a postcard: your written message on the left half, and on the right half the return address (top-left), the postage stamp (top-right), and the recipient delivery address (center to lower-right). Keeping each of those in its own zone is what makes the card both readable to a person and scannable to a sorting machine.
What sizes and stocks are available for postcards?
Postcards come in a range of standard mailing sizes and on stocks from lighter cardstock to heavy premium sheets, with coatings from matte to high gloss and specialty options like folded, die-cut, or laminated. Each choice changes how the card feels and how it prints. Use the specs and pricing panel on this page to see live combinations, or order free paper samples first so you can feel the stock before you commit.
Get Started
Ready to print and mail your postcards?
Bring your design to 4OVER4.COM, print it on the size, stock, and finish you want, and let us address and mail the whole run. Adjust every option and watch your price update live.
Legal Disclaimer
Gold Standard guarantees apply to all standard orders placed through 4over4.com. Price match requires verifiable proof of a competitor's published price for an equivalent product with matching specifications and turnaround time. Satisfaction guarantee covers manufacturing defects and print quality issues. Contact support with order number and documentation. On-time delivery rate based on tracked orders 1999 to 2026. Individual results may vary based on shipping carrier performance.
