
How to Address a Package for E-Commerce


Recipient in the center, return address top-left, postage top-right. Get those three zones right and your parcel scans in one pass, whether it is a padded mailer or a corrugated box. Here is exactly where each line goes, on every kind of package.
To address a package, write the recipient's full name and delivery address in the center of the largest flat face, your return address in the top-left corner, and postage or the carrier shipping label in the top-right. Keep the recipient block the largest and most legible, print in dark ink on a light background, and leave clear space around the barcode. The same layout works on a bubble mailer and a box, so the carrier never has to guess.
Start here
Addressing a package in one paragraph
To address a package, place the recipient's delivery address in the center of the largest flat face, your return address in the top-left corner, and postage or the carrier label in the top-right. Keep the recipient block the largest and cleanest, print in dark ink on a light background, and leave the barcode room to scan. The layout is identical on a bubble mailer and a box, and the diagram further down maps all three zones at a glance.
Why a correctly addressed package is the cheapest insurance in shipping
Most e-commerce problems do not start in the warehouse. They start on the outside of the box, in the half second a sorting machine or a driver spends reading the label. Get the address right and the parcel flows through the network untouched. Get it wrong and it stalls, gets returned, or lands on the wrong doorstep, and every one of those outcomes costs you a refund, a replacement, and a review.
Addressing a package well takes seconds, needs no special equipment, and is entirely under your control. This guide walks through exactly where each piece of the address goes, how the format shifts between a padded mailer and a corrugated box, and what carriers actually require before they will scan and move your shipment.
If you are still building out your operation, read it alongside our step-by-step on how to label a package for shipping and the broader playbook on how to start an e-commerce business.
What does it mean to address a package correctly?
Addressing a package means placing three pieces of information on the largest, flattest face of the parcel: the recipient's delivery address, your return address, and the postage or carrier shipping label. Each has a home. The recipient goes in the center and reads largest, the return address sits in the top-left corner, and postage or the prepaid label goes in the top-right.
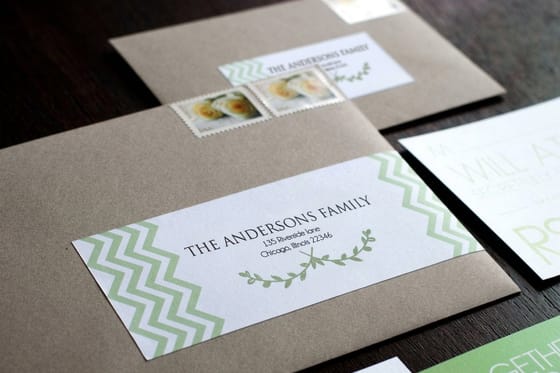
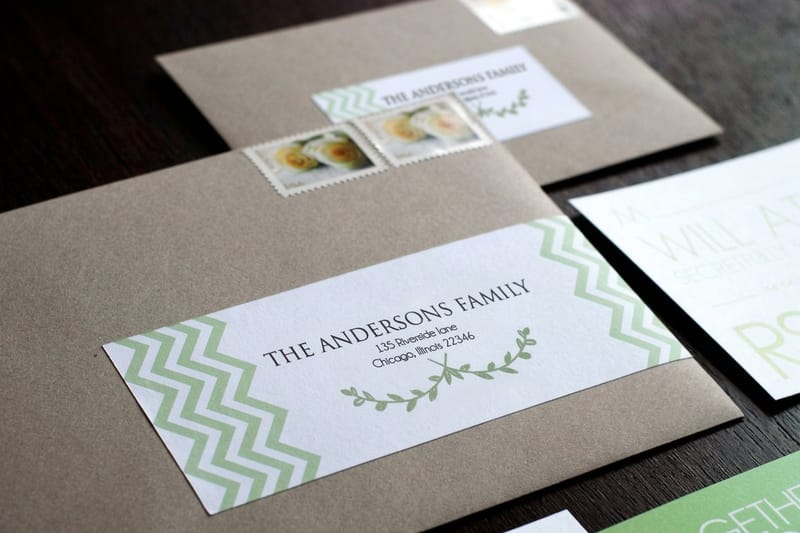
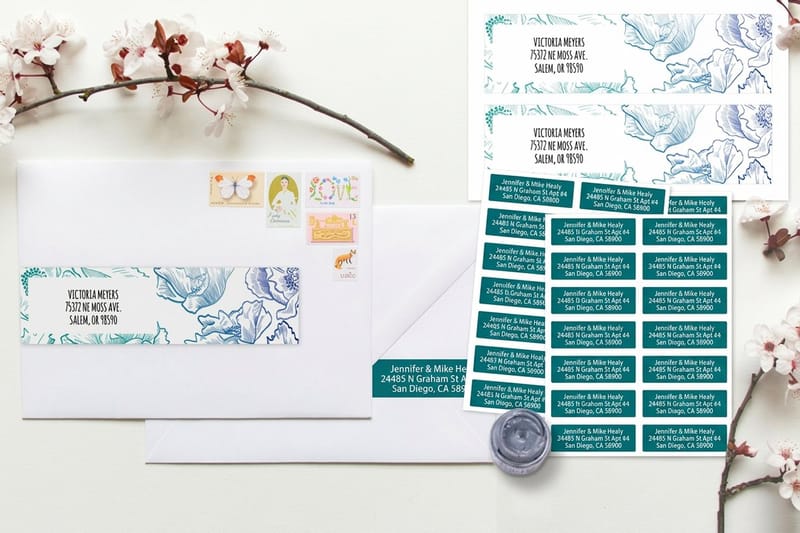
Carriers read the recipient block first, so it has to be clean, complete, and high-contrast. Handwriting works in a pinch, but for any real volume, printed premium address labels or custom address labels scan faster and misread far less than ink on tape. If you want the label to look like part of the brand rather than an afterthought, our online design service lets you set the type, logo, and margins before you print.
The same three-zone rule holds whether you ship a single order or a thousand. What changes is how you produce the labels, which is where sheet and roll formats start to matter, covered further down.
Step 1: Put the recipient address in the center
The recipient address is the only block the carrier truly needs, so give it the most room and the cleanest type. Center it on the largest face and stack it in the standard order: full name or business name on the first line, street number and street on the second, apartment or suite on its own line if there is one, then city, state, and ZIP together, and the country last for international shipments.
Keep it left-aligned, use a plain sans-serif at a legible size, and leave clear space around the block so nothing crowds it. Skip decorative fonts, script, and all-caps cursive that machines struggle to read. Double-check the ZIP or postal code against the city, because a single wrong digit is the most common reason a package gets misrouted.
Addressing a parcel follows the same logic as addressing flat mail. If you also send cards and postcards, our guides on how to address a postcard step by step and addressing a postcard for error-free delivery apply the exact same rules on a smaller canvas.
Step 2: Add your return address in the top-left
Your return address goes in the top-left corner of the same face, printed smaller than the recipient block so there is never any confusion about which one is the destination. It carries the sender's name or business name, street, and city, state, and ZIP, in the same stacked order as the delivery address.
For e-commerce this is not optional. The return address is how a carrier gets an undeliverable parcel back to you instead of sending it to a dead-mail facility, and it is the address a customer reads first when they decide whether a package looks legitimate. A branded return address label handles this in one peel-and-stick step and keeps every outgoing box consistent.
Because the return block never changes, it is a natural fit for pre-printing on a roll or sheet, while the recipient block updates per order. That split is what turns addressing into a fast, repeatable system.
How to address a bubble mailer
A bubble mailer follows the same three-zone format as a box, with one adjustment: the padded surface is soft and slightly uneven, so a printed address label sticks and scans far better than pen ink, which skips and smears on the plastic-lined ones. Place the recipient address across the center of the flat front, your return address in the top-left, and postage or the carrier label in the top-right.
The most common bubble mailer mistake is addressing the sealed flap instead of the flat front, or writing over the seam where the label lifts at the edges. Choose the largest smooth panel, press the label down fully, and keep it clear of the closure strip. That is the whole bubble mailer address format: the same zones as a box, on the flattest face you can find.
For light, non-fragile items a mailer saves both weight and postage, which is why so many apparel and accessory sellers reach for them first.
How to correctly address a box package
On a corrugated box, always address the largest flat face, never a seam, a flap, or the taped edge where a scanner can miss it. Lay the three zones out the same way: recipient centered and largest, return address top-left, postage or shipping label top-right. If you reuse a box that carried a previous shipment, remove or fully cover every old label and barcode so the carrier's scanner cannot read stale routing data.
Press printed labels down flat with no wrinkles or bubbles, and if you expect the box to face rain or rough handling, cover paper labels with clear shipping tape or choose a water-resistant stock. Keep at least a finger-width of clear space around the barcode so the machine reads it in one pass. For a full pre-ship checklist, pair this with our guide on how to label a package for shipping.
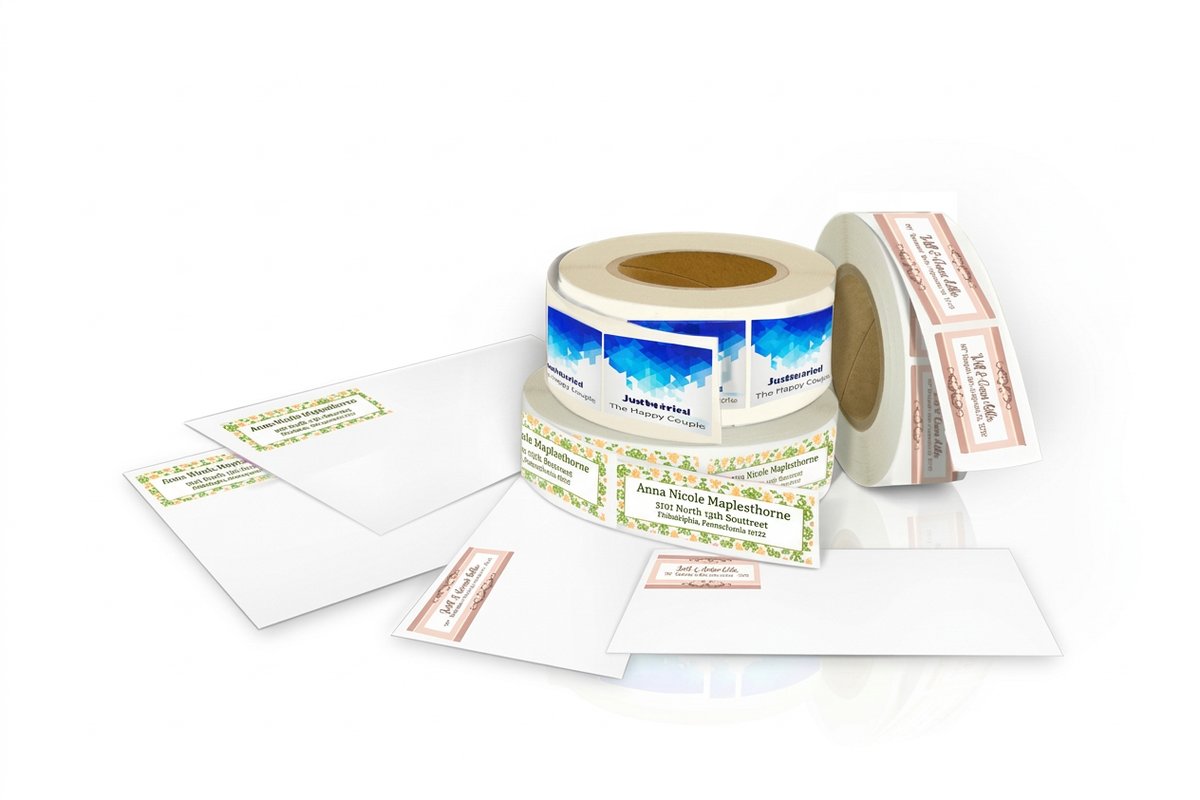
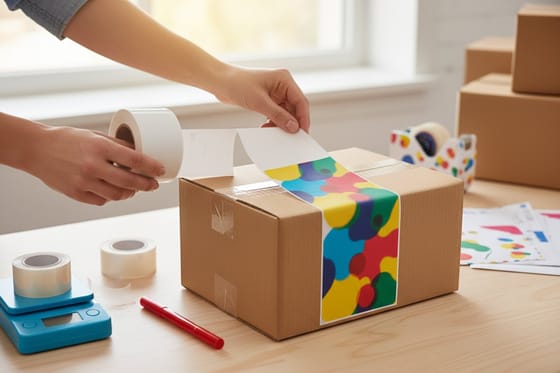
When you ship boxes at volume, a roll of pre-printed roll address labels keeps every parcel consistent and cuts the per-box handling time.
Other requirements for the written or printed address
Beyond placement, carriers care about a handful of details that decide whether your label scans cleanly. Print in dark ink on a light background for strong contrast, keep the type large enough to read at arm's length, and use a plain, upright typeface rather than script or condensed novelty fonts. Align the whole block in one direction so it reads straight, not at an angle.
Spell out or correctly abbreviate the state, include the full ZIP or postal code, and add the country on any international shipment. Leave the area around the barcode clean, avoid placing the label across a fold or seam, and never let tape run over the barcode itself, since glare from tape can block the scan. If a package needs care, add a clear handling mark such as FRAGILE near, not on top of, the address.
Not sure a term on a shipping form means what you think it does? Our printing terms glossary defines the label, stock, and finish language in plain English, and you can request free paper samples to feel a label stock before you commit to a run.
Wally maps out a package address
Three zones, and the carrier never has to guess
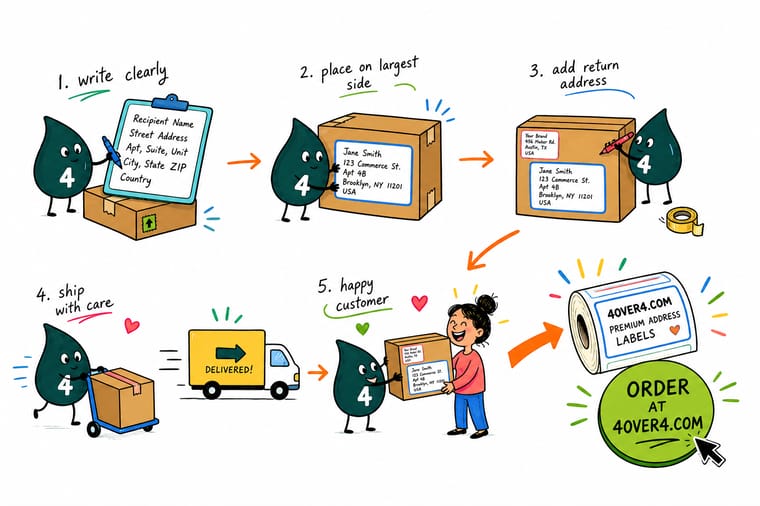
Wally treats every parcel like a tiny grid: return address in the top-left, recipient dead center and largest, postage in the top-right. Keep that block clean and high-contrast and the scanner reads it in one pass, whether it is a padded mailer or a corrugated box. Lay it out once, print it on a label built for shipping, and every order looks the same on the way out the door.
Print address labels →Diagram
The three zones of a package address
One face, three zones. Return address top-left, recipient centered and largest, postage top-right. Use it as a quick reference the next time you pack an order.
Keep the recipient block the largest and highest-contrast element, the return address smaller in the top-left, and the barcode clear of tape and seams so it scans in a single pass.
Specs and pricing
Address label specs and live pricing
Once the layout is set, the printing decisions come down to size, stock, and quantity. Here are the live specs and price-per-label for premium address labels at 4OVER4.COM, straight from the configurator.
| Quantity | Price Per Unit | Total |
|---|---|---|
| 1 | $29.16 | $29.16 |
Print it
Print your address labels at 4OVER4
Explore more
Where to go next


By the numbers
Printing you can count on at 4OVER4
Common Questions
Common questions about addressing a package
What is the correct way to address a package?
Place three things on the largest flat face of the parcel. Put the recipient address in the center and make it the largest, most legible block. Put your return address in the top-left corner, printed smaller. Put postage or the carrier shipping label in the top-right. Keep everything left-aligned in a plain, upright typeface with strong dark-on-light contrast, and leave clear space around the barcode.
Where do you write the address on a bubble mailer?
Use the largest smooth panel on the flat front, not the sealed flap and not over the seam. Center the recipient address, add your return address in the top-left, and place postage or the label in the top-right. Because padded mailers are soft and slightly uneven, a printed address label sticks and scans far better than pen ink, which tends to skip and smear.
How do you correctly address a box package?
Address the largest flat face, never a seam, flap, or taped edge. Recipient centered and largest, return address top-left, postage or label top-right. If you reuse a box, remove or fully cover every old label and barcode so the scanner cannot read stale routing. Press labels down flat with no wrinkles, and keep a finger-width of clear space around the barcode.
Do I need a return address on an e-commerce package?
Yes. The return address is how a carrier gets an undeliverable parcel back to you rather than routing it to dead mail, and it is the first thing a customer reads when they judge whether a package looks trustworthy. A pre-printed return address label keeps every outgoing box consistent and saves a step per order.
What are the other requirements for the written or printed address?
Print in dark ink on a light background, keep the type large enough to read at arm's length, and use a plain, upright font rather than script or condensed novelty faces. Align the block straight, spell out or correctly abbreviate the state, include the full ZIP or postal code, and add the country on international shipments. Never run tape across the barcode, and place any handling mark like FRAGILE near the address, not on top of it.
Should I handwrite or print address labels?
Handwriting is fine for the occasional package, but printed labels win for anything with real volume. They scan faster, misread far less often, and give every order a clean, branded look. Sheet labels suit lower volumes, while roll labels feed a label printer for high-volume shipping. You can lay out the type and logo first with our online design service, then print.
How much do address labels cost and how is the price set?
Price scales with quantity, size, stock, and finish, and the per-label cost drops as the quantity climbs. Standard address labels start around $23.88 and premium address labels around $29.16, while roll address labels for high-volume shipping start around $322.98. Set each option in the configurator and the total updates live as you go.
How do you address a package to send?
Choose the largest flat face of the package and fill three zones on it. Center the recipient address and print it largest: full name or business name, street number and street, apartment or suite on its own line, then city, state, and ZIP on one line, with the country added only on international shipments. Put your return address in the top-left in smaller type, and leave the top-right for postage, stamps, or the prepaid carrier label. Use dark ink on a light background, a plain upright font, and a block squared up with the edge of the package rather than tilted, and keep the address off seams, flaps, and taped edges.
Which corner does the return address go in?
The top-left corner of the same face that carries the delivery address, printed smaller than the recipient block so there is never any confusion about which address is the destination. It lists the sender name or business name, street, then city, state, and ZIP in the same stacked order as the delivery address. Because the return block never changes from order to order, it is the one part worth pre-printing on a sheet or a roll, leaving only the recipient block to update per shipment.
Get Started
Ready to print clean, scannable address labels?
Bring your return and recipient details to 4OVER4.COM and print them on sheet or roll labels built for shipping. Pick the size and stock, and watch your price update live as you set the quantity.
Legal Disclaimer
Gold Standard guarantees apply to all standard orders placed through 4over4.com. Price match requires verifiable proof of a competitor's published price for an equivalent product with matching specifications and turnaround time. Satisfaction guarantee covers manufacturing defects and print quality issues. Contact support with order number and documentation. On-time delivery rate based on tracked orders 1999 to 2026. Individual results may vary based on shipping carrier performance.
