
How to Label a Package for Shipping, Step by Step


Jordan is our labels, packaging and sustainability voice, built from the knowledge of our production team, with over 20 years in printing.
Prepare the box, seal the seams, print a scannable label, apply it flat on the largest side, and add customs paperwork for anything crossing a border. Here is the routine that gets packages where they are going without a detour, and the printed labels, sheet, roll or custom, to order for it.
To label a package for shipping, work in five steps:
- Pack and cushion a sturdy box.
- Seal every seam with packing tape.
- Print the shipping label at full size.
- Apply it flat on the largest face, clear of seams and tape.
- Cover old barcodes so one live label remains, and add a customs declaration pouch for international parcels.

Quick tips
Quick tips for labeling a package for shipping
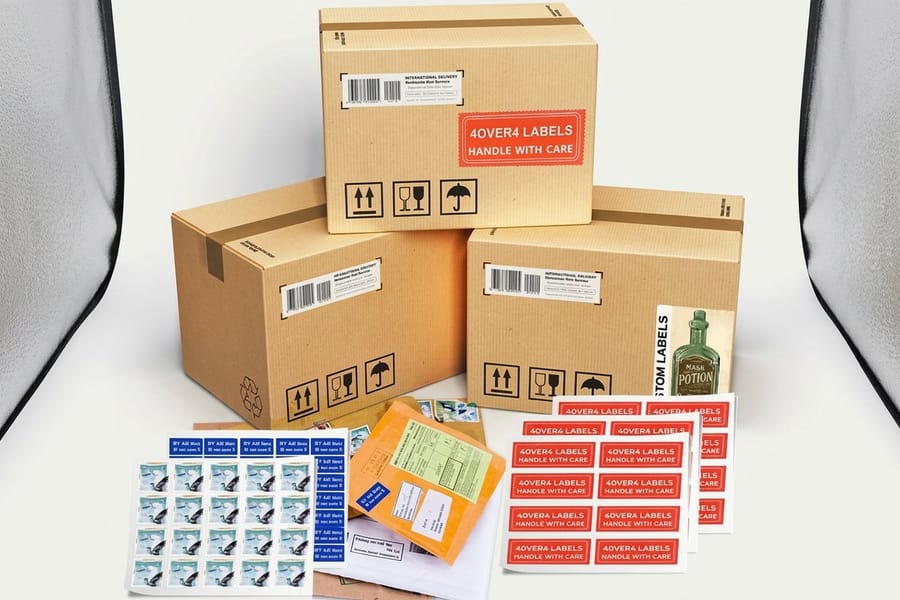
Print the label rather than writing it by hand so it scans on the first pass, and seal the box before you apply anything so the label lands on a firm, flat surface. Place it on the largest top-facing side, clear of seams and tape, and smooth out every bubble across the barcode. Cover or remove old labels so only one live barcode remains, and for international shipments attach a customs declaration in a pouch on the outside. 4OVER4.COM customers who ship on durable custom labels see fewer misreads and returns.
Watch it printed
See shipping labels on the press, in 105 seconds
The label is the part of the package that has to be perfect
You can pack a box beautifully and still watch it wander for a week, because from the moment it leaves your hands, the label is the only thing the carrier ever reads. On a standard 4 x 6 inch shipping label that means 24 square inches, and every belt, chute, and delivery van makes its decision off them. Get the label right and the package almost drives itself. Get it wrong and no amount of careful packing saves it.
Learning how to label a package for shipping is really about making a machine's job easy. Automated sorters scan a barcode in a fraction of a second, and they are unforgiving about smudges, wrinkles, glare, and stray old barcodes. A crisp, flat, printed label sails through. A creased or hand-scrawled one gets kicked to a human, and every hand-off adds hours. If you are writing a label by hand for a letter or a small mailer, our guide on how to fill out a shipping label covers the address block line by line.
This guide walks the whole path in five steps, from prepping the box to attaching customs paperwork, and points you to the shipping and mailing labels that hold up when a package gets rained on and thrown into a truck. If you ship regularly, treat the label as a piece of your brand, not an afterthought.
What you need before you print a single label

Before the first step, gather your kit so you are not hunting for tape mid-pack. You want a sealed and sturdy box, quality packing tape, the recipient and return address, and blank labels that suit your printer. For most parcels a plain thermal or laser sheet at 4 x 6 inches does the job, but if the box faces weather or a long journey, reach for a stronger stock such as a white vinyl label, which our custom shipping labels offer beside uncoated, semi-gloss and hi-gloss paper.
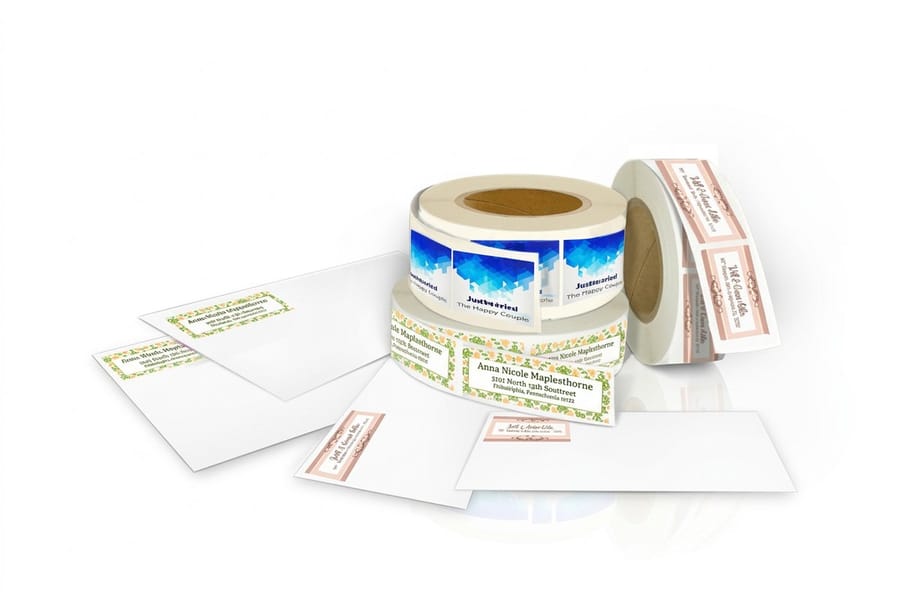
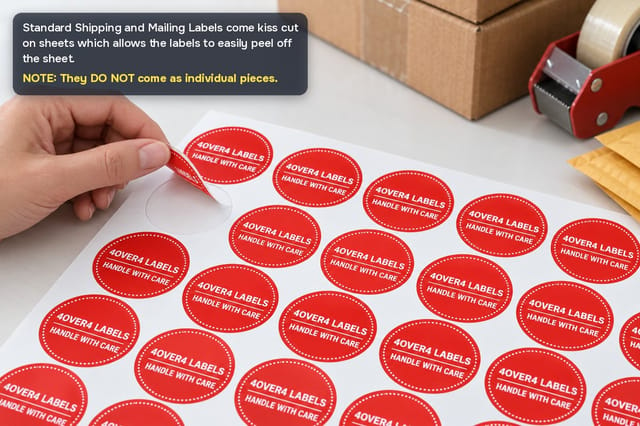
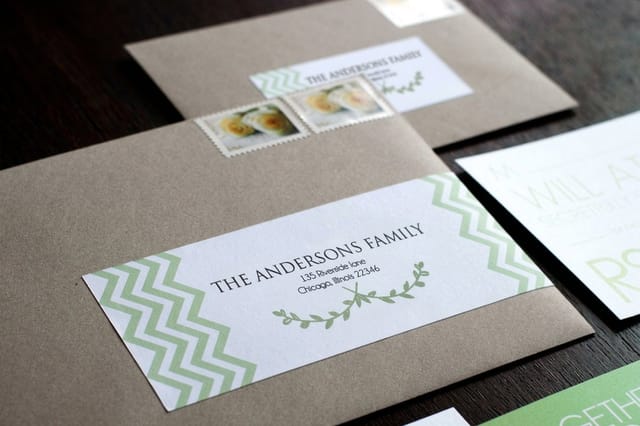
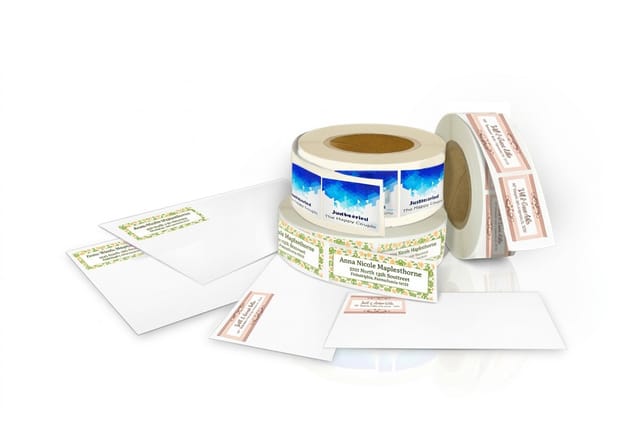
That is where the product choice matters. Our custom shipping labels print sharp barcodes and stay put through moisture and handling, and they come in the formats real shippers actually use. Ship a handful of orders a week and standard shipping and mailing labels on sheets are perfect. Ship all day and roll labels feed straight through a thermal printer without pausing to load a new sheet. For return addresses on envelopes and small mailers, premium address labels add a clean, branded touch. The custom shipping labels, premium address labels and Premium Business Labels stories show each one in use.
Do not have artwork ready? Our Online Designer lets you build a label layout in the browser, drop in a logo, and send it to print without design software. And if you are unsure which stock survives a rainy loading dock, order a set of free paper samples first and feel the difference before you commit to a run.
Step 1: Prepare the package
A good label starts with a good box. Pick a container sized to its contents, with about two inches of cushioning room on every side. A box that is too big lets the contents shift and crush the walls, and a crumpled wall is exactly where a label wrinkles and stops scanning.
- Choose a rigid, undamaged box. Reused boxes are fine, but the panels should still be firm and flat, not soft or dented.
- Cushion the contents. Fill voids with paper, foam, or air pillows so nothing rattles and the box holds its shape under a stack.
- Pick your label surface now. Decide which face will carry the label, and make sure it is the flattest, largest panel with no seams running through the middle.
If you are shipping products regularly, a proper shipping box beats a tired grocery carton every time, and our guide to packaging types can help you match the box to what is going inside. A firm, well-filled box gives your label the flat foundation it needs.
Step 2: Seal the package
Sealing comes before labeling for one simple reason: you never want tape crossing your label. Tape over a barcode creates glare that blinds a scanner, and a label applied over a loose flap peels the moment the box flexes.
Use the H-taping method. Run a strip of quality packing tape down the center seam where the flaps meet, then seal each of the two edge seams, so the tape forms an H across the top. Repeat on the bottom before you fill the box. Skip masking tape, painters tape, and cellophane, none of which hold under weight or cold.
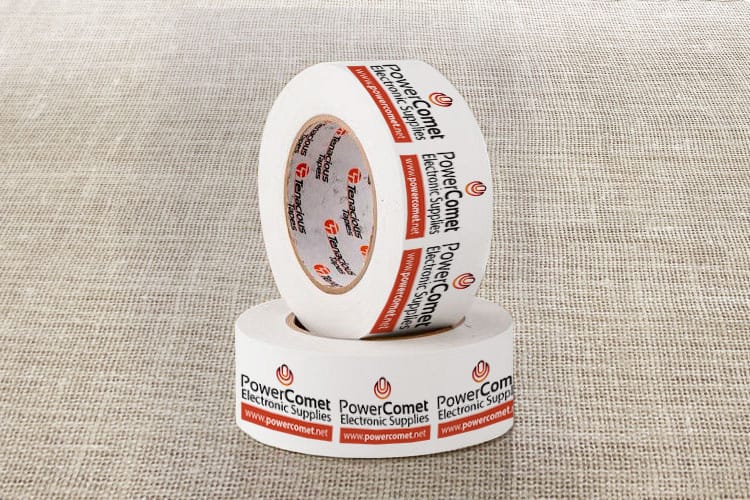
Once the seams are locked down and smooth, you have a firm, flat surface waiting for the label. If your shipments are part of an unboxing moment, custom packaging tape seals and brands the box at the same time, so the outside looks intentional before anyone opens it. The packaging tape story shows it on a finished box.
Step 3: Print the label

Now generate the actual shipping label, either from your carrier account, an e-commerce platform, or a shipping app. Enter the addresses and package details, pay for postage, and the system produces a label with the address, a routing barcode, a tracking number, and the service level.
- Print at 100% scale. Do not let a print dialog shrink the label to fit, because a scaled barcode may not scan. The 4 x 6 inch format is the parcel standard.
- Keep it high contrast. Solid black on white, no color background behind the barcode, and a font size that stays crisp.
- Choose the right stock. Thermal labels need no ink and resist smearing, laser sheets are fine for everyday parcels, and a waterproof custom shipping label is worth it for anything that might get wet.
Double-check the addresses on screen before you hit print. A single transposed digit in a ZIP code is the most common reason a package takes a scenic detour. If you print your own labels in volume, our standard label printing lets you order blank or pre-printed stock cut to the size your printer expects. Every label format we make sits together under product label printing.
Step 4: Apply the label
Applying the label well is where a lot of otherwise careful shipments go sideways. The goal is a flat, fully adhered label on the best face of the box, readable from a few feet away.
- Pick the largest flat side. Usually the top. Keep the label clear of seams, corners, and the tape line so nothing distorts the barcode.
- Smooth out every bubble. Press from the center outward. A wrinkle across a barcode is as bad as no barcode at all.
- Do not tape over the barcode. If you want extra protection, use a clear label pouch or a waterproof label rather than a strip of packing tape.
- Remove or cover old labels. Reusing a box? Peel or black out every previous address and barcode so only the live label remains.
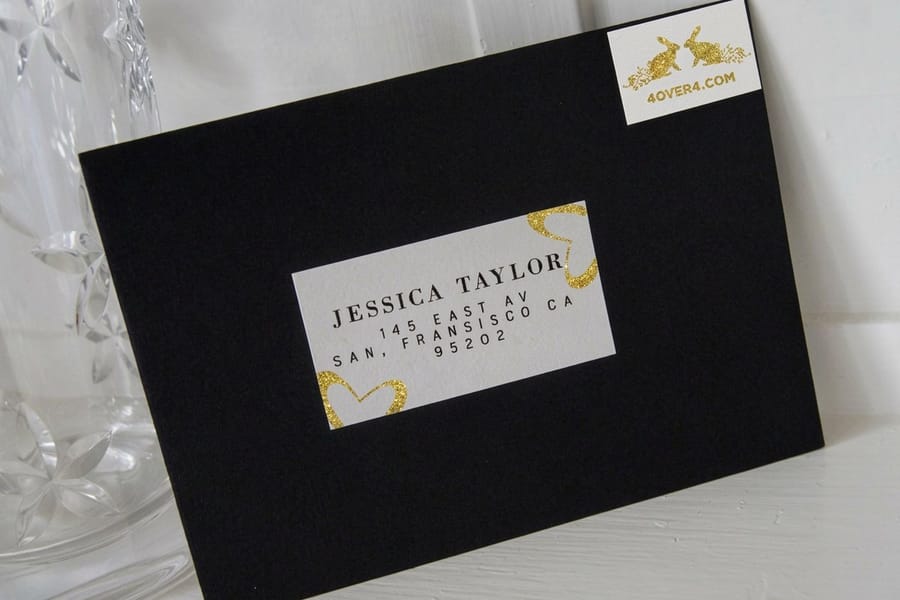
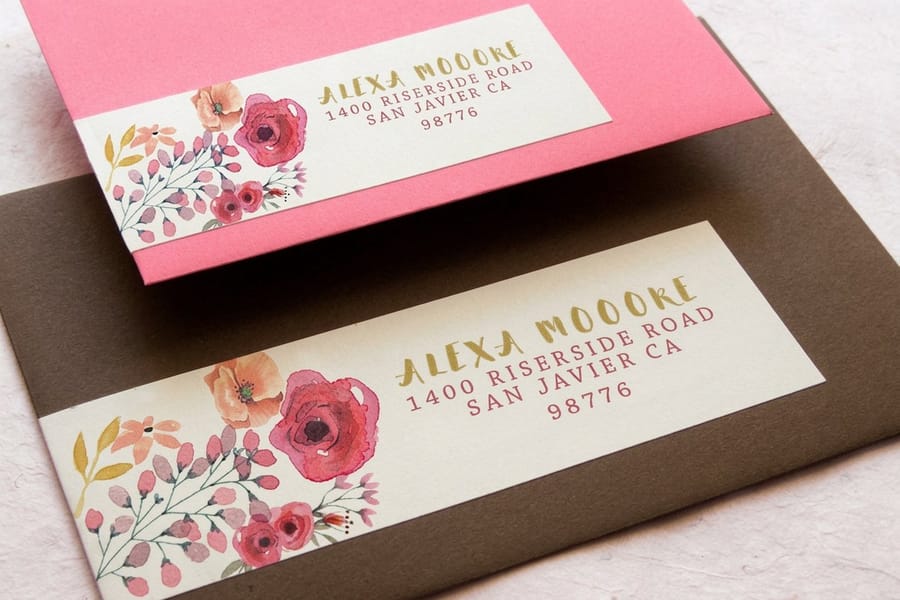
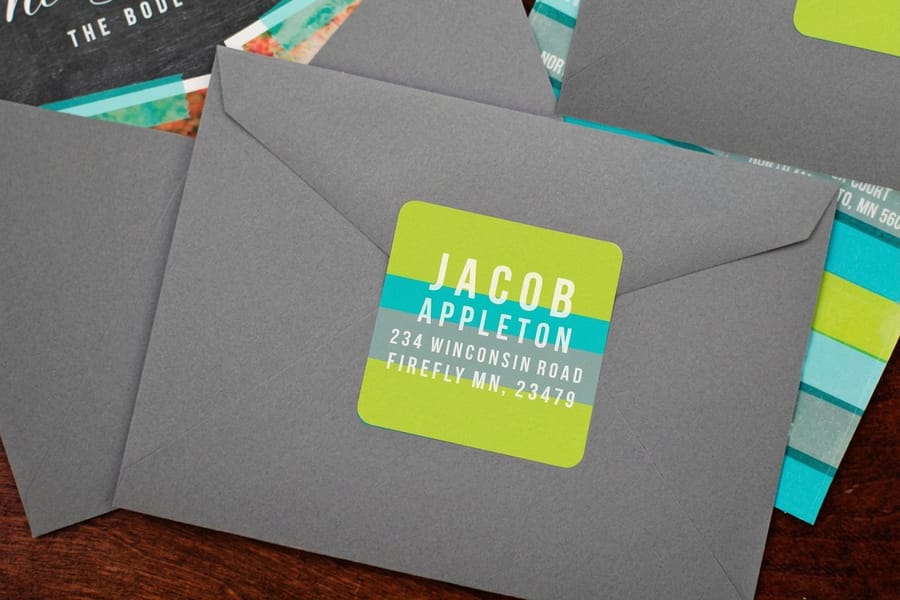
For a printed placement that looks deliberate, premium address labels give your return address a clean, branded corner while the carrier label handles the routing. One live label, applied flat, is the whole game.
Step 5: Attach customs forms and extra documents
Domestic parcels are done at step four. International shipments need one more layer, because customs authorities read paperwork the label alone does not carry.
Any package crossing a border needs a customs declaration that lists what is inside, its value, and the reason for export, whether that is a sale, a gift, or a sample. Higher-value and commercial shipments usually also need a commercial invoice. Your carrier prompts you for these details when you buy international postage, and it can print them as part of the label set.
- Use a document pouch. Slip customs forms into a clear adhesive sleeve on the outside of the box so officials can read them without opening it.
- Match the forms to the label. The declared contents and value should agree with your invoice and your listing, or the box can be held.
- Keep a copy. Save the tracking number and paperwork until the shipment is confirmed delivered.
If you send mail and parcels in batches, our mailing list guide and the shipping and postage hub cover the addressing and postage side in more depth.
Carrier label placement rules
All three major carriers want the same thing, one flat label on one face with a barcode nothing touches, but each states it a little differently. Here is what to do for each.
USPS
Put the label on the largest flat side, square to the edges rather than at an angle, and leave a clear white border around the barcode so automated equipment can frame it. Do not fold a label around a corner, do not run it over the taped seam, and do not place it on the narrow end of a long box where a machine can miss it. On a padded mailer, smooth the surface flat before you apply the label, because bars printed across a wrinkle read as a different code or as no code at all.
UPS
One label, applied flat to the top or the largest side, with no part of it wrapping onto a second face. Keep the barcode clear of seams, tape, straps, and the rounded corner of the carton, and leave clear space around the code itself. If you use a pouch, check that it lies flat and the label inside is not curled or bubbled. Return address and any reference or purchase order code belong on the same face as the delivery address, not on the underside where nobody looks.
FedEx
One label per package, flat on the largest surface, barcode unobstructed, and every edge of the label fully stuck down so nothing lifts on a conveyor. Never place a label over a seam, a strap, a corner, or a previous shipping label, and never tape across the barcode. On a multi-piece shipment each carton carries its own label and its own tracking number, so label every box before any of them leave the room.
Two rules cover all three. Keep the barcode at least a quarter inch from any edge so a scanner can frame it, and leave exactly one live label and one live barcode visible, with anything from a previous trip peeled off or covered.
Labeling poly mailers, tubes, and oversized boxes
Not every shipment is a square carton, and the odd shapes are where labels fail. The rule stays the same, one flat label with a clear barcode, but the way you get there changes.
- Poly mailers and padded envelopes. Fill the mailer, seal it, then press it flat on a table before you apply the label so the bars do not bend over a lump. Use the 4 by 3 in format on a small bag and keep the label away from the fold.
- Tubes. Wrap the label along the length of the tube, never around its circumference, so the barcode stays straight. If the tube is narrower than the label, use a smaller label or a clear pouch.
- Oversized and heavy boxes. Put the label on the top face, add a second copy of the address inside the box, and mark the weight where the handler can see it. A box that ships on its side still gets the label on the largest panel.
- Fragile goods. Fragile and This Way Up stickers go beside the shipping label, not over it, and they never touch the barcode.
Waterproof custom shipping labels hold on plastic mailers and tube surfaces where a plain paper label lifts, and they print the same crisp barcode either way.
How to read a shipping label so you know it is right
Before a box leaves your desk, it helps to know what you are looking at. A standard shipping label packs several pieces of information into a small space, and a quick scan of your own eyes catches most errors.
- Sender and recipient blocks. Return address top-left, delivery address centered and larger. Confirm both, especially the ZIP or postal code.
- The routing barcode. The big machine-readable code the carrier scans first. It must be flat, unobstructed, and framed by a little white space.
- The tracking number. Your reference for following the package. Save it the moment the label prints.
- Service level and weight. Ground, express, or priority, plus the weight you entered. A mismatch here can trigger a surcharge or a return.
Give the finished label a five-second read before it ships. Right addresses, clean barcode, correct service, no leftover old codes. That habit prevents the overwhelming majority of avoidable delays.
Labeling mistakes that get packages delayed or returned

Most shipping delays trace back to a handful of avoidable label errors. Steer around these and your packages move on schedule.
Leaving an old barcode on the box. The single most common cause of misrouting. A reused box can carry three old labels, and a scanner reads whichever it sees first. Cover or remove them all.
Taping over the barcode. Clear tape looks harmless but throws glare that blinds the scanner. Protect the label with a pouch or a waterproof stock instead.
Placing the label across a seam or corner. The barcode distorts where the surface bends. Keep it flat on one panel.
Printing at reduced scale. A shrunk label can push the barcode below the size a scanner reads. Always print at 100%.
Skipping the customs form. An international box without paperwork gets held at the border. Attach the declaration every time.
Handwriting the address on a parcel. Fine for a birthday card, risky for a package. A printed shipping label scans clean and moves fast.
What custom shipping labels cost and how pricing works
You can print onto blank labels you buy in bulk, or you can order custom-printed labels that carry your branding, warnings, or fixed information. At 4OVER4.COM, custom shipping labels start at $25, and the price moves with a few clear factors. That $25 buys 25 labels, in 13 stock sizes from 2 x 3.5 to 5 x 7 inches or a custom size up to 11 x 17, on 14 stocks, with 3 business days of standard production.
- Size and format. Standard 4 x 6 sheets are the most economical. Rolls and larger formats cost more but feed faster for high volume.
- Material. Everyday paper stock is the base. Waterproof and synthetic labels cost more and survive weather and abrasion.
- Quantity. The price per label drops as the run grows, so frequent shippers save real money ordering rolls instead of small sheets.
- Finish. Matte, gloss, and specialty options adjust the final number.
The live configurator recalculates the per-unit price as you change each option, so you can see exactly what a bigger run saves before you order. Check the current specs and pricing in the widget below.
Wally explains the label
One flat, printed, scannable label is the whole job
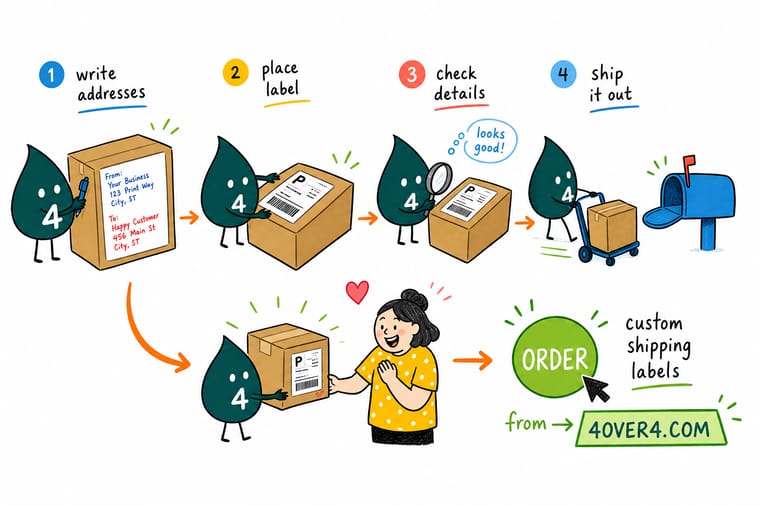
Wally treats the shipping label like the box's boarding pass: print it, keep it flat on the biggest side, and cover any old barcodes so the scanner only sees today's trip. A hand-scrawled address or a barcode buried under tape sends a package on a detour it never asked for. Print on a durable custom label and every belt and van reads it clean the first time.
Order shipping labels →
Specs and pricing
Custom shipping label specs and pricing
When you are ready to print your own, here is what a custom shipping label gives you at 4OVER4.COM, with live specs and price-per-unit straight from the configurator.

| Quantity | Price Per Unit | Total |
|---|---|---|
| 25 | $1.00 | $25.00 |
Print it
Labels for every kind of shipment at 4OVER4
See it in use
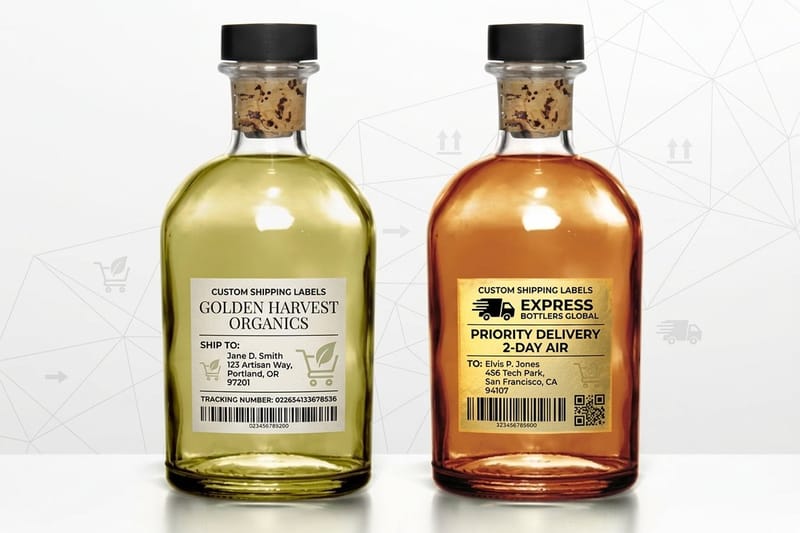
Shipping labels we printed for real parcels






%22%2F%3E%3Ccircle%20cx%3D%2247%22%20cy%3D%2220%22%20r%3D%2222%22%20fill%3D%22%23a78bfa%22%20opacity%3D%220.15%22%2F%3E%3Ccircle%20cx%3D%2254%22%20cy%3D%2227%22%20r%3D%22-3%22%20fill%3D%22%23a78bfa%22%20opacity%3D%220.1%22%2F%3E%3Crect%20x%3D%2277%22%20y%3D%22-9%22%20width%3D%2232%22%20height%3D%2220%22%20rx%3D%224%22%20fill%3D%22%23a78bfa%22%20opacity%3D%220.08%22%20transform%3D%22rotate(42%2080%2030)%22%2F%3E%3C%2Fsvg%3E)
Explore more
Where to go next





By the numbers
Label stocks in a catalog of a thousand products
Common Questions
Common questions about labeling a package for shipping
How to create a label to send a package?
Log in to the carrier website or your shipping platform, enter the sender and recipient addresses, the weight, and the box size, pick a service, and pay for postage. The system generates a label with the address, routing barcode, and tracking number as a PDF. Print it at 100 percent scale on a 4 by 6 in label or plain paper, then stick it flat on the largest face of the sealed box.
How do you label an item?
A single item ships inside a box or mailer, and the shipping label goes on that outer package, never on the item itself. If the item has to travel bare, such as a tube or a rigid case, wrap the label along the flattest surface and protect it with a clear pouch. Any handling stickers, like Fragile, sit next to the shipping label and stay clear of the barcode.
Where should I put the shipping label on a box?
Place it flat on the largest top-facing side of the package, centered and clear of seams, edges, and tape. A label that wraps around a corner or sits on a rounded surface can jam a scanner or peel loose in transit. If the box has to travel on its side, put the label on the widest panel so it stays face-up as often as possible on the belt.
How do you label a box for shipping, step by step?
Five steps. One, pack the item in a sturdy box with cushioning so nothing shifts. Two, seal every seam with packing tape, the bottom included. Three, print the label at full size, on a 4 x 6 inch label or on paper you can stick down flat. Four, apply it to the largest face, square to the edges, clear of seams and tape, with the barcode flat and unobstructed. Five, cover or remove any old barcode so one live label remains, and for anything crossing a border add the customs declaration in a document pouch on the outside.
Can I handwrite a shipping label instead of printing one?
For a single letter you can write the address by hand, but for parcels a printed label is far more reliable. Sorting facilities read barcodes and addresses with automated scanners, and neat printed type in a sans-serif font scans cleanly the first time. Handwriting invites misreads, slows the box down, and raises the odds of a delay or a return. If you print your own, a plain thermal or laser label works, and a durable custom shipping label holds up best against rain and rough handling.
What size should a shipping label be?
The 4 x 6 inch format is the standard for parcels and matches most thermal label printers and carrier templates. Smaller 4 x 3 inch labels suit lightweight mailers and poly bags. Whatever size you choose, keep the barcode at least a quarter inch from any edge so scanners can frame it, and never shrink a label so far that the tracking number becomes hard to read.
Do I need to remove old labels and barcodes before reusing a box?
Yes. A carrier scanner cannot tell yesterday from today, so a leftover barcode can route your package to the wrong place or bill the wrong account. Peel the old label off, or cross out and cover every previous barcode and address with a fresh label or opaque tape before you apply the new one. One live label per box is the rule.
Should I tape over the shipping label or use a pouch?
Never run tape across the barcode. Glossy tape throws glare that stops a scanner reading the bars, and any bubble or wrinkle under it distorts them. If the label needs weather protection, tape only the outer border of the label, or slide it into a clear adhesive label pouch that keeps the face flat. A self-adhesive label pressed onto a clean, dry, flat panel needs nothing over it at all.
Do I need a customs form for an international shipment?
Almost always. Any parcel crossing a border needs a customs declaration that lists the contents, their value, and the reason for export, and higher-value or commercial shipments often need a commercial invoice too. Tuck the paperwork into a clear document pouch on the outside of the box, or follow your carrier prompts to print it as part of the label set, so customs can inspect it without opening the package.
How much do custom shipping labels cost, and how is the price set?
At 4OVER4.COM custom shipping labels start at $25, and the final price is driven by the size, material, quantity, and finish you choose. Sheet and roll formats, waterproof or standard stock, and larger print runs all move the number, and the live configurator recalculates the price per unit as you adjust each option. Bigger quantities lower the cost per label, which is why frequent shippers order rolls rather than small sheets.
Get Started
Ready to print your own shipping labels?
Pick your size and stock, drop in your artwork or return address, and we print sharp, scannable labels that hold up from the loading dock to the doorstep.
Legal Disclaimer
Gold Standard guarantees apply to all standard orders placed through 4over4.com. Price match requires verifiable proof of a competitor's published price for an equivalent product with matching specifications and turnaround time. Satisfaction guarantee covers manufacturing defects and print quality issues. Contact support with order number and documentation.
