
How to Make a Photo Transparent for Print-Ready Artwork


A transparent background is what lets a logo or cutout sit cleanly on any color, and what a die-cut sticker needs to follow your shape. Here is how to make one that prints right.
To make a photo transparent for print, remove its background and save it as a PNG with a transparent layer, keeping it at 300 DPI at final size. The transparency lets the image sit on any color without a white box, and for die-cut stickers you add a cut path around the shape so the sticker follows your subject instead of a rectangle.
Start here
Transparent images for print in one paragraph
Making a photo transparent means removing its background and saving it as a PNG with an empty background layer. That lets the image sit on any color without a white box, which is essential for logos, cutouts, and die-cut stickers. Keep the cutout at 300 DPI at final size, aim for a clean edge, and for a die-cut sticker add a vector cut path so the blade follows your shape instead of a rectangle.
Why transparency matters in print
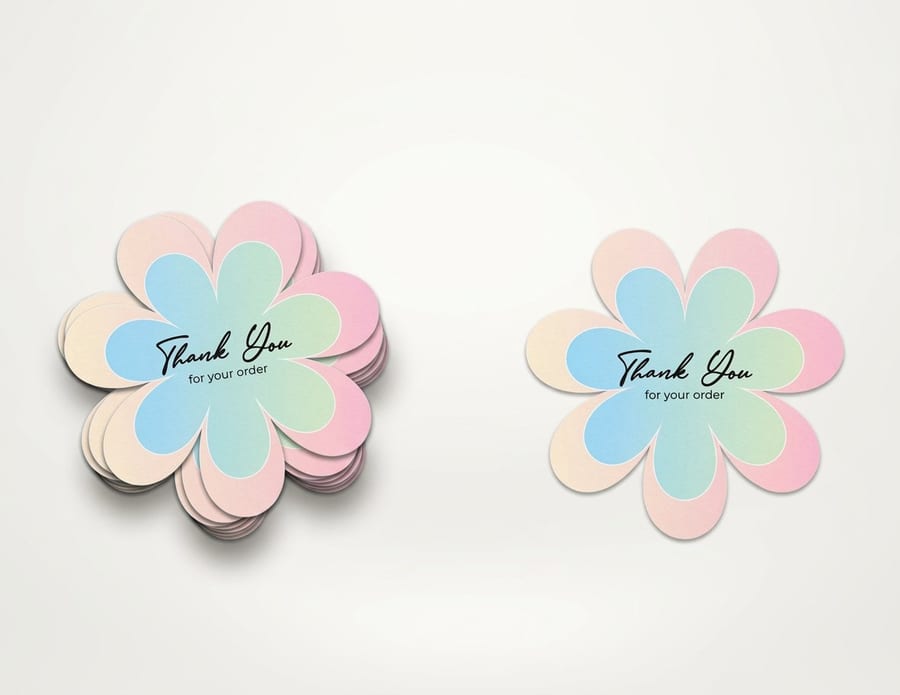
A transparent background is what lets an image live anywhere. Place a logo with a solid white background on a colored card and you get an ugly white rectangle around it, while the same logo with a transparent background sits directly on the color as if it were printed there. Transparency is the difference between a cutout that blends in and a sticker that looks like a mistake.
It matters most in three places: logos that go on colored or photographic backgrounds, product cutouts for flyers and packaging, and die-cut stickers that follow a shape rather than a square. In each case the empty background is doing the work. For stickers specifically, that transparent subject is what a die-cut sticker is cut around, which is why getting the transparency right is step one.
How to remove the background
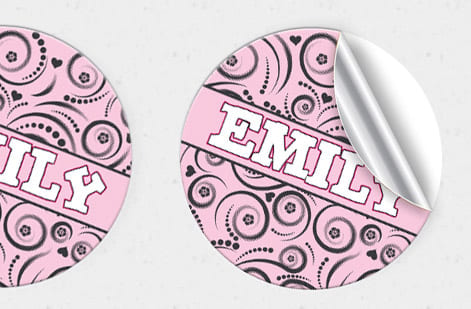
Removing a background means selecting your subject and deleting everything else, leaving an empty, checkerboard area behind it in most editors. Modern tools make the first pass easy: a subject-select or magic-selection command in an image editor isolates most shapes in one click, and you refine from there. For crisp-edged subjects like a logo, a manual path or the pen tool gives the cleanest result.
The goal is a clean, believable edge. Zoom in and check for leftover background pixels, a colored halo, or a jagged outline, and refine the selection until the edge looks natural, with a hair of feathering so it does not look cut out with scissors. Hair, fur, and glass are the hard cases and reward patience. Once your subject is isolated on an empty background, you are ready to save it in a format that keeps that transparency.
Save it as a PNG so transparency survives
Transparency only survives in the right file format. Export your cutout as a PNG, which stores an alpha channel that remembers which pixels are transparent, or as a layered TIFF for print workflows that prefer it. What you must not do is save as JPG, because JPG has no transparency and will flatten your empty background to solid white, undoing all the work you just did.
Vector logos are the exception and the ideal: an SVG, EPS, or AI file keeps a mark transparent and razor-sharp at any size, so use vector whenever the artwork allows. For photographic cutouts that have to stay raster, PNG at full resolution is the safe choice. Our guide on converting RGB to CMYK covers getting the color print-ready once the transparency is set.
Keep it print-resolution and print-ready
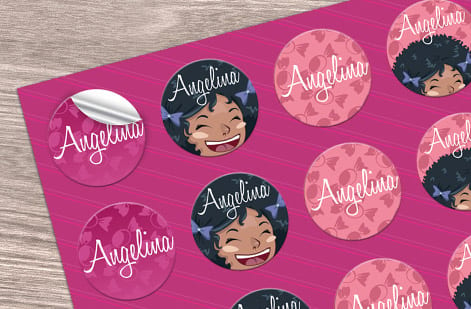
Removing a background does nothing for resolution, so the same rule applies as any print file: the cutout needs to be 300 DPI at the size it will actually print. Check it at 100 percent zoom, and never enlarge a small image to fill a bigger space, since scaling only stretches the pixels you already have and a soft cutout looks worse than a soft photo because the clean edge exaggerates the blur.
Also mind the color mode. A transparent PNG built for web is usually RGB, and print wants CMYK, so convert before you place it in a layout and re-check any bright colors. Keep the transparency intact through the conversion by working in a format that preserves the alpha channel. Our guide on image resolution for printing covers how to judge whether a cutout is sharp enough.
Adding a cut path for a die-cut sticker
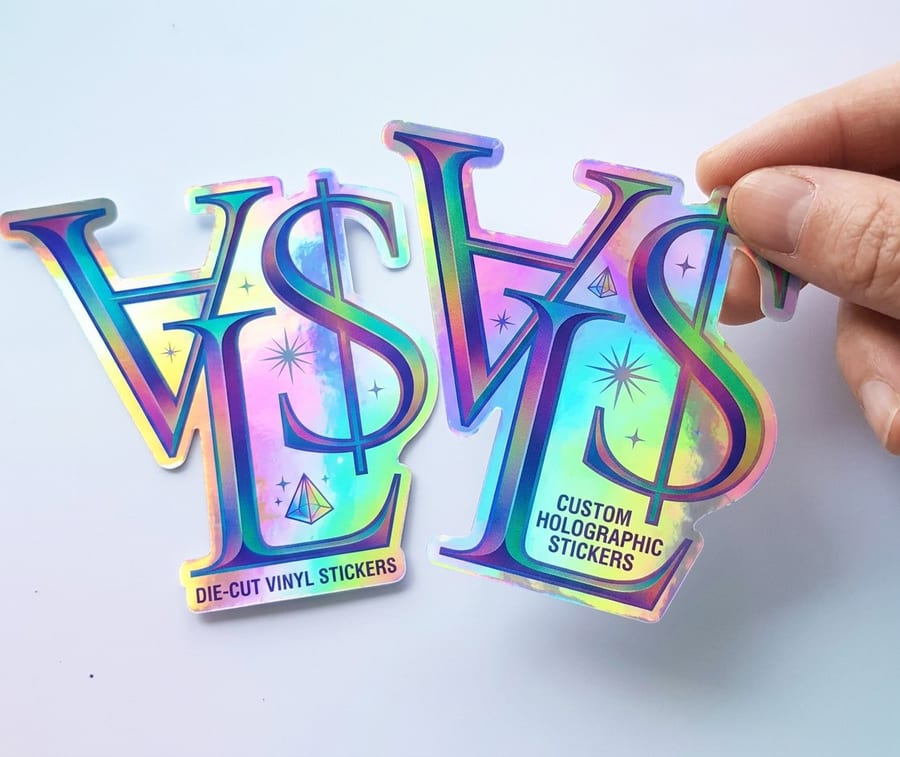
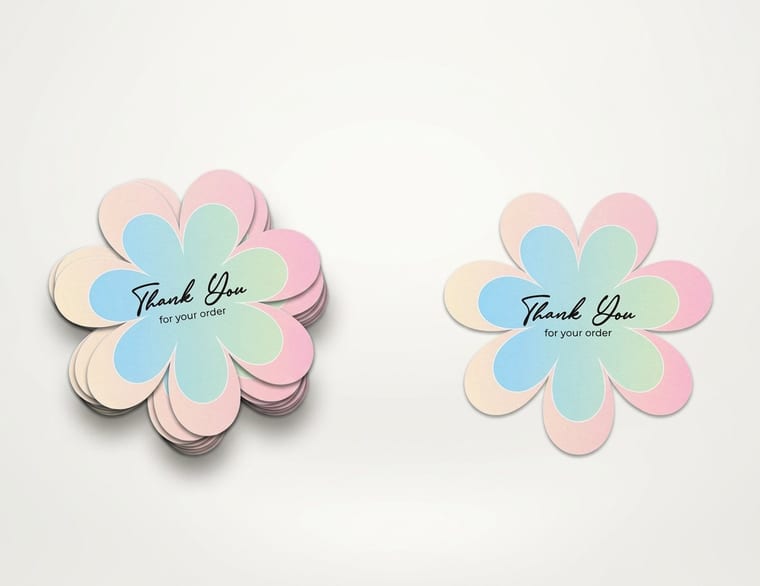
A transparent image tells the printer what to print, and a cut path tells the blade what to cut. To turn your cutout into a die-cut sticker, draw a vector line around the subject, usually offset slightly outward to leave a thin border, so the sticker follows your shape instead of a rectangle. That offset border is what gives die-cut stickers their clean, professional silhouette and keeps the blade from clipping your artwork.
Keep the cut path simple and smooth rather than tracing every tiny notch, which cuts more reliably and peels better. Leave a little art past the cut line as bleed so a slight blade shift never exposes white backing. Our guide on die-cutting explained covers building the path, or the online designer can generate one around your transparent art automatically.
Ordering die-cut stickers from your file
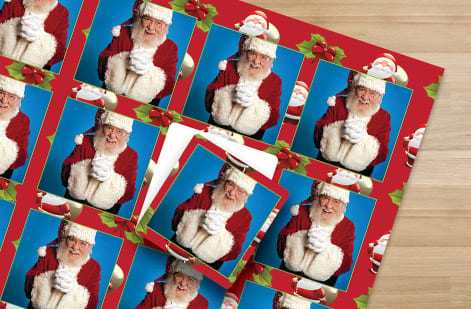
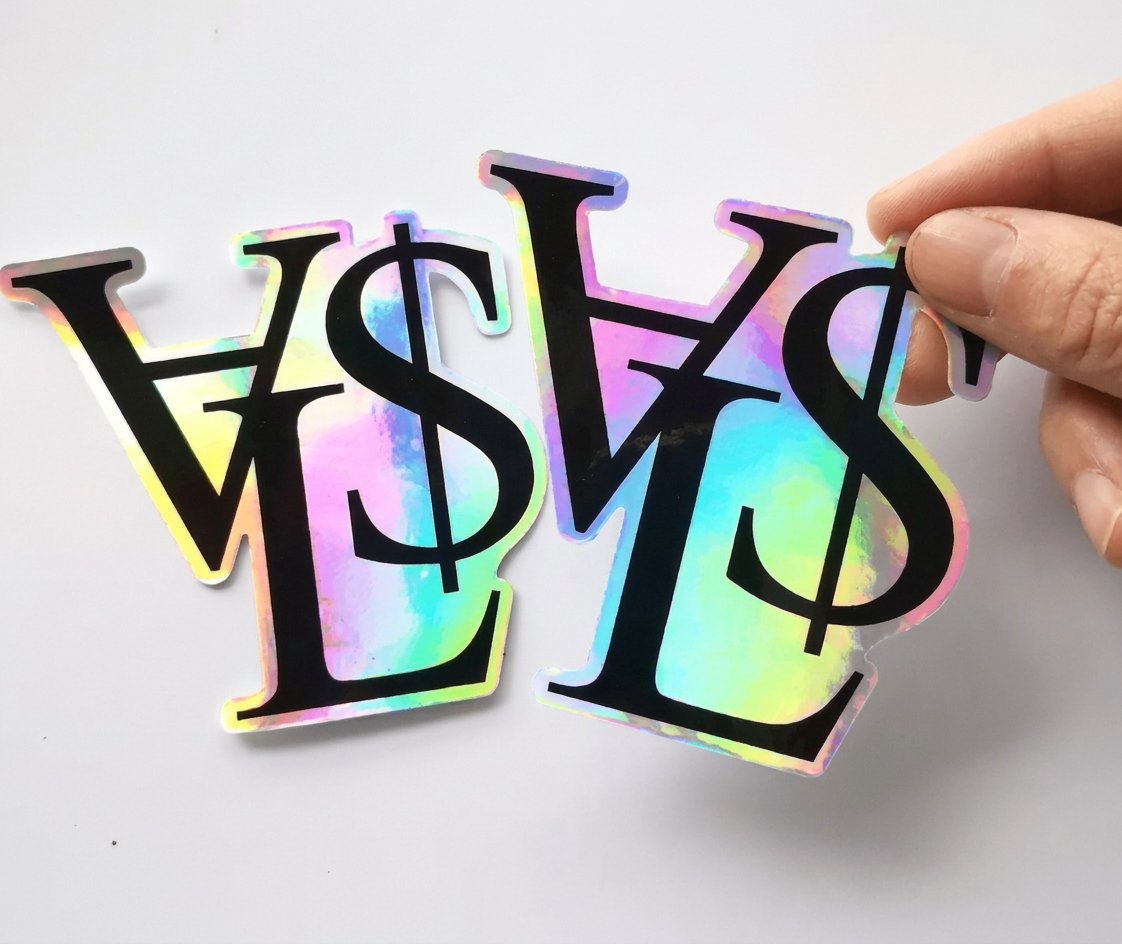
With a transparent, print-resolution file and a clean cut path, you are ready to order. Die-cut stickers cut to your exact shape make the strongest use of a good transparent cutout, and specialty materials like clear or holographic vinyl lean into the effect even further. Upload the file, choose the material, size, and quantity, and the price updates live, dropping per sticker as the run grows.
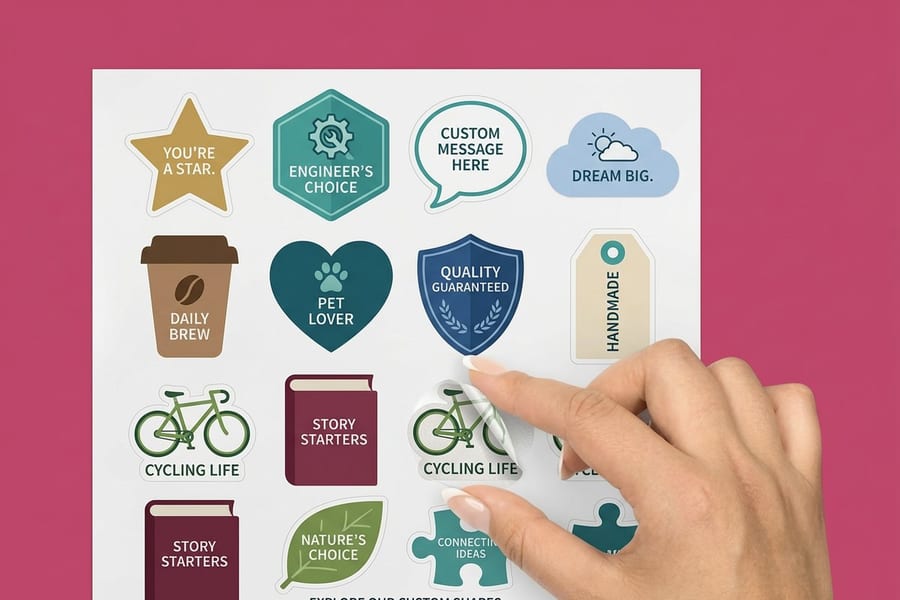
The same transparent artwork is reusable across your brand: the cutout that became a sticker also drops cleanly onto flyers, packaging, and signage without a white box. Start with die-cut stickers for the shape-following look, try custom-shaped stickers for more options, and browse the full range in stickers.
Wally lifts the subject off its background
Transparent PNG, then a clean cut path
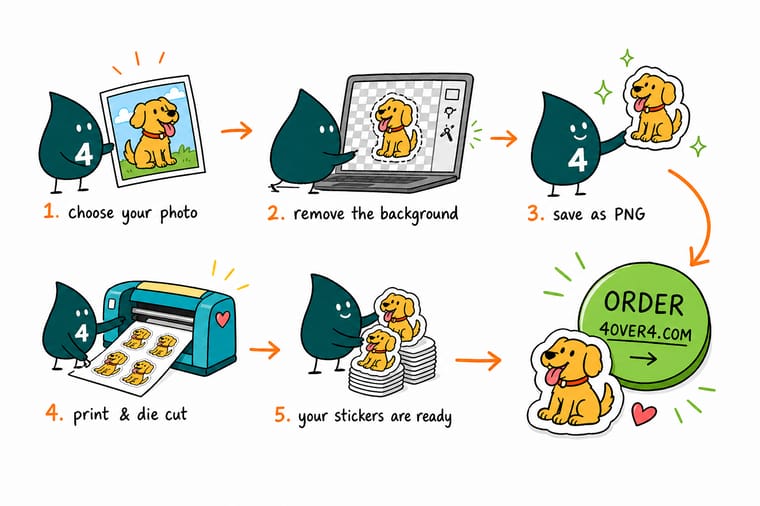
Wally selects your subject, deletes the background to an empty layer, and saves a PNG so the transparency survives, then draws a smooth cut line around it for a die-cut sticker. Keep it at 300 DPI, convert to CMYK, and the cutout drops onto any color with no white box. Upload it and let 4OVER4 cut it to your exact shape.
Order die-cut stickers →Quick reference
Transparent file settings for print
Get these right and your cutout drops cleanly onto any color and cuts to shape as a sticker.
| Setting | Get it to | Why it matters |
|---|---|---|
| Background | Removed, empty layer | Lets the image sit on any color with no white box. |
| File format | PNG or layered TIFF | Stores the transparency; a JPG would fill it with white. |
| Logos and marks | Vector (SVG, EPS, AI) | Stays transparent and sharp at any size. |
| Resolution | 300 DPI at final size | Keeps the cutout crisp; the clean edge exaggerates any blur. |
| Color mode | CMYK for print | Convert from web RGB and re-check bright colors. |
| Die-cut path | Smooth vector line, slight offset | Cuts the sticker to your shape with a clean border. |
Step by step
Make a transparent print file in 6 steps
- Select the subject Use a subject-select tool or the pen tool to isolate your subject from its background.
- Clean the edge Zoom in and refine the selection, removing halos and jagged pixels with a hair of feathering.
- Delete the background Remove everything but the subject so the background layer is truly empty and transparent.
- Save as PNG Export a PNG or layered TIFF at full resolution so the transparency survives; never JPG.
- Set resolution and color Confirm 300 DPI at final size and convert to CMYK for print, re-checking bright colors.
- Add a cut path and order For a die-cut sticker, draw a smooth offset cut line around the subject, then upload and order.
Specs and pricing
Live die-cut sticker specs and pricing
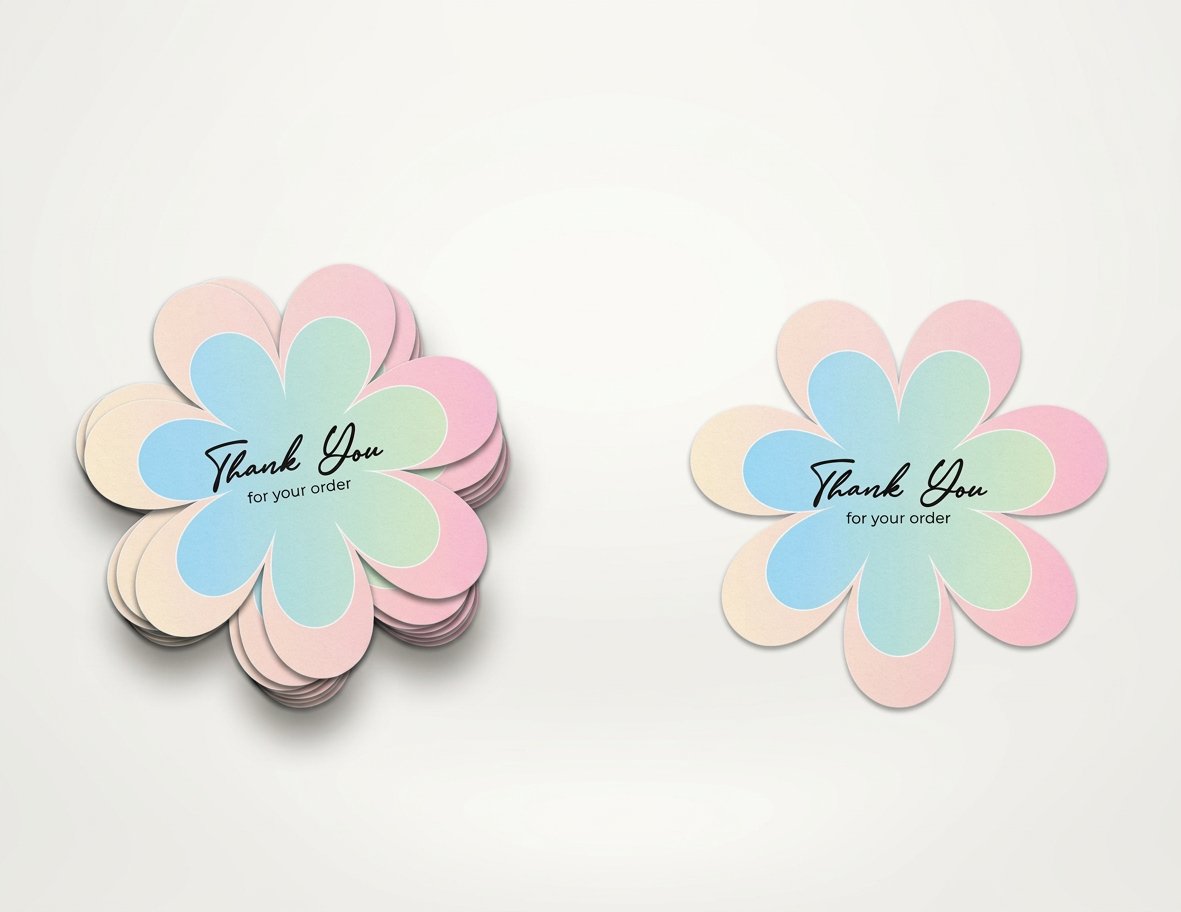
A clean transparent cutout is what a die-cut sticker cuts around. Here are the live specs and price-per-unit at 4OVER4, straight from the configurator.
| Quantity | Price Per Unit | Total |
|---|---|---|
| 25 | $3.73 | $93.37 |
| 50 | $1.91 | $95.56 |
| 100 | 100.0¢ | $99.95 |
| 200 | 56.3¢ | $112.59 |
| 300 | 41.4¢ | $124.13 |
| 400 | 33.9¢ | $135.65 |
| 500 | 29.2¢ | $146.10 |
| 600 | 26.4¢ | $158.17 |
Order it
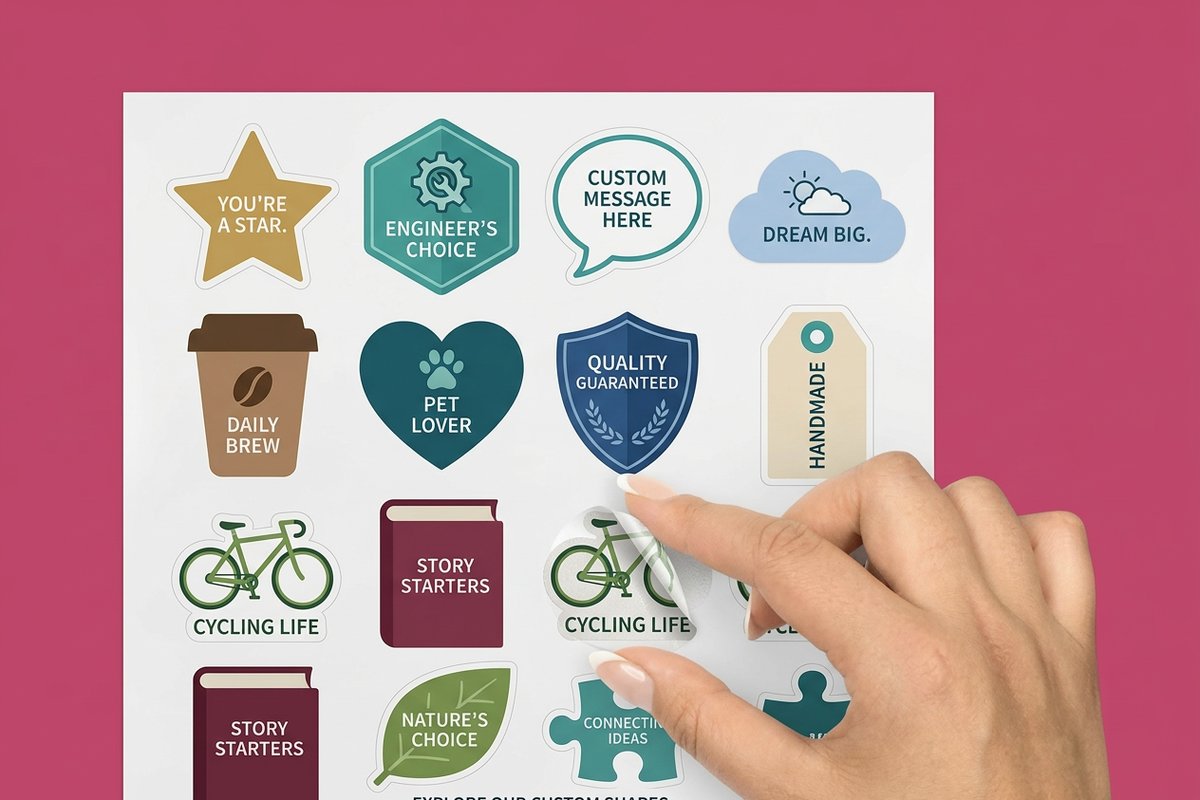
Sticker formats for your transparent art
See it in use
Real die-cut work, printed in-house


Explore more
Where to go next



By the numbers
Sticker printing you can count on at 4OVER4
Common Questions
Common questions about transparent images for print
What does making a photo transparent mean?
Making a photo transparent means removing its background so the area behind the subject is empty rather than a solid color, then saving it in a format that keeps that empty area. The result drops onto any color or background without a white box around it, which is what logos, product cutouts, and die-cut stickers all need. It is a background removal plus a save in a transparency-capable format like PNG.
How do I choose the right transparent file format?
Use PNG for photographic cutouts, since it stores an alpha channel that remembers which pixels are transparent, or a layered TIFF for print workflows that prefer it. For logos and marks, vector formats like SVG, EPS, or AI are best because they stay transparent and sharp at any size. Avoid JPG entirely, because it has no transparency and will flatten your empty background to solid white.
What does it cost to print transparent artwork and how are prices set?
Making the file transparent costs only your design time. Printing cost then depends on the product: for die-cut stickers it scales with material, size, and quantity, with the per-sticker price dropping as the run grows. You set each option in the configurator and the total updates live, so you can see how a specialty material like clear or holographic vinyl or a larger run changes the number before you commit.
What sizes, stocks, and finishes work with transparent cutouts?
Transparent artwork shines on die-cut and custom-shaped stickers cut to the subject, in sizes from small labels to large decals, on durable vinyl. Specialty materials like clear and holographic vinyl lean into the cutout effect, and gloss or matte laminates protect it. The same transparent file also drops cleanly onto flyers, packaging, and signage, so one good cutout serves your whole brand.
How long do die-cut stickers take to print and ship?
Standard turnaround is the most economical and lets the shop schedule your die-cut run efficiently. Faster options are available when you need them, at an added cost for the speed. You can see the production and shipping estimate for your exact sticker and quantity in the configurator before placing the order.
How do I turn a transparent image into a die-cut sticker?
Start with a clean transparent PNG or vector of your subject, then add a vector cut path around it, offset slightly outward to leave a thin border so the blade does not clip your art. Keep the path smooth rather than tracing every tiny notch, and leave a little art past the cut line as bleed. Upload the artwork with its cut path, or let the online designer generate a path around your transparent art automatically.
Get Started
Ready to cut a sticker to your exact shape?
Make a clean transparent cutout, add a smooth cut path, and print a die-cut sticker that follows your subject. Upload your file and watch the price per sticker fall as the run grows.
Legal Disclaimer
Gold Standard guarantees apply to all standard orders placed through 4over4.com. Price match requires verifiable proof of a competitor's published price for an equivalent product with matching specifications and turnaround time. Satisfaction guarantee covers manufacturing defects and print quality issues. Contact support with order number and documentation. On-time delivery rate based on tracked orders 1999 to 2026. Individual results may vary based on shipping carrier performance.
