
4D Lenticular Prints That Move, Flip, and Add Real Depth


A 4D lenticular print stacks two effects on one sheet: parallax depth, which puts the subject in front of the background instead of on it, and motion, which flips, morphs, zooms or animates that scene as your angle changes. The 4D part is a trade name rather than a technical standard, so the question worth asking a printer is which effects your file supports and how many frames each one gets, because frames are the thing every lenticular quietly runs out of.
Lenticular effects at a glance
| Effect | What you see | Frames it needs | Lens direction and movement | Works best at |
|---|---|---|---|---|
| Flip | Two or three separate images swap cleanly | 2 to 3 | Horizontal lenticules, tilt up and down | In the hand, up to about 6 ft |
| Animation | A short loop of movement, a swing or a spin | 12 to 20 | Horizontal lenticules, tilt up and down | In the hand, up to about 10 ft |
| Morph | One subject dissolves into another | 8 to 16 | Horizontal lenticules, tilt up and down | In the hand, up to about 6 ft |
| Zoom | A subject grows toward you or pulls back | 8 to 15 | Horizontal lenticules, tilt up and down | In the hand, up to about 10 ft |
| 3D depth | Layers sit at different distances behind the glass | 12 to 24 views | Vertical lenticules, move left and right | 3 ft and beyond |
| 4D, depth plus motion | Layered depth that also animates as you walk past | 16 to 24 views, shared between both jobs | Vertical lenticules, move left and right | 3 ft to about 15 ft |
Frame ranges are the practical working band, not a hard limit. Push past the top of a range and the piece keeps its effect but loses sharpness, because the sheet resolution is fixed and every frame takes a slice of it. Decide the viewing distance first, because it sets the lens, and the lens sets everything after it.
The five effects hiding behind the 4D label

There is no committee that defines 4D. Printers use it to mean a lenticular that does two things at once: it holds parallax depth, so the subject sits in front of a background rather than on it, and it moves, so the scene changes as your angle changes. Underneath that label sit five effects, and knowing which one you are buying matters more than the name on the quote.
Flip is the simplest. Two or three finished images, swapped by a small tilt. Before and after, closed and open, empty room and staged room. Animation is a short loop of a dozen or more frames, so a golf swing or a rotating product plays out in your hand. Morph dissolves one subject into another across the middle frames. Zoom pushes a subject forward or pulls it back. 3D depth is the odd one out, because it is not a sequence at all: it is one scene rendered from a spread of camera positions, so your left eye and right eye each catch a different view and the brain reads distance.
That last distinction is the one people trip on. Flip, animation, morph and zoom are all timeline effects, and they read best when the lenticules run horizontally and you tilt the piece up and down. Depth needs the lenticules vertical, because the separation has to happen between your two eyes, side by side. A 4D piece puts both on the vertical axis, which is why the motion plays as you move sideways past it instead of when you nod. Our guide to making lenticular prints walks the file setup end to end.
What each effect is actually good at
Flip sells a comparison. A real estate mailer that shows a tired kitchen and then the renovated one, on a small tilt, does the whole pitch without a headline. That is why the format keeps turning up in agent campaigns, alongside the we buy houses postcard formats investors mail every month.
Depth sells presence. A product floating clear of its background on a shelf talker, or a portrait with real distance behind it, holds attention because the surface refuses to look flat. It photographs badly, which is the honest catch, so a depth piece has to be handed over or hung, never sent as a JPEG.
Animation sells a process. Anything with a beginning and an end, a build, a pour, a swing, a before and during and after, reads better as 12 frames than as three panels of prose.
Where 4D is oversold
A lenticular does not make a weak image strong. It amplifies whatever is already in the frame, including the noise, the soft focus, and the busy background. If the flat version does not work pinned to a wall, the lens will not rescue it.
It also breaks small type. Text that sits on a deep background layer goes soft the moment the parallax pulls it away from the lens plane, and 6pt legal copy under a 75 LPI lens turns to texture. Keep type on the front plane, keep it bold, and keep the fine print on a flat companion piece.
Lens pitch, frame count, and the trade-off nobody quotes
Two numbers decide how a lenticular turns out. Lens pitch, written as LPI, is how many lenticules sit across an inch. Frame count is how many images get interlaced into the strips under each of those lenticules. They pull against each other, and every disappointing lenticular anyone has ever held was a bad compromise between the two.
Pitch follows viewing distance. A business card or a postcard is read at arm length, so it wants 75 to 100 LPI, where the ribs are too fine to notice. A print on a wall works at 40 to 60. A large format sign read from across a parking lot can run 15 to 30, because at that distance the ribs disappear on their own and the coarser lens gives each frame more room. Choosing a fine pitch for a large piece is the classic mistake: it costs more and the effect gets weaker, not sharper.
Frame count is where the resolution goes. The sheet has one fixed horizontal resolution, and every frame you interlace takes a slice of it. Two frames means each one keeps half. Twenty frames means each one keeps a twentieth. That is why a flip looks crisp and a long animation looks slightly soft on the same stock, and why a 4D piece, which spends its frames on depth and motion at the same time, is the most demanding thing you can ask a lens to do.
Ghosting, and how to design it out
Ghosting is the faint outline of the next frame bleeding into the one you are looking at. Some is unavoidable physics. Most of it is a design decision, because the effect gets worse the further apart two adjacent frames are in tone and position.
The fixes are practical. Keep frames tonally close, so a black frame never sits next to a white one. Move subjects a small distance per frame rather than a large one. Avoid hard high contrast edges landing in different places between frames, which is the single loudest source of doubling. If a flip has to jump between two very different images, add a mid tone frame between them and let it absorb the transition.
Pitch test, and why a printer asks for a proof
Lens pitch drifts slightly with the material and with press conditions, so a good lenticular shop prints a pitch test on the actual lens before interlacing the job. Skipping it produces banding, where the image seems to split into vertical stripes that will not resolve at any angle.
This is also why the answer to a rush lenticular job is usually a longer turnaround than the flat version of the same piece. The lens has to be tested, the interlace built to that measured pitch, and the print registered to the lens within a fraction of a lenticule. There is no honest way to compress that into same day.
The pieces that carry it well, and the ones that should stay flat
Lenticular lives on rigid plastic, usually between 0.018 and 0.030 inch thick for hand held pieces. That single fact decides which products it suits. Anything that has to fold, score, stack flat, take a pen, or run through an office printer is off the list. Anything that gets handed over, mailed as a flat piece, or hung on a wall is a fair candidate.
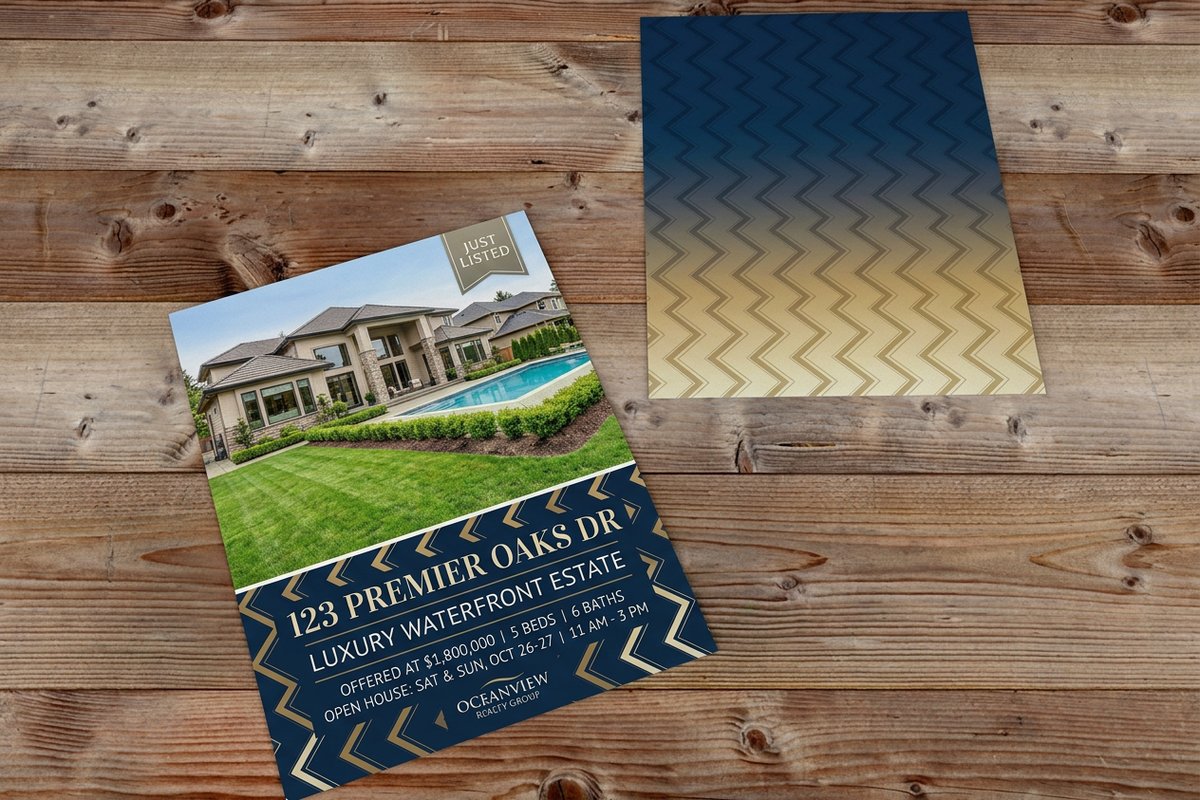
Business cards are the best value in the category, because the piece is small, the effect is seen at arm length where it is strongest, and the recipient keeps it. The 3D lenticular business card is the cheapest way to be the one card in the stack that gets picked up twice. The trade is that you cannot write a mobile number on the back of a lens.
Postcards are the second. A lenticular postcard survives a mailbox and gets held, which is the whole game in direct mail. Plan for the postage before you plan the artwork: a rigid plastic card can be treated as nonmachinable by the post office, and that surcharge applies per piece, so confirm it with your mail house before you commit a drop size. Agents who want the volume without the surcharge run the same creative flat on real estate postcards from $16.48 and save the lenticular for the top of the list.
Wall pieces are where depth pays. Browse the lenticular printing collection for the formats we carry, and compare against the flat premium options in acrylic prints and framed prints, both of which beat a lens on colour accuracy and neither of which moves.
The flat companion is not a downgrade
Almost every good lenticular campaign has a flat piece next to it. The lens grabs attention, the flat piece carries the detail, the legal copy, the phone number, and the QR code. Trying to make one sheet do both is how a lenticular ends up with unreadable type.
For a hand out set, that usually means the lenticular card plus a matching flat run. Real estate business cards from $17.57 hold the contact details and the licence number at full sharpness, and they cost a fraction of the lens version, so you can leave them everywhere and save the lenticular for the meetings that matter. On the sign side, real estate signs from $25 stay legible from a moving car, which no fine pitch lens does.
Heat, storage, and handling
Lenticular sheet is PET or APET, and it warps. Left on a dashboard in summer, a stack of lenticular cards will bow enough to break the registration between the print and the lens, and that damage does not come back out. Store the run flat, indoors, out of direct sun, and ship it boxed rather than in a padded envelope.
Fingerprints show more on a lens than on a coated stock, and the ribs hold onto them. A soft dry cloth is enough. Solvent cleaners fog the plastic.
What the flat version costs at 4OVER4.COM
Every lenticular project should have a flat baseline priced next to it, because that is the number the effect has to justify. Ready made prints are the closest flat equivalent to a wall mounted depth piece, and the configurator numbers below move with size, stock and quantity the same way any print run does.
Quantity and price
Ready made print pricing and specs
Live configurator numbers for the flat wall format, so you can weigh the lens against the print it replaces.
| Quantity | Price Per Unit | Total |
|---|---|---|
| 50 | 30.0¢ | $15.00 |
| 100 | 25.0¢ | $25.00 |
| 200 | 20.0¢ | $40.00 |
You can also earn coins on every order and redeem them against future runs, which helps when a campaign needs both the lenticular pieces and the flat volume behind them.
Stock, finish, and what the lens changes
On a flat print, stock and finish are the two levers that decide how the piece feels. Gloss lifts saturation and photographs well, matte cuts glare and reads easier under a spotlight, and the glossy versus matte comparison covers where each one wins. A lenticular removes that choice: the lens is the surface, it is glossy by nature, and it reflects. Plan the lighting for the piece accordingly, because a depth print under a hard downlight fights its own reflection.
Print it
The flat baseline, ready to order
Ready made prints from $15.00, the version to test the image on before you buy a lens.
Colour behaves differently too. Interlacing spreads each frame across strips under a lens, and the lens itself has a slight tint and a refraction that shifts hue at the edges of the viewing angle. Brand colours that have to match a pantone are safer on a flat piece. If the artwork is a poster rather than a photograph, the poster template guide covers the setup that keeps type crisp, and everything it says about type weight applies double under a lens. For the wall art decision itself, the acrylic versus canvas versus framed comparison is the honest place to start.
Where the effect earns its cost, by industry
The lens is worth the premium in some rooms and wasted in others. Here is where it tends to land.
- Real estate. A flip between the current kitchen and the renovated one does the listing pitch on a tilt. Pair it with the flat mailers in the absentee owner postcard playbook so the volume mail stays cheap.
- Product and retail brands. Depth on a shelf talker lifts the pack off the background at exactly the distance a shopper stands. Keep the claim on a flat tag underneath, where it can be read.
- Events and trade shows. A lenticular handout survives the tote bag and gets shown to someone else, which is the only metric that matters on a show floor. Animation of a product in use beats a photo of it sitting still.
- Music and entertainment. Morph and zoom suit posters and limited runs, and the format resists reproduction, which is part of why collectors keep them.
- Photographers and artists. Depth on a portrait or a landscape reads as a print you cannot screenshot. For colour critical work, compare it honestly against the flat options in the acrylic versus canvas comparison before deciding.
Templates and print-ready blanks
Whether the final piece carries a lens or not, the artwork starts at the right trim and bleed. 4OVER4.COM sizes its blanks to exact product specs, so your layers land inside the cut line and your registration holds. Pull a print ready blank from the blank template library before you build the frames.
Start fast
Templates and print-ready blanks
Design templates and exact size blanks so every frame in the stack shares one canvas.
Wally sizes the lens to the viewing distance
Pitch first, frames second, artwork third
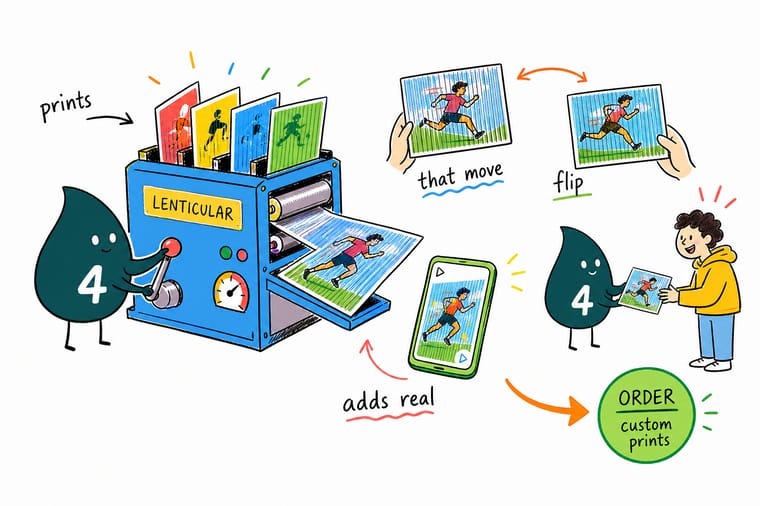
Set the viewing distance before anything else: 75 to 100 LPI for a card in the hand, 40 to 60 for a wall print, 15 to 30 for a sign read from the street. Then pick the frame count, because every frame takes a slice of the same resolution. Build the file in layers on one canvas, keep bold type on the front plane, and print the flat version first to prove the image works.
See lenticular printing →What to remember about 4D lenticular prints
Design rules that hold at every pitch
- Build the file in layers, not in one image. A depth job needs the subject, the mid ground and the background on separate layers of the same canvas, each one complete behind the layer in front. Flattened art gives the interlacer nothing to separate.
- Keep type on the front plane. Anything with parallax applied to it goes soft. Set headlines bold, hold them at zero parallax, and put the small print on the flat companion piece.
- Tell the printer the viewing distance first. Pitch follows distance, and distance decides the lens. Naming it before artwork starts prevents the most expensive reprint in the category.
- Design the frames close together. Small tonal and positional steps between adjacent frames are what kill ghosting. Big jumps look great as a storyboard and doubled on the lens.
- Proof on the real lens, at the real angle. Hold the proof at the distance and the height the finished piece will live at. An effect that works flat on a desk can vanish on a wall above eye level.
Explore more
More ways to print and promote
Related products, categories and guides on 4OVER4.COM, one card each, so you can keep planning the run.
 Category Lenticular Printing The moving and depth formats we carry, in one place.
  Product Ready Made Prints Flat wall prints from $15.00, the honest baseline for any depth piece.
 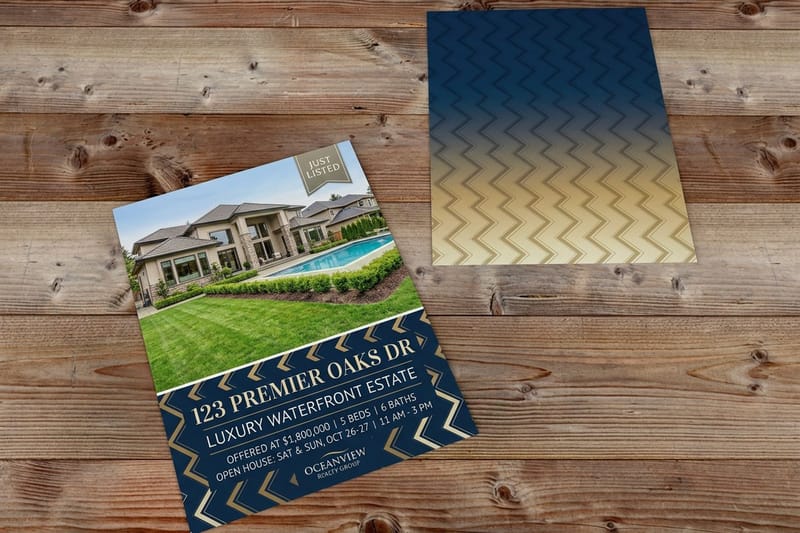 Product Real Estate Postcards Run the creative flat from $16.48 before you commit to a lens drop.
 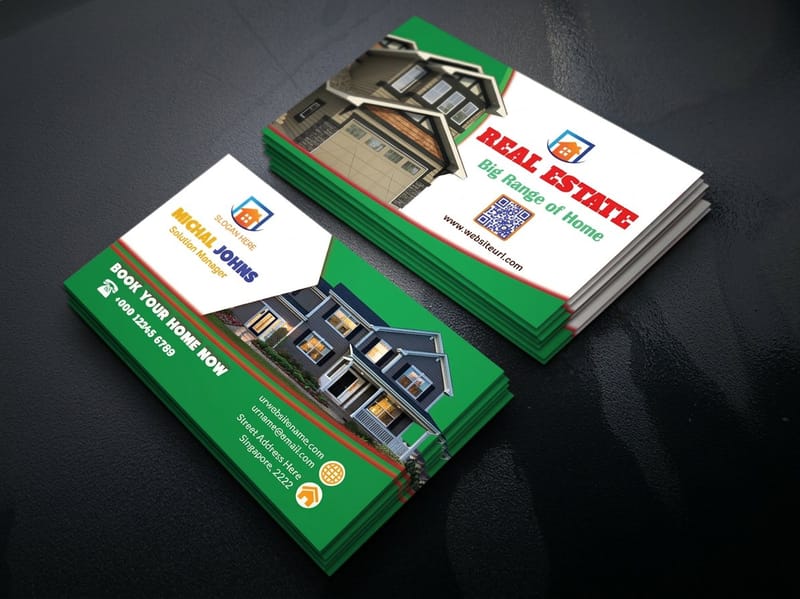 Product Real Estate Business Cards The flat companion that carries the contact details at full sharpness.
  Category Acrylic Prints Depth of a different kind, with colour accuracy a lens cannot match.
  Guide How to Make Lenticular Prints File setup, interlacing and lens selection, step by step.
 Ready to print the piece?
Prove the image flat first, then decide whether the lens earns its premium. 4OVER4.COM prints both, sharp, on premium stock, as fast as your deadline needs.
Common questions about 4D lenticular prints
What does the 4D in 4D lenticular actually mean?
It means the print carries parallax depth and motion at the same time, rather than one or the other. A 3D lenticular holds layers at different apparent distances but the scene stays still. A motion lenticular flips or animates but stays flat. A 4D piece does both, so the layered scene also changes as you move past it. There is no standards body behind the term, so treat it as a description of the effect and ask the printer how many frames the job gets and whether the motion runs on the horizontal axis, which is what depth forces.
Why does my lenticular look blurry or doubled?
Two different faults look similar. Doubling, where you can see a faint copy of the next frame, is ghosting, and it comes from adjacent frames being too far apart in tone or position. Softness across the whole image usually means the frame count is too high for the lens pitch, because each frame only gets a slice of the sheet resolution. A third possibility is banding, where vertical stripes refuse to resolve at any angle, and that is a pitch mismatch between the interlaced file and the actual lens, which is exactly what a pitch test before the run is meant to catch.
Can a lenticular postcard go through the mail?
Yes, and thousands do every month, but the rigidity changes the economics. A lenticular card is plastic between roughly 0.018 and 0.030 inch thick, which can push it into nonmachinable handling and a per piece surcharge. Confirm the current classification and rate with your mail house before you size the drop, because on a large list that surcharge can outweigh the printing difference. A common approach is a small lenticular drop to a high value segment and the same creative printed flat for the rest of the list.
How do I set up artwork for a lenticular print?
Supply a layered file, not a flattened image. For a depth effect, put the subject, the mid ground and the background on separate layers of one canvas, with each layer complete behind whatever sits in front of it, so the interlacer has real pixels to shift. For a flip or an animation, supply each frame as its own layer at identical dimensions and registration. Keep headlines bold and on the front plane, set the viewing distance with the printer before you start, and expect to leave the fine print off the lens entirely.
Is a lenticular worth the cost over a flat print?
It is worth it when the piece is handed over or hung, and it is wasted when the piece is mailed in volume or read at speed. The lens costs more per piece, adds days to the turnaround because of the pitch test and registration, and photographs poorly, so it earns nothing in an email or a social post. Where it pays is the meeting, the trade show table, the shelf and the wall, anywhere someone holds it or walks past it. Test the creative flat first: if it does not hold attention as a ready made print, the lens will only make the same picture move.
