
What Is DPI? Print Resolution Explained


DPI is how many ink dots a printer packs into an inch of paper, and it decides whether your print looks crisp or blurry. Here is what the number really means, how it differs from PPI and resolution, and the exact DPI to use for every product.
DPI (dots per inch) is the number of ink dots a printer places across one inch of paper. More dots means finer, sharper detail. For print you hold and read up close, such as cards, flyers and brochures, use 300 DPI at the final print size. Large-format pieces viewed from a distance, like posters and banners, look clean at 100 to 200 DPI. DPI is not the same as PPI, which measures pixels on a screen, or resolution, which is the raw pixel count.
Quick answer
The short version of DPI
Design at 300 DPI at the final print size for anything held in the hand, and you will never worry about blurry output. DPI counts ink dots on paper, PPI counts pixels on a screen, and resolution is the raw pixel total. Large-format prints viewed from a distance can drop to 100 to 200 DPI. You cannot add real detail by upscaling, so start with enough pixels, and let a free proof catch anything low-res before 4OVER4.COM prints it.
What DPI actually means (and why print cares so much)

DPI stands for dots per inch. It is the number of tiny ink dots a printer places across a single inch of paper. Pack more dots into that inch and the image looks smoother, with crisp text and clean photo edges. Spread fewer dots over the same space and the result turns coarse and soft. That is the whole DPI meaning in one sentence: dot density on paper.
Print cares about DPI because ink is physical. A screen glows and blends pixels for you, but paper only holds the dots your file provides. If the artwork does not carry enough real detail at its finished size, no printer can invent it. This is why professional printers, including our team at 4OVER4.COM, build every job around a target resolution.
For anything you hold and read up close, the standard is 300 DPI at the final print size. It is the sweet spot where the human eye stops seeing individual dots and the print simply looks clean. Later in this guide you will find a copy-paste cheat table that maps 300 DPI and its exceptions to real 4OVER4.COM products, plus a rescue checklist for saving a low-resolution file.
Resolution vs DPI, and DPI vs PPI

These three terms get swapped around constantly, and that mix-up is where most blurry prints begin. They are related but not identical.
- Resolution is the raw pixel count of an image, for example 3000 by 2000. It is the total amount of detail you have to work with, before any inches enter the picture.
- PPI (pixels per inch) describes how densely those pixels sit when displayed, usually on a screen. It is a screen-side measurement.
- DPI (dots per inch) describes how densely a printer lays ink dots on paper. It is a print-side measurement.
In everyday design software the print setting is often labeled DPI when it technically means PPI, so people use the words interchangeably. That is fine in practice, as long as you remember the real question: does this image have enough pixels to hit roughly 300 dots per inch at the size it will be printed? Resolution divided by printed inches gives you the answer.
Color plays into sharpness too. Files are prepared in CMYK for print, not the RGB your monitor uses, which is worth understanding alongside DPI in our CMYK vs RGB guide. For a deeper look at the pixel side, our DPI in print vs web breakdown is a natural next read.
How DPI changes what a print looks like
The easiest way to understand DPI is to see the same image at three densities. Below, one simple dot is printed at 72, 150 and 300 DPI. Watch what happens to the edge.
At 72 DPI, the dots are so large you can count them, which is why a web image dropped straight into a flyer prints blocky. At 150 DPI, edges soften but you still see stair-stepping on close inspection, fine for a draft or a large poster. At 300 DPI, the dots vanish into a clean shape, which is exactly why it is the print standard for anything held in the hand.
The takeaway is simple: DPI is not a magic quality slider you turn up at the end. It reflects how much real detail your file carries at its printed size. Give the press a genuine 300 DPI file and it prints beautifully. If your prints keep coming out soft for other reasons, our roundup of common print quality problems and fixes covers the rest.
The 4OVER4 DPI cheat sheet by product
Not every product needs the same DPI, because viewing distance changes everything. Something you hold at reading distance needs full detail, while a banner seen across a parking lot does not. Bookmark this table before you prepare any file.
| Product | Target DPI | Why |
|---|---|---|
| Business cards | 300 | Held inches from the eye, so small text and logos need full detail. |
| Flyers & postcards | 300 | Read up close and photo-heavy, so photos must stay sharp. |
| Brochures & booklets | 300 | Fine type and folds demand crisp edges on every page. |
| Stickers & labels | 300 | Small format with tight detail and bold color fields. |
| Indoor posters | 150 to 200 | Viewed from a few feet back, so detail can ease off slightly. |
| Vinyl banners | 100 to 150 | Large and seen from a distance, so lower DPI still looks clean. |
| Large outdoor banners | 72 to 100 | Big viewing distance hides softness, and file sizes stay manageable. |
Set the DPI at the finished print size, then add bleed. When in doubt, size up: extra resolution never hurts a print.
The pattern is easy to remember: the closer people get to a print, the higher the DPI it needs. Small pieces like flyers and business cards live at 300, while large-format work scales down as viewing distance grows. If you are picking a size first, our flyer size guide and poster sizes guide pair perfectly with this DPI chart.
Why 300 DPI is the standard, and when you can go lower

Three hundred is not an arbitrary number. It roughly matches the limit of what a person with normal vision can resolve at typical reading distance, around 10 to 12 inches. Below that, most people notice softness. Above it, the extra dots are usually invisible on press, so 300 DPI became the practical print standard.
The important word is distance. As soon as a print moves farther from the eye, the required DPI drops, because your vision cannot resolve fine detail at a distance anyway. That is why an indoor poster looks great at 150 to 200 DPI, a vinyl banner is clean at 100 to 150, and a highway banner can go lower still. You are trading detail you would never see for a smaller, more workable file.
There is a floor, though. Going below the sensible range for a given size produces visible pixelation no matter how far back you stand. When you are unsure, size up rather than down. Extra resolution costs you nothing on paper, and our team would rather receive too many pixels than too few.
DPI for screens versus DPI for print
Here is the trap that catches almost everyone. An image that looks perfectly crisp on your monitor can still print blurry, because screens and paper measure detail differently.
Most screens display around 72 to 110 PPI, and many web images are exported at just 72 DPI to keep file sizes small and pages fast. That is plenty for a glowing display, where the software blends pixels. Drop that same 72 DPI image into a print file at full size and you are asking the press to reproduce roughly a quarter of the detail it needs. The result looks soft or pixelated on paper even though it looked fine on screen.
The fix is to judge images by their pixel dimensions at print size, never by how they look on your monitor. Grab the original high-resolution photo rather than a downloaded web copy, and export from your source file at the finished dimensions. When you build art in the 4OVER4.COM online designer, the canvas is already set up at print resolution, which removes the guesswork.
How to check and change DPI

Checking and adjusting DPI takes under a minute once you know where to look.
- In Photoshop: open Image → Image Size. You will see resolution and pixel dimensions. To change DPI without losing detail, uncheck Resample, then type your target inches. Photoshop recalculates the DPI from the pixels you already have.
- In Illustrator or InDesign: resolution comes from the placed image, so check the linked file rather than the document. Build the artboard at final size with bleed and keep raster art at 300 PPI effective resolution.
- On any computer: right-click the file and open its details or properties to read the pixel width and height. Divide the width by the printed width in inches to get your true DPI.
One rule saves a lot of grief: do not resample a small image up to fake a higher DPI. Typing 300 into the box when the pixels are not there only stretches the same data thinner. It reports 300 DPI while looking exactly as soft as before. For the full walkthrough, our image resolution for printing guide and business card dimensions in Photoshop guide go step by step.
The low-resolution rescue checklist
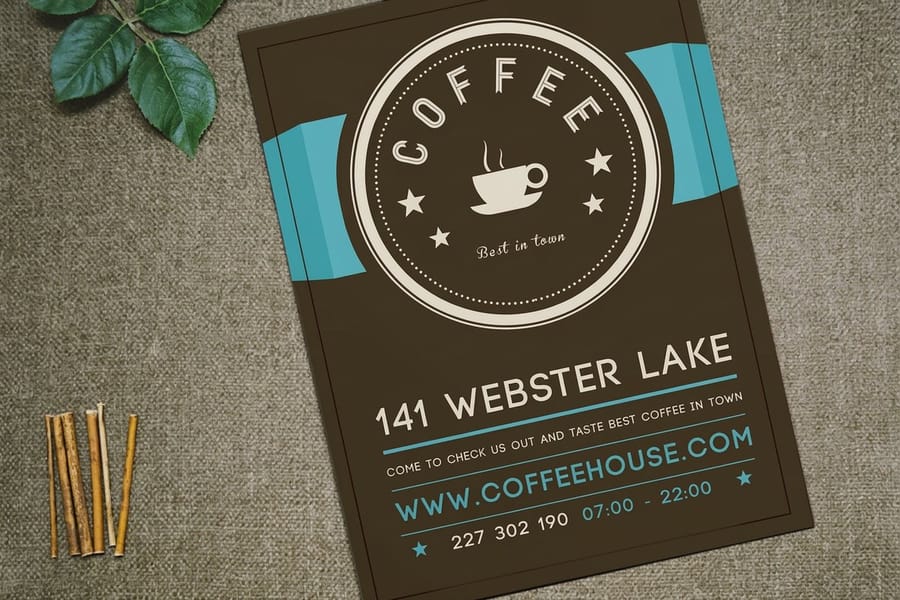
You opened the file, did the math, and the image is under 300 DPI at the size you need. Before you settle for a soft print, work through this checklist in order.
- Find a bigger original. The web copy is almost always a shrunken version. Track down the camera file, the stock download at full size, or the vector source.
- Re-export from the source. If the graphic came from Illustrator, Canva or a PDF, re-export it at the final print dimensions instead of scaling a flat image.
- Use vector wherever possible. Logos, icons and type set as vectors stay razor-sharp at any size, so no DPI worry applies to them at all.
- Print it smaller. A 150 DPI image at 8 inches is a crisp 300 DPI image at 4 inches. Reducing the printed size can rescue the file outright.
- Try a modern upscaler. AI upscaling tools add believable detail far better than old resampling, enough for a modest size increase.
- Lean on the viewing distance. If it is destined for a banner or large poster, lower DPI may already be perfectly acceptable, so check it against the cheat table above.
If none of that closes the gap, our team catches it before ink hits paper. Every order can include a free proof, and preflight flags low-resolution art so nothing prints blurry by surprise.
Common DPI mistakes that ruin a print run

Even seasoned designers slip on these. Avoid them and your files sail through preflight.
Setting DPI at screen size, not print size. Three hundred DPI only means something relative to the finished dimensions. Always size the artwork to the real print, then confirm the resolution.
Upscaling a small image and trusting the number. Changing the DPI field does not add detail. If the pixels are not there, the print is soft no matter what the box says.
Using web images straight from a browser. Downloaded web graphics are typically 72 DPI and already compressed. Go back to the high-resolution source instead.
Forgetting bleed. Art needs to extend past the trim line, which means slightly larger dimensions and a few more pixels. Our bleed and trim guide covers exactly how much to add.
Over-shooting on huge banners. A 300 DPI file for a 10-foot banner is an enormous, unwieldy file for detail no one will ever see. Match the DPI to the viewing distance instead.
Skipping the proof. A 30-second look at a free proof catches resolution problems while they are still fixable. 4OVER4.COM builds proofing into the flow so blurry art never reaches the press.
Wally explains DPI
More dots per inch means a sharper print
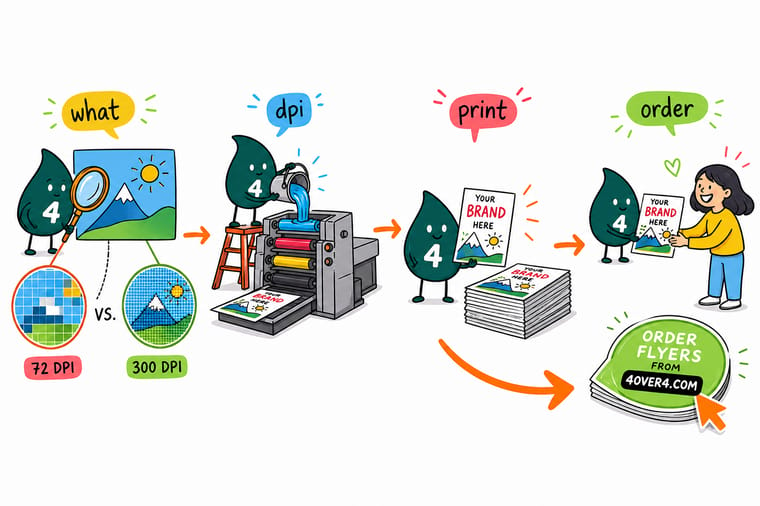
Wally thinks of DPI like tiles in a mosaic: use a handful of big tiles and the picture looks blocky, use hundreds of tiny ones and it turns smooth and lifelike. Three hundred dots per inch at the real print size is the sweet spot where your eye stops seeing the tiles. Build your file at that resolution and 4OVER4 prints it crisp, every single time.
Order flyers →Specs and pricing
Flyer specs and live pricing
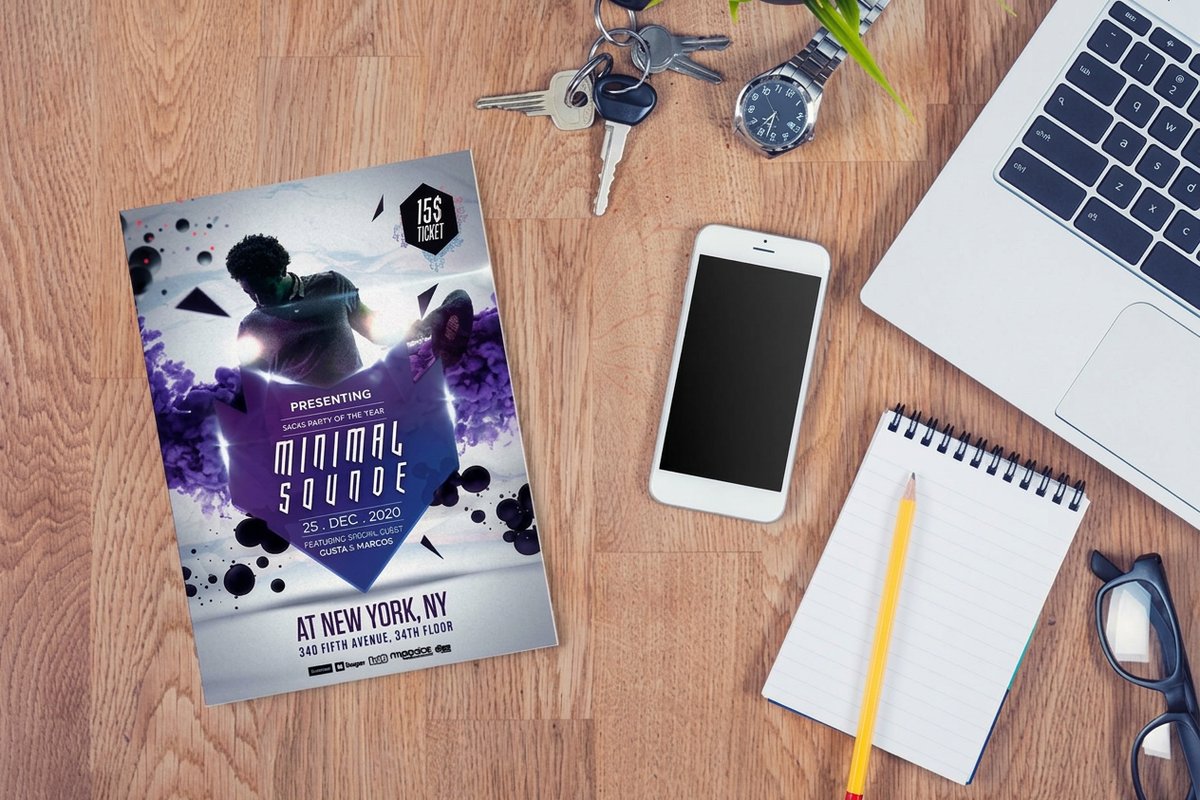
Once your artwork is set at 300 DPI, here is what a full-color flyer gives you at 4OVER4.COM, with live specs and price-per-unit straight from the configurator. Set your file up right and this is where it prints.
| Quantity | Price Per Unit | Total |
|---|---|---|
| 50 | 79.1¢ | $39.54 |
| 100 | 57.1¢ | $57.11 |
| 200 | 37.3¢ | $74.69 |
| 300 | 28.6¢ | $85.68 |
| 400 | 24.4¢ | $97.76 |
| 500 | 21.8¢ | $108.75 |
| 600 | 18.7¢ | $112.03 |
| 700 | 16.5¢ | $115.33 |
Print it
Print your high-resolution files at 4OVER4

See it in use
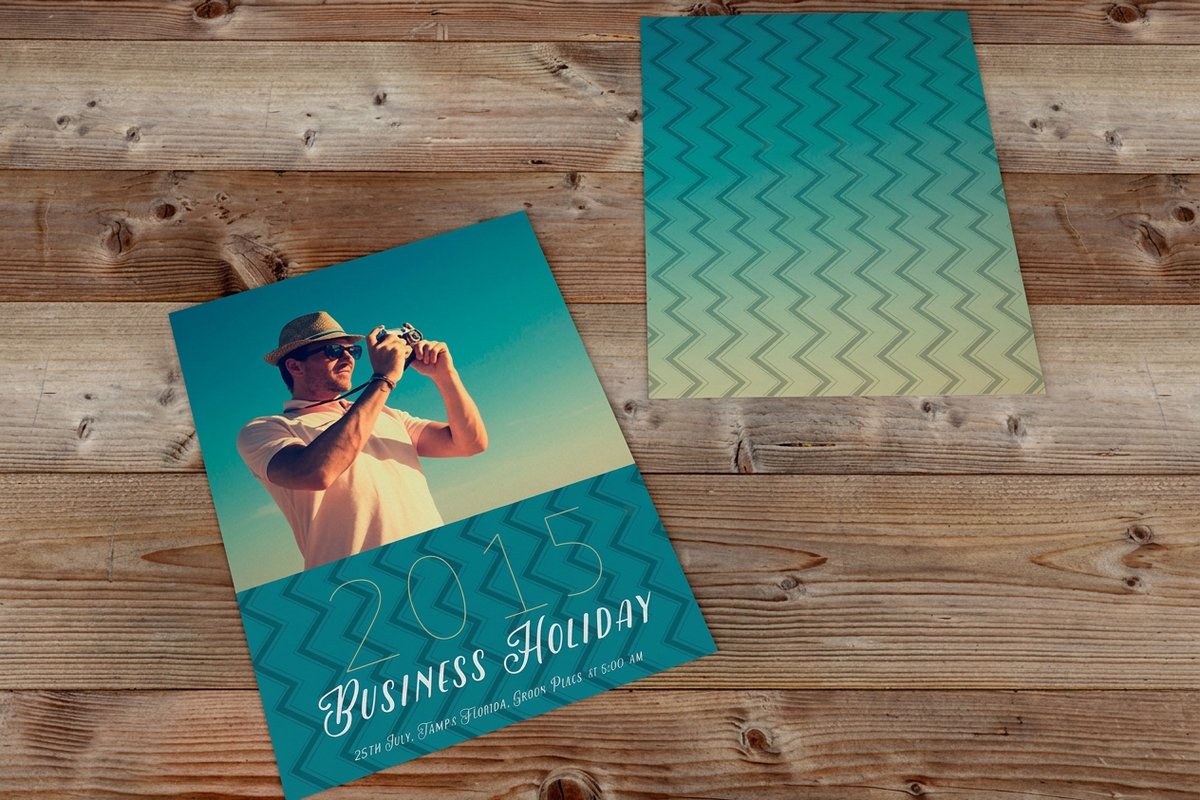
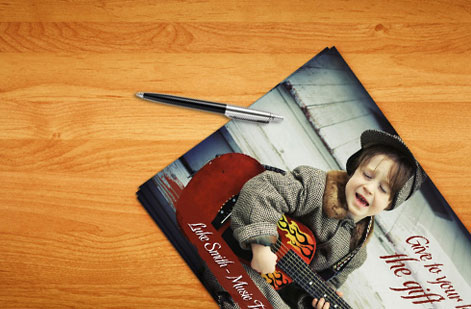
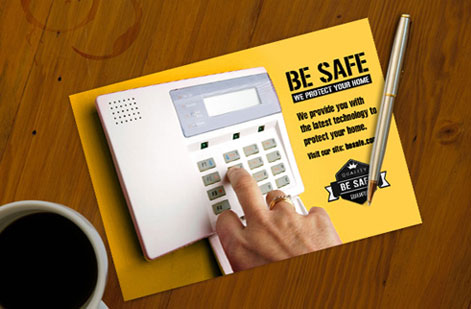
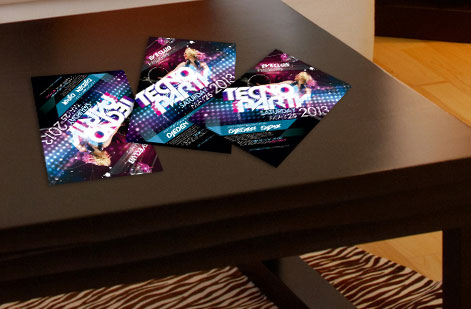
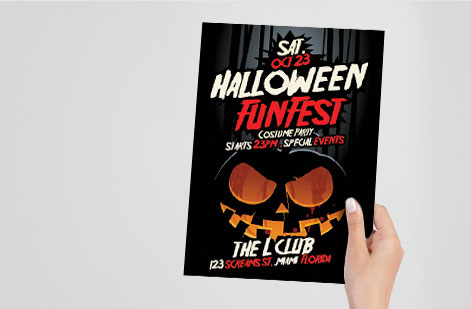
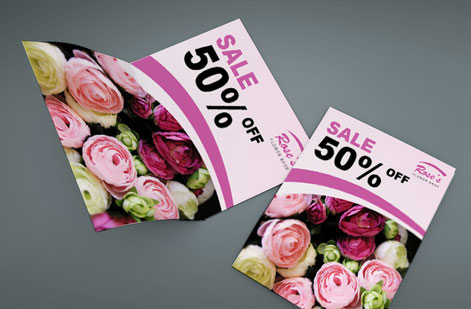
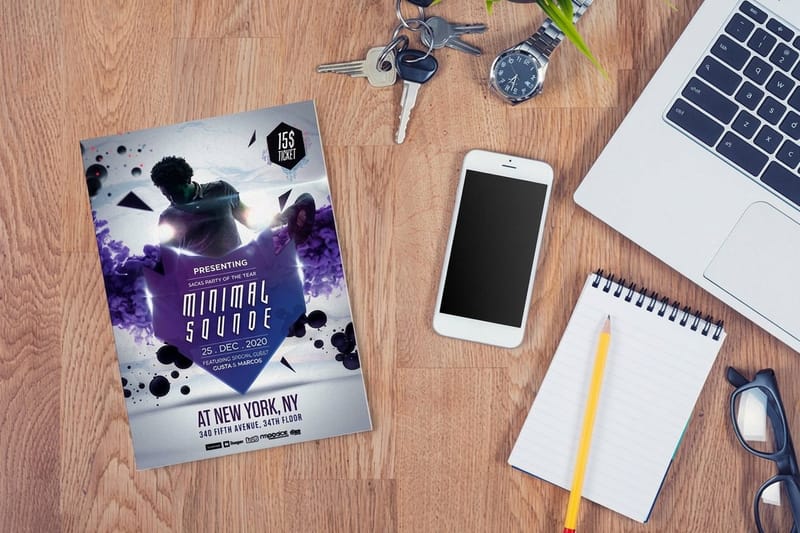
Real flyer work, printed in-house


Explore more
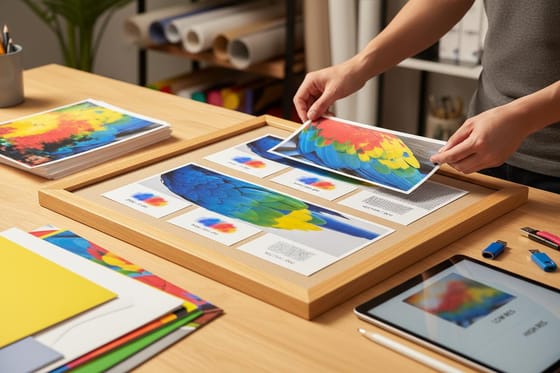
Where to go next
By the numbers
Printing you can count on at 4OVER4
Common Questions
Common questions about DPI and print resolution
What does DPI mean in printing?
DPI stands for dots per inch. It is the number of individual ink dots a printer lays down across one inch of paper. A higher DPI packs more dots into the same space, which is what makes text, edges and photographs look smooth and detailed instead of coarse. When people ask about the DPI meaning of a file, they usually mean how much real detail it holds at the size it will be printed. For most print at 4OVER4.COM, 300 DPI at final size is the target.
What DPI should I use for printing?
Use 300 DPI at the final printed size for anything held in the hand or read up close, such as business cards, flyers, postcards, brochures and booklets. Large-format pieces you view from a distance, like posters and vinyl banners, look clean at 150 DPI, and very large banners can drop to 100 DPI. Set the resolution to match the finished dimensions, not the size of the image on your screen.
Is DPI the same as resolution or PPI?
No, though the terms get mixed up constantly. Resolution is the total number of pixels in an image, for example 1800 by 1200. PPI, pixels per inch, describes how densely those pixels sit on a screen. DPI, dots per inch, describes how densely a printer places ink dots on paper. Software often labels the print setting DPI when it technically means PPI, but the practical rule is the same: aim for 300 at final print size.
What DPI do I need for large posters and banners?
Because you stand back from them, large-format prints do not need 300 DPI. An indoor poster looks crisp at 150 to 200 DPI, a standard vinyl banner is fine at 100 to 150 DPI, and a very large outdoor banner can go as low as 72 to 100 DPI. The farther the typical viewing distance, the lower the DPI you can use without anyone noticing softness.
Can I increase the DPI of a low-resolution image?
Changing the DPI number in your software does not add real detail. Upscaling stretches the existing pixels over a larger area, which makes edges soft and blocky. The only true fix is to start from a higher-resolution original, re-export from the source file at the correct size, or use a modern AI upscaler for a modest boost. The safest habit is to design at the final print dimensions from the start.
How do I check the DPI of an image?
In Photoshop open Image then Image Size to see resolution and pixel dimensions. In a file browser, view the image properties or details to read its pixel width and height. To know whether it is print-ready, divide the pixel width by the printed width in inches: if the result is 300 or more, you are set for close-up print. A 3000 by 2000 pixel photo, for instance, prints beautifully at 10 by 6.7 inches.
What DPI do I need for flyers and business cards?
Both should be 300 DPI at their finished size. A standard flyer at 8.5 by 11 inches needs roughly 2550 by 3300 pixels, and a 3.5 by 2 inch business card needs about 1050 by 600 pixels, each with a little extra for bleed. Building your artwork at these dimensions keeps small text legible and photos sharp. You can set this up quickly in the 4OVER4.COM online designer.
Get Started
Ready to print your 300 DPI files?
Upload print-ready artwork or build it in the browser, and we print full-color flyers, cards and posters that look exactly as sharp as your file.
Legal Disclaimer
Gold Standard guarantees apply to all standard orders placed through 4over4.com. Price match requires verifiable proof of a competitor's published price for an equivalent product with matching specifications and turnaround time. Satisfaction guarantee covers manufacturing defects and print quality issues. Contact support with order number and documentation. On-time delivery rate based on tracked orders 1999 to 2026. Individual results may vary based on shipping carrier performance.
