
The Brochure Choices That Save Money and the Ones That Show


Four specs you can trim on a brochure without a single reader noticing, three that give the saving away the moment someone picks the piece up, and the quantity math behind both.
Cut the quantity you do not need, the custom trim size, the complicated fold, and the extra proofing round you were only doing out of habit. Do not cut paper weight below 100lb text on a heavy-coverage layout, do not drop the coating, and do not skip the printed proof, because those three are exactly what a reader feels in the first two seconds. Setup is charged once per job, so quantity moves the unit price far more than any single spec does.
Quick answer
Trim the setup, protect the surface
A brochure price is one fixed setup charge plus a per-sheet material cost, and only the first one rewards you for being clever. Quantity, a standard trim size and a simple fold all reduce what you pay without changing anything a reader can perceive. Paper weight, coating and the proof are the opposite: each saves a little and shows a lot. Print on 100lb coated text at a standard size with a letter fold, at the quantity you will genuinely hand out before the content changes, and the piece costs less than most people expect while feeling like it cost more.
Where the Money Actually Sits in a Brochure Quote
A brochure quote is two numbers wearing one price tag. There is a fixed cost that happens once no matter how many you print, and a running cost that repeats on every sheet.
The fixed part is setup: imposing the file, plating or ramping the press, pulling and correcting the first sheets until the color sits where it should, and setting the folder and the cutter for your specific piece. That work costs the same for 250 brochures as it does for 2,500. The running part is paper, ink and the seconds each sheet spends in the folder, and it scales in a straight line with quantity.
This is why the unit price collapses through the first thousand pieces and then goes almost flat. You are not being rewarded for loyalty at higher quantities. You are simply dividing one setup charge across more pieces until there is nothing left to divide. Past that point the price per brochure sits on the floor made of paper and ink, and no quantity in the world pushes it lower.
Two consequences follow, and they decide most of the savings on this page. First, if you are printing a genuinely small run, the specs that add setup steps hurt you far more than the specs that add material. Second, if you are printing a large run, the material specs are the ones worth arguing about. Move the quantity slider on brochure printing and you can watch the curve happen in real time before you commit to anything.
The Cuts Nobody Notices
Start here, because these four decisions save real money and no reader has ever detected any of them.
Right-size the quantity instead of guessing it. Count the actual outlets: the show, the counter, the mailing list, the sales team, plus a sensible margin. Then check the next quantity break above that number, because it is often only slightly more for meaningfully more pieces. What you should not do is jump three breaks to chase a unit price, since brochures go stale the moment a price or a person changes.
Stay on a standard flat size. An 8.5 by 11 sheet folded into three panels, or an 11 by 17 folded once into a four-page piece, both cut out of standard press sheets with almost no waste. A custom trim leaves offcuts on every sheet and usually adds a cutting charge on top. If you want an unusual shape badly enough, make it a deliberate feature and read our die cutting guide first so you know what the die actually costs.
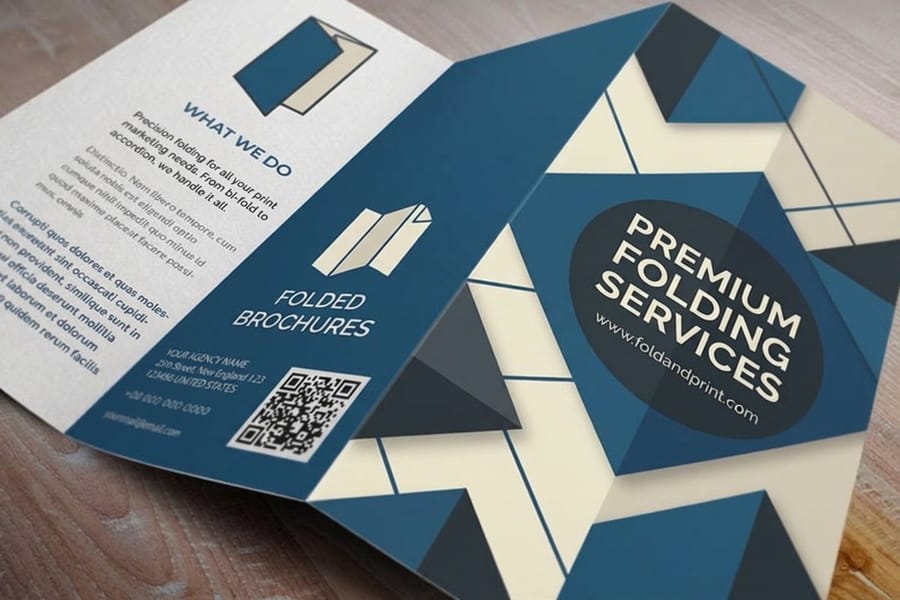
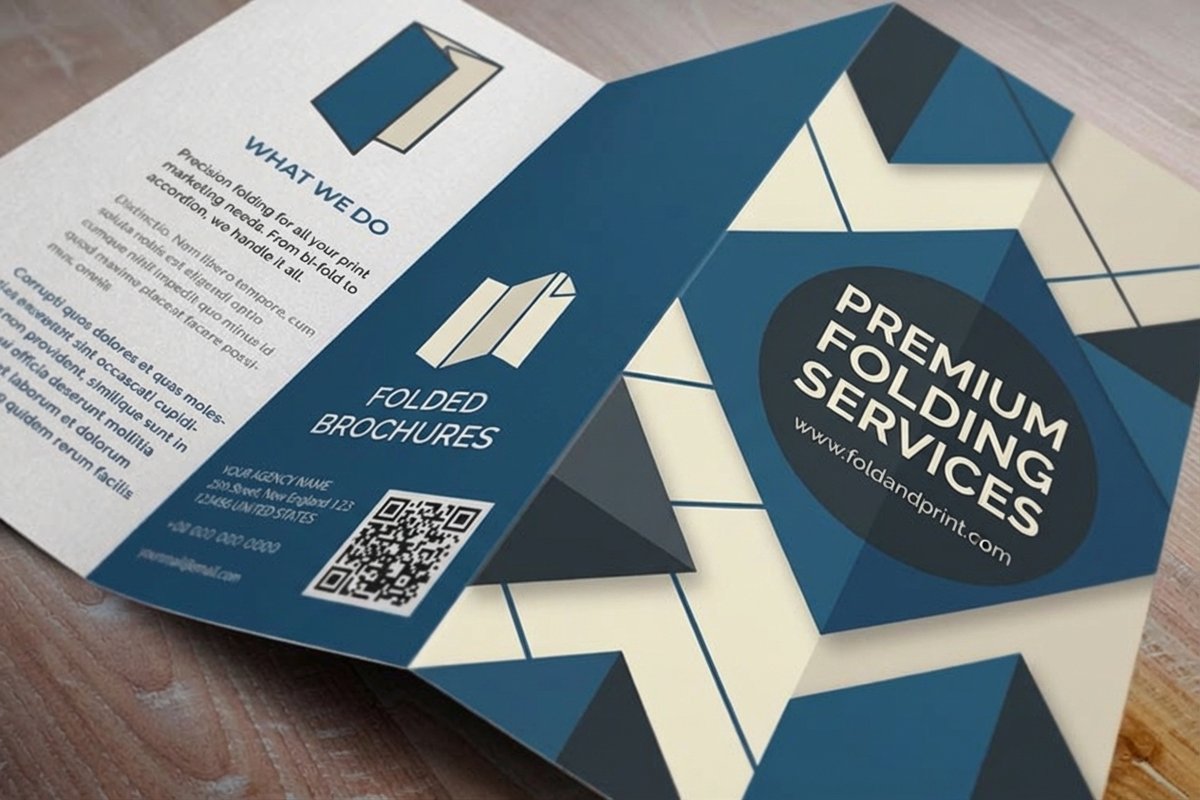
Keep the fold simple. A letter fold and a half fold run straight through the folder. Gate folds, accordion folds past four panels and roll folds all need extra setup or a second pass, and on a short run that setup is a visible slice of the total. The folded brochure design roundup shows which styles are worth the extra bindery time.
Do not redesign around ink coverage. Dropping the back panel to a single color feels like a saving, but most short-run work prints on a gang run where the press is already set up for full color on both sides. Ask for both prices before you spend an afternoon converting photos to grayscale.
The Cuts Everyone Notices
These are the three places where saving a small amount buys you a piece that reads as cheap, and readers register all three within about two seconds of picking it up.
Paper weight. The standard brochure body stock is 100lb gloss or matte text. Drop to 70lb and two things happen at once: the sheet loses the small amount of stiffness that makes it stand up in a rack or hold its shape in a hand, and anything printed on the reverse starts ghosting through wherever the ink is heavy. On a light, airy layout you may get away with it. Behind a full-bleed photograph you will not. If the piece needs to feel substantial, moving to a cover weight is the upgrade, and our brochure paper guide lines the weights up side by side.
Coating. Coated text stock is a volume paper, so removing the coating rarely saves anything, and it costs you scuff resistance. A brochure with dense ink coverage travels in a box, sits in a rack and gets handled by strangers. Uncoated shows every fingerprint and every scrape from that journey. Pick uncoated because the design wants a matte, writable surface, not to shave the invoice.
The fold itself, on heavy stock. Anything at cover weight has to be scored before it is folded, and the fold has to run with the grain of the paper. Skip either and the coating cracks along the crease in a white line that runs the length of the panel. This is not really a cost decision, it is a spec decision that gets skipped when a job is rushed, and it is the single most common reason a nicely printed brochure looks damaged out of the box.
Cut This, Not That: The Whole Decision on One Page
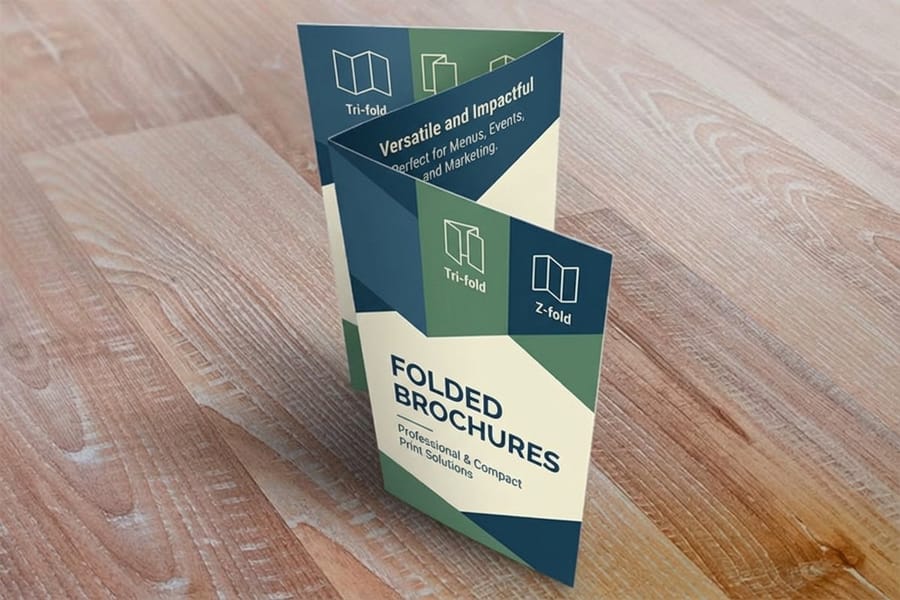
Read the last column first. If a reader can see the difference, it is not a saving, it is a downgrade.
| Change | What it does to the cost | Where it bites | Does a reader notice? |
|---|---|---|---|
| Order the next quantity break up | Lowers the unit price sharply below about 1,000, barely above 2,500 | Surplus goes stale when a price or a name changes | No |
| Standard flat size instead of custom | Removes paper waste and a trim charge | You lose an unusual shape as a talking point | No |
| Letter fold instead of a gate or roll fold | Removes a bindery setup or a second pass | Panel reveal sequence gets simpler | No |
| One color on the back instead of four | Saves little on a gang run, more on a dedicated offset run | Photos and brand color disappear from a whole side | Yes |
| 70lb text instead of 100lb text | Saves a modest amount on paper | Floppy in the hand, show-through under heavy ink | Yes, immediately |
| Uncoated instead of coated text | Often saves nothing at all | Scuffs, fingerprints, dulled photos | Yes |
| Skipping the printed proof | Saves a small fee and a day | Any error becomes a full reprint | Yes, once |
The pattern holds across other short-run print too. The same logic drives cheap booklet printing, where page count multiples replace fold count as the setup lever, and low cost banner printing, where material grade replaces paper weight. Fixed costs reward volume; visible specs punish shortcuts.
Ordering So You Never Pay for It Twice
Every saving on this page disappears the moment a job has to be reprinted, and reprints are almost always a file problem rather than a press problem.
Build the file at full size with 0.125 inch of bleed on every edge that prints to the trim, and keep anything you care about, especially text and logos, at least 0.125 inch inside the trim line. Set images at 300 dpi at the final printed size, not at 300 dpi at thumbnail size scaled up. Convert type to outlines or embed the fonts. On a folded piece, lay the panels out in the folder's order rather than reading order, because a tri-fold's inside flap panel is narrower than the other two so it can tuck in cleanly. Starting from a correctly built blank template removes most of this work.
Then look at the proof properly. Read the phone number out loud, check the web address character by character, and confirm the fold marks match the sequence you intended. Those thirty seconds are the highest-return part of the whole process.
If the brochure is part of a larger push, order the pieces together. A brochure alongside flyers for the handout table and matching booklets for the people who ask real questions ships in one consignment on one schedule. The trade show printing collection groups the pieces that usually travel together, and combining them removes duplicated shipping rather than removing quality.
Wally explains where the savings hide
Cut the setup, never the surface
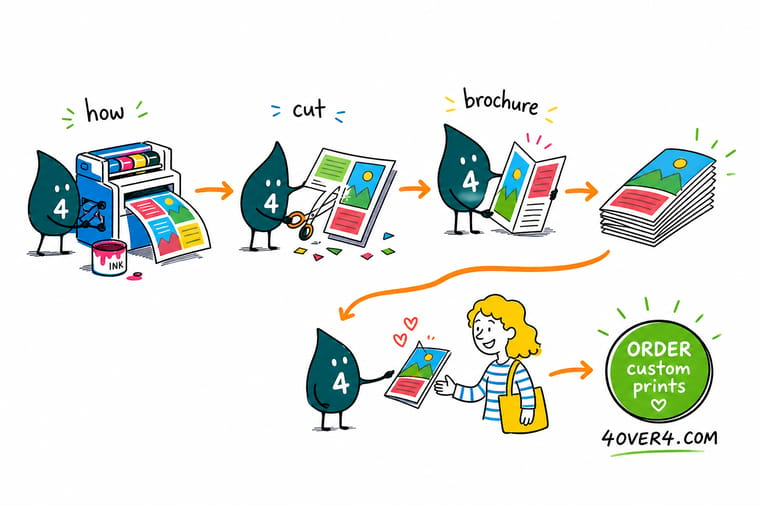
Wally charges you once for setting the press and the folder, then again for every sheet of paper. Order more and that one setup charge gets spread thinner, which is why the unit price falls fast up to about a thousand and then stops. Ask him for a standard size and a simple letter fold and he saves you money nobody can see. Ask him for thinner paper and no coating and he saves you a little money that everybody feels.
Configure brochure printing →Specs and pricing
Watch the quantity break move before you commit
Change the quantity on any of these and the price per piece updates live. It is the fastest way to find the point where ordering more stops paying you back.
Print it
Order the brochure, keep the quality
Explore more
Where to go next


By the numbers
Brochure printing you can count on at 4OVER4
Common Questions
Your brochure cost questions, answered
What is the cheapest way to print a brochure that still looks professional?
Order a standard 8.5 by 11 sheet with a letter fold, on 100lb gloss text, at the highest quantity you will genuinely use inside six months. That combination keeps the sheet on a size the press already cuts efficiently, keeps the folding to a single straight pass, keeps enough paper in your hand that the piece does not feel like a photocopy, and spreads the one-time setup across enough pieces to matter. Everything else you might trim saves less and shows more.
Is 70lb text paper too thin for a brochure?
It depends entirely on what is printed on the back. On a light layout with white space, 70lb text is acceptable and people rarely notice. Put a full-bleed dark photo on one side and the image ghosts through to the other side, which readers register as cheapness even if they cannot name what is wrong. If your design has heavy ink coverage on both sides, 100lb text is the honest minimum, and the difference in cost between the two on a run of a thousand is smaller than most people assume. Our guide to the best paper types for brochure printing walks through each weight against the layout it suits.
Does a tri-fold really cost less than a gate fold?
Yes, and the gap is in bindery time rather than paper. A letter fold, which is what most people mean by tri-fold, runs through the folder in one straight pass with standard settings. A gate fold has to bring two flaps to meet in the middle, which means tighter tolerances and often a second pass, and a roll fold past three panels needs each successive panel cut slightly shorter so it tucks inside. That extra setup is charged whether you print 250 or 2,500, so on a small run a fancy fold can be a noticeable slice of the total.
Should I order extra copies just to get the lower unit price?
Only up to the point where you will actually use them. The unit price drops steeply through the first thousand and then flattens, so the second thousand saves you real money per piece and the fifth thousand saves you very little. Brochures also expire: a price list, a staff photo or a phone number goes stale and the whole surplus becomes scrap. A good rule is to buy what you will hand out before the content changes, then reprint rather than over-order.
Does uncoated paper cost less than gloss?
Not usually, and that surprises people. Gloss and matte coated text stocks are the volume papers a commercial shop buys by the pallet, so they are often the same price or cheaper than an equivalent uncoated sheet. Coating also protects the piece: on a brochure with heavy ink coverage an uncoated surface scuffs, picks up fingerprints and shows every mark from the box to the trade show table. Choose uncoated because you want the tactile, matte look, not because you think it saves money.
Why did printing the back in one color barely change my quote?
Because most short-run brochures are printed on a gang run, where your job shares a press sheet with other jobs that are already running four colors on both sides. The press is set up for full color regardless, so dropping the back to a single ink removes almost nothing from the cost and removes a lot from the design. Ask before you spend a week redesigning around it. On very large offset runs where your job has the press to itself, the saving is real.
Where should I spend money on a brochure instead of saving it?
Paper weight, coating and the proof. Those three decide whether the piece feels credible in someone hand and whether it arrives correct. Save on quantity discipline, standard sizes and simple folds instead, because none of those three is visible to the person reading it. If you want a heavier, more premium feel without moving the whole run to cover stock, look at what a die cut or a specialty edge does on a smaller subset of the order.
Get Started
Ready to print a brochure that costs less and reads better?
Pick a standard size, a simple fold and a coated text stock, then set the quantity you will genuinely use. We print it, fold it and ship it on schedule.
Legal Disclaimer
Gold Standard guarantees apply to all standard orders placed through 4over4.com. Price match requires verifiable proof of a competitor's published price for an equivalent product with matching specifications and turnaround time. Satisfaction guarantee covers manufacturing defects and print quality issues. Contact support with order number and documentation. On-time delivery rate based on tracked orders 1999 to 2026. Individual results may vary based on shipping carrier performance.
