
How To Make A Sticker From A Photo Cut To Shape


A favorite photo can become a die-cut sticker that cuts right around the subject. Here is how to crop it, clean the background, check the resolution, and set a cut line so the finished sticker looks pro. Your phone does the first half in a second: iPhone Photos and Google Photos both lift the subject straight out of the picture, and that transparent PNG is what the printed sticker is built from.
Making a sticker from a photo means cropping to the subject, removing the background, checking resolution, and setting a cut line so the sticker cuts to shape. Start from a sharp, high-resolution photo, crop tight to the subject, remove or keep the background depending on the look, confirm the image holds up at print size, add a cut line, and order a die-cut sticker. On a phone the first steps take seconds: press and hold the subject in iPhone Photos, or use Cutout in Google Photos, then save the lifted subject as a transparent PNG. Those phone stickers live inside your messages. To hold one in your hand you still need a printed die-cut sticker, and it starts from the same cropped, background-free image, so take that PNG, check it holds 300 DPI at final size, and print your photo stickers on laminated vinyl.
Start with the right photo and crop
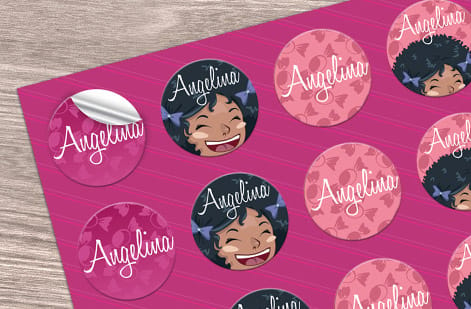
A photo sticker is only as good as the photo behind it, and the single most important factor is resolution. Because a sticker prints at real size and is often held close, any softness or pixelation shows immediately, and you cannot add detail back to a small or blurry image later. Start from the sharpest, largest version of the photo you have, ideally something that holds up at 300 DPI at the size the sticker will print.
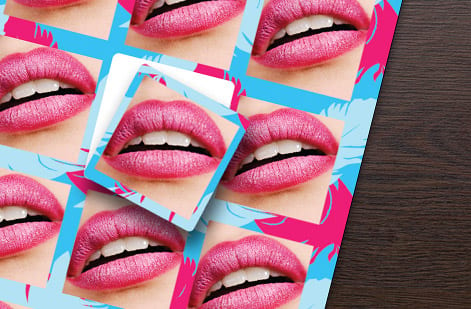
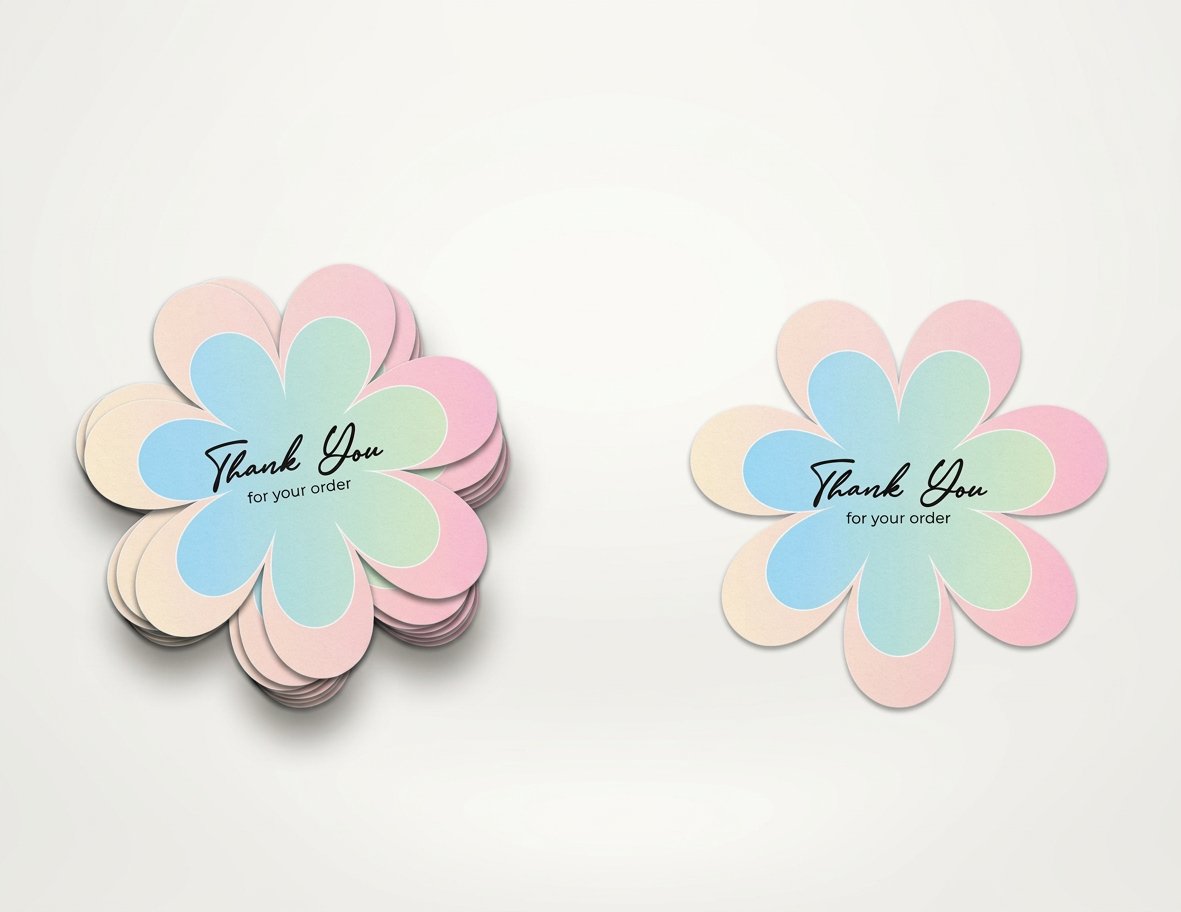
Next, crop with a sticker in mind. Stickers are small, so the subject should fill the frame with the dead space trimmed away. A tight crop makes the subject read instantly, while a loose one wastes the little space you have and shrinks the part people actually care about. Decide roughly how the sticker will be shaped as you crop, since that guides how tight to go. Our die-cut stickers can follow almost any outline you choose.
Decide on the background
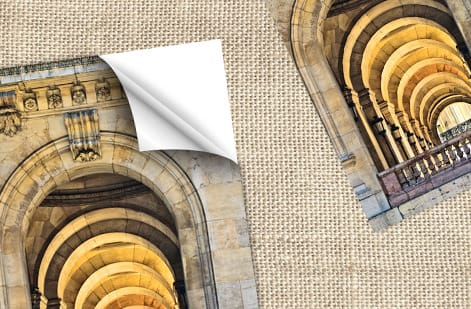
The background is a real design decision that sets the whole style of the sticker. Remove it, and the sticker becomes a die-cut that cuts right around your subject, a person, a pet, a product, for that clean, professional, cut-to-shape look. Keep it, and the sticker becomes a full-bleed photo, usually a rectangle or a rounded rectangle, that shows the whole scene. Neither is wrong; they are two different products from the same photo.
If you go the die-cut route, the quality of your background removal is everything, because the cut line will follow the edge you create. Take time to isolate the subject cleanly, softening hair or fine edges so the cutout looks natural rather than scissored. Free background removers handle most photos in seconds, and a program like Photoshop gives finer control for tricky edges. A clean transparent cutout is exactly what a clear or die-cut sticker needs to look pro.
Check resolution and set the cut line
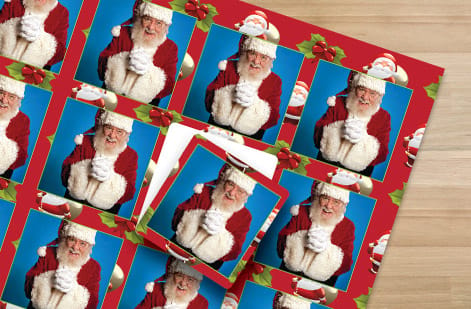
Before you commit, verify the photo one more time at the size it will actually print. View it at 100 percent zoom at the final sticker dimensions, and if it looks soft or blocky there, it will look that way on the finished sticker, so drop to a smaller size or start from a better source. This quick check is the difference between a crisp sticker and a disappointing one, and it costs nothing but a moment.
Then set the cut line, the path the die follows. For a die-cut around the subject, the cut line traces the subject's edge just outside it; for a shaped photo sticker, it follows the rectangle or rounded outline you chose. Add a small bleed of color or photo past that cut line so a slight shift in the blade never leaves a white edge, and convert the image to CMYK so the printed color matches your intent. Our guide on die-cut stickers covers cut lines in more depth.
Pick a material and order
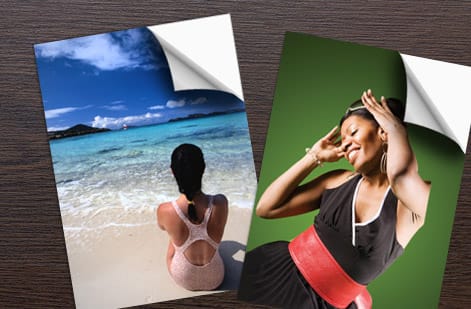
With the file ready, the last choice is what the sticker is made of, driven by where it will live. Durable vinyl is the right call for anything facing weather, water, or heavy handling, from a laptop to a car window, because it resists fading and peeling and keeps a photo looking rich. A gloss finish makes photo colors pop and adds a wipeable surface, while matte reads more subdued and cuts glare. For indoor labels and packaging, a paper stock is a cost-effective option.
When you are unsure how your photo will print on a given material, order free samples so you can judge the color and finish on real stock before a full run. If building the file from scratch feels like a lot, our online designer handles the cut line and bleed for you so what you upload comes out print-ready. Once everything checks out, use the live specs and pricing panel below to set your size, material, finish, and quantity, and order your stickers.
Wally turns a photo into a clean die-cut
Sharp source, tight crop, a cut line that hugs the subject
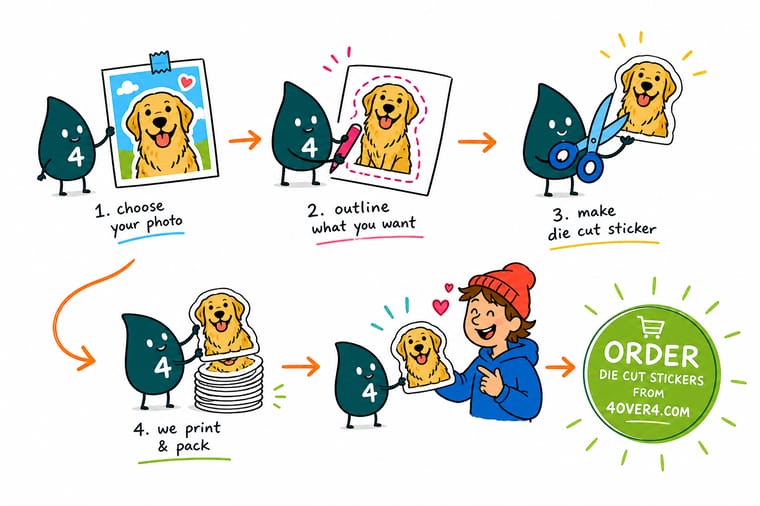
Wally starts from the sharpest photo he can find, crops tight so the subject fills the frame, and decides the background: cut it out for a die-cut around the subject, or keep it for a full photo sticker. Check the resolution at real print size, set a clean cut line, add a bleed, and pick durable vinyl for the outdoors. Proof it, and 4OVER4 cuts your photo to shape.
Order custom die-cut stickers →Quick reference
The key details, at a glance
| Detail | What to know | Why it matters |
|---|---|---|
| Source photo | Sharp, high resolution | You cannot add detail later, so start from the best image. |
| Phone cutout | Transparent PNG | Press and hold the subject in iPhone Photos, or use Cutout in Google Photos, then save the lifted subject as a PNG. |
| Crop | Tight to the subject | A small sticker should be filled by the subject, not dead space. |
| Background | Remove or keep | Cut it out for a die-cut shape, or keep it for a photo sticker. |
| Resolution | 300 DPI at final size | Confirm the photo stays crisp at the size it prints. |
| Pixel count | Inches times 300 | A 2 in sticker wants about 600 pixels across, a 4 in sticker about 1,200. |
| Cut line | Follow the subject | A clean cut path traces the shape you want trimmed. |
| Bleed | 0.125 in past cut | Color past the cut means no white edge if the blade shifts. |
| Material | Vinyl, clear, or paper | Match the stock to where the sticker will live. |
| Laminate | Gloss or matte over vinyl | The laminate is what keeps the photo from smearing when the sticker meets water or a thumb. |
| Home sticker paper | Test runs only | Inkjet sticker paper carries no laminate and gets cut by hand, so it suits a handful, not a run. |
Step by step
How to do it in 7 steps
- Pick a sharp, high-resolution photoChoose the clearest, largest version of the image, since resolution cannot be added back once it is gone. Open the original out of the camera roll rather than a screenshot or a copy pulled from a chat app, because both have already been squeezed down.
- Lift the subject on your phoneOn an iPhone, press and hold the subject in Photos until it glows, then tap Copy to save a transparent PNG or Add Sticker to keep it in Messages. On Android, Google Photos does the same job with Cutout in the editor. That transparent PNG is the file a die-cut sticker is built from.
- Crop tight to the subjectTrim the frame so the subject fills it, cutting the dead space, because a sticker is seen small.
- Decide on the backgroundRemove the background for a die-cut around the subject, or keep it for a full photo sticker, based on the look you want. Clean up the leftover halo along hair and fur, since the cutter follows the edge you hand it.
- Check the resolution at print sizeView the photo at 100 percent at its final print size and confirm it stays crisp, not soft or blocky. At 300 DPI a 2 in sticker needs roughly 600 pixels across and a 4 in sticker roughly 1,200.
- Add a clean cut lineDraw a tidy cut path around the subject or the sticker edge so the die-cut trims exactly where intended. Keep the path smooth and hold it a hair outside the subject, so thin points and tight notches survive the blade.
- Set color and bleedConvert the image to CMYK, add a bleed of color or photo past the cut line, and proof the whole file. The bleed runs 0.125 in past the cut so a small blade shift never shows a white sliver.
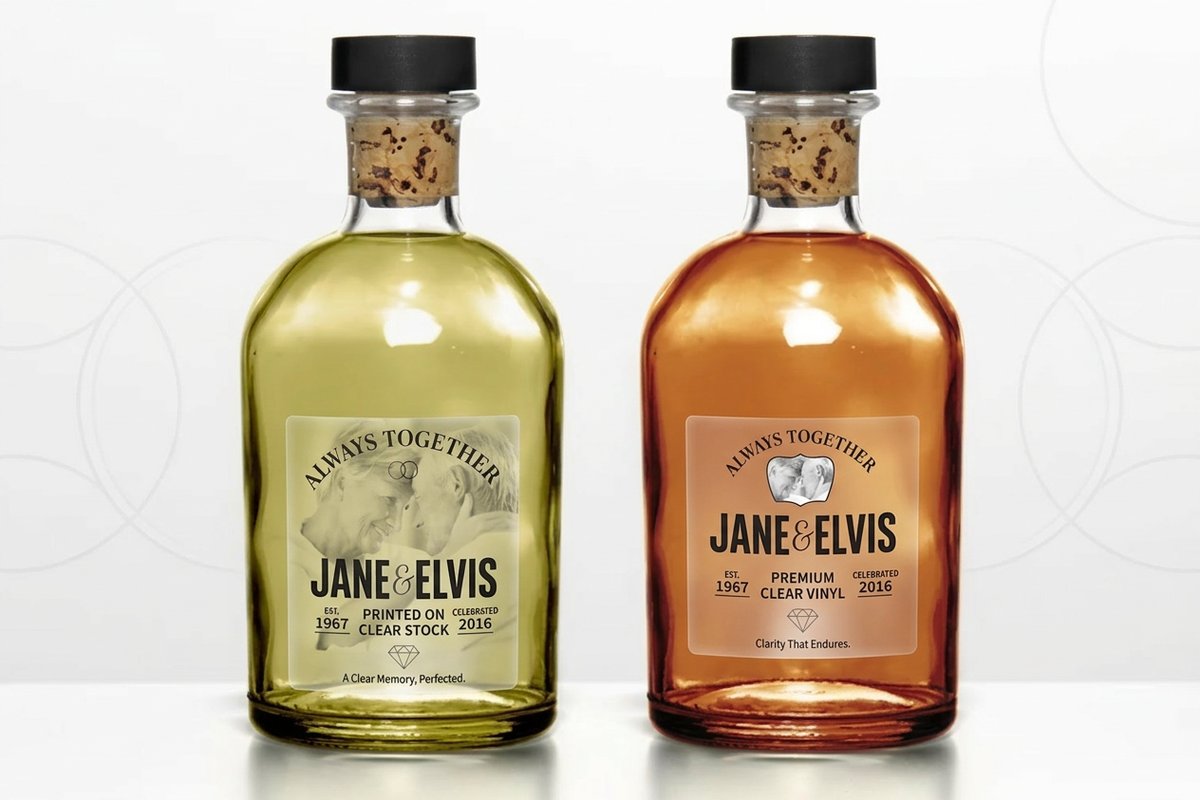
- Pick a material and order your custom stickerChoose vinyl for anything that lives outdoors, on a bottle or on a laptop, clear for a printed-on-the-glass look, or paper for indoor and short-lived uses, then export a print-ready file or use the online designer, run the free file check, and place the order. Home inkjet sticker paper is fine for a handful you cut by hand, but it carries no laminate and the ink runs the first time it gets wet, while an ordered die-cut vinyl sticker arrives laminated, machine cut to your outline, waterproof, and cheaper per sticker as the quantity climbs.
Specs and pricing
Live specs and pricing
Once your design is ready, the print decisions come down to size, stock, and finish. Here are the live specs and price per unit at 4OVER4.COM, straight from the configurator.
| Quantity | Price Per Unit | Total |
|---|---|---|
| 25 | $3.73 | $93.37 |
| 50 | $1.91 | $95.56 |
| 100 | 100.0¢ | $99.95 |
| 200 | 56.3¢ | $112.59 |
| 300 | 41.4¢ | $124.13 |
| 400 | 33.9¢ | $135.65 |
| 500 | 29.2¢ | $146.10 |
| 600 | 26.4¢ | $158.17 |
Order it
Bring your project to 4OVER4
Explore more
Where to go next
By the numbers
Printing you can count on at 4OVER4
Common Questions
Common questions
How do I make a sticker from a photo on my phone?
On an iPhone, open the picture in Photos, press and hold the subject until it lights up, then tap Copy for a transparent PNG or Add Sticker to keep it inside Messages. On Android, Google Photos does the same with Cutout in the editor. Those phone stickers live inside your messages. To hold one in your hand you still need a printed die-cut sticker, and it starts from the same cropped, background-free image, so save the cutout as a PNG at the largest size your phone offers before you send it to print.
Can I print photo stickers at home instead of ordering them?
You can run inkjet sticker paper through a home printer and cut each sticker out by hand, which is fine for a handful on a notebook. That paper has no laminate, so the ink smears the first time it meets water or a thumb, and hand cutting rarely follows the subject cleanly. An ordered die-cut sticker is printed on vinyl, laminated, and machine cut to the outline you set, so it survives a water bottle or a laptop lid, and the unit price drops as the quantity rises.
How do I make a sticker from a photo?
Start from a sharp, high-resolution photo and crop tight to the subject so it fills the small sticker frame. Lift the subject with the cutout tool in iPhone Photos or Google Photos and keep it as a transparent PNG. Decide on the background, removing it for a die-cut that cuts around the subject or keeping it for a full photo sticker. Confirm the image stays crisp at its final print size, which at 300 DPI means about 600 pixels across for a 2 in sticker, add a clean cut line around the shape, convert to CMYK, and add a small bleed of 0.125 in past the cut. Then export a print-ready file or use an online designer and order a die-cut sticker.
How do I choose the right photo for a sticker?
Pick the sharpest, highest-resolution version you have, because a sticker is printed at real size and any softness will show. Favor a photo with a clear subject and good contrast against its background, since that makes cropping and background removal far easier. If you plan a die-cut around the subject, choose an image where the subject has a clean, distinct outline. Simple, bold photos make better stickers than busy or low-light ones.
What does it cost to make a sticker from a photo?
Preparing the photo yourself costs nothing beyond your time, and the print price scales with the sticker size, material, finish, and quantity like any custom sticker. A larger sticker or a premium vinyl or clear stock costs more per unit, while a larger run lowers the unit price. You set the options in the 4OVER4 configurator and the total updates live, so you can compare sizes and materials before committing to the run.
What sizes, materials, and finishes work for a photo sticker?
Photo stickers come in a range of sizes and die-cut shapes, on materials that include durable vinyl for outdoor use, clear film, and paper for indoor labels, with matte or gloss finishes. A gloss finish makes photo colors pop, while matte reads more subdued. The right choice depends on where the sticker will live, so order free samples to see how your photo prints on each material before committing to a full run.
How long does it take to print stickers made from a photo?
Turnaround depends on the size, material, finish, and quantity, and the product page shows the current production time for your configuration. Once your photo is cropped, cleaned, and high resolution with a cut line set, the file prints quickly. You can add expedited shipping to hit a deadline, and checking the resolution and edges first avoids a reprint for a soft image or a rough cut.
Get Started
Ready to get it printed right the first time?
Set your options below and watch the price update live as you choose size, stock, and quantity, then place your order with 4OVER4.COM.
Legal Disclaimer
Gold Standard guarantees apply to all standard orders placed through 4over4.com. Price match requires verifiable proof of a competitor's published price for an equivalent product with matching specifications and turnaround time. Satisfaction guarantee covers manufacturing defects and print quality issues. Contact support with order number and documentation. On-time delivery rate based on tracked orders 1999 to 2026. Individual results may vary based on shipping carrier performance.
