
How to Hang Banners and Display Your Signage


Grommets and rope for fences, pole pockets for hanging bars, and command strips for clean indoor walls. Match the banner finish to where it hangs and every sign stays flat, readable, and secure.
The best way to hang a banner is to match the finish to the spot: use grommets with rope, zip ties, or bungee cords on fences and railings, slide a rod through pole pockets for hanging bars and light posts, and use 3M Command strips or a tension line to hang indoors without damaging the wall. Anchor every grommet, pull the banner taut from both ends, and switch to a mesh banner outdoors so wind passes through instead of tearing your sign down.
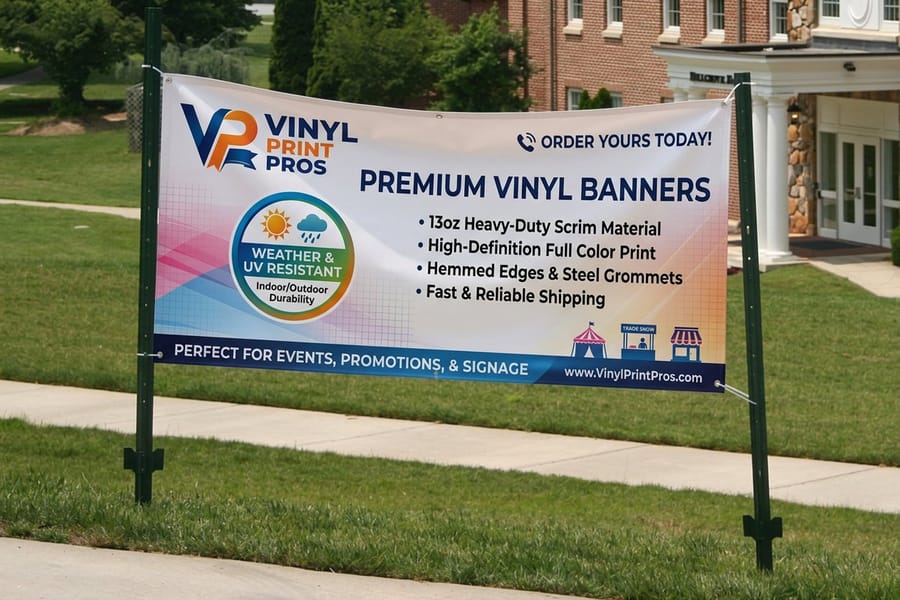
Quick tips
Quick tips for hanging your banner
Decide how a banner will hang before you order it. Spec grommets for rope and zip ties, pole pockets for a bar or post, and light hems for indoor adhesive. Anchor every grommet, not just the corners, and pull the banner taut from both ends so it does not sag. Outdoors, choose mesh so wind passes through, and retension each tie after the first day. 4OVER4.COM customers who match the finish to the spot get a sign that hangs flat and stays put all season.
Start by knowing your hanging options
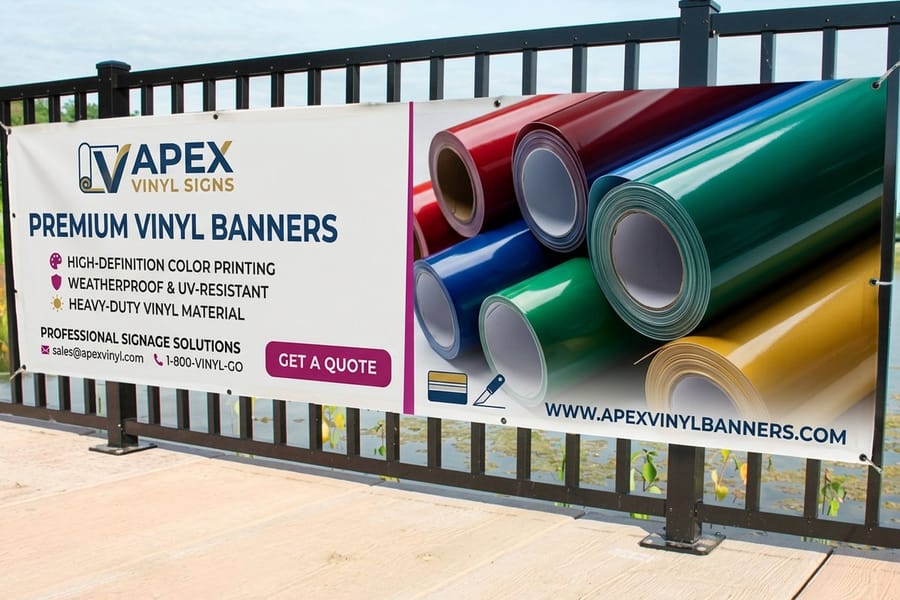
Before you touch a hook or a zip tie, look at the banner itself. How you hang it is decided the moment you choose a finish, so the smartest move is to picture the wall, fence, or pole first and order the edges to match. A banner built for a flat interior wall wants completely different hardware than one strung between two poles in a parking lot.
Three finishes cover almost every job. Grommets are the metal rings punched into a reinforced hem, and they take rope, zip ties, bungee cords, or S-hooks. Pole pockets are open sleeves sewn along the top and bottom so a rod slides straight through. Plain hemmed edges keep the banner light for tape, clips, or adhesive strips indoors. Decide which one fits your spot, and everything else falls into place.
Not sure which size or finish suits your event yet? Our guide to typical banner sizes pairs common dimensions with where they hang, and if you still need to build the artwork, start with how to make banners and the free online designer.
Match the finish to the way you will hang it
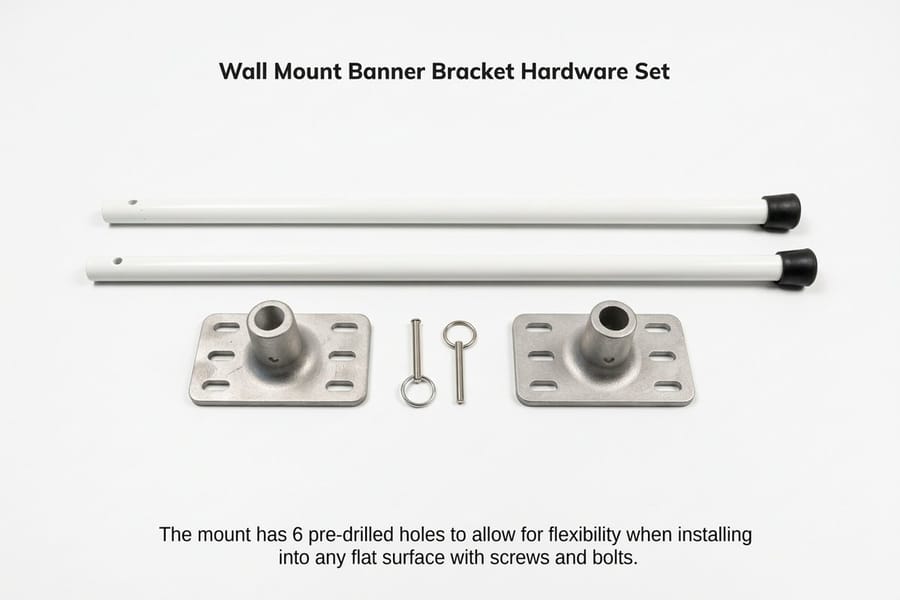
The edge of a banner does the quiet work of holding it up. A welded hem folds the vinyl over and heat-seals it into a double-thick border, and that border is what keeps a grommet from tearing out when the wind pulls. Skip the hem and a grommet is just a hole waiting to rip.
Here is how the three finishes line up with real mounting spots:
- Grommets for fences, railings, scaffolding, and any surface where you can loop rope or ties. Standard spacing is one grommet every 24 to 36 inches, plus one in each corner.
- Pole pockets for hanging bars, curtain rods, and vertical pole banners on light posts. Add a top and bottom pocket so the sign stays taut instead of curling.
- Sewn or taped hems for clean interior walls where you want the lightest possible edge for adhesive strips or clips.
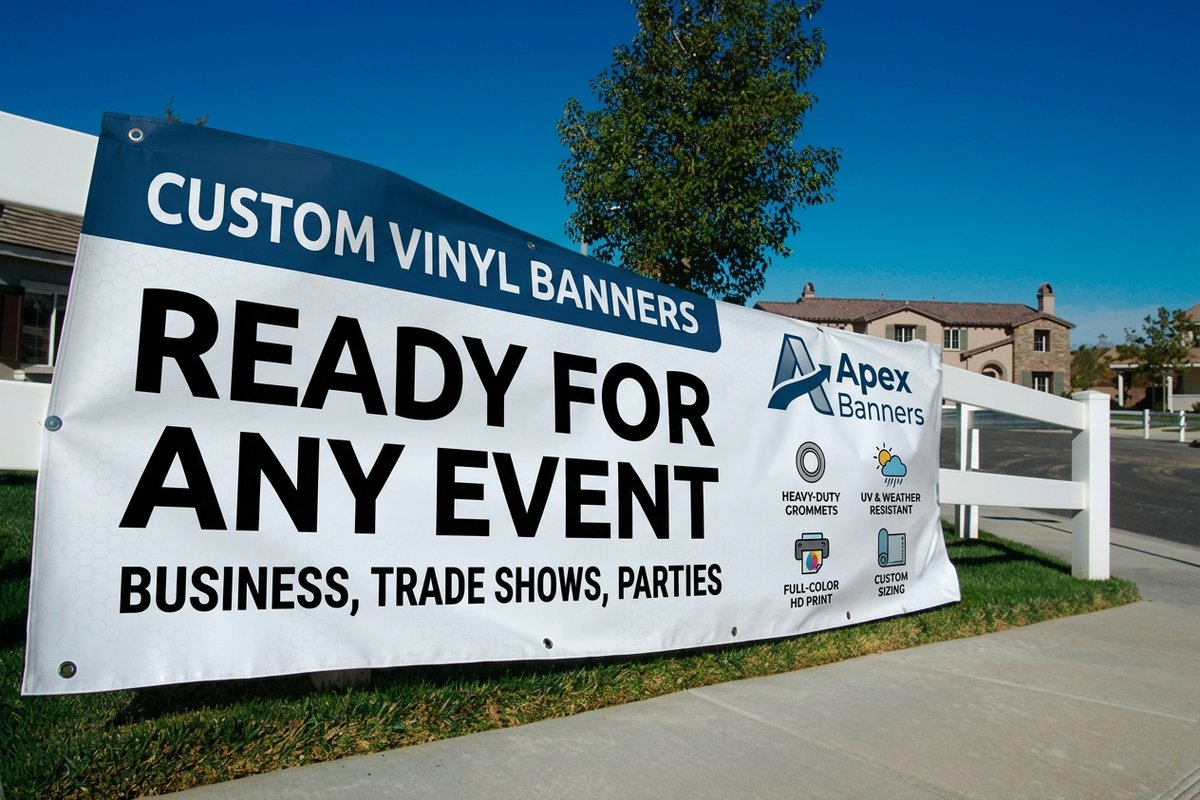
Every 4OVER4.COM vinyl banner lets you choose grommets, pole pockets, and hems at checkout, so you are never stuck improvising a mount after the fact. For very large runs, mesh banners add wind vents to the same finish choices.
Hanging your banner indoors

Indoor walls are forgiving because there is no wind, so the goal shifts to hanging clean and coming down without leaving a mark. Match the method to your surface.
Suction cups and hooks grip glass storefronts, windows, and tile. Clean the surface first so the cup seals, then hook the banner grommets over the tabs. This is the fastest way to put a sale banner in a window without a single hole.
3M Command hook strips are the drywall favorite. They hold surprising weight, peel off cleanly months later, and never crack paint. Use one strip per corner grommet for a light banner, and add a middle anchor for anything over four feet wide.
Pushpins and small nail hooks work when tiny holes are allowed, like on a corkboard, a wood beam, or a trade-show pipe-and-drape frame. Push through the grommet, not the vinyl, so the weight rides on the reinforced ring.
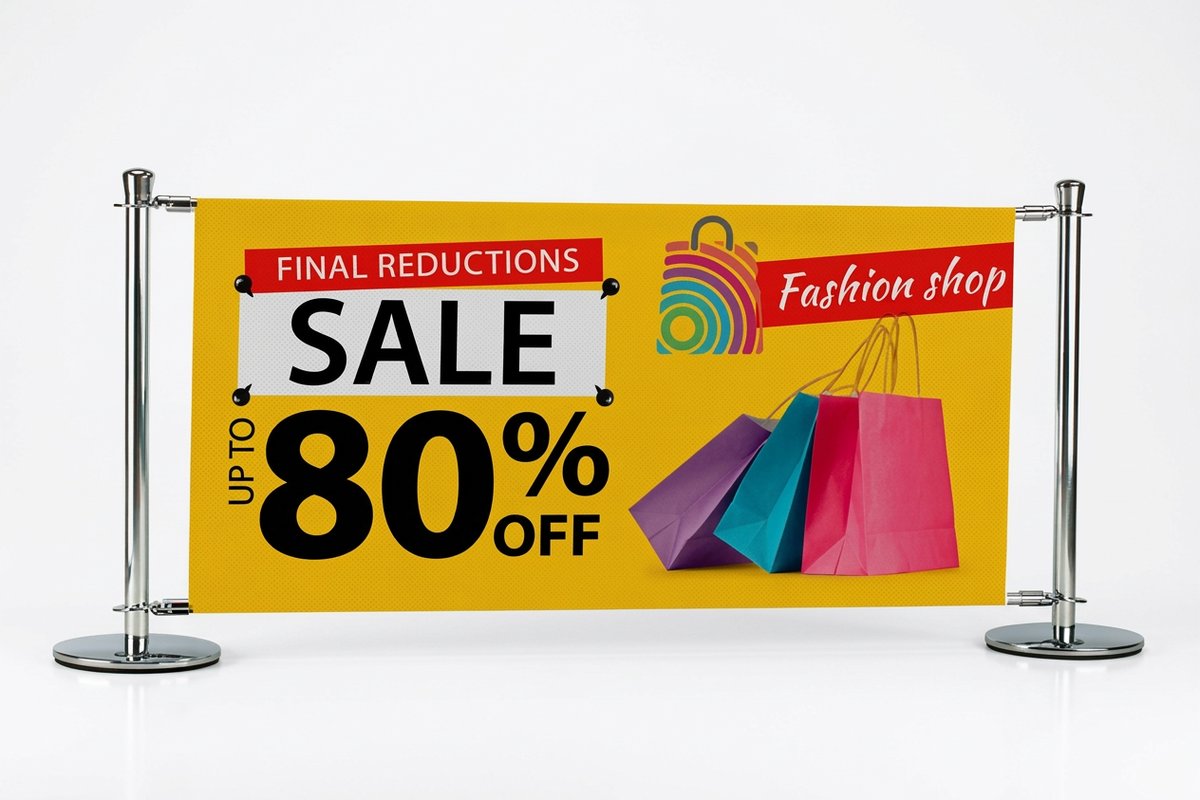
For a polished retail look indoors, an indoor banner on a smooth wall reads crisp under store lighting, and a banner stand skips the wall entirely. Browse finished displays in our banner stand showcase.
How to hang banners outside
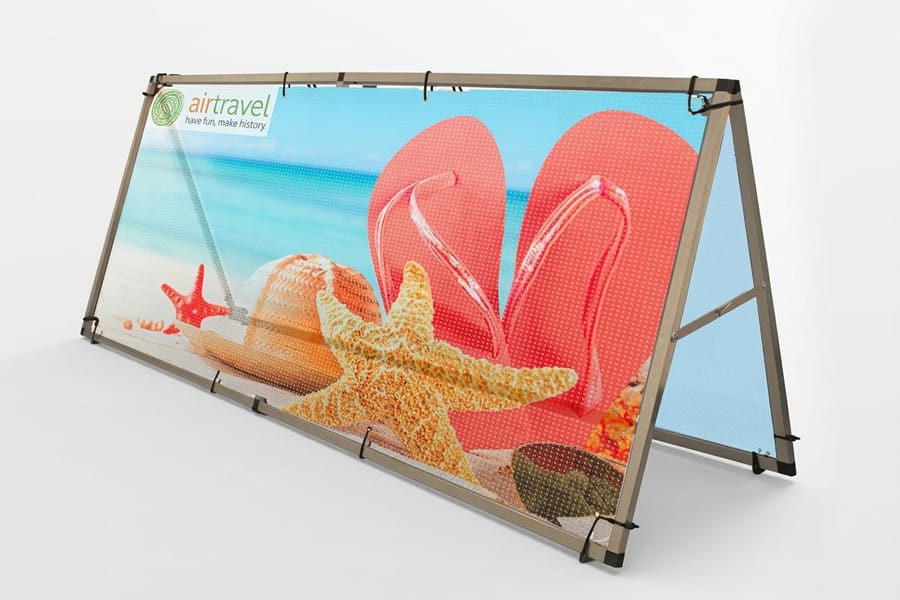
Outdoors the enemy is wind, and wind multiplies with size. The fix is a mount that holds every edge and a material that either resists or releases the gust. Here are the four anchors that do the job.
Nylon ropes are the classic. Thread rope through the corner and edge grommets, then tie off to posts, hooks, or a fence with a taut-line hitch so you can retension as the rope stretches. Nylon shrugs off rain and sun far better than cotton cord.
Zip ties are the fastest near-permanent mount for chain-link fences and railings. Run one through each grommet, cinch it snug but not crushing, and trim the tail. Carry spares, because they are single-use once cut.
Bungee cords add give. The elastic absorbs gusts that would otherwise yank a rigid tie until the grommet fails, which makes them ideal for exposed spots like overpasses and stadium railings. Ball-bungees hook grommet to frame in seconds.
Hanging clips and snap hooks speed up banners you swap often, like a rotating pole banner program down a main street. Clip on, clip off, no untying.
For any banner wider than about six feet, reach for a mesh banner. The tiny perforations let roughly a third of the wind pass straight through, so a large outdoor sign stays put instead of sailing. The signage effectiveness data is a good reminder of why a sign that survives the season keeps earning impressions.
How to hang a banner with grommets, step by step
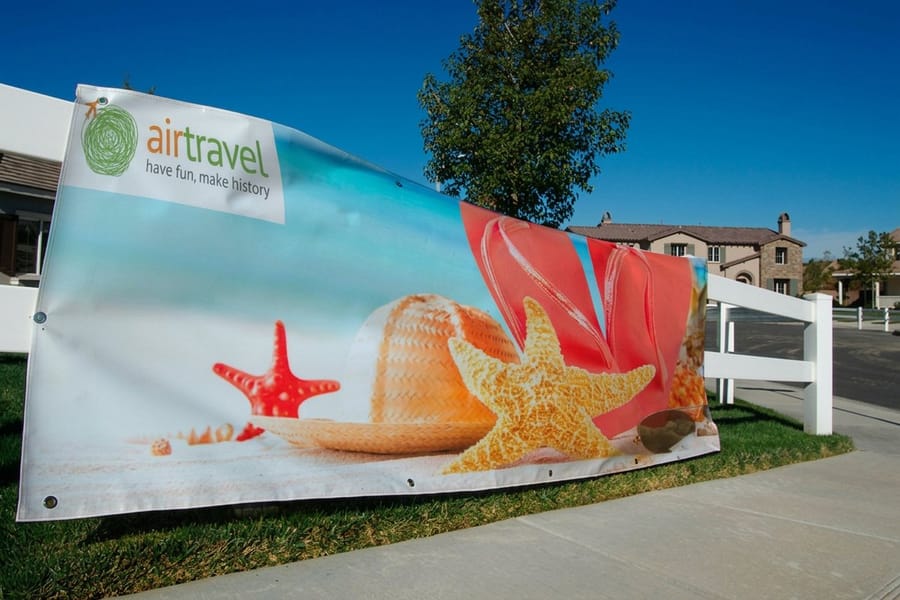
Grommets are the most common finish for a reason, and hanging one right takes about five minutes. Here is the sequence.
- Find your anchor points. Mark where each corner grommet will attach so the banner ends up level. A cheap line level or a phone level saves you from a crooked sign.
- Attach the top two corners first. Run rope, a zip tie, or a hook through each top grommet and secure it. Do not tension yet.
- Pull the bottom taut. Anchor the bottom corners while pulling gently down and out. This stretches the banner flat and kills the middle sag before it starts.
- Work the edge grommets. Tie or clip every remaining grommet along the sides. Skipping them is what lets wind get behind the banner and flap it to pieces.
- Retension after a day. Rope and vinyl both relax slightly, so a quick tug on each tie the next morning keeps the sign drum-tight.
Ordering a banner spec'd for exactly this method is the difference between a clean hang and a fight. When you configure a 4OVER4.COM vinyl banner, add grommets to all four corners plus every two feet along the edges, and keep the reinforced hem so nothing pulls through.
Hanging a large banner without sag or tears
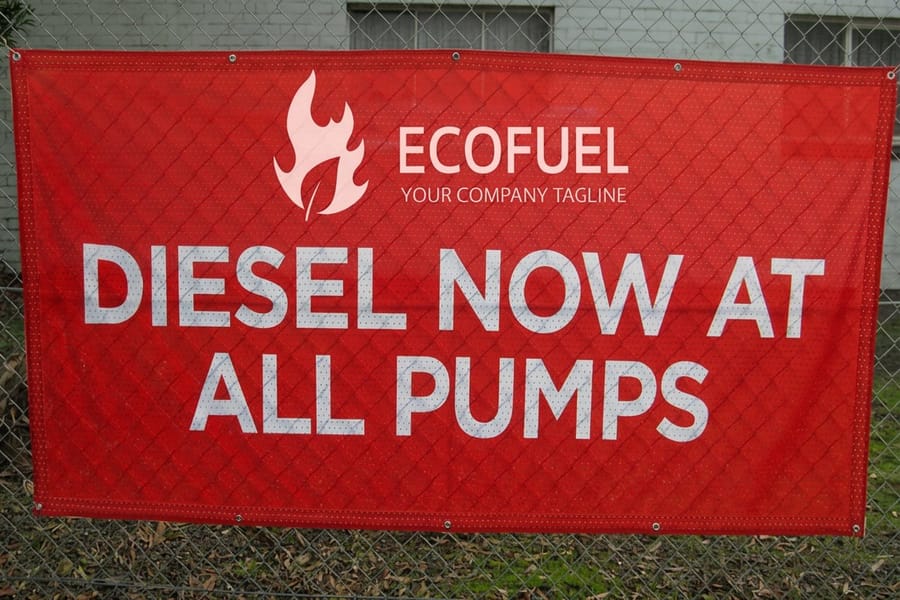
Big banners are not just small banners scaled up. The weight climbs, the wind load climbs faster, and a mount that was fine at three feet fails at fifteen. A few adjustments keep a large sign flat and intact.
Add more grommets, not bigger ones. Tighten spacing to every 18 to 24 inches on a large banner so no single ring carries too much load. More anchor points spread the force.
Choose mesh or perforated vinyl. A solid banner acts like a sail. A perforated vinyl banner or full mesh lets wind bleed through, which is the single biggest factor in whether a large outdoor sign lasts the weekend.
Support the middle, not only the corners. For a very wide banner, run a top rope or cable through every grommet and tension the whole span, rather than trusting four corners to hold the center flat.
Planning a stage backdrop or a photo wall? A step-and-repeat banner pairs with a frame so you never fight gravity at all, and our custom banner showcase shows how big formats read from across a room.
How to hang a banner on a wall without damaging it

Renters, event spaces, and anyone protecting a security deposit share one question: how do you hang a vinyl banner on a wall without leaving holes or peeled paint? The answer is to hold the grommets, never the vinyl, and to pick a removable anchor.
Command strips and hooks are the safest bet on painted drywall. They peel away with a slow straight pull and leave the wall untouched. Rate the strips for a little more than the banner weighs and you are set.
Tension between two fixed points avoids the wall entirely. String a thin cable or rod between two existing anchors, like door frames or standoff hooks, then hang the banner from that line. This is how trade-show booths stay hole-free.
Standoff hardware gives a premium, gallery look when a few small holes are acceptable. If you like that raised, floating finish, our guide to how standoff signage works walks through the parts. For lighter prints, the same no-frame tricks in how to hang posters without a frame apply.
Mistakes that make banners sag, tear, or fall
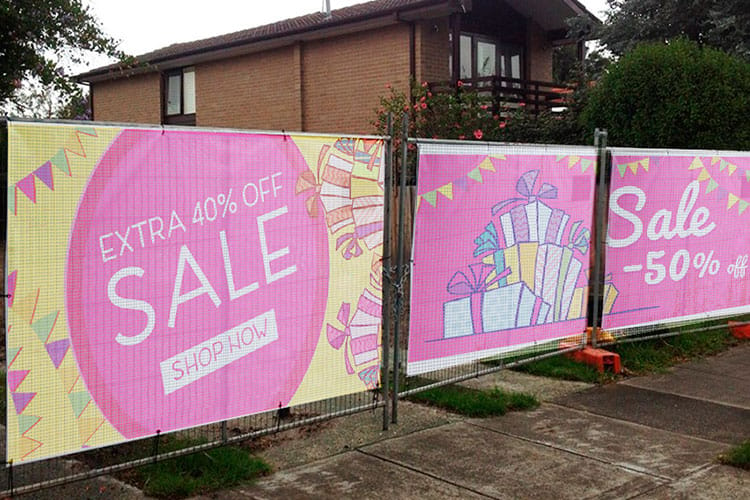
Most banner failures trace back to the same handful of shortcuts. Avoid these and your sign hangs straight and stays up.
Hanging from the vinyl instead of the grommets. Tape or pins pushed through the face tear out the first time the wind pulls. Always carry the load on the reinforced grommet ring.
Leaving the edges loose. Anchoring only the corners lets wind balloon behind the banner. Tie or clip every edge grommet, especially outdoors.
Using a solid banner in a windy spot. A flat vinyl sheet is a sail. Swap to mesh anywhere gusts are a factor and the problem disappears.
Skipping retensioning. Rope stretches and vinyl relaxes in the first day. A sign that started tight will sag by morning unless you give each tie a second tug.
Ordering the wrong finish. The most common mistake happens before the banner ships. If you order plain hems and then need to hang from a fence, you are stuck. Decide the mount first, then spec grommets or pole pockets to match. 4OVER4.COM lets you set all of that at checkout, and if a supplier let you down before, see how we compare on our BannerBuzz alternative page.
Wally explains hanging a banner
The finish you pick decides how it hangs
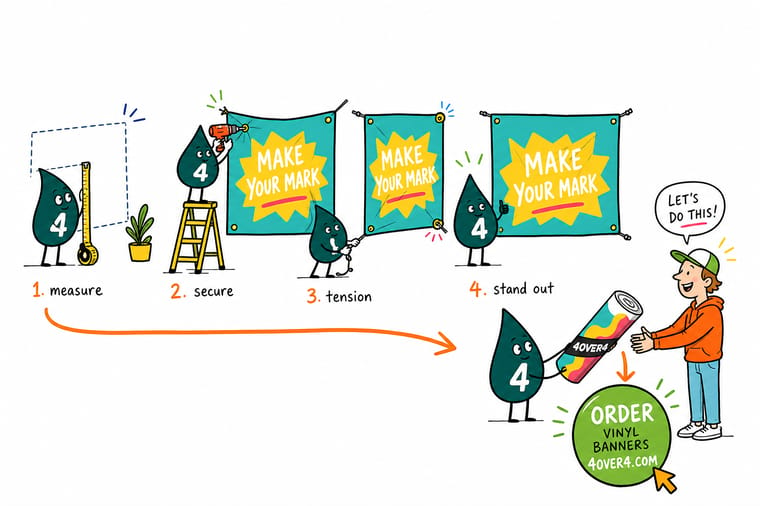
Wally treats every banner like a tightrope: anchor both ends, pull it taut, and carry the weight on the grommets, never the vinyl. Grommets take rope and zip ties outdoors, pole pockets slide onto a bar, and command strips keep an indoor wall hole-free. Spec the finish to your spot when you order, and the hang is easy. Order a vinyl banner built to hang exactly where you need it at 4OVER4.
Order vinyl banners →Specs and pricing
Custom vinyl banner specs and pricing
Here is what a made-to-order vinyl banner gives you at 4OVER4.COM, with live specs and price-per-unit straight from the configurator, so you can pick the size and finish that hangs exactly where you need it.
Print it
Order banners built to hang at 4OVER4


See it in use
Real banner work, printed in-house




Explore more
Where to go next







By the numbers
Printing you can count on at 4OVER4
Common Questions
Common questions about hanging banners
What is the best way to hang a banner?
It depends on the finish and the spot. Outdoors on a fence or railing, run rope, zip ties, or bungee cords through grommets in a reinforced hem. On a hanging bar or light post, slide a rod through pole pockets. Indoors on a clean wall, 3M Command strips or a tension line hang it without a single hole. The one rule that holds everywhere: carry the weight on the grommets, never on the vinyl face.
How do I hang a banner on a pole?
You have two clean options. Order the banner with pole pockets, which are open sleeves sewn along the top and bottom so a pole slides straight through, then mount the pole to brackets. Or use grommets and zip-tie the banner directly around the pole at each grommet. For a vertical street-post banner, a top and bottom pocket keeps it taut so it does not curl or spin.
How do I hang a vinyl banner on a wall without damaging it?
Use a removable anchor and hold the grommets, not the vinyl. Command strips and hooks peel off painted drywall cleanly with a slow straight pull. A thin cable or rod strung between two existing anchors lets the banner hang without touching the wall at all. If a few small holes are acceptable, standoff hardware gives a premium floating look. Rate any adhesive strip for a little more than the banner weighs.
How do I hang a large banner so it does not sag or tear?
Tighten grommet spacing to every 18 to 24 inches so no single ring carries too much load, and support the middle instead of trusting only the corners. Most important, switch to a mesh or perforated vinyl banner. The tiny holes let wind bleed through, which is the biggest factor in whether a big outdoor sign survives the weekend or ends up in a tree.
What is the best way to hang a banner with grommets?
Attach the top two corners first without tensioning, then anchor the bottom corners while pulling gently down and out to stretch the banner flat. Next, tie or clip every remaining edge grommet so wind cannot get behind it. Come back after a day and retension each tie, because rope stretches and vinyl relaxes in the first 24 hours.
Can I leave a vinyl banner hanging outdoors permanently?
Yes. A UV-cured vinyl banner is built to live outside for a year or more, and the color holds through sun and rain. For a permanent install in a windy spot, use mesh so gusts pass through, anchor every grommet, and give each tie a quick tug every few weeks so the sign stays drum-tight.
What does a custom banner cost and how is pricing set?
Price is driven by size, material, finish, and quantity. A standard 4OVER4.COM vinyl banner starts around $79, with mesh, perforated vinyl, and fabric priced by the same live configurator. Grommets and hems are included, and pole pockets are a small add-on. You see the exact price-per-unit update as you choose your options, so there are no surprises at checkout.
Get Started
Ready to print a banner built to hang?
Pick your size, choose grommets, pole pockets, or hems for your exact spot, and we print a crisp, weatherproof banner that hangs flat and stays put.
Legal Disclaimer
Gold Standard guarantees apply to all standard orders placed through 4over4.com. Price match requires verifiable proof of a competitor's published price for an equivalent product with matching specifications and turnaround time. Satisfaction guarantee covers manufacturing defects and print quality issues. Contact support with order number and documentation. On-time delivery rate based on tracked orders 1999 to 2026. Individual results may vary based on shipping carrier performance.
