
How to Assemble a Feather Flag Step by Step


Connect the pole, sleeve the flag on the ground, set the right base, then raise and tension. Here is the full feather flag assembly in five quick steps, plus fixes for the problems that trip people up.
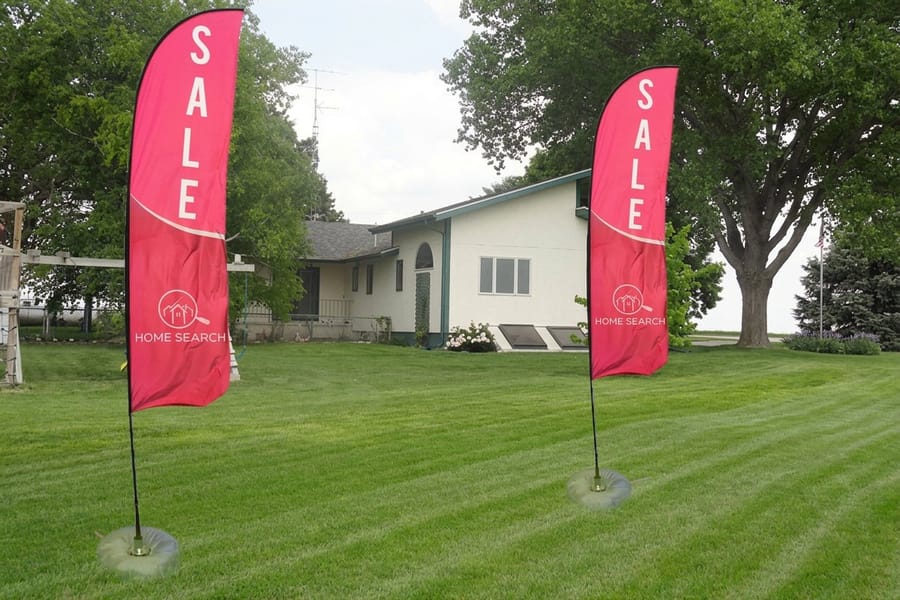
Assemble the pole sections from thick to thin, slide the flag sleeve over the pole while it is flat on the ground, then set the base for your surface and raise it. Seat every pole joint fully, tension the sleeve so the graphic reads flat, and clip the flag to the base. Add ballast outdoors. The whole setup takes a few minutes and can be done solo.
Quick answer
The fastest way to put up a feather flag
Build the pole thick to thin, sleeve the flag while both are flat on the ground, then set the base and raise it. Seat each pole joint fully, pull the sleeve taut so the design sits flat, and clip the flag top and bottom. Use a ground spike on grass, a weighted cross base on hard surfaces, and always add ballast in wind. One person can finish in minutes.
Printable steps
Printable feather flag instructions
Six steps from a closed carry bag to a flag flying, all of it a one-person job. Print this list for the crew or keep it on a phone at the site.
- Unpack and count the kit. Pole sections, the printed flag with its sewn sleeve, a ground base, and the hardware. Lay them out in setup order on flat ground so no step stalls halfway.
- Build the pole thick to thin. Thickest section at the bottom, thinnest at the top, every joint pushed fully home. A half-seated joint is the usual reason a pole flexes or a flag leans.
- Sleeve the flag while it is flat. Feed the assembled pole up through the sewn pole pocket with flag and pole both still on the ground. Fighting the sleeve on upright is the slow way.
- Tension and clip. Pull the sleeve taut so the graphic reads flat against the curve of the pole, then clip or bungee the flag at the top and at the bottom.
- Set the base for the surface, not the flag. Ground spike on grass or soil, cross base or flat plate on concrete and tile, weighted cross base for indoor trade shows so the floor stays unmarked.
- Raise it, then add ballast. Lift the pole into the base, secure it, and add a water or sand bag rated for the height you are flying, anywhere from 8 to 15 feet. Angle the flag so wind flies it rather than pushing it flat.
What comes in a feather flag kit
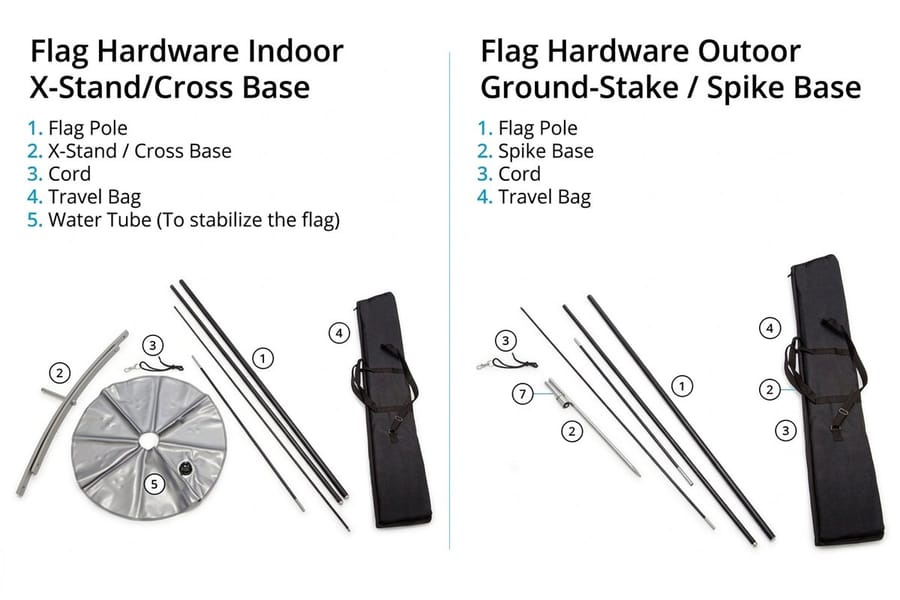
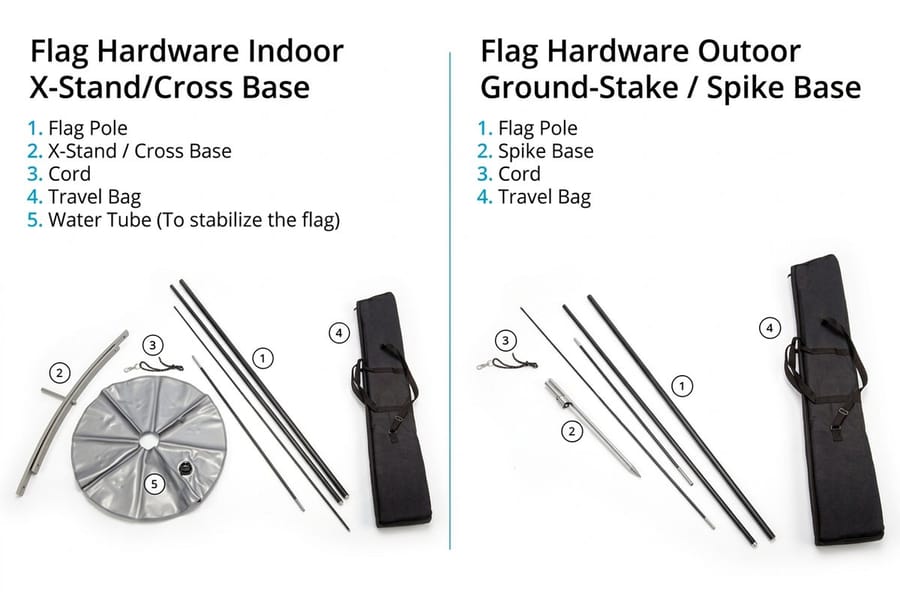
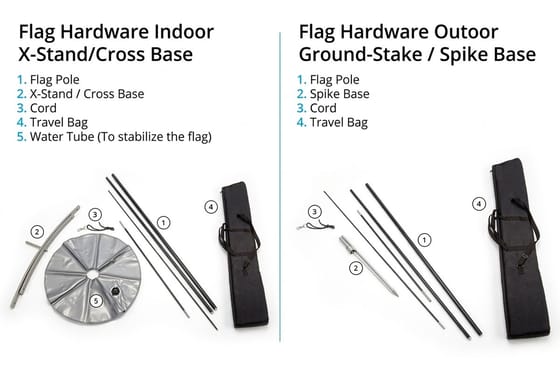
Before you assemble anything, know the parts. A complete feather flag kit ships flat in a carry bag and contains four things.
- The pole sections. Several tapered tubes, usually fiberglass or aluminum, that slot together into one tall pole.
- The printed flag. Your graphic on a durable knit fabric with a sewn sleeve, the pocket the pole slides into.
- The base. A cross base, flat plate, or ground spike that anchors the pole to the surface.
- The hardware. A base bolt, spinner or swivel, and often a clip or bungee that ties the flag to the base.
Lay everything out on a flat, open surface and confirm each part is present. This thirty-second check is the difference between a smooth setup and a stall halfway up the pole. If you are choosing between shapes, our teardrop flags and pole flags assemble in much the same way.
Step 1: Lay out and check your feather flag set

Give yourself room. Spread the pole sections, the flag, the base, and the hardware on the ground so you can see everything at once and reach it without walking around.
Inspect the pole sections for the tapered ends that tell you the order, thickest at the bottom, thinnest at the top. Check the flag sleeve is open and free of twists, and confirm the base matches your surface. If anything is missing or damaged, sort it now rather than mid-build. Assembling on grass or carpet also protects the pole and flag from scuffs while you work.
Step 2: Connect the pole sections
Build the pole from the base up. Take the thickest section and push the next section firmly into it until the joint seats fully and feels solid. Repeat, working toward the thinnest tip.
- Seat every joint completely. A joint left half-connected is where a pole flexes and snaps in wind.
- Keep the sections in order. The taper only works one way, thick to thin, so the pole holds a smooth curve.
- Do not force a stuck joint. A slight twist as you push helps the sections mate cleanly.
When the last tip is on, you should have one continuous, rigid pole. Set it back down flat, because the flag goes on next while everything is still on the ground.
Step 3: Slide the pole into the flag pole pocket
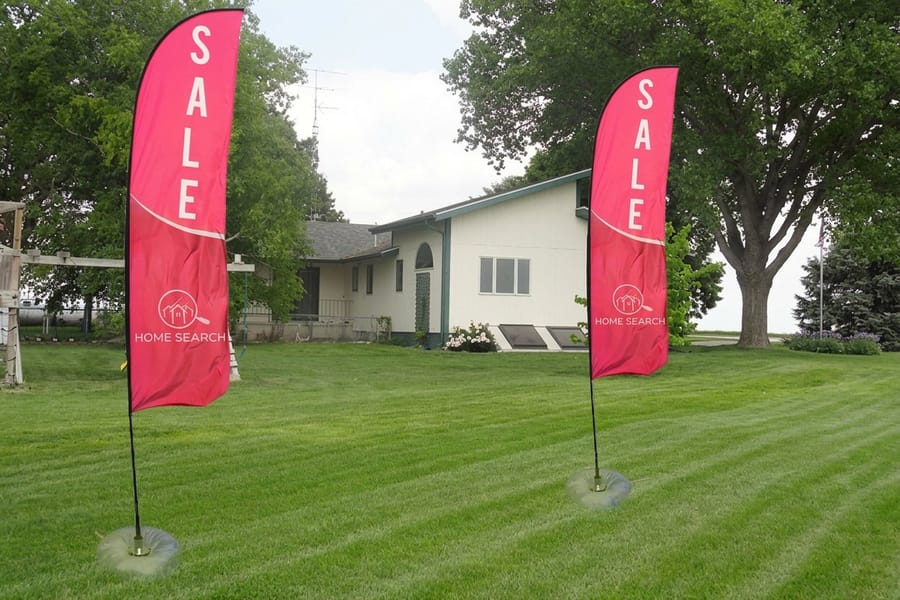
This is the step people fight when they try it upright. Keep it on the ground.
Find the sewn pole pocket that runs along the curved edge of the flag. Feed the thin top of the assembled pole into the open end of the sleeve and work the flag down the pole until the top of the graphic reaches the pole tip. The fabric should sit snug along the curve with no bunching.
Attach the top of the flag to the pole tip using the sewn loop or cap, then locate the lower attachment point, a clip, tie, or bungee, that will connect to the base. Tension the sleeve so the design sits flat. A well tensioned flag reads clearly from across a parking lot, which is the whole point of the format.
Step 4: Set up the base for your surface

The base does all the work of keeping your flag upright, so match it to where you are planting the flag.
- Grass or soil: drive the ground spike fully into firm ground for a clean, low-profile anchor.
- Concrete or tile: use a cross base or flat plate, then add a weight, water bag, or sand bag on top.
- Indoor events: a weighted cross base holds the flag upright without marking the floor.
- Windy sites: always add ballast rated for your flag height, and consider a wider base.
Place the base on stable, level ground and, if it uses a bolt, thread the base bolt or spinner that will receive the pole. The spinner lets the flag rotate with the wind so it flies rather than fights the breeze.
Step 5: Raise the flag and attach it to the base
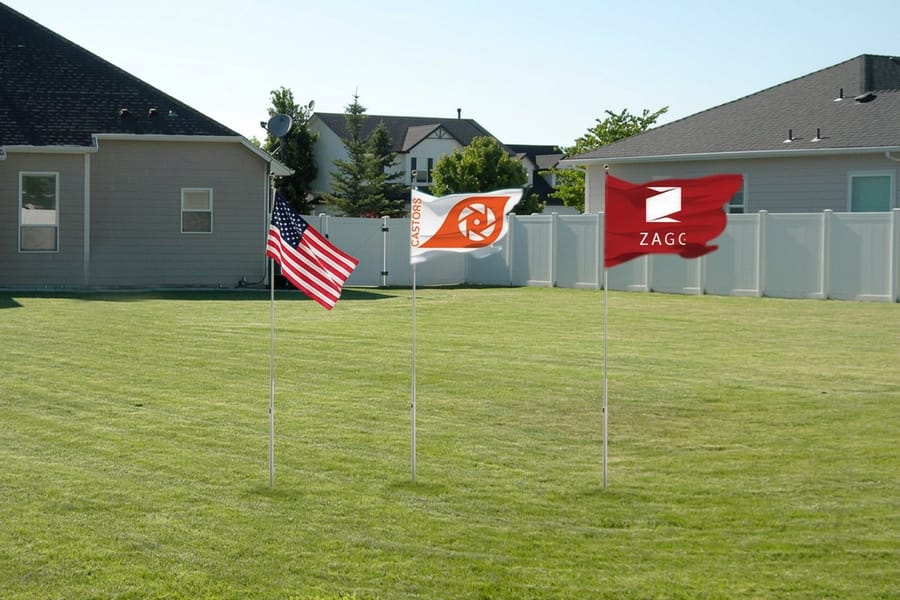
With the flag sleeved and the base ready, lift the pole upright and lower its base end onto the base bolt or into the spike socket. Seat it fully so the pole stands straight.
Now connect the lower attachment point of the flag to the base using the clip or bungee. This ties the bottom of the flag down so the graphic stays tensioned and does not ride up the pole. Give the flag a final check: the pole vertical, the sleeve taut, the design flat and legible, and the base weighted if you are outdoors.
That is the full assembly. From an open bag to a flying flag takes only a few minutes once you have done it once. To break it down, reverse the steps and store the flag dry and out of direct sun.
Taking down and storing your feather flag
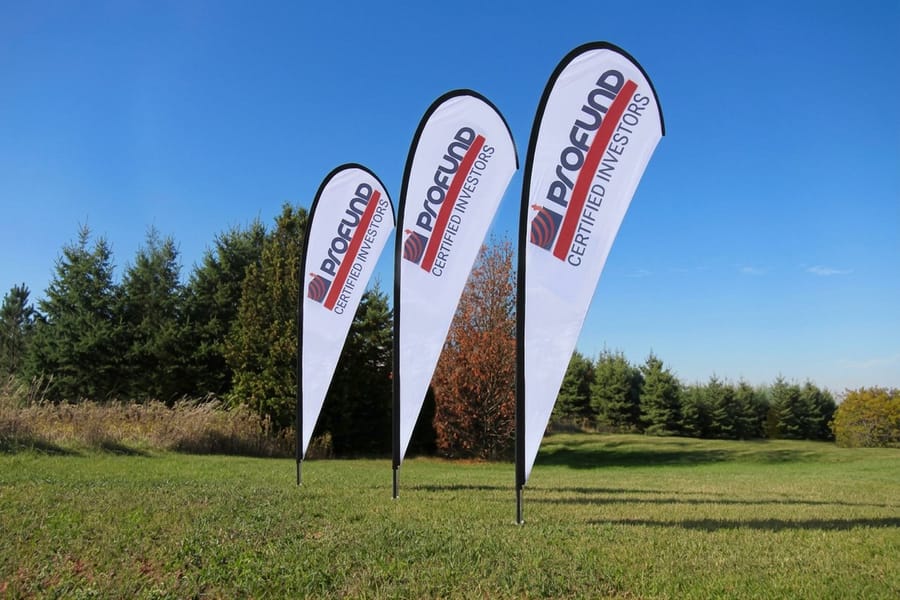
Careful takedown keeps a flag looking new for years of events. Unclip the flag from the base, lift the pole out, and lay it flat.
Slide the flag sleeve off the pole, then separate the pole sections in reverse order. Roll the flag loosely around the folded pole or store it flat so the print does not crease, and keep the base, spinner, and clips together in the carry bag so nothing goes missing before the next event.
Store everything dry. Packing a damp flag invites mildew and can dull the colors, so let it air out first if it has been rained on. Kept clean and dry, the same flag reappears crisp at every show.
Troubleshooting common feather flag problems
Most flag issues trace back to a loose joint or a slack sleeve. Here are the quick fixes.
- Flag bunches at the pole. Tension the sleeve and clip both the top and bottom attachment points.
- Pole leans or flexes. Re-seat every section fully. A half-connected joint is the usual cause.
- Flag blows over. Add ballast, widen the base, or move to a ground spike in firm soil.
- Graphic reads backward. Single-sided flags mirror on the reverse. Order a double-sided flag when both sides must read correctly.
- Fabric creased. Store the flag rolled or flat, never crushed, and steam light creases before an event.
When a pole section cracks or a flag fades after heavy use, replacement parts and a fresh reprint restore the display. Explore every option in the custom flag range and match the shape and height to your venue.
Wally explains flag setup
Ground work first, then raise it high
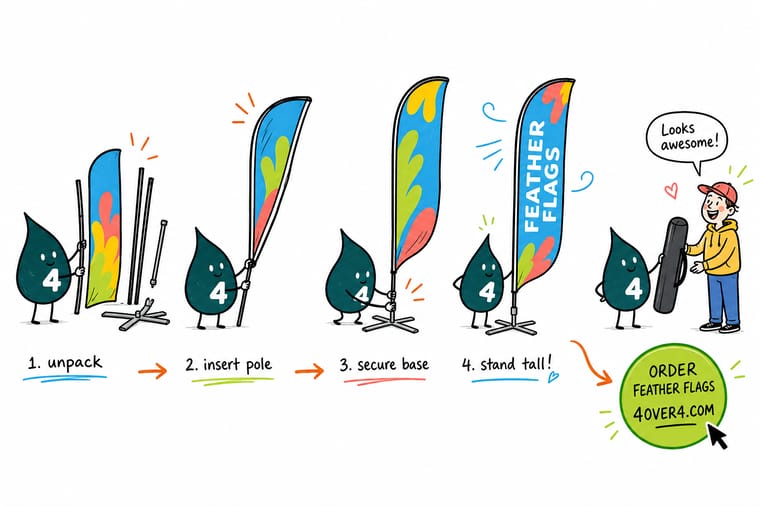
Wally builds a feather flag like a tent: everything happens on the ground, then it goes up in one move. Slot the pole thick to thin, feed it through the sleeve, and pick the base your surface demands. Seat every joint, tension the flag, and add weight in wind. Print a bold, high-contrast graphic at 4OVER4 and it reads across the whole lot.
Order feather flags →Specs and pricing
Feather flag specs and pricing
Here are the live sizes, bases, and price-per-quantity for feather flags at 4OVER4.COM, straight from the configurator, so you can match the height and base to your venue and see what it costs.
| Quantity | Price Per Unit | Total |
|---|---|---|
| 1 | $108.75 | $108.75 |
| 2 | $103.25 | $206.49 |
| 3 | $103.25 | $309.74 |
| 4 | $97.76 | $391.02 |
| 5 | $97.76 | $488.78 |
| 6 | $95.56 | $573.36 |
| 7 | $95.71 | $670.00 |
| 8 | $95.70 | $765.57 |
Print it
Order custom flags at 4OVER4
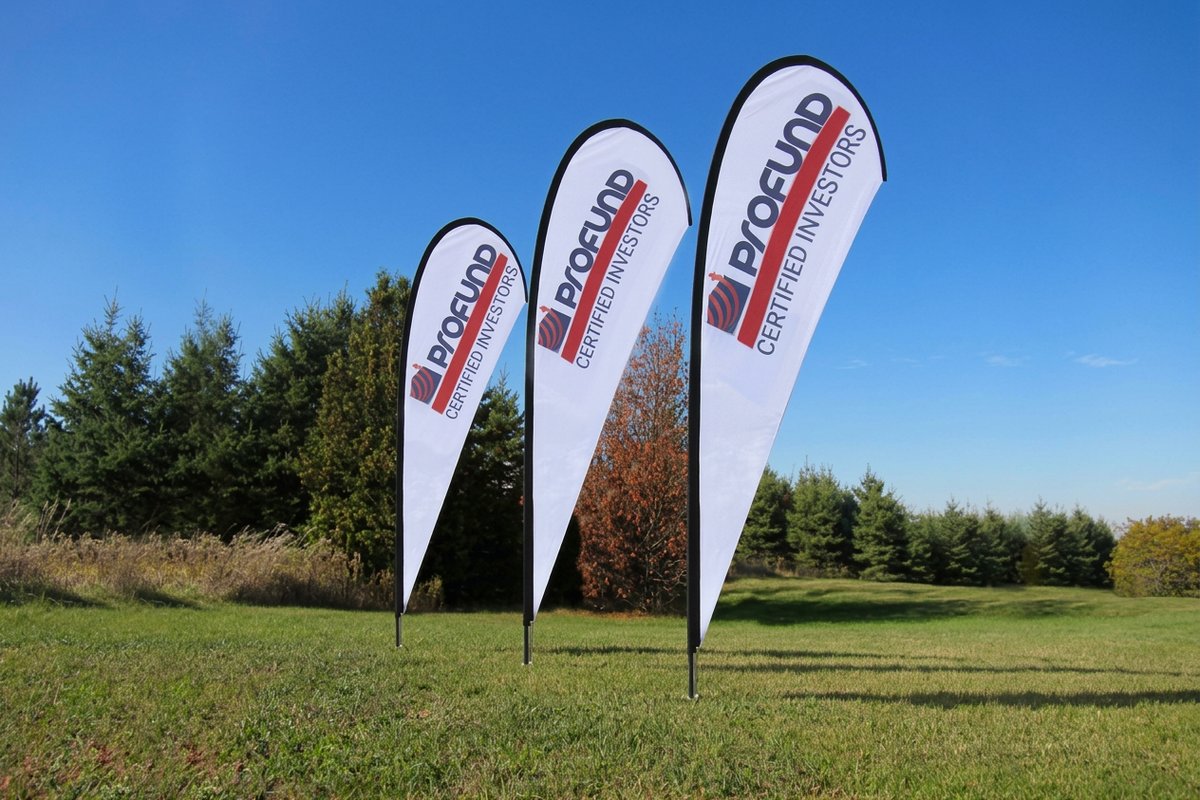

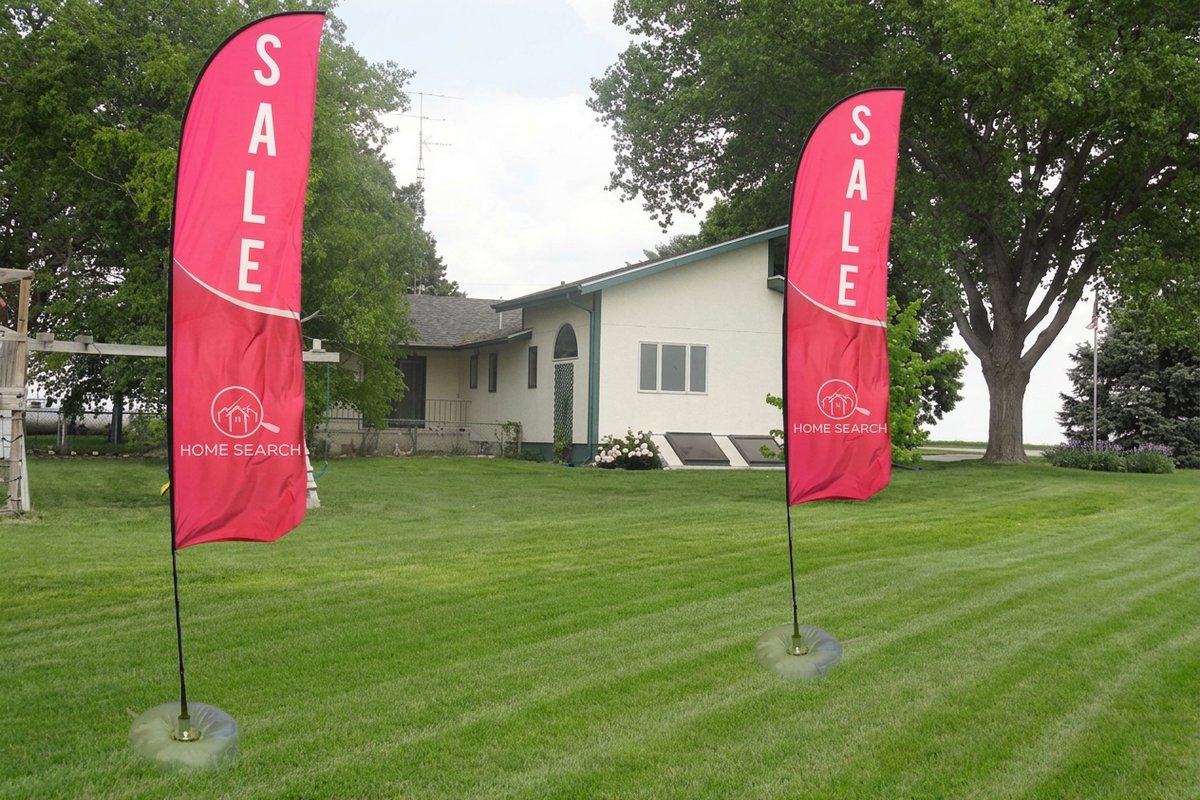
See it in use
Real custom flag work, printed in-house




Explore more
Where to go next

By the numbers
Printing you can count on at 4OVER4
Common Questions
Common questions about feather flags
How tall are feather flags typically?
Feather flags usually stand between about 8 and 15 feet tall once assembled, with popular sizes landing near 10, 12, and 15 feet. The height comes from a sectional pole that slots together, so a tall flag ships in a compact bag. Choose a taller flag for open outdoor spaces where you need to be seen from a distance, and a shorter one for indoor events, doorways, and low-ceiling spaces.
Can I set up a feather flag by myself?
Yes. A feather flag is designed for one-person setup and usually takes just a few minutes. Assemble the pole sections and slide the flag sleeve over the pole while both are flat on the ground, then lift the pole into the base and secure it. The only time a second pair of hands helps is on a very tall flag in gusty wind, where holding the pole steady while you seat the base is easier with a partner.
What base should I use for a feather flag?
Match the base to the surface. On grass or soil, a ground spike drives in for a firm, low-cost anchor. On hard surfaces like concrete or tile, use a cross base or a flat plate, then add a weight, water bag, or sand bag on top for stability. For indoor trade shows, a weighted cross base keeps the flag upright without damaging the floor. Windy sites always call for extra ballast.
How do I keep a feather flag from blowing over?
Stability comes from the base and ballast, not the pole. Use a wider cross base, add a water or sand bag rated for your flag height, and drive a ground spike fully into firm soil where possible. Angle the flag so the wind helps it fly rather than pushing it flat, and take tall flags down in severe gusts. Seating every pole joint fully also stops the pole from flexing and toppling.
How do I take down and store a feather flag?
Reverse the setup. Unclip the flag from the base, lay the pole flat, slide the flag sleeve off the pole, then separate the pole sections. Roll the flag loosely around the folded pole or store it flat to avoid creasing the print, and keep the base and hardware in the carry bag. Storing the flag dry and out of direct sun protects the colors and the fabric between events.
Where can I find feather flag setup instructions?
The full feather flag instructions are on this page, in the printable six-step list above: count the kit, build the pole thick to thin, sleeve the flag while it is flat on the ground, tension and clip it top and bottom, set the base for the surface, then raise it and add ballast. Nothing in the sequence is specific to one size, so the same six steps cover a 10, 12, or 15 foot flag. Read the two steps that decide everything, seating each pole joint fully and matching the base to grass, concrete, tile, or an indoor floor, before you leave for the site.
How long does it take to set up a feather flag?
A few minutes for one person, and the pole is the fast part: the sections slot together thickest to thinnest in well under a minute once you have them in order. Sleeving the flag and tensioning the sleeve take about as long again. What actually sets your time is the base, since driving a ground spike into firm soil or filling and placing a water or sand bag is slower than dropping a weighted cross base on a trade show floor. A 15 foot flag takes longer to raise and steady than a 10 foot flag, and a windy site adds a minute or two of ballast work.
Why is my feather flag graphic not showing flat?
A bunched or twisted graphic usually means the flag sleeve is not tensioned or the pole is not fully seated. Make sure each pole section is pushed all the way in, pull the flag sleeve taut so the fabric sits smooth against the curve of the pole, and check that the flag is clipped at both the top and bottom attachment points. Once the sleeve is tensioned correctly, the printed design reads clean and legible.
Get Started
Ready to fly a feather flag that stands out?
Pick your height, choose the base for your surface, and we print bold, weather-ready feather flags that assemble in minutes and read from across the lot.
Legal Disclaimer
Gold Standard guarantees apply to all standard orders placed through 4over4.com. Price match requires verifiable proof of a competitor's published price for an equivalent product with matching specifications and turnaround time. Satisfaction guarantee covers manufacturing defects and print quality issues. Contact support with order number and documentation. On-time delivery rate based on tracked orders 1999 to 2026. Individual results may vary based on shipping carrier performance.
