
Custom Stand Up Pouches With Low Minimums That Sell on Shelf


How to Spec a Custom Stand Up Pouch in Four Decisions
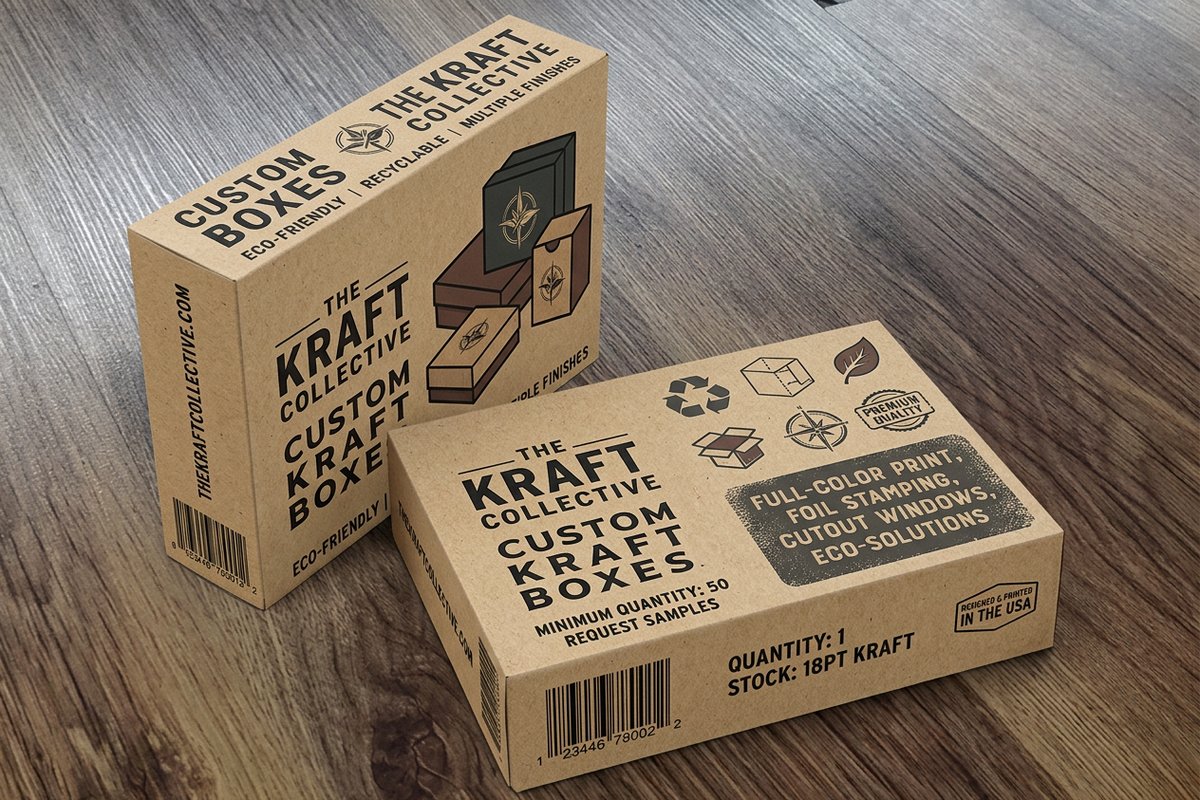
A stand up pouch looks like one object and behaves like four. There is the film stack that protects what is inside, the shape that decides how it sits on a shelf, the closure that decides how a customer lives with it after the first open, and the print that does the selling. Get those four right in that order and the quote you receive will be close to the pouch you imagined.
Most first-time buyers start at the artwork and work backwards, which is where budgets break. Ink cost is rarely the problem. The film build, the gusset depth and the closure hardware carry most of the unit price, and each one is locked before a single plate or digital file is imposed.
The other thing that trips people is minimum order quantity. Traditional rotogravure pouch printing needs engraved cylinders, and the setup only makes sense across very large runs. Short-run digital and plate-free flexo changed that math, which is why low minimum custom printed stand up pouches now exist at quantities a new brand can actually fund. If you want the long version of every option, the custom printed pouches guide walks through the full build.
Decision 1: name the product and the fill weight
Coffee, granola, powder, pet treats and bath salts all behave differently. Write down the fill weight, the bulk density and whether the product is oily, acidic, sharp-edged or degassing. Every later choice hangs off that one line, and no converter can guess it for you.
Decision 2: choose the barrier before the look
Oxygen, moisture and light each need their own answer. A clear laminate is fine for a low-fat snack and wrong for roasted coffee. Pick the barrier that protects your stated shelf life, then design inside whatever that film allows.
Decision 3: size the pouch around the gusset
Fill volume is a function of width, height and gusset depth together. A taller pouch with a shallow gusset looks slim and tips over. Ask the converter to confirm your fill weight in the exact size before you approve anything.
Decision 4: lock the closure and the dieline
Zipper, tear notch, hang hole, degassing valve and spout all change the printable area. Get the final dieline first, then place your artwork on it. Designing on a generic rectangle and adapting later is how logos end up inside a seal.
Shop the category
Custom printing collection
Packaging, labels, stickers and print built to carry one brand look.
Low Minimum Custom Pouches Without the MOQ Trap
The classic pouch quote asks for five or ten thousand units per flavor, per size. For a brand testing three flavors that is a five figure commitment to packaging you have never seen filled. Low minimum printing exists to break that, and it works because the press does not need engraved cylinders to change an image.
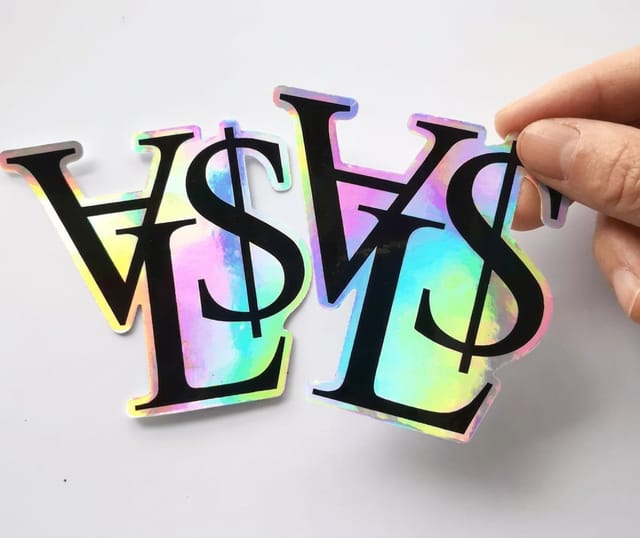
There is a second, cheaper route worth knowing. Order stock kraft or clear pouches in the size you need, then brand them with printed labels. It keeps your per-unit film cost at commodity level and moves the artwork onto something you can reprint in hours. A run of Custom Holographic Stickers as flavor seals turns one blank pouch into an entire line, and Custom Business Cards tucked into the shipper carry the story a pouch has no room for.
- Digital pouch printing. No plates, low setup, best for a few hundred to a few thousand units and unlimited artwork variations.
- Plate-free flexo. Mid volumes with better ink economy, still far below rotogravure minimums.
- Stock pouch plus printed label. The lowest true minimum available, and the fastest way to change a recipe or a claim.
- Rotogravure. The cheapest per unit at very high volume, and the wrong tool for a launch or a seasonal flavor.
- Digital proofing before any of them. One printed sample beats a screen approval every single time.
Run the numbers on landed cost per filled unit, not on the pouch line alone. A cheaper pouch that forces you to buy a year of inventory, store it, and scrap half of it after a recipe change is the most expensive option on the table.
Print picks
Three formats that finish a pouch program
Live prices, ready to customize with your artwork.
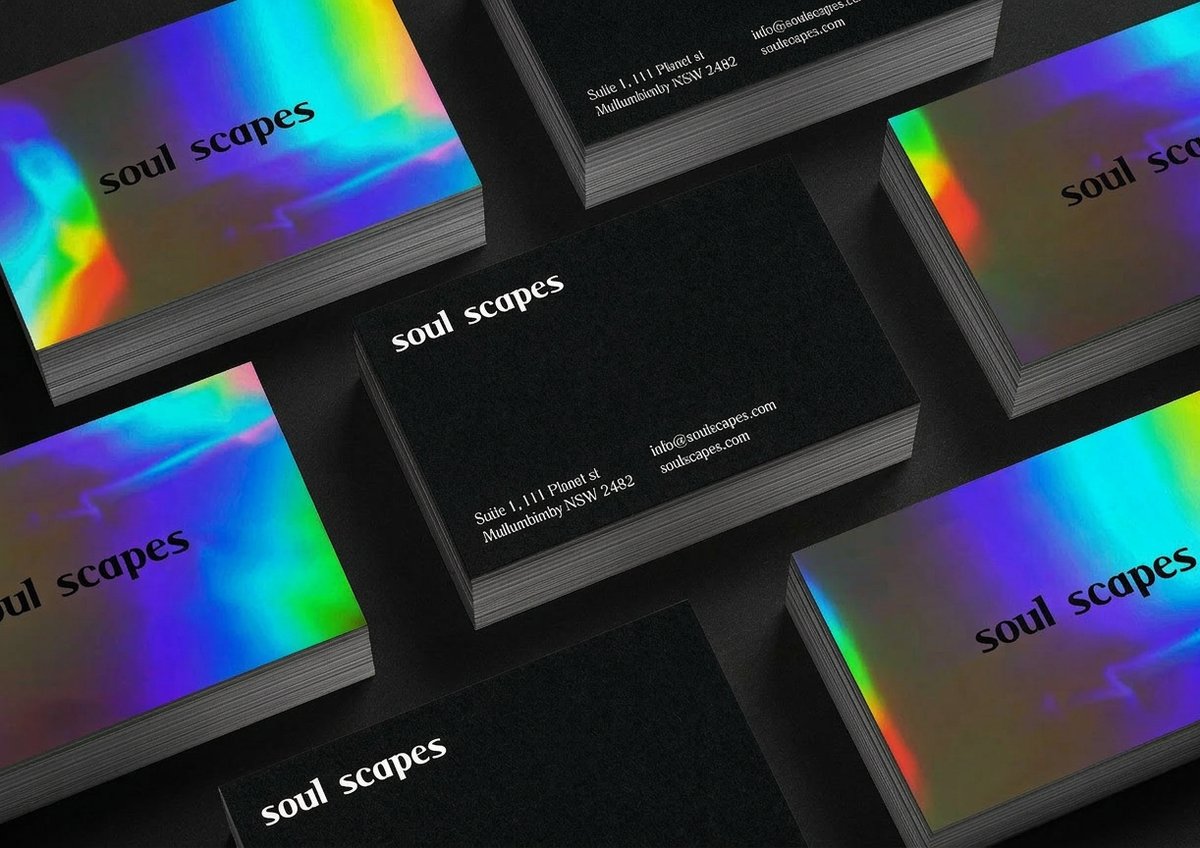 Custom Business Cards From $17.57 The card that goes in the box with the pouch, printed on the same brand palette.
 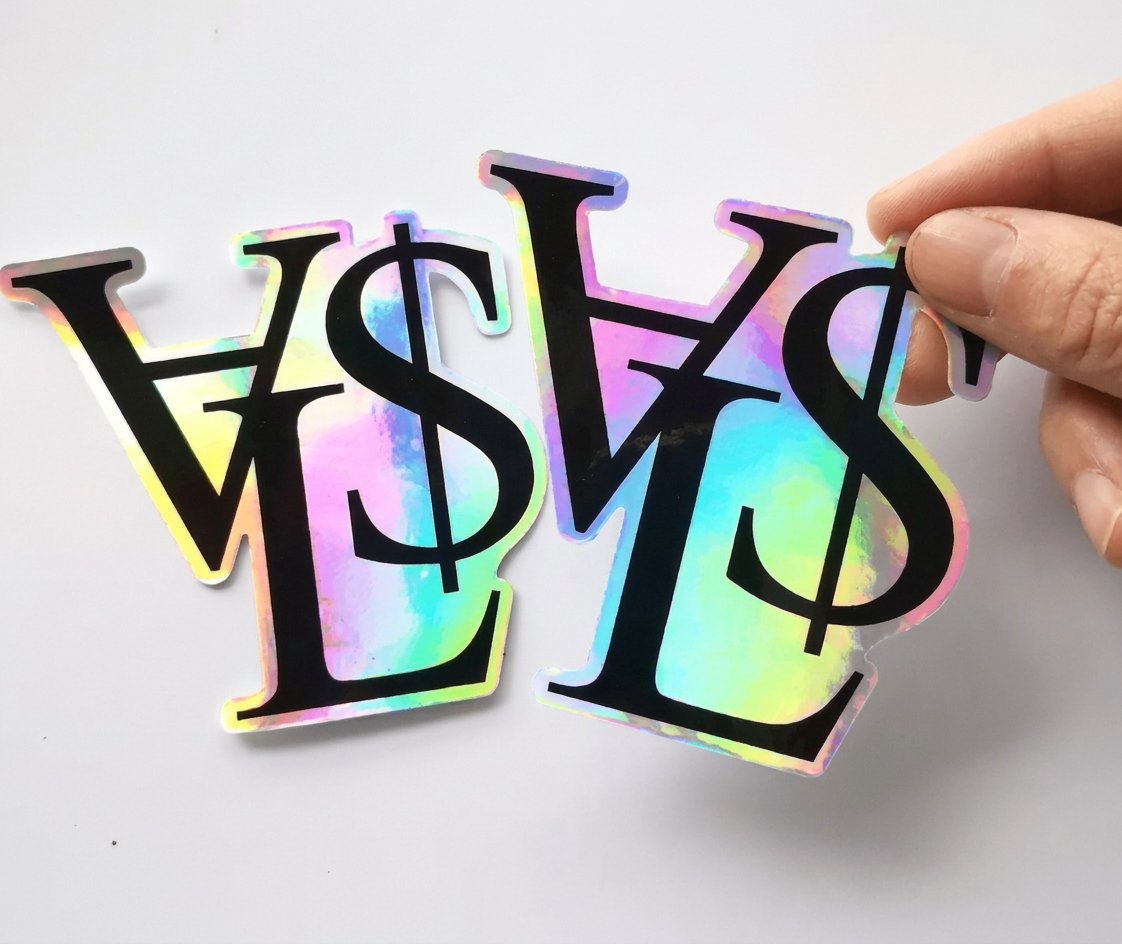 Custom Holographic Stickers From $322.98 Seal labels and flavor stickers that let one blank pouch cover a whole product line. Custom Kraft Boxes From $711.78 Retail-ready outer packaging that ships and merchandises your pouches together.
 Films, Laminates and Barriers That Hold Up on a Shelf
A pouch is a laminate. Two or three films are bonded together so each one does a job the others cannot: the outer layer takes the print and the abuse, any middle layer carries the barrier, and the inner layer melts to form the seal. When someone quotes you a pouch, ask for the stack in order, outside to inside.
- PET outer. Tough, dimensionally stable, prints beautifully. The default face of most printed pouches.
- Metallized or foil middle. The strongest oxygen, moisture and light barrier, and the reason coffee stays fresh.
- Clear high-barrier middle. Choose this when the customer needs to see the product and you still need shelf life.
- Polyethylene inner. The sealant. Thickness here decides seal strength and how well the pouch survives shipping.
- Kraft paper outer. The natural look, always laminated to a functional inner because paper alone holds nothing.
- Recycle-ready mono-material. Single polymer family builds that keep the pouch in a stream instead of landfill.
Barrier is not free. Every layer you add raises cost and stiffness, and a very stiff pouch fights the filling line. If your product sells through in weeks rather than months, a lighter build is often the honest choice, and the savings pay for the finish that makes the pouch look expensive.
Pouch Sizes, Fill Volumes and Quantity Pricing
Pouch sizes are quoted as width by height plus gusset, and the gusset is the number people forget. It is the fold at the base that opens into a flat footprint, and it does more for both capacity and shelf presence than an extra inch of height ever will.
- Sample and single-serve. Small footprint, shallow gusset, usually sold in multipacks or as a trial size.
- Half pound to one pound. The workhorse for coffee, tea, snacks and treats, and the size most stock inventories cover.
- Two pound and up. Deeper gusset, heavier sealant, and a handle or hang hole starts earning its place.
- Wide-format shelf pouches. Short and wide, built to face out in a crowded aisle rather than stand tall.
Quantity pricing behaves the same way in every custom print category. Setup is paid once and then divided across the run, so the per-unit number falls fastest over the first few price breaks and then flattens. The live price table below is for a different product, but the shape of the curve is exactly what you should expect on a pouch quote, and it is worth studying before you commit to a tier.
Quantity and price
How quantity pricing actually behaves
Real configurator numbers from a live product. The more you print, the less each piece costs.
| Quantity | Price Per Unit | Total |
|---|---|---|
| 100 | 17.6¢ | $17.57 |
| 200 | 11.5¢ | $23.07 |
| 300 | 9.15¢ | $27.46 |
| 400 | 7.96¢ | $31.86 |
| 500 | 7.25¢ | $36.26 |
| 600 | 6.77¢ | $40.64 |

Finishes That Change How a Pouch Feels in Hand
Two pouches can carry identical artwork and sell at different price points because of the finish. Gloss makes color jump and photography look rich. Matte lowers the volume and reads as premium and modern. Soft touch adds a velvet drag that people notice with their fingers before their eyes.
The sharpest trick is combining them. A matte base with spot gloss on the logo, the fruit, or a single line of type creates contrast that no flat design can fake, and it costs a fraction of what most people assume. Metallic effects work the same way when you print onto a metallized film and knock out the ink where you want the shine to come through.
- Matte laminate. Hides scuffs, kills glare under retail lighting, and reads as considered.
- Gloss laminate. Maximum color saturation, best for food photography and bold flavor coding.
- Soft touch. A tactile signal of premium that survives handling in the aisle.
- Spot gloss on matte. The highest visual return per dollar in the whole finishing menu.
- Reverse-printed metallic. Real shine from the film rather than a printed imitation of it.
Whatever you pick, hold a physical sample under the light your product will actually sit in. Warehouse fluorescents and phone screens both lie, and a finish that looked subtle on a monitor can disappear completely on a shelf.
Premium finish
Custom kraft boxes
The natural, uncoated look that pairs with a kraft pouch on the same shelf.
Food Safe Pouches, Compliance and Documentation
Food safety in a pouch is decided by the inner sealant layer and the ink system, not by a claim on a website. The sealant is what touches your product, so it has to be a food contact grade resin, and the inks and adhesives have to be selected so nothing migrates through the laminate.
Ask your converter for documentation in writing before the first production run rather than after a retailer asks you for it. The right questions are simple: which food contact regulations does this structure comply with, are the inks low migration, and can you supply a statement of compliance for this exact build. A converter who prints food packaging every day answers those in a paragraph.
- Food contact sealant. Confirm the grade of the inner layer, in writing, for the exact structure you ordered.
- Low migration inks and adhesives. Standard for food work, not automatic on general-purpose presses.
- Degassing valve for coffee. Freshly roasted beans release gas, and a sealed pouch without a valve will balloon.
- Oxygen and moisture barrier matched to shelf life. Test the claim you print, do not assume it.
- Label copy compliance. Net weight, allergens, ingredients and country of origin belong in the dieline from day one.
If a claim will appear on the pouch and the recipe is still moving, print the fixed brand story on the pouch and put the variable detail on a separate applied label. Reprinting a label costs a fraction of scrapping a pallet of packaging.
Label the line
Holographic seal stickers
Flavor codes, batch seals and tamper-evident closures that let one blank pouch cover every product you make.
Artwork Setup That Survives the Press
Pouch artwork fails for boring reasons, and all of them are avoidable. Build your file on the converter dieline with the seal areas, the gusset fold and the tear notch shown as separate layers, and treat those zones as untouchable rather than as suggestions.
Remember that the gusset is a fold. Art that runs across it will disappear when the pouch stands up and reappear when it lies flat, so the bottom band of a design should be a color field or a pattern, never a logo or a claim. Keep the top strip clear too, because the header seal and the zipper live there.
- Work in CMYK with named spot colors. Brand colors that must match exactly should be specified, not converted and hoped for.
- Vector logos and live type only. Small type reversed out of dark film needs clean outlines to stay readable.
- Mind the bleed and the seal. Full bleed across the whole panel, with no critical content inside the seal zones.
- Photography at high resolution. Film print is unforgiving with soft images, and a scaled-up hero shot shows every pixel.
- Barcode on a light, flat field. Never across a gusset fold, never on a busy pattern, always at full quiet zone.
- Approve a printed proof. Screens run bright and warm, and film has its own color behavior.
If you are laying out other pieces of the same brand system at the same time, the comparison table below shows how stock, finish, size and turnaround trade against each other in a live product family. The same trade-offs govern your pouch decisions, just with film in place of paper.
Compare specs
Stock, finish and turnaround side by side
Stock, finish, size, quantity, turnaround and price, compared in one table.
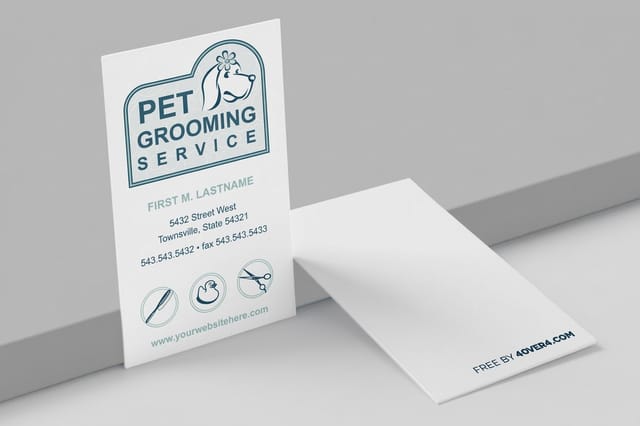 free business cards | 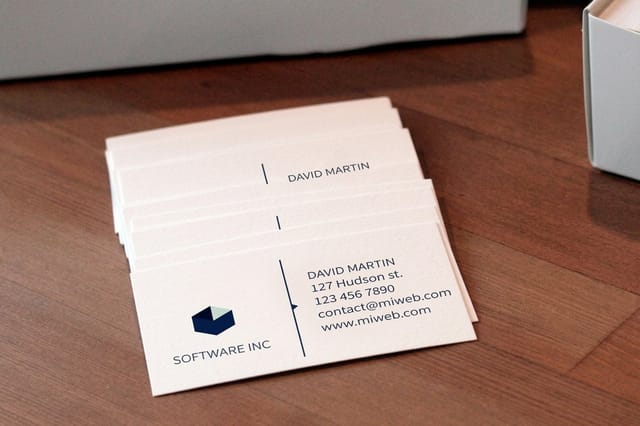 Standard Business Cards |  3D Lenticular Business Cards | 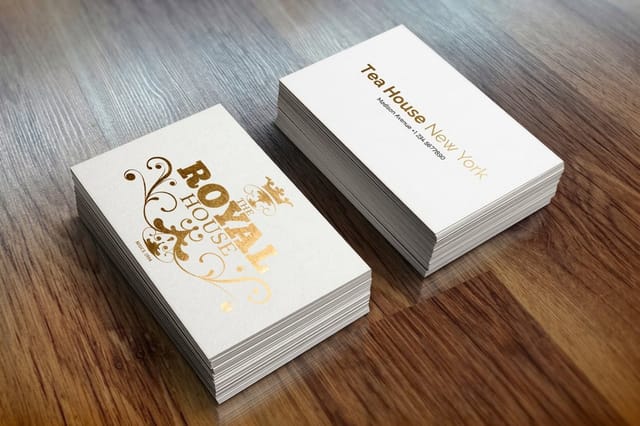 Metallic Foil Business Cards | |
|---|---|---|---|---|
| Min price | Free | $17.57 | $690.88 | $222.13 |
| Paper / stock | 14pt Gloss Cover | 14pt Gloss Cover | 31pt Lenticular Lens | 16 Point Silk Laminated |
| Finish | - | Standard Finish | - | - |
| Size | 2" x 3.5" | 2" x 3.5" | 2" x 3.5" - Vertical | 2" x 3.5" |
| Default qty | 200 | 100 | 500 | 500 |
| Turnaround | 5 business days | 3 business days | 22 business days | 7 business days |
| Rating | ||||
| View & customize | View & customize | View & customize | View & customize |
Zippers, Valves, Spouts and the Rest of the Hardware
Hardware is what turns a printed bag into a package people keep using. It is also the part most quotes bury, so ask for each item as a separate line and you will understand your unit cost far better.
- Press-to-close zipper. The default reclose, cheap and universally understood by customers.
- Slider zipper. Easier for older hands and a visible premium cue, at a real cost per unit.
- Tear notch. A small cut that lets a hand open a laminate cleanly without scissors.
- Laser score. A controlled opening line for a neater tear than a notch alone gives.
- Degassing valve. Non-negotiable for freshly roasted coffee, unnecessary for most dry snacks.
- Spout and cap. For liquids, purees and refills, and it changes the whole filling process.
- Hang hole. Required if the retailer merchandises on a peg rather than a shelf.
- Window. A clear panel that sells texture and color, at the cost of some light protection.
Every one of these takes up printable area. Add them to the dieline before the design is approved, not after, or you will end up moving artwork that was already signed off and paying for the revision twice.
Ordering Custom Pouches and What to Expect
A clean pouch order runs in a predictable sequence. Confirm the structure and size, receive the dieline, place artwork on it, approve a proof, then production and shipping. Short-run digital work moves fastest because there are no plates to make, and the schedule is set mostly by the finishing and pouch-forming steps.
Build a real buffer into your launch date. Anything filled, sealed and shipped depends on more than the print, and a week of slack costs nothing while a missed retail set date costs a season. While the pouches are in production, the rest of your brand system can be handled in parallel: Custom Kraft Boxes to ship and merchandise them, seal stickers to code the flavors, and cards for the insert. Free layouts and exact-size blanks make that part quick.
A short pre-order checklist
- Fill weight confirmed in the exact size. Ask the converter to verify it, in writing.
- Barrier matched to your stated shelf life. Not to the shelf life you hope for.
- Dieline received before design begins. Seal, gusset and notch on their own layers.
- Physical proof approved under retail lighting. Never a screen approval alone.
- Compliance documentation on file. Before production, not after a buyer asks.
Start fast
Templates and print-ready blanks
Free layouts plus exact-size blanks so your artwork lands inside the safe area on the first try.





Wally explains custom pouch printing
Structure first, artwork second, and the minimum stops being scary
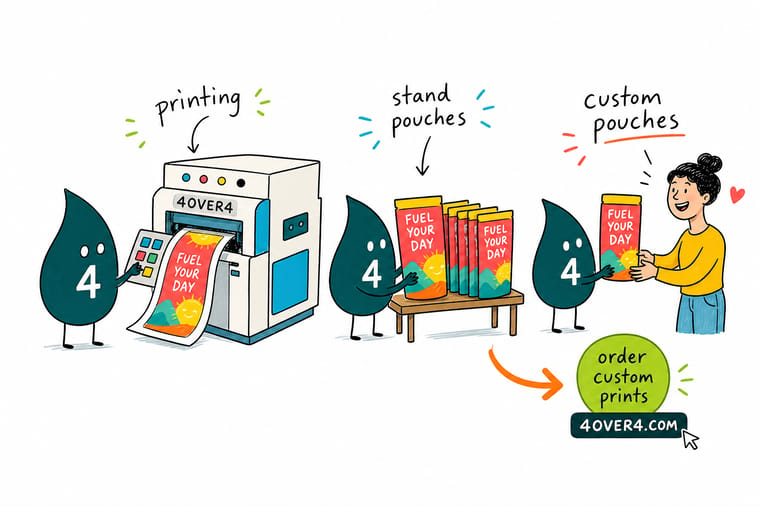
A pouch is four decisions wearing one shape. Name your product and fill weight, choose the barrier that protects your shelf life, size the pouch around the gusset, then lock the closure and the dieline before any artwork moves. Do it in that order and low minimum printing becomes a real option instead of a compromise, because the press no longer needs plates to make your first few hundred units.
Browse custom printing →Custom Pouch Printing Takeaways
Related Printing Guides
Keep reading
Guides that pair with a pouch program
The next pieces of a packaging system, each one covered end to end.
Custom Printed Pouches Guide The full build walkthrough, from film stack to finished order. Custom Printed Food Wrappers Grease-resistant wrap and liners for food service brands. Custom Printed Banners Large format signage for markets, launches and pop-ups. Custom Photo Calendar Printing A year-long brand gift to pair with your product drop. Explore more
More packaging and print across 4OVER4.COM
Related pages across the site, one card each, all built for brands that ship product.
 Article How to Stack Daily Deals and Coins on a Custom Printing Order How daily deals, coins and quantity breaks combine on a 4OVER4.COM order, and the order to apply them in so th
  Collection Custom Printing Collection Every custom print format under one roof.
  Guide Custom Printed Pouches Guide Film stacks, sizes, closures and ordering, step by step.
 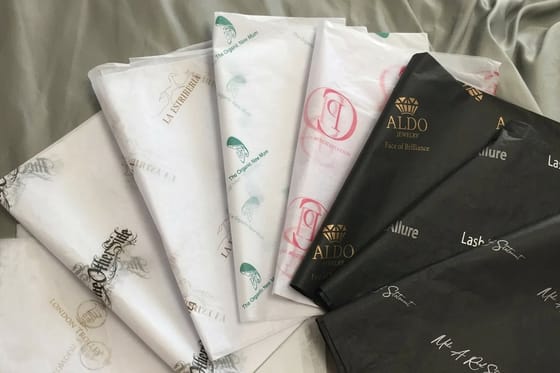 Guide Custom Printed Food Wrappers Wrap, liners and grease resistance for food brands. Article Custom Deli Paper Branded food wrap that handles grease and heat.
  Article Custom Printed Paper Cups Design and branding for cups your customers carry out.
  Article Custom Party Napkins Small printed pieces that finish a branded table.
 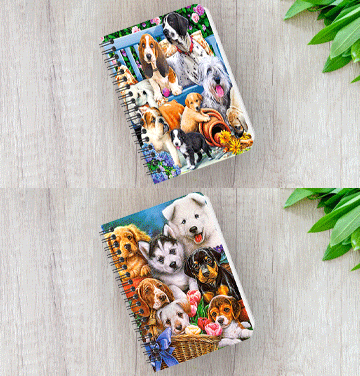 Article Custom Printed Notebooks Branded journals for gifting and retail bundles. Guide Custom Printed Banners Signage for markets, launches and trade shows.
 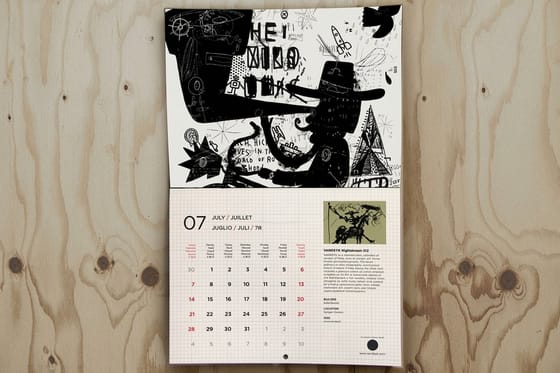 Guide Custom Photo Calendars A twelve month brand gift, printed your way.
 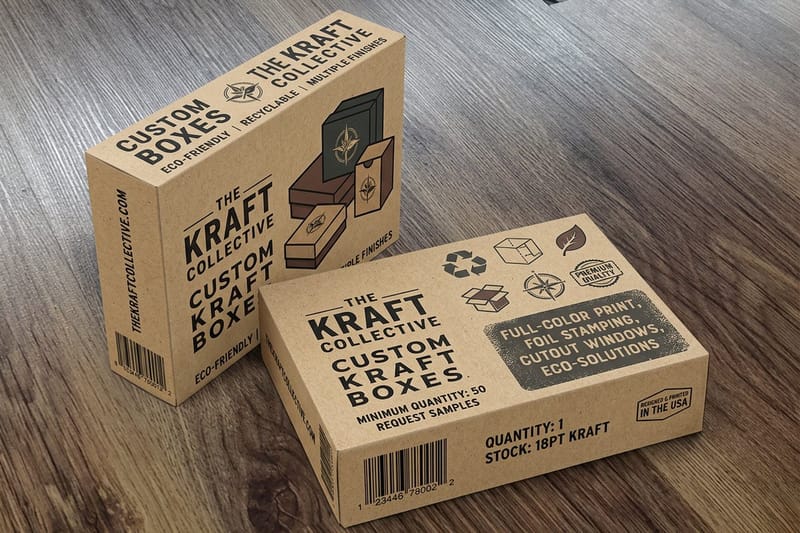 Product Custom Kraft Boxes Retail-ready outer packaging for your pouches.
 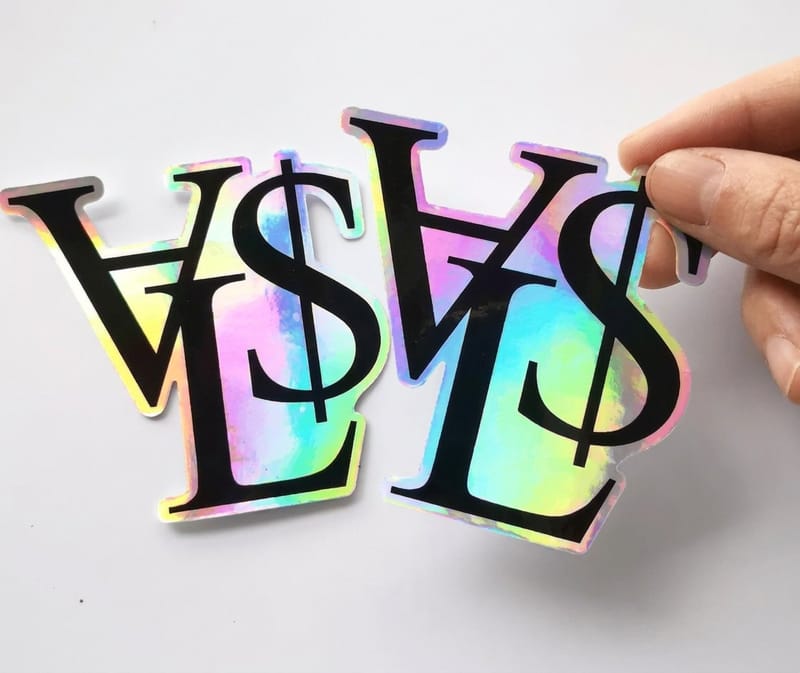 Product Custom Holographic Stickers Seal labels and flavor codes with real shine.
 Ready to build packaging your product deserves?
Lock the structure, pick the finish, and print the labels, boxes and cards that surround your pouch with one consistent brand look.
Stand Up Pouch Printing FAQ
What are custom printed stand up pouches with a low minimum?
They are flexible laminate bags with a bottom gusset that lets them stand on a shelf, printed with your artwork at quantities a small brand can fund. The low minimum comes from the press: digital and plate-free flexo skip the engraved cylinders that traditional pouch printing needs, so setup cost drops and a run of a few hundred becomes viable. The cheapest entry of all is a stock pouch branded with printed seal labels. For the full build walkthrough, see the custom printed pouches guide.
How do I choose the right low minimum pouch for my product?
Start with the product, not the picture. Write down the fill weight, the bulk density and whether the contents are oily, acidic, sharp or degassing, then choose a barrier that protects your stated shelf life. Size the pouch around the gusset depth rather than the height, since that is what sets both fill volume and how it stands. Only after the structure, the size and the closure are settled should the artwork begin.
What do custom stand up pouches cost and how is pricing set?
Pouch pricing is driven by the film structure, the size, the hardware and the run length, with ink a small share of the total. Setup is charged once and divided across the quantity, so per-unit cost falls sharply over the first price breaks and then flattens out. Ask for hardware such as zippers, valves and spouts as separate line items. Compare quotes on landed cost per filled unit, never on the pouch line alone.
What sizes, films and finishes are available for custom pouches?
Sizes run from single-serve sample pouches through the common half pound and one pound formats up to multi-pound bags with deep gussets and handles. Films are laminates built outside in, typically a printable PET or kraft face, an optional metallized or clear high-barrier middle, and a polyethylene sealant. Finishes include gloss, matte, soft touch, spot gloss over matte, and reverse-printed metallic effects, and recycle-ready mono-material structures are available on most builds.
How long does custom pouch printing and shipping take?
Short-run digital pouch work is the fastest route because there are no plates to engrave, so the schedule is set mainly by pouch forming, finishing and hardware application rather than by the printing itself. Larger flexo and rotogravure runs add plate or cylinder time up front. Add a buffer for the dieline exchange and the physical proof approval, and never book a retail set date against the earliest promised ship date.
