
How to Get a Custom Banner Made From Measurement to Delivery


Tobias is our voice for cutting, binding and large format, built from the knowledge of our production team, with over 20 years in printing.
Six decisions stand between an idea and a banner on the wall, and only one of them is the design. Here they are in the order a printer needs them.
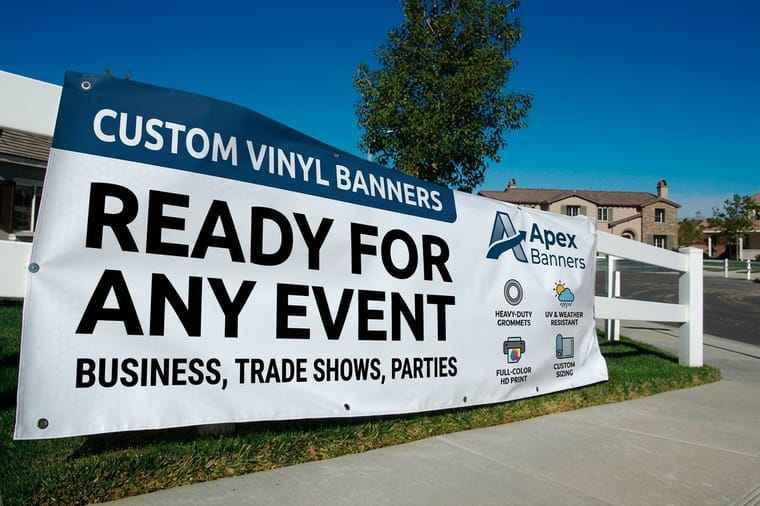
To get a custom banner made, measure the mounting points and let them set the size, choose the material for where it hangs, supply artwork at that size, then pick finishing that matches your hardware and approve the proof. Vinyl banners start at $79.00 at 4OVER4.COM, mesh at $75.00 and fabric at $57.20, with stock sizes from 2 ft by 4 ft to 8 ft by 20 ft and Any Size for everything in between. A flat logo and one headline is often the whole file: the online designer and the blank template library both produce a file we can print.
Quick answer
Four decisions and a file, in that order
Getting a banner made is four decisions and one upload, and taking them in the right order is what keeps the job to a single round. Measure the space and let it set the size. Pick the material for the weather at that spot, not for the look. Get the artwork to the ordered size, whether that comes from your designer, our online designer or a blank template. Choose the finishing that matches the rope, pipe or bracket you already own. Then upload, read the proof properly, and approve.
Design Your Own Banner Online or Upload a File
You can make your own banner two ways, and both end in the same print ready file. Pick the route by what you have in hand today.
- Design it online. Open the online designer at the banner size you ordered, place your logo, type the headline and set the background color. The canvas carries the bleed and safe margins, so the file leaves the browser ready for press.
- Build it yourself and upload. Download a blank template at your size, lay it out in your own application, and upload a PDF with type converted to outlines, in CMYK, at about 100 dpi at full size.
Either way, fix the size first. Stock vinyl banner sizes run from 2 ft by 4 ft to 8 ft by 20 ft, with Any Size for your own dimensions. Vinyl banners start at $79.00, mesh at $75.00 and fabric at $57.20, and the six steps below cover the measuring, the material and the finishing in the order a printer needs them.
Step 1. Measure the Spot Before You Decide Anything Else
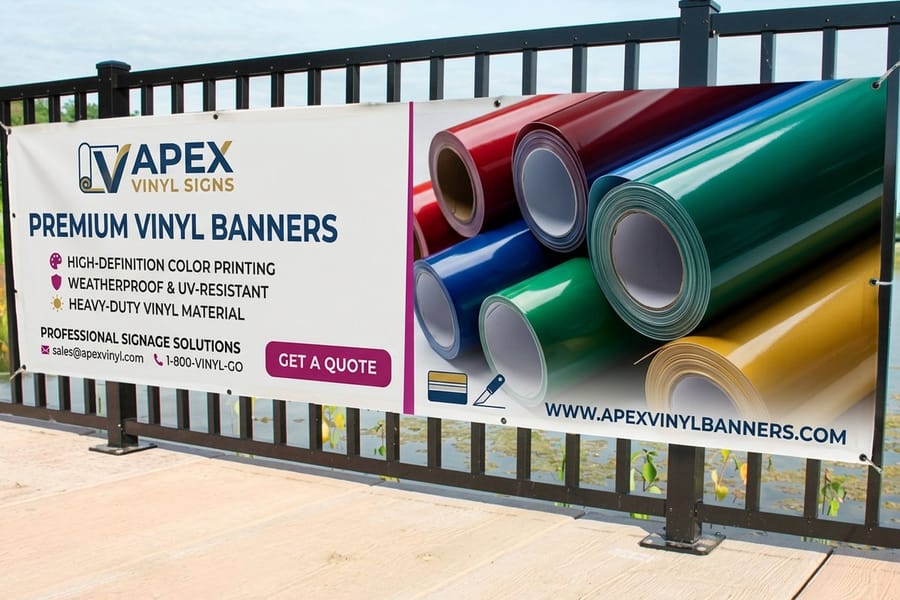
Take a tape measure to the two things you will actually tie to. That clear span, minus roughly six inches at each end so the banner has somewhere to pull against, is your width. Every other decision on this page depends on that one number, which is why it comes before the artwork rather than after it.
Then ask how far away the reader is standing. The working rule across the sign trade is one inch of capital letter height for every ten feet of comfortable reading distance, and one inch per twenty five feet if you only need the words recognized rather than read. A banner across a parking lot at 100 feet wants about 10 in capitals. Run that backwards and it usually tells you one of two things: the banner needs to be bigger than you assumed, or the message needs to be shorter. Shorter is almost always the cheaper fix.
Stock sizes here run from 2 ft by 4 ft up to 8 ft by 20 ft, and Any Size takes your own dimensions when the wall refuses to cooperate. If you would rather start from a known format, the banner sizes and templates guide lists the common ones with their setup dimensions, and vinyl banners price live as you change the size. Rigid signs and banners price side by side on the signs and banners page.
Step 2. Choose the Material for Where It Hangs
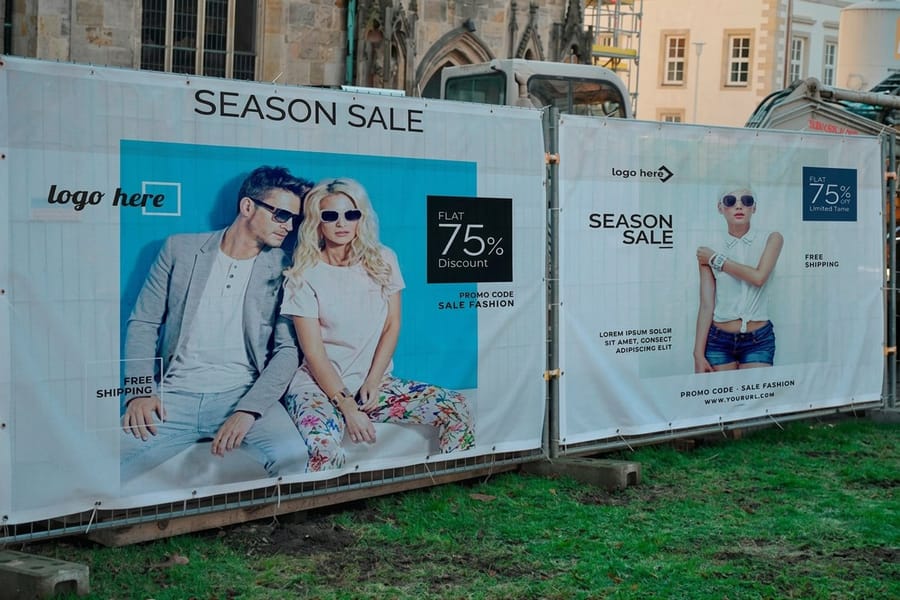
Material is not a taste question. It is a location question, and getting it wrong is the single most common reason a custom banner fails early. A solid banner is a sail: the whole surface catches the gust and hands that load to your grommets and whatever they are tied to.
| Material | What it is | Where it belongs | The trade |
|---|---|---|---|
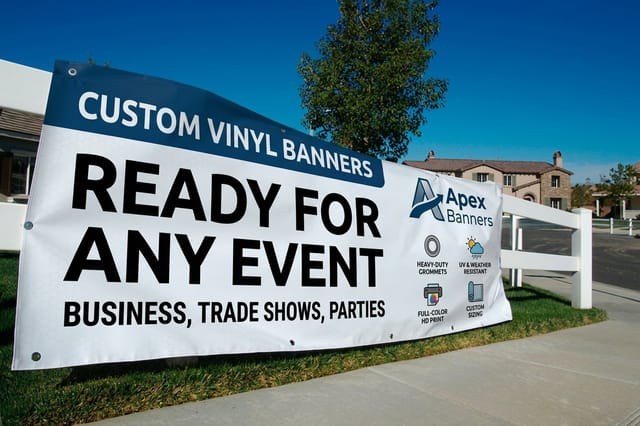
| Scrim vinyl | Heavy PVC with a woven polyester scrim inside for tear strength. | Walls, storefronts, railings, indoor events, anywhere sheltered. | Solid surface, so it takes the full wind load. From $79.00. |
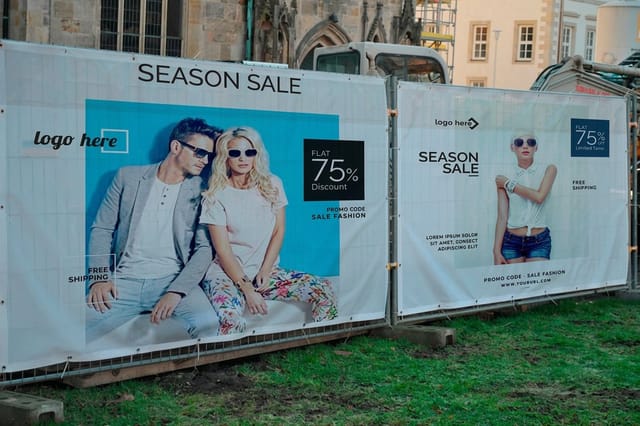
| Mesh | Vinyl woven with open holes, commonly around 70 percent material to 30 percent air. | Fences, scaffolding, rooftops, building faces, exposed sites. | Photographs read slightly softer up close. From $75.00. |
| Fabric | Printed polyester with a matte surface and no glare. | Indoor stages, trade show walls, anything under camera lights. | Not built for weather, and it creases if stored folded. From $57.20. |
| Pole banner stock | Double sided vinyl sized for street pole brackets, pockets top and bottom. | Light poles along a street, campus and district signage. | Fixed narrow formats. From $97.76. |
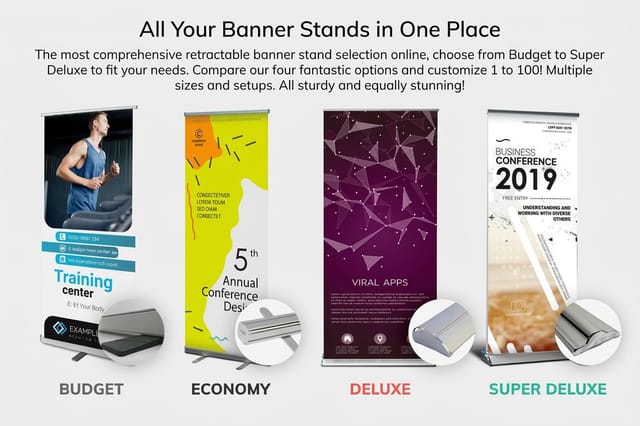
| Retractable graphic | A printed panel that rolls into its own aluminum base. | Booths, lobbies, conferences, anywhere you cannot drill or tie. | Indoor only, and the hardware is part of the price. From $139.00. |
If wind can reach it, order mesh banners and stop deliberating. From across a street the image still reads as solid. The side by side comparison, including what you give up in image quality, is in vinyl banners vs mesh banners, and the full material rundown sits in banner material types. Two more guides go deeper on the choice: the types of vinyl banners set against mesh, fabric and retractable, and mesh banner material and why wind passes straight through it. If the banner is an advertisement first, the design guide sorts the types of banners that sell from across a street.
Step 3. Get the Artwork Made, Three Honest Routes
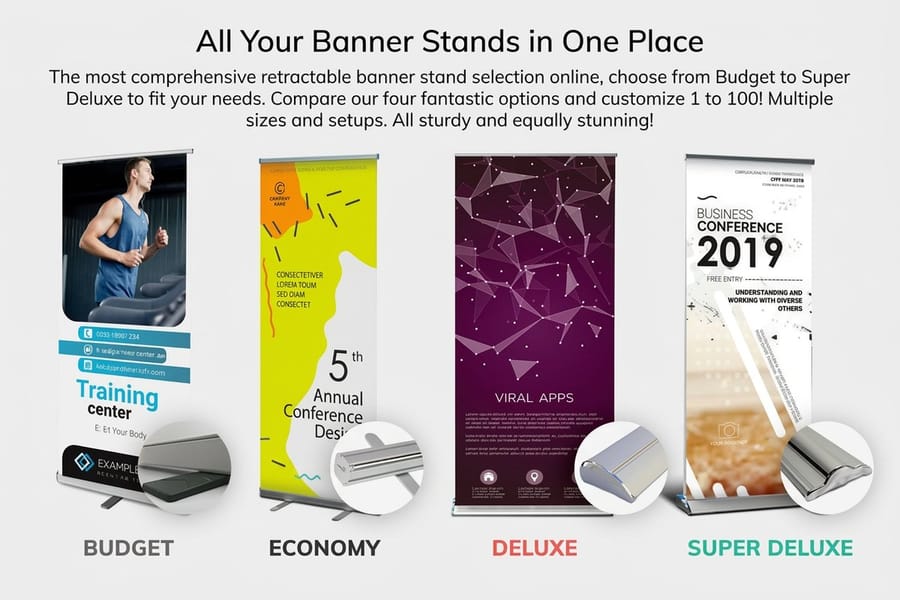
This is the step people stall on, and it is smaller than it looks. A banner read from thirty feet is one headline, one logo, one contact detail and a lot of flat color. There are three routes to a printable file and each one suits a different starting point.
You already have a designer or a design file. Fastest route by a distance. Send a print ready PDF at the ordered size with type converted to outlines, and the job goes straight into prepress. Everything in step 4 applies to you.
You have a logo and an idea. Use the online designer and start on a canvas that is already the correct shape, or pull the matching size from the blank template library and lay it out in whatever application you own. The template carries the bleed, the trim and the safe margin already, which removes the three things most often got wrong.
You have a logo and nothing else. Keep it to one line of type over a solid background and you will get a better banner than most designed ones, because the failure mode of banner design is putting too much on it. The one file that will not work is a logo screenshotted off a website: that image is roughly 72 dpi and it turns to mush at six feet wide. Ask whoever made the logo for the vector version, usually an AI, EPS or PDF file. If the banner is one piece of a bigger set, the range in custom printing keeps the same artwork consistent across signs, stickers and displays.
Create Your Own Banner Design Online, Step by Step
If you are designing the banner yourself, five steps take you from a blank screen to a file we can print without a query.
- Pick the size from your tape measure notes. A 3 ft by 6 ft vinyl banner suits a storefront, and 8 ft by 20 ft is the largest stock size. Any Size takes the exact span between your mounting points.
- Start from a layout, not a blank page. The online designer opens a canvas at that size, and a blank template does the same in your own software. Both mark the trim, the bleed and the safe margin.
- Add the text first. One headline, one logo, one contact detail. Size the capitals at one inch for every ten feet of reading distance, and keep every word three inches inside the trim edge so the hem and grommets never touch it.
- Add images at print resolution. About 100 dpi at full size for a banner read from more than ten feet, 150 dpi within arm's reach. A logo copied off a website is about 72 dpi, so ask for the vector file instead.
- Upload and check the proof. Read the phone number, check that nothing sits under a grommet position, and confirm the size against your measurements before you approve.
Vinyl banners start at $79.00, mesh at $75.00 and fabric at $57.20, and the price updates as you change the size and finishing, before you pay.
Banner Products You Can Design Your Own On
Every banner below takes a file from the online designer or a blank template. Choose the product by where it hangs, then the size.
| Product | Sizes | Material | Finishing | Starts at | Standard production |
|---|---|---|---|---|---|
| Vinyl banners | 2 x 4 ft to 8 x 20 ft, or any size | 13oz outdoor or 15oz blockout vinyl | Hems, grommets every 2 ft or corners, pole pockets | $79.00 | 3 business days |
| Mesh banners | 24 x 72 in to 48 x 144 in, or any size | 8oz perforated vinyl | Hems, grommets, pockets from 1.5 in to 4 in | $75.00 | 3 business days |
| Fabric banners | 24 x 72 in to 48 x 144 in, or any size | 5oz economy or 9oz premium polyester | Hems, grommets, 2 in or 4 in pockets | $57.20 | 4 business days |
| Pole banners | 18 x 24 in to 30 x 72 in | 18oz blockout vinyl, printed both sides | 2 in pockets top and bottom, optional wind slits | $97.76 | 4 business days |
| Retractable banner stands | 24 x 79 in to 59 x 85 in | 13oz smooth blockout vinyl | Aluminum stand included | $139.00 | 3 business days |
Upload the artwork at the size you pick in the configurator, and the price for that size shows before you check out.
Step 4. Set the File Up So Nobody Has to Come Back to You
Most banner delays are not printing delays. They are a file that arrived wrong and a day lost to email. Four habits remove nearly all of it.
Build the document at a named fraction of final size and multiply the resolution to match. One quarter size at 400 dpi, or one tenth size at 1000 dpi, both land near 100 dpi once we scale them back up, which is the right density for something read from more than ten feet. Full size at 300 dpi is a file that will not open cleanly on your own machine, and no viewer can tell the difference.
Keep everything you want read at least three inches inside the trim edge. A hem folds the outer inch of the banner back on itself and grommets punch through what is left, so type near the edge either disappears into the fold or ends up with an eyelet through it. Supply CMYK rather than RGB, because a bright screen blue does not exist in ink and you would rather choose the substitute than have the press choose it for you. And leave the logo and the type as live vector instead of a placed image, since vector rescales without softening.
Then read the proof properly. It is the last point where a fix is free. Check the spelling of the phone number, check that nothing important sits under a grommet position, and check the size fields against your tape measure notes. The file setup rules in more depth are in how to print a big banner, which is the guide to read next if yours runs past about nine feet in either direction.
Step 5. Match the Finishing to the Hardware You Already Own

Finishing is where a cheap banner and a good one separate, and it costs almost nothing at order time. Start from the hardware rather than the catalog.
A hem is the outer inch folded back and welded so the edge is two layers thick. Take it on everything that hangs outdoors. Skip it and the grommet is biting a single layer of vinyl, which is exactly the failure behind every banner you have seen with torn half circles along its top edge.
Grommets are the answer for rope, bungee loops and hooks. Space them every 24 in to 36 in along the top and bottom with one at each corner, without exception, because corners carry the most load and tear first. On anything taller than about six feet, run them up the sides at the same spacing or the middle will balloon and flap, and flapping destroys more banners than any single gust. Tie with bungee loops rather than zip ties: bungee stretches through a gust and comes back, a zip tie holds rigid until the vinyl gives way.
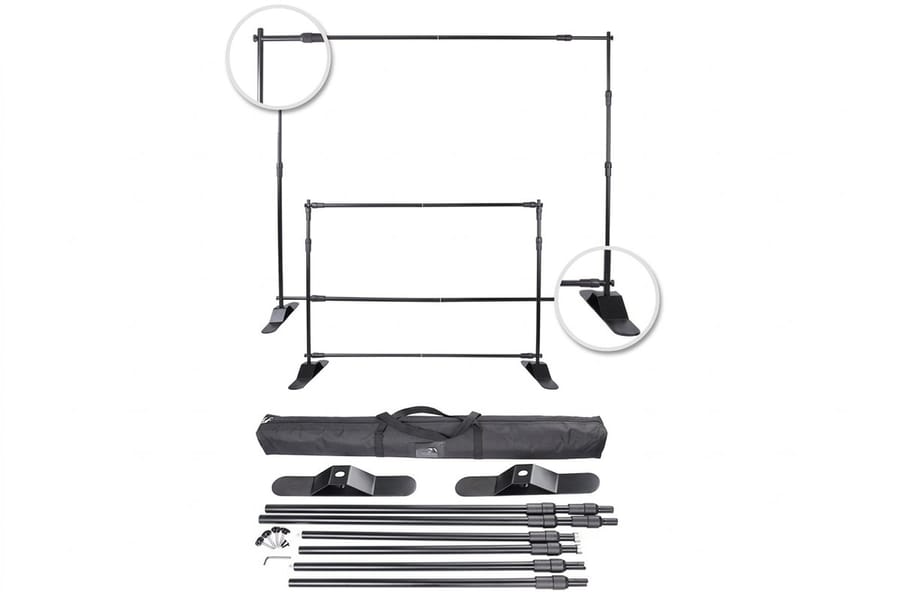
Pole pockets are the answer for pipe, whether that is a hanging frame or a street bracket. Match the pocket to the pipe, roughly 3 in for 1 in conduit and 4 in for 1.5 in, and remember the pocket eats visible height. And if the honest answer is that there is nothing to tie to at all, stop trying to solve it with finishing and order retractable banner stands, which bring their own base and case. Detailed spacing cases are in the grommet placement guide, and the mounting options are in ten ways to hang a banner.
Step 6. Order It, Approve the Proof, Plan the Delivery
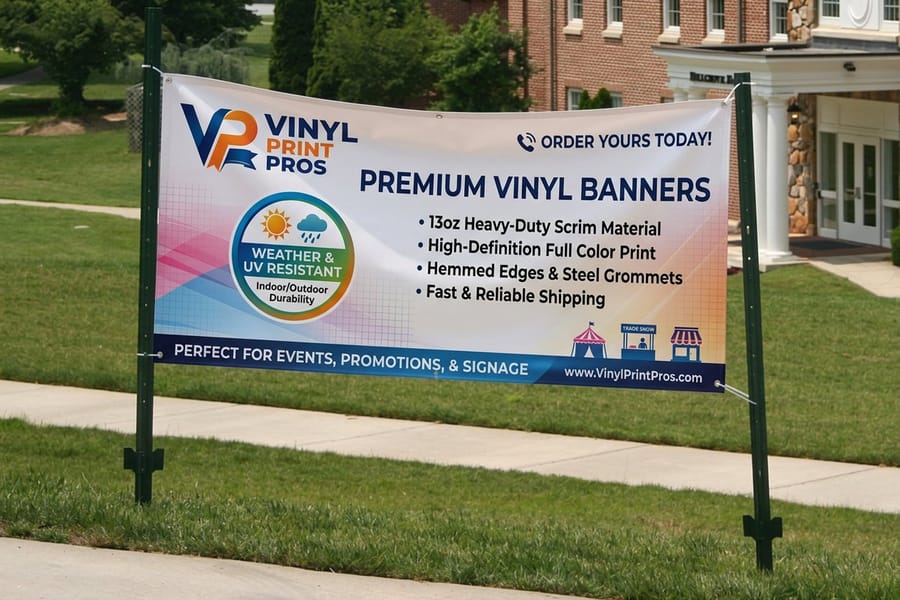
Ordering is the short part. Set the size, pick the material, choose the finishing, upload the file, then approve the proof. What is worth planning is the calendar around it, because two clocks run and only one of them is ours.
The production clock starts when you approve the proof, not when you upload. A file that comes back with a query costs a day nobody budgeted for, which is the real argument for step 4. The transit clock starts when the roll leaves our Queens plant and runs on distance, and no production speed shortens it. Count backwards from the date the banner has to be on the wall, subtract transit, subtract production, and that is your approval deadline.
On price, square footage does most of the work. Vinyl banners start at $79.00, mesh banners at $75.00, fabric banners at $57.20, pole banners at $97.76 and retractable banner stands at $139.00, and every option after the size moves the number in front of you. Two banners at half the size usually cost less than one at full size and often communicate better, since two mounting points beat one. The full range is under banner printing, and the wider wide format catalog, where rigid signs and flags live alongside the banners, sits under large format printing. If you are still comparing suppliers, how to vet a vinyl banner printer lists the questions worth asking.
Wally explains the custom banner
Measure first, choose the material for the weather, design last
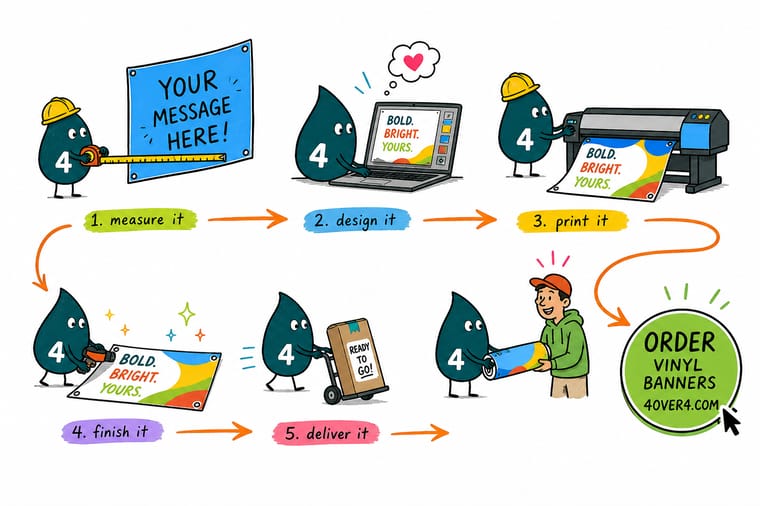
Wally never opens a design file first. He measures the gap between the two hooks, takes a few inches off each end so the banner has something to pull against, and writes that number down. Then he looks at where it hangs: a sheltered wall gets solid vinyl, an open fence gets mesh, a stage under lights gets fabric, and a booth with nothing to tie to gets a retractable stand. Only then does he lay out the artwork, at the size he already picked, with the type held three inches clear of the edge so the hem and the grommets never eat a word.
Configure a custom vinyl banner →%22%2F%3E%3Ccircle%20cx%3D%2234%22%20cy%3D%2219%22%20r%3D%2229%22%20fill%3D%22%2314b8a6%22%20opacity%3D%220.15%22%2F%3E%3Ccircle%20cx%3D%2233%22%20cy%3D%2229%22%20r%3D%229%22%20fill%3D%22%2314b8a6%22%20opacity%3D%220.1%22%2F%3E%3Crect%20x%3D%2274%22%20y%3D%229%22%20width%3D%2234%22%20height%3D%2219%22%20rx%3D%224%22%20fill%3D%22%2314b8a6%22%20opacity%3D%220.08%22%20transform%3D%22rotate(14%2080%2030)%22%2F%3E%3C%2Fsvg%3E)
Specs and pricing
Vinyl banner sizes, options and live pricing
Once the size and material are settled, the rest of the order is configuration: 23 stock sizes from 2 ft by 4 ft to 8 ft by 20 ft plus Any Size, 13oz outdoor or 15oz blockout vinyl, hems on the top and bottom or all four sides, grommets at the corners or every 2 feet, and 2 in or 4 in pole pockets, on 3 business days of standard production. Here are the live sizes, finishing options and price per unit for vinyl banners, straight from the 4OVER4.COM configurator.
| Quantity | Price Per Unit | Total |
|---|---|---|
| 1 | $79.00 | $79.00 |
Print it
Order the banner the location actually needs
Vinyl banners from $79.00 for walls and storefronts, mesh banners from $75.00 on 8oz perforated vinyl for fences and scaffolding, and retractable banner stands from $139.00 for a booth with nothing to tie to.

Explore more
Where to go next
Three reads cover the supplier and the hardware: how to choose a banner printer, where the grommets go and where to print banners for a retail campaign. The other cards open banner printing, custom printing, large format, the online designer and the printing questions.
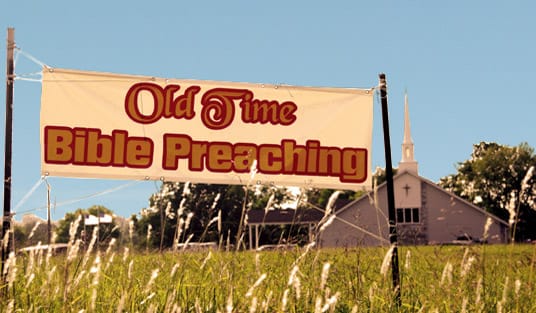

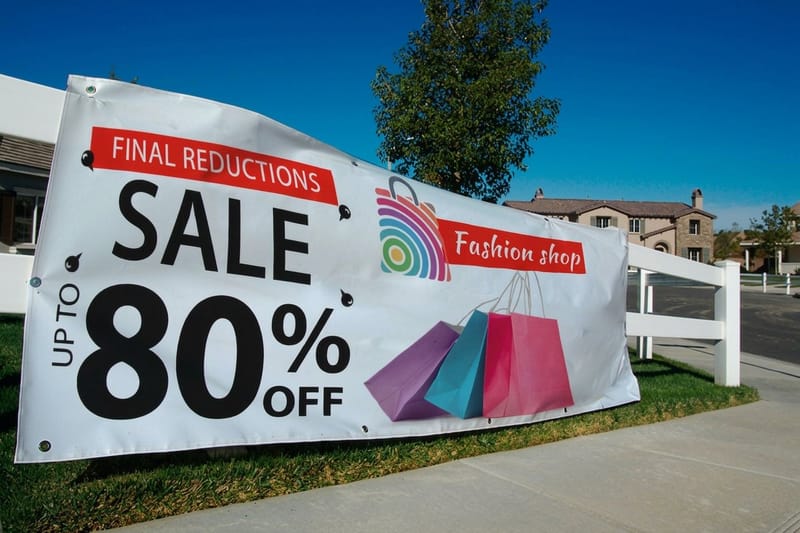
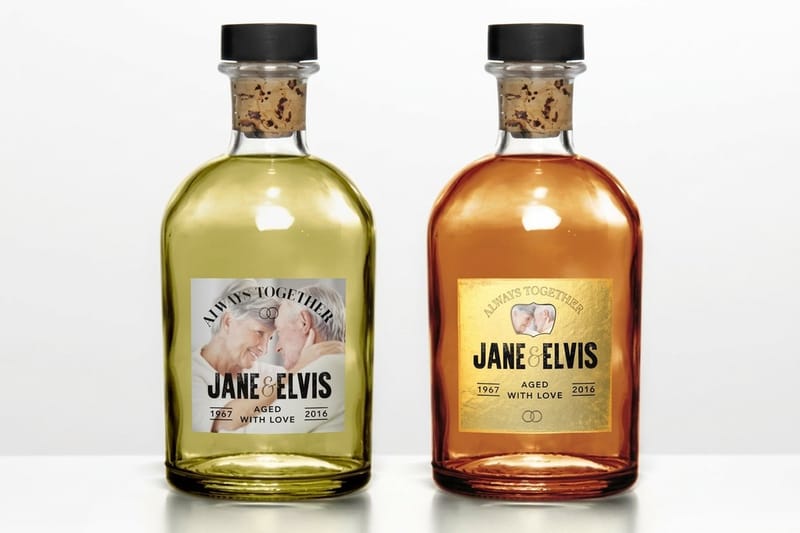
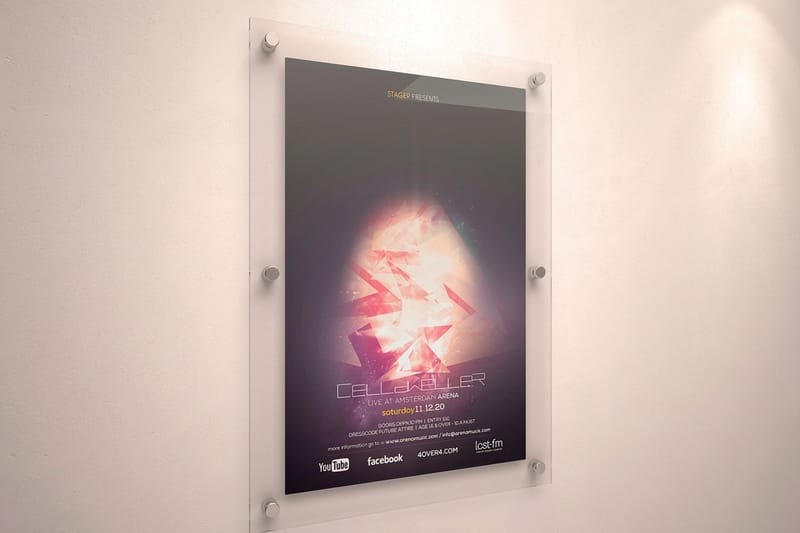

By the numbers
What a quarter century of printing adds up to
Common Questions
Your custom banner questions, answered
What does it mean to get a custom banner made?
It means the banner is printed to your dimensions with your artwork, rather than picked off a shelf in a fixed size. In practice you are making four decisions and handing over a file: the finished size, the material, the artwork, and the finishing that lets it hang. Everything else, including the press and the ink, is our problem. At 4OVER4.COM stock vinyl banner sizes run from 2 ft by 4 ft up to 8 ft by 20 ft, and the Any Size option takes your own measurements when the wall does not match a standard.
Can you make a banner if I do not have a design?
Yes, and it is the common case. Three routes work. Use the online designer and start from a layout that is already the right shape, which is the fastest path if you have a logo file and know what the headline says. Download a blank template at your exact size, drop your artwork in, and send it back as a PDF. Or send us a clean logo and the wording and keep the layout simple, because a banner read from thirty feet away is mostly one line of type over one flat color. What does not work is a screenshot of a logo pulled off a website, since that image is roughly 72 dpi and will not survive being blown up to six feet.
Which banner material suits where it hangs?
Answer one question first: where does it hang and what is the weather doing there. A sheltered wall or a storefront window takes 13 oz scrim vinyl. A chain link fence, a scaffold or a building face takes mesh, because roughly a third of its surface is open and the wind passes through instead of pulling on your fixings. An indoor stage or a photo backdrop takes fabric, which has no glare under lights. A trade show booth where you cannot drill anything takes a retractable stand, which carries its own graphic and packs into a case. Size comes second and follows the mounting points.
What does a custom banner cost and how is the price set?
Price is mostly square footage, then material, then finishing. Vinyl banners start at $79.00 at 4OVER4.COM, mesh banners at $75.00, fabric banners at $57.20, pole banners at $97.76 and retractable banner stands at $139.00. From there the number climbs with area, so a 3 ft by 6 ft costs a fraction of an 8 ft by 20 ft in the same material. Hems, grommets and pole pockets are configuration choices on the product page rather than add-ons discovered at checkout, so you can watch each one move the total before you commit to it.
What sizes, materials and finishes are available for custom banners?
Sizes run from 2 ft by 4 ft up to 8 ft by 20 ft as stock options, with Any Size for dimensions in between or outside that range. Materials are 13 oz scrim vinyl, mesh, polyester fabric, double sided pole banner stock and retractable stand graphics. Finishing covers hemmed edges, grommets at the spacing you choose, pole pockets sized to your pipe, and single or double sided printing. Every combination is priced live on the product page, so you can compare a hemmed and grommeted vinyl banner against the same size in mesh in about a minute.
How long does a custom banner take to print and ship?
Production time is a configuration choice, not a fixed number. You pick it on the product page alongside the size and the material, the price adjusts, and the estimated ship date is shown before you pay. Two things are worth planning around. The clock on production starts when you approve the proof, not when you upload, so a file that comes back with a query costs you a day you did not budget for. And transit time runs on distance from our Queens plant, which no production speed can shorten, so count backwards from the event date rather than forwards from today.
What resolution does my banner artwork need to be?
About 100 dpi at final size for anything read from more than ten feet, and 150 dpi if people will stand within arm's reach of it. Do not build an 8 ft by 20 ft document at 300 dpi, because no design application handles that comfortably and nobody can see the difference. Work at a named fraction instead: one quarter size at 400 dpi, or one tenth size at 1000 dpi, both land at 100 dpi when we scale them back up. Keep the logo and the type as live vector so they stay sharp at any size, and tell us the scale you used so nobody has to guess.
Do I need grommets or pole pockets?
Whichever matches the hardware you already have, and you should decide that before you order. Grommets are metal eyelets punched through a hemmed edge, and they are what you want for rope, bungee loops or hooks. Pole pockets are sleeves welded into the top and bottom edge for a pipe to slide through, which is what a hanging frame or a street bracket needs. The catch with pockets is that they consume visible height: a 4 in pocket top and bottom removes 8 in from what anyone actually sees, so add that allowance to the ordered size rather than squeezing the design.
Get Started
Measure the mounting points, then price the banner
Enter the size you measured, pick vinyl, mesh or fabric, add the hems and grommets your hardware needs, and we print a banner that holds its shape where it hangs.
Legal Disclaimer
Gold Standard guarantees apply to all standard orders placed through 4over4.com. Price match requires verifiable proof of a competitor's published price for an equivalent product with matching specifications and turnaround time. Satisfaction guarantee covers manufacturing defects and print quality issues. Contact support with order number and documentation.
