
How to Create a Brochure in Photoshop


Sofia is our design and templates voice, built from the knowledge of our production team, with over 20 years in printing.
Open the file at print size, add bleed and fold guides, design in CMYK, then export a press-ready PDF. Photoshop has no fold guides of its own, so you build them from ruler guides before anything else.
To make a brochure in Photoshop: create a new document at your finished flat size at 300 PPI in CMYK color, add 0.125 inches of bleed on every edge, drop vertical guides at your fold lines, keep all text 0.25 inches inside the trim, place photos as high-resolution smart objects, then Save As a flattened PDF with crop marks and bleed. A clean setup is what makes the print land sharp.
Set up the canvas
Your Photoshop brochure canvas at a glance
A print-ready brochure file has three nested zones and a set of fold lines. This is a letter tri-fold seen flat: the bleed extends past the cut, the trim is where the blade lands, the safe margin holds your text, and the fold guides split the sheet into panels.
- Bleed extend art 0.125" past the trim on all four sides
- Trim the finished cut line, your true 11 x 8.5" flat size
- Safe margin keep text and logos 0.25" inside the trim
- Fold guides vertical guides at 3.66" and 7.33" for even panels
Quick answer
The short version, before the detailed steps
Set up the document at your finished flat size, 300 PPI, in CMYK color. Add 0.125 inches of bleed on every edge, drop fold guides where the brochure creases, and keep all text 0.25 inches inside the trim. Place photos as high-resolution smart objects, use a rich black for large solid areas, then Save As a flattened, press-ready PDF with crop marks and bleed. Everything below is that routine, expanded step by step, with the file details most Photoshop tutorials leave out.
From canvas to order
Create a brochure in Photoshop and send it to print
To create a brochure in Photoshop, pick the flat size first, then build the file around it. For a letter tri-fold that is an 11.25 by 8.75 inch canvas at 300 PPI in CMYK, fold guides at 3.66 and 7.33 inches, text at least 0.25 inches inside the trim, and photos placed as smart objects.
Save it as a flattened Photoshop PDF with crop marks and bleed, then upload it to brochures, which start at 50 for $57.11 on 100# gloss or silk text, 70# uncoated text or 14pt gloss cover, with 3 business days of production.
When Photoshop is the right tool for a brochure
Photoshop is a raster editor, which means it thinks in pixels rather than editable text boxes and vector shapes. That distinction decides whether it is the right home for your brochure: a letter brochure with bleed at 300 PPI is a 3,375 by 2,625 pixel canvas, and every headline on it becomes pixels on that grid once the file is flattened. If your design leans on photography, gradients, textures, or image effects, Photoshop gives you control that a page-layout program cannot match. If your brochure is dense with columns of copy that you expect to rewrite ten times, a layout tool will feel smoother.
For most one, two, and three panel brochures built around strong visuals, Photoshop is a genuinely professional choice. The trick is not the software, it is the setup. Get the size, resolution, color mode, and bleed right at the start and the rest is design. Rush the setup and you end up with a blurry file that will not print cleanly no matter how good the art looks on screen.
If you would rather not wrestle with any of this, our Online Designer builds the bleed and margins in for you, and you can compare paper options first on our brochure printing page. Either way, this guide walks through the Photoshop path from a blank canvas to a print-ready PDF.
Step 1: open the document at print size
Go to File then New. Everything that matters happens in this one dialog, so slow down here.
- Width and height: enter the finished flat size, not the folded size. A letter tri-fold is 11 by 8.5 inches flat. A half-fold on letter is 8.5 by 11 inches. Set your units to inches so the numbers are unambiguous.
- Resolution: 300 pixels per inch. This is the print standard. The screen default of 72 PPI looks fine on your monitor and prints like a photocopy of a photocopy.
- Color Mode: CMYK Color, 8 bit. Presses use cyan, magenta, yellow, and black ink, so designing in CMYK shows you honest colors from the first click.
- Background Contents: white, unless your design bleeds a solid color, in which case fill the background layer with that color later.
Brochure sizes in Photoshop, at 300 PPI with 0.125 inch bleed on every edge:
- 5.5 by 8.5 inches flat: a 5.75 by 8.75 inch canvas, 1,725 by 2,625 pixels.
- 8.5 by 11 inches flat: an 8.75 by 11.25 inch canvas, 2,625 by 3,375 pixels, or 11.25 by 8.75 inches turned sideways for a tri-fold.
- 8.5 by 14 inches flat: an 8.75 by 14.25 inch canvas, 2,625 by 4,275 pixels.
- 11 by 17 inches flat: an 11.25 by 17.25 inch canvas, 3,375 by 5,175 pixels.
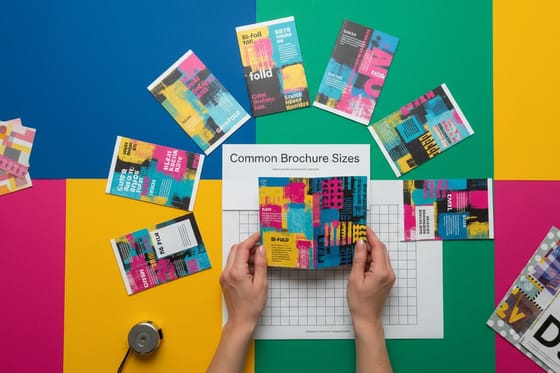
Those are four of the six flat sizes our brochures print in, on 100# gloss or silk text, 70# uncoated text or 14pt gloss cover. Not sure which flat size or fold your project needs? Our breakdown of common brochure sizes and fold options has the panel measurements worked out, and the Standard Brochures product page lists every size we run in-house.
Step 2: build in bleed and safe margins
Cutting is mechanical, and no blade is accurate to the exact hair. Bleed and safe margins are how professionals hide that tiny variance so it never shows up on the final piece.
Bleed is the extra art that runs past the trim line. Extend your document 0.125 inches on every edge, so an 11 by 8.5 inch flat brochure becomes an 11.25 by 8.75 inch canvas. Use Image then Canvas Size to add that quarter inch total, and push any background color or photo all the way to the new edge. If your art stops at the trim, a white sliver can appear when the cut lands a fraction outside the line.
Safe margin is the opposite move. Pull all text, logos, and anything you cannot afford to lose at least 0.25 inches in from the trim. Drop guides at that inset with View then New Guide so you have a visible boundary while you work. Our plain-language explainer on bleed and trim shows exactly how these two zones protect a print file.
Step 3: set guides for your fold panels
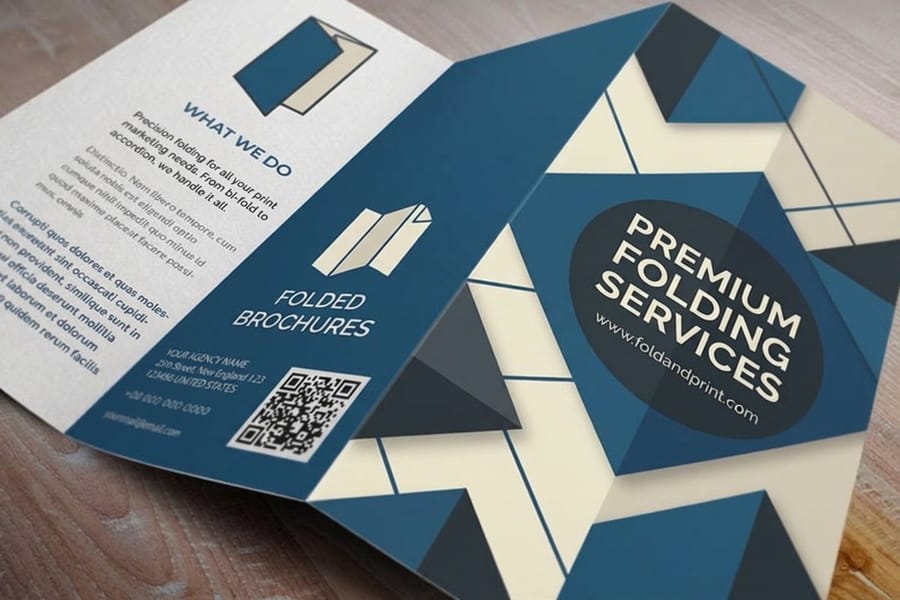
A folded brochure is really several panels sharing one sheet, and folds are unforgiving of guesswork. Map them with guides before you design so every panel is even and lands in the correct reading order.
On an 11 inch wide tri-fold, the panels are not perfectly equal thirds. The panel that folds inward is slightly narrower so it tucks without buckling. A reliable setup is to place vertical guides at roughly 3.66 inches and 7.33 inches from the left. That gives you a left, center, and right panel with the inner fold panel a hair tighter. Add the guides through View then New Guide, typing the exact position each time.
Remember that the outside and inside of a brochure are two separate spreads. The panel order flips between them, so what reads as your cover on one side is not in the same spot on the reverse. If folds are new to you, walk through how to fold a brochure before you lay out the panels, and pair it with the best paper types for brochures so your stock folds cleanly.
Step 4: design the panels with a clear hierarchy
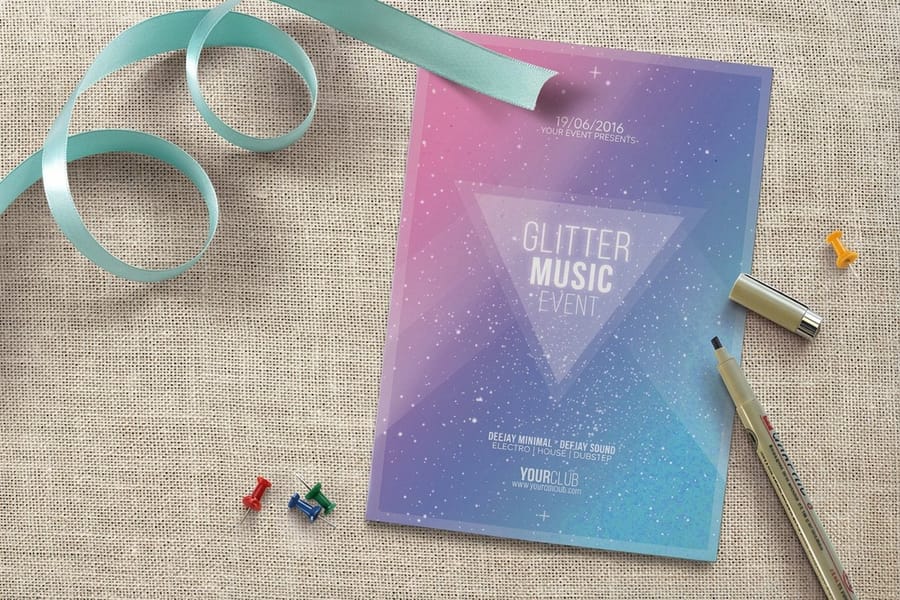
With your guides in place, the design work begins. A brochure is read in a sequence, not all at once, so guide the eye deliberately from panel to panel.
- Give the cover one job. A single strong image, a short headline, and your logo. The cover earns the open, nothing more.
- Use a grid. Align text and images to a consistent column and gutter so the inside spread feels calm instead of cluttered. Repetition reads as quality.
- Set a size hierarchy. Headline, subhead, body, caption. Three or four clear text sizes are enough to signal what matters most.
- Leave breathing room. White space is not wasted space. Crowded panels look cheap and get skimmed.
If layout composition is not your strong suit, our guides on balance in graphic design and logo design principles translate directly to brochure panels.
Step 5: place images as smart objects
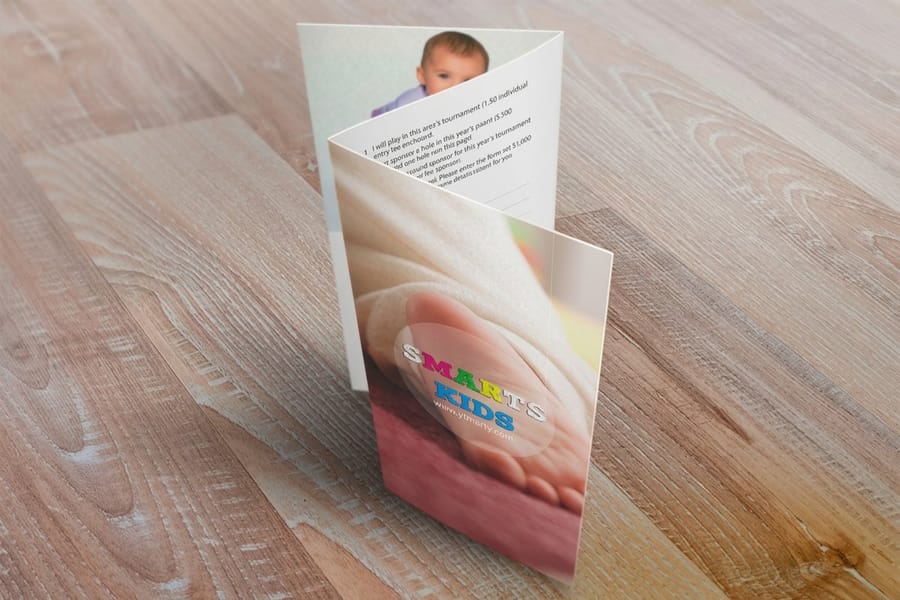
Image quality makes or breaks a printed brochure, and Photoshop rewards a little discipline here. When you bring a photo in, use File then Place Embedded so it lands as a smart object. Smart objects let you scale and reposition without permanently destroying the pixels, which means you can adjust later without re-importing.
Check the resolution of every image at the size it will actually print. A photo that looks sharp on screen can be far too small once it fills a panel. As a rule, your placed images should be 300 PPI at their final printed dimensions. If Photoshop has to stretch a small image to fill space, it invents pixels and the result looks soft.
Keep any photo that touches the edge of the brochure running fully into the bleed zone, exactly like your background. Half-placed images are one of the most common reasons a proof comes back with an unexpected white edge.
Step 6: keep your type crisp

Text is where Photoshop shows its raster nature most clearly. On screen your type looks vector-sharp, but the moment the file is flattened it becomes pixels like everything else. At 300 PPI that is usually fine, but a few habits keep letters clean.
- Do not scale rasterized text up. Enlarging flattened type softens the edges. Set the point size you need from the start, or keep the text layer live and editable until the very end.
- Keep body copy at a readable size. Anything under roughly 8 point gets hard to read once folded, and thin fonts can fill in with ink.
- Mind the safe margin. Every word belongs at least 0.25 inches from the trim so folding and cutting never clip a line.
Choosing the right export format also protects your text. Our guide to choosing the right file type for printing explains why a PDF preserves crisp type far better than a flattened JPEG.
Step 7: get your color right for the press
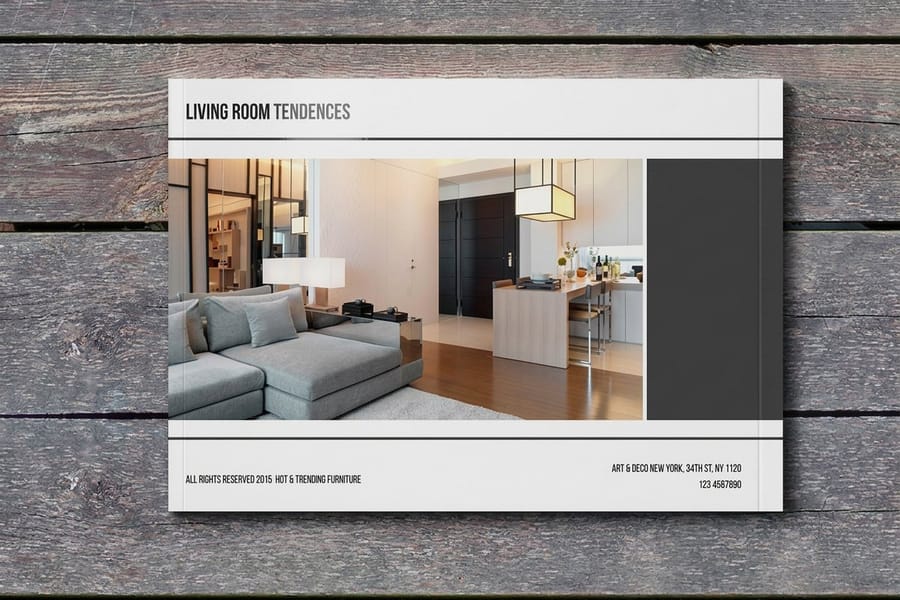
Color is where designers get surprised most often, and it is entirely preventable. Because you set the document to CMYK in step one, you already avoided the biggest trap: designing in bright RGB that dulls when it hits ink.
Two things still deserve attention. First, rich black. For large solid black areas, a flat 100 percent black can look weak and gray. A common rich black recipe is C 60, M 40, Y 40, K 100, which prints as a deep, true black. Keep small black text on 100 percent K only, so it stays sharp and does not get fuzzy from ink misregistration.
Second, trust CMYK for saturation. Certain neon greens and electric blues simply cannot be reproduced with four inks, and CMYK mode shows you that honestly before you commit. If color accuracy is critical to your brand, read CMYK vs RGB for printing and the best color profile for printing, then order a proof to confirm.
Step 8: preflight before you export
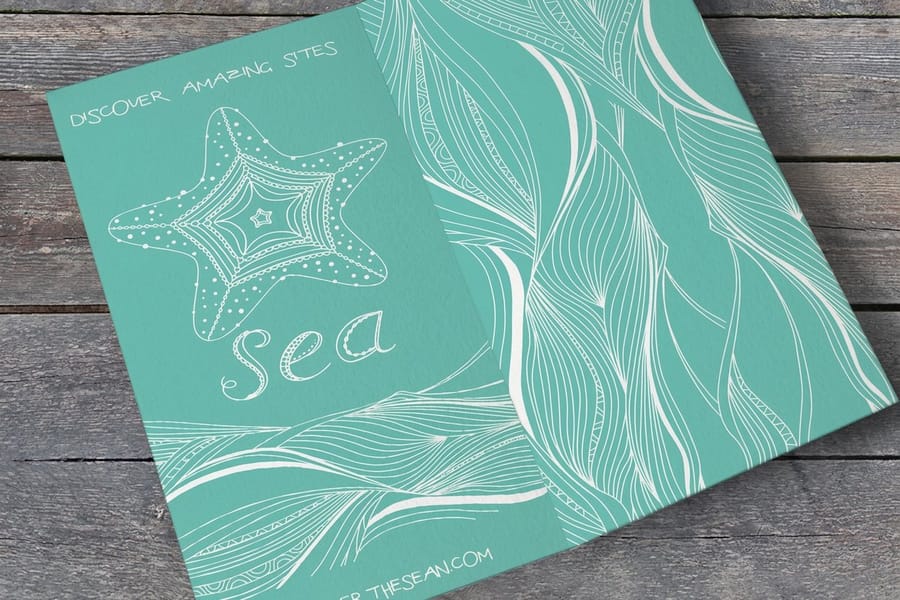
Preflight is the quick review that catches problems while they are still free to fix. Spend two minutes here and you save a reprint later.
- Bleed: confirm every background and edge image runs to the canvas edge, not just the trim line.
- Safe zone: nothing critical inside the 0.25 inch margin gets clipped.
- Resolution: zoom to 100 percent and scan for any soft or pixelated image.
- Color: the file is in CMYK, and your solid blacks use a rich black mix where appropriate.
- Spelling: read every line out loud once. Typos are invisible until they are printed 500 times.
When you order with us, this is not all on you. Every 4OVER4.COM brochure order includes a free digital proof, and our team flags missing bleed, low-resolution art, and text sitting too close to the cut before anything runs.
Step 9: export a print-ready PDF
The final step turns your layered PSD into one clean file the press can trust. Do not send the working PSD, and do not send a low-quality JPEG. Send a PDF.
Flatten your image if your printer requests a flat file, then use File then Save As and choose Photoshop PDF. In the save dialog, pick a press-ready preset such as PDF/X, and turn on crop marks and bleed so the printer sees exactly where to trim. Keep compression high quality so nothing softens on the way out.
That PDF locks your fonts, color, and layout in place, which means the brochure prints the way it looked on your screen. Upload it to your brochure order and you are done. Prefer a browser workflow with all of this handled automatically? The Online Designer exports a correct print file for you.
Mistakes that ruin a Photoshop brochure file
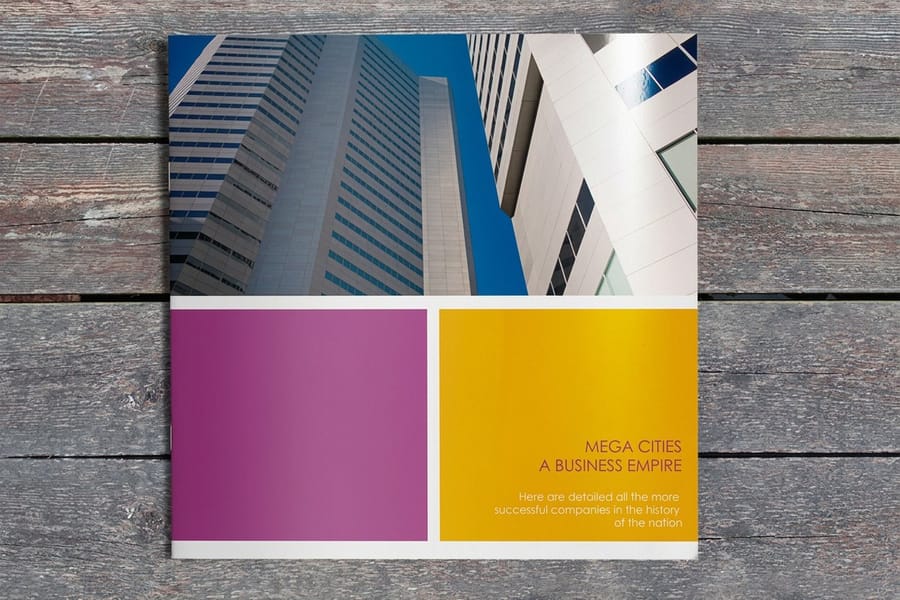
Every one of these is common, and every one is avoidable once you know to look for it.
Designing at 72 PPI. The screen resolution default produces a blurry print no matter how good the art looks on your monitor. Always build at 300 PPI.
Leaving the file in RGB. Bright RGB colors shift dull and muddy when converted to ink at the last second. Work in CMYK from the start.
Forgetting bleed. Art that stops at the trim leaves a white edge when the cut varies. Run backgrounds 0.125 inches past the trim on every side.
Placing tiny images and scaling them up. Photoshop invents pixels when it stretches, and the result looks soft. Place images at their final print resolution.
Ignoring the fold panels. Designing without fold guides puts text across a crease or in the wrong reading order. Set the guides before you design.
Sending a JPEG or a raw PSD. Export a flattened, press-ready PDF so fonts and layout print exactly as designed. 4OVER4.COM prints your brochure on 60+ stocks, so give that file the setup it deserves.
Wally explains print-ready setup
A brochure lives or dies in the document setup
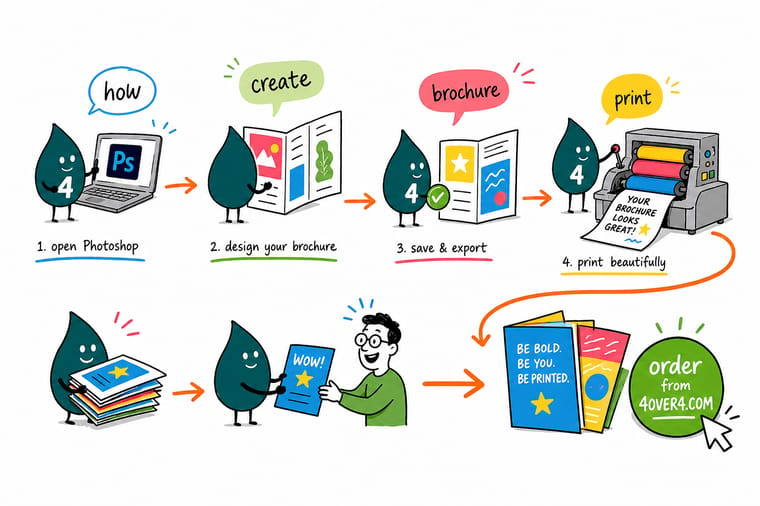
Wally treats a Photoshop brochure like a blueprint before it is a design: size at 300 DPI, mode in CMYK, bleed past the trim, and guides on every fold. Do that first and the art has nowhere to go wrong. Skip it and even beautiful pixels come back blurry or clipped. When your file is ready, hand it to a printer that proofs it for free and runs it on 60+ stocks at 4OVER4.
Order brochure printing →
Specs and pricing
Custom brochure specs and pricing
Once your Photoshop file is print-ready, here is what a full-color brochure gives you at 4OVER4.COM, with live specs and price-per-unit straight from the configurator.
| Quantity | Price Per Unit | Total |
|---|---|---|
| 50 | $1.14 | $57.11 |
| 100 | 82.4¢ | $82.38 |
| 200 | 53.3¢ | $106.55 |
| 300 | 41.0¢ | $123.02 |
| 400 | 34.9¢ | $139.49 |
| 500 | 31.2¢ | $155.97 |
| 600 | 26.7¢ | $160.36 |
| 700 | 23.5¢ | $164.75 |
Print it
Order brochures and matching print at 4OVER4
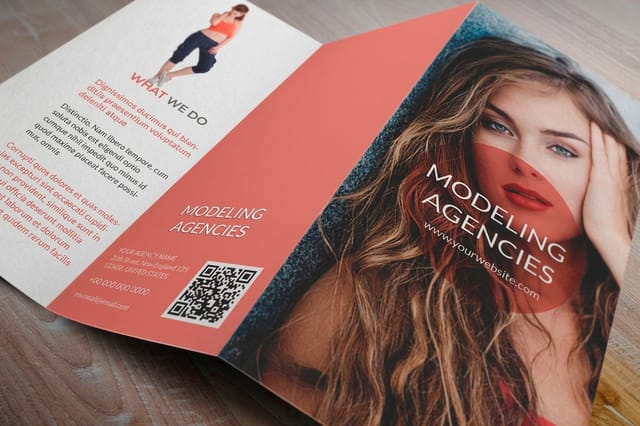
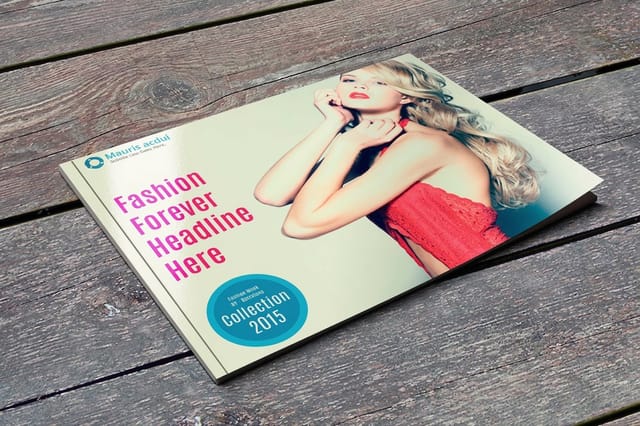
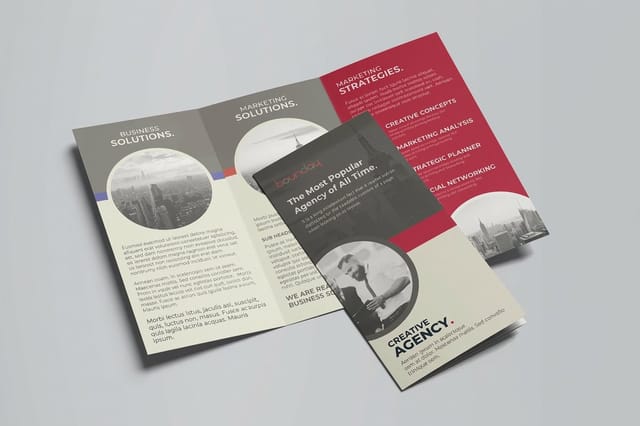
See it in use
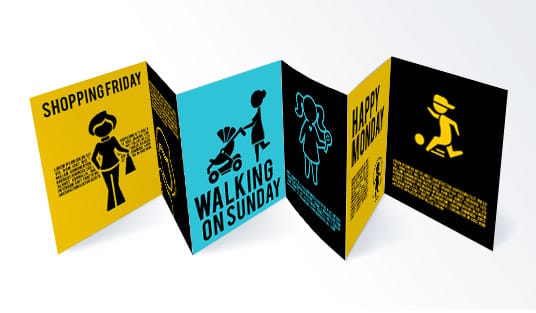
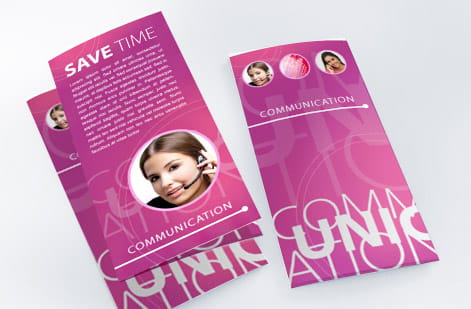
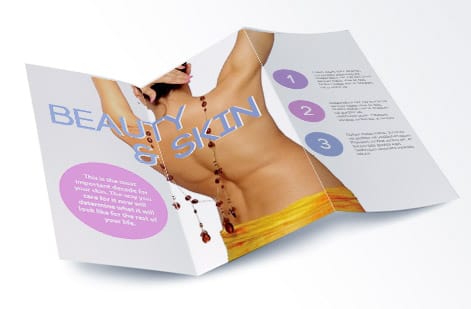
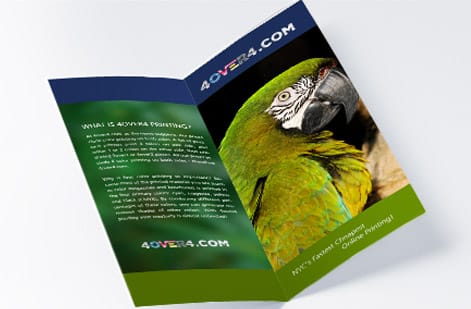
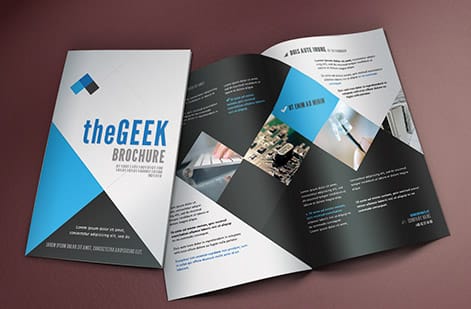
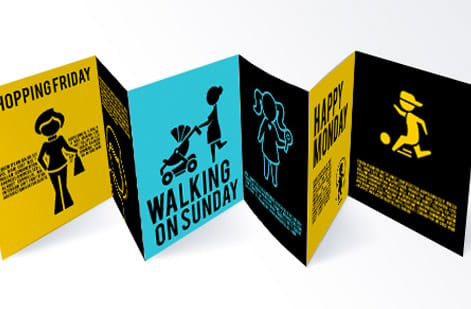
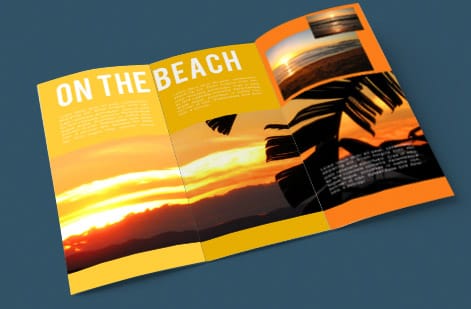
Photoshop files we folded and trimmed

Explore more
Where to go next


By the numbers
Brochures in 3 days, catalogs in 7
Common Questions
Common questions about making a brochure in Photoshop
Is Photoshop actually good for making brochures?
Photoshop is excellent when your brochure leans on photography, textures, or heavy image effects, because it gives you pixel-level control over every visual. It is a raster program, so it treats text and shapes as pixels rather than editable objects, which makes long, copy-dense layouts harder to manage than in a page-layout tool. For a one to three panel brochure built around strong imagery, Photoshop is a perfectly professional choice as long as you set the document up at print resolution from the start.
What size and resolution should my Photoshop brochure be?
Set the resolution to 300 pixels per inch and build at the finished flat size, not the folded size. A standard tri-fold on letter stock is 11 by 8.5 inches flat. Add 0.125 inches of bleed to every edge, which makes the working canvas 11.25 by 8.75 inches. Designing at screen resolution of 72 PPI is the single most common mistake and it produces blurry, unusable print files.
Should I design in RGB or CMYK in Photoshop?
Design in CMYK from the beginning. Presses print with cyan, magenta, yellow, and black inks, so a CMYK document shows you colors close to the printed result and avoids the dull, muddy shift that happens when a bright RGB file is converted at the last minute. If you must start in RGB for photo editing, convert to CMYK early and correct anything that looks off before you finalize.
How do I add bleed and fold lines in Photoshop?
For bleed, make the canvas 0.25 inches larger than the trim size overall, then run your background art all the way to the canvas edge. For folds, use View then New Guide to drop vertical guides at each fold position. On an 11 inch wide tri-fold, place guides at roughly 3.66 inches and 7.33 inches to create three even panels. Guides do not print, so they are a safe way to plan your layout.
What file format should I send the printer?
Send a flattened, high-resolution PDF. Once your design is final, flatten the layers, then use File then Save As and choose Photoshop PDF with a press-ready preset that includes crop marks and your bleed. A PDF locks in fonts and layout so the file prints the same on our equipment as it looked on your screen. Avoid sending a layered PSD or a low-quality JPEG for final production.
Can 4OVER4 check my file before it prints?
Yes. Every brochure order includes a free digital proof, so you see exactly how your file will print before anything runs. Our team also flags common issues like missing bleed, low-resolution images, or text sitting too close to the trim. If you would rather skip the software entirely, the free Online Designer lets you build a print-ready brochure in your browser with the bleed and margins already built in.
Get Started
Order 50 folded flyers from $68.54 straight out of Photoshop
Upload your print-ready Photoshop PDF or build it in the browser, choose your stock and fold, and we send a free proof before anything runs.
Legal Disclaimer
Gold Standard guarantees apply to all standard orders placed through 4over4.com. Price match requires verifiable proof of a competitor's published price for an equivalent product with matching specifications and turnaround time. Satisfaction guarantee covers manufacturing defects and print quality issues. Contact support with order number and documentation.
