
Photoshop Resolution for Printing at 300 DPI


In Photoshop, set your document to 300 pixels per inch at the final print size, design in that space, then export a flattened, bleed-ready file. Here are the exact settings, the resolution math, and the mistakes that turn a crisp file into a blurry print.
To set Photoshop resolution for printing, open Image then Image Size (or the New Document dialog) and set Resolution to 300 with the unit on Pixels/Inch, confirming the width and height match your final trim size plus bleed. 300 DPI is the target for cards, flyers, and photos held in the hand. Large posters and canvas can drop to 150 to 200 DPI because they are viewed from farther away. Check the pixel dimensions before you trust the number, because raising DPI without adding pixels does not add real detail.
Quick tips
Quick tips for Photoshop print resolution
Set your Photoshop document to 300 pixels per inch at the final print size before you place a single element. Design in CMYK, add an eighth-inch of bleed, and check the pixel dimensions of every photo by dividing them by 300 to see how large they can print. Export a flattened PDF or TIFF with the color profile embedded. Save the full 300 DPI for pieces held in the hand, and let big posters and canvas ride at 150 to 200 DPI. 4OVER4.COM customers who set this up once get prints that match their screen every time.
Why 300 DPI is the standard for print
Your monitor and a printing press speak different languages. A screen paints roughly 72 to 96 pixels into every inch and lights them up, so a photo can look flawless on your laptop and still print soft. Paper has no backlight and no forgiveness. Ink sits in fixed dots, and to read as a smooth, sharp image at arm's length it wants about 300 pixels packed into every inch at the final printed size.
That number is not superstition. It lines up with how far people hold a card, flyer, or photo from their eyes and how much detail the eye can resolve at that distance. Go much lower and edges turn fuzzy, thin type fills in, and gradients start to step. Go much higher and you are usually just building a heavier file for no visible payoff. For the same idea from the output side, our image resolution for printing guide and DPI settings explained cover the ground in more depth.
DPI and PPI get used interchangeably, and for setup you can treat them that way. Photoshop labels the field Resolution in pixels per inch, and that is the number that follows your file all the way to the press.
Set up a new Photoshop document at 300 DPI
Get the resolution right at the very start and every layer, brush stroke, and pasted photo is born at print scale. Fix it later and you are fighting the file the whole way.
- File then New. Set the Width and Height to the final trim size of the piece, for example 18 by 24 inches for a poster.
- Resolution: 300, with the unit set to Pixels/Inch. This is the single field that matters most.
- Color Mode: CMYK Color, 8 bit so what you design lives in the space we print in.
- Plan for bleed by making the canvas an eighth of an inch larger on every side, or add guides once the document exists.
If your piece has a standard size, start from real numbers instead of guessing. Pull exact dimensions from our standard print sizes reference, and setups like business card dimensions in Photoshop show the same steps on a smaller canvas.
Check the resolution of an image you already have

Most resolution problems are not settings problems. They are photos that never had enough pixels to begin with. Before you build a layout around an image, interrogate it.
Open Image then Image Size and look at two things: the pixel dimensions at the top, say 3000 by 2400 px, and the Resolution field. Now uncheck Resample. With resampling off, type 300 into Resolution and watch the Width and Height in inches update. Those inches are the largest the image can print cleanly. Nothing was added or removed. Photoshop just told you the truth about the pixels you have.
This is why grabbing a photo off a website almost never works for print. A 600 by 400 pixel web image is a crisp 8 by 5 inches on screen and a blurry 2 by 1.3 inches on paper at 300 DPI. When in doubt, start from the source: a high-megapixel camera export or licensed stock at full resolution.
The resolution math: how big can your file actually print?
You do not need to memorize a chart. One piece of arithmetic answers every question: pixels divided by 300 equals inches of clean print. Turn it around and inches times 300 equals the pixels you need.
So a 3000 by 3000 pixel export prints a sharp 10 by 10 inch square. Want a 24 inch poster edge? You need roughly 7200 pixels along it. This is also why the DPI number by itself means nothing without pixel dimensions. Setting a 600 pixel image to 300 in the Resolution box does not conjure detail. It just relabels the same pixels onto a smaller area.
Different products lean on the rule differently. Postcards and flyers are held close and want the full 300, which is why we build our flyer size guide and postcard setup around it. Where the rule bends is a few sections down.
Bleed, trim, and safe zone in your Photoshop file
Resolution keeps your art sharp. Bleed keeps it from printing with a thin white sliver along the edge. Every print file needs three zones.
- Bleed is the background extended past the cut line, usually 0.125 in on all sides, so trimming never exposes white.
- Trim is the final size the blade cuts to.
- Safe zone sits about 0.125 in inside trim, where all text and logos live so nothing important gets clipped.
In Photoshop, add ruler guides at each boundary with View then New Guide, or design on an oversized canvas and mark the cut line. Our bleed and trim explained guide shows exactly where the lines go. Set this up once and you will never send a nervous, edge-to-edge file again.
Work in CMYK and embed the right color profile

A file can be pin-sharp and still print with muddy skin tones or a flat sky if the color is built for screens. Presses print with cyan, magenta, yellow, and black ink, so design in CMYK from the New Document dialog rather than converting a finished RGB file at the last second, when bright blues and greens tend to shift.
Then embed a printing color profile when you save. US Web Coated SWOP is a safe default for coated stocks. It travels with the file and tells the press how to read your colors. The full reasoning lives in CMYK vs RGB and best color profile for printing. Nail resolution and color together and the print matches your screen instead of surprising you.
Upscaling a low-resolution image the right way
Sometimes the only photo you have is too small and reshooting is not an option. Photoshop can help, within reason. Open Image Size, turn Resample on, choose Preserve Details 2.0 from the resample menu, and raise the pixel dimensions in modest steps while watching the preview.
Understand the trade. Upscaling invents pixels by guessing, so it can rescue a photo that is a little short but it cannot manufacture detail that was never captured. Doubling a tiny web thumbnail to poster size will look soft no matter the algorithm. If the result goes mushy, the honest fix is a bigger source file. When a print still comes out disappointing, our print quality problems guide helps you tell a resolution issue from a color or export one.
Export a print-ready file from Photoshop
You have a 300 DPI, CMYK, bleed-ready document. The last step is handing it off without losing any of that.
- Flatten a copy with Image then Duplicate, then Flatten Image, so live text and effects render exactly as designed.
- Save As a PDF on the Press Quality preset, or a TIFF for photo-heavy pieces, keeping the embedded profile checked.
- Confirm the numbers one last time: trim size plus bleed, 300 ppi, CMYK.
Not sure which format fits your piece? Our file type for printing guide breaks down PDF versus TIFF versus native files. And if you would rather skip file wrangling entirely, the online designer builds a correctly sized, print-ready file for you in the browser.
Resolution mistakes that quietly ruin a print

Even seasoned designers trip on a few of these. Knowing them is half the battle.
Trusting the DPI field over the pixel count. 300 in the Resolution box means nothing if the image only holds 500 pixels. Always check pixel dimensions first.
Designing in RGB and converting at the end. Colors can lurch when you flip a finished file to CMYK. Start in the print space.
Pulling images from the web or social feeds. They are compressed and small by design. Use source files or full-resolution stock.
Forgetting bleed on a full-color background. A perfect 300 DPI file still trims with a white edge if the art stops at the cut line.
Treating every product the same. A business card and a 24 inch poster do not need identical settings. Large-format pieces viewed from several feet, like a stretched canvas or a big wall poster, read cleanly at 150 to 200 DPI, which keeps files manageable. Our how to make posters walkthrough applies every step here at large-format scale.
Wally explains print resolution
300 pixels per inch is where files stop looking fuzzy
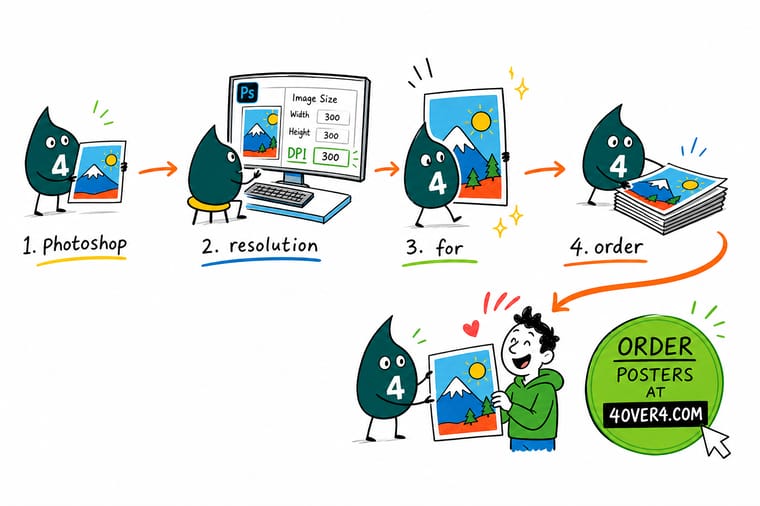
Wally thinks of a print file like a bucket of pixels: 300 of them in every inch and your image stays crisp, fewer than that and the edges go soft. Set the Resolution field to 300 before you design, check any photo by dividing its pixel width by 300, and you will know exactly how big it can print. When your file is ready, upload it and 4OVER4 turns it into a poster that looks as sharp on the wall as it did on your screen.
Order posters →Specs and pricing
Standard poster specs and pricing
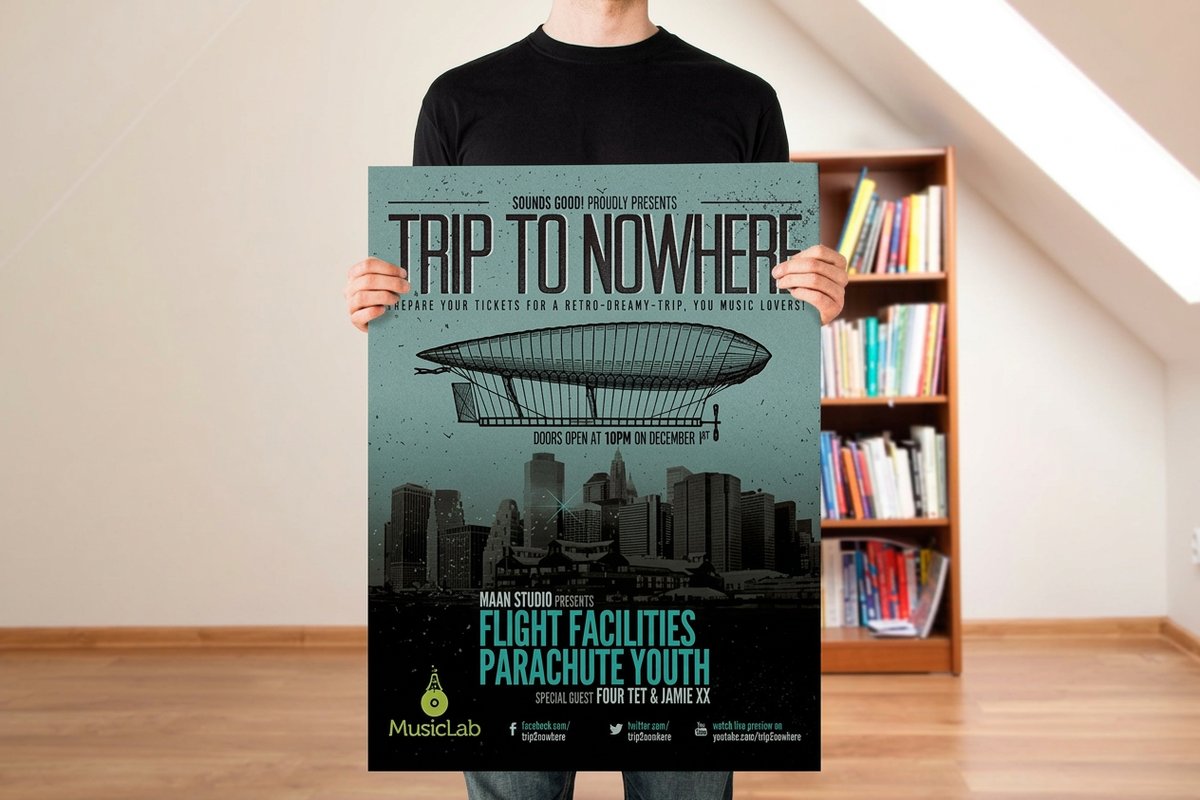
Once your 300 DPI file is ready, here is what a made-to-order poster gives you at 4OVER4.COM, with live specs and price-per-unit straight from the configurator.
| Quantity | Price Per Unit | Total |
|---|---|---|
| 50 | $2.18 | $108.75 |
| 100 | $1.64 | $163.67 |
| 200 | $1.01 | $202.11 |
| 300 | 80.2¢ | $240.55 |
| 400 | 69.7¢ | $278.99 |
| 500 | 63.5¢ | $317.44 |
| 600 | 55.8¢ | $335.02 |
| 700 | 50.4¢ | $352.59 |
Print it
Order posters and wall prints at 4OVER4
See it in use
Real poster work, printed in-house

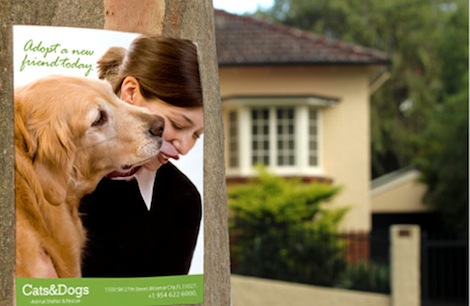
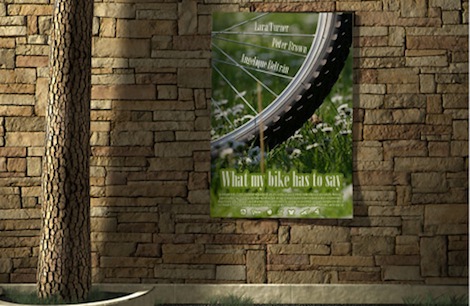

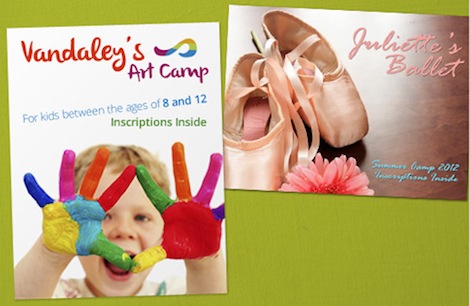
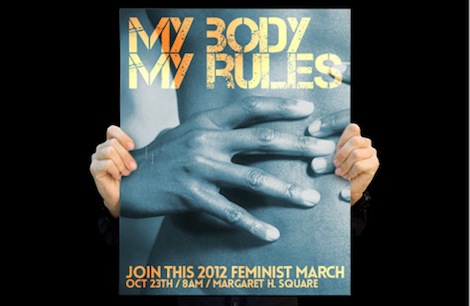

Explore more
Where to go next

By the numbers
Printing you can count on at 4OVER4
Common Questions
Common questions about Photoshop resolution for printing
What resolution should I use in Photoshop for printing?
Set the document Resolution to 300 pixels per inch at the final printed size. That is the sweet spot for anything held in the hand, like business cards, flyers, postcards, and photo prints. Large-format pieces viewed from several feet away, such as big posters and canvas, can drop to 150 to 200 DPI without looking soft, which keeps the file size manageable.
What is the difference between DPI and PPI?
PPI (pixels per inch) describes the pixels in a digital file, and DPI (dots per inch) describes the ink dots a press lays down. Photoshop labels its field Resolution in pixels per inch, and in everyday setup the two terms are used interchangeably. For your purposes, the number in that field is what matters, and 300 is the target for close-viewed print.
How do I change resolution in Photoshop without losing quality?
Open Image then Image Size and uncheck Resample. With resampling off, changing the Resolution to 300 recalculates the print size in inches without adding or deleting a single pixel, so nothing is degraded. Only turn Resample on when you genuinely need more pixels, and even then it is guessing at new detail rather than recovering it.
Can I increase the resolution of a low-quality image?
Within limits. Turn Resample on, choose Preserve Details 2.0, and raise the pixel dimensions in modest steps while watching the preview. Upscaling can rescue a photo that is slightly short, but it cannot invent detail that was never captured, so doubling a tiny web thumbnail to poster size will still look blurry. When it goes mushy, the honest fix is a larger source file.
Why does my image look sharp on screen but blurry when printed?
A monitor packs only about 72 to 96 pixels into each inch and lights them up, so a small photo can look flawless on screen and still print soft on paper, which has no backlight and needs around 300 pixels per inch at final size. Check the pixel dimensions in Image Size and divide by 300 to see how large the image can really print.
Should I use 300 DPI for large posters and banners?
You do not have to. Resolution requirements scale with viewing distance. A poster read from four or five feet away looks crisp at 150 to 200 DPI, and a banner seen from across a room can go lower still. Reserve the full 300 DPI for pieces people hold close, and keep large-format files at a resolution that stays sharp without becoming enormous.
What does poster printing cost at 4OVER4.COM and how is price set?
Standard posters start at $108.75, and the exact price is set live in the configurator by the size you choose, the paper stock, the quantity, and how fast you need it. Larger sizes, premium stocks, and rush turnaround raise the total, while ordering in higher quantities lowers the price per unit. You can see the full ladder on the product page before you commit.
Get Started
Ready to print your Photoshop file?
Set it up at 300 DPI, add your bleed, and send us a flattened PDF. We print posters, canvas, and cards that stay as sharp as your screen.
Legal Disclaimer
Gold Standard guarantees apply to all standard orders placed through 4over4.com. Price match requires verifiable proof of a competitor's published price for an equivalent product with matching specifications and turnaround time. Satisfaction guarantee covers manufacturing defects and print quality issues. Contact support with order number and documentation. On-time delivery rate based on tracked orders 1999 to 2026. Individual results may vary based on shipping carrier performance.
