
How to Design Custom Cardboard Packaging That Prints and Folds Right


Box style, then size, then dieline, then artwork. Here is what each step decides, and the three places cardboard punishes a design that was drawn for paper.
Design custom cardboard packaging in this order: choose the box style, size it from the product, draw the dieline, then lay artwork on top of that dieline. Give a rigid product about 1/8 inch of clearance per side, remember that boxes are quoted by inside dimension so the outside grows by a board caliper on each face, bleed art 0.125 inch past every cut, and keep type 0.25 inch off a crease. Artwork drawn before the flat shape exists is the reason boxes arrive that print beautifully and will not close.
Quick answer
Four steps, in an order that cannot be swapped
Style, size, dieline, artwork. The style fixes the panel layout and the fold pattern. The size comes from the product plus clearance, measured as an inside dimension. The dieline turns both into a flat drawing where solid lines cut and dashed lines crease. Only then does artwork go down, bleeding 0.125 inch past every cut and staying 0.25 inch clear of the folds. The diagram below is a straight tuck carton laid out the way the press sees it.
Pick the Box Style Before You Open a Design File
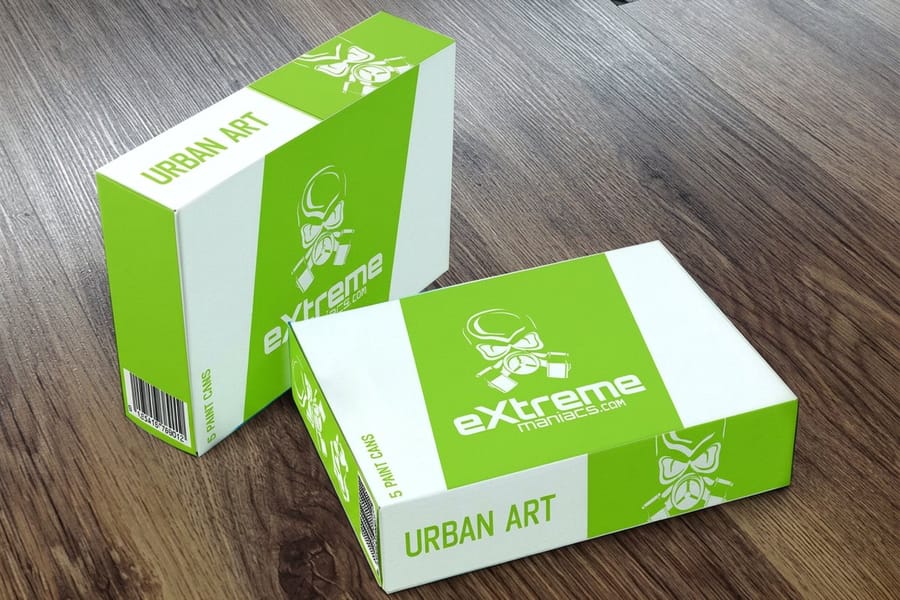
The style decides how many panels you get, which ones the customer sees first, and where the fold lines fall. Draw the artwork first and you will spend the afternoon pushing a logo around a panel that turns out to be the underside.
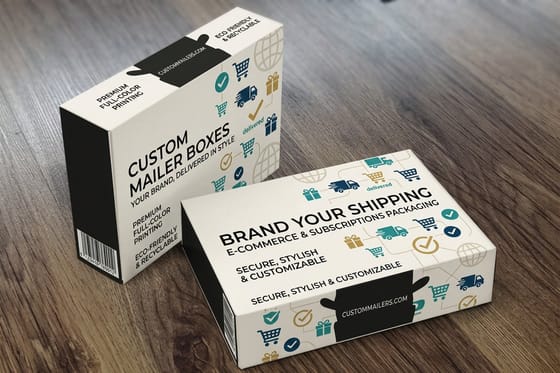
Five styles cover most of what small brands actually order, and they separate cleanly by how they close and what they are made of.
| Style | How it closes | Where it fits | Starts at |
|---|---|---|---|
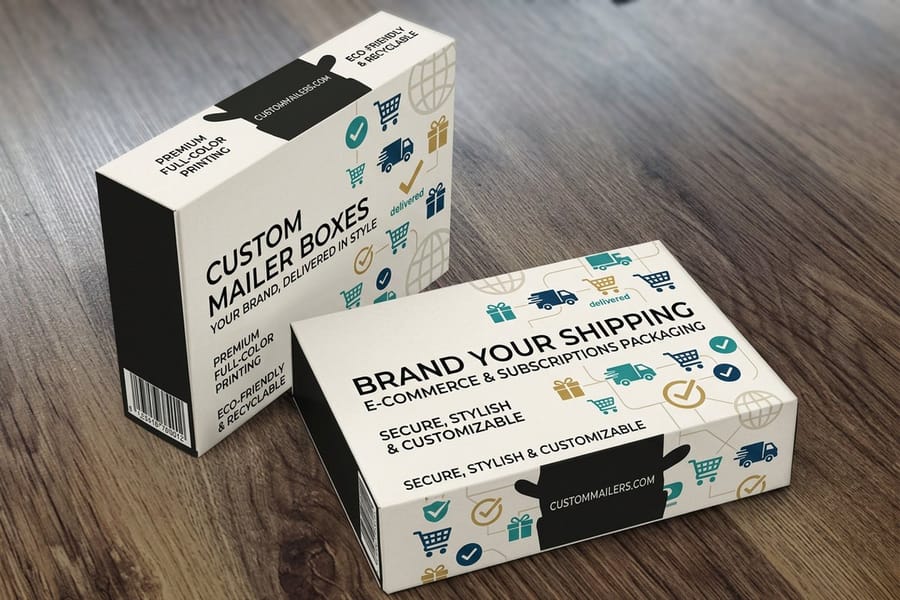
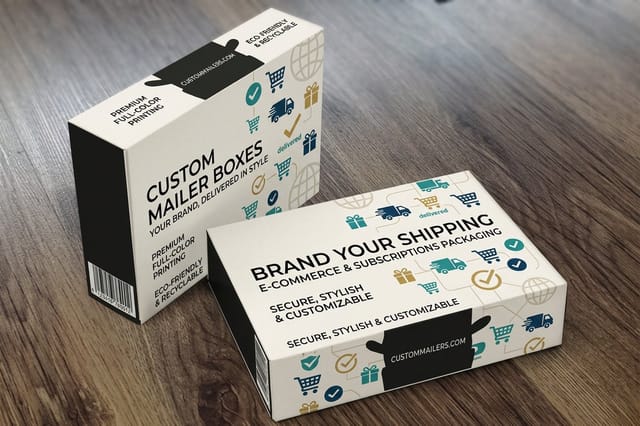
| Mailer box | Roll end walls with side wings that lock under the lid. No tape, no glue. | Ecommerce orders that ship on their own and get opened on a doorstep. | $711.78 |
| Roll end tuck top | Same corrugated shell, hinged lid that tucks into the front wall. | Subscription and retail kits that need shelf presence and shipping strength. | $711.78 |
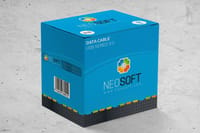
| Cube box | Four glued paperboard walls, tuck flaps top and bottom. | Candles, mugs, gifts, anything with a display face on a counter. | $213.09 |
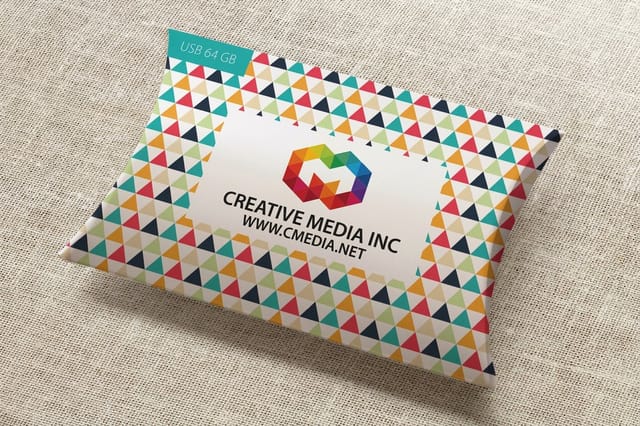
| Pillow box | One curved blank that snaps closed under its own spring. No glue at all. | Flat, light items: jewelry, gift cards, samples, small accessories. | $284.49 |
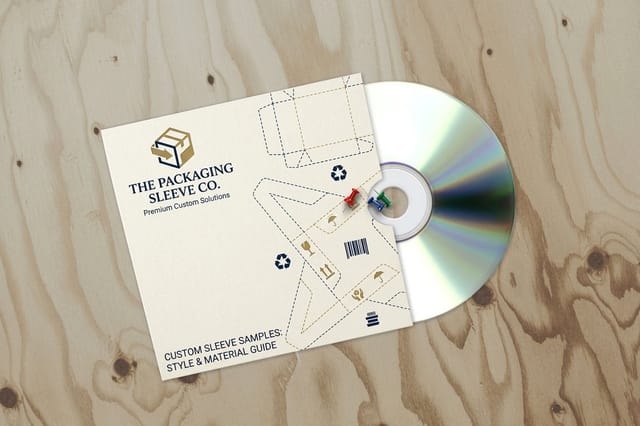
| Packaging sleeve | An open band that slides over a plain box or a wrapped product. | A branding layer you can reprint seasonally without retooling the box. | $438.25 |
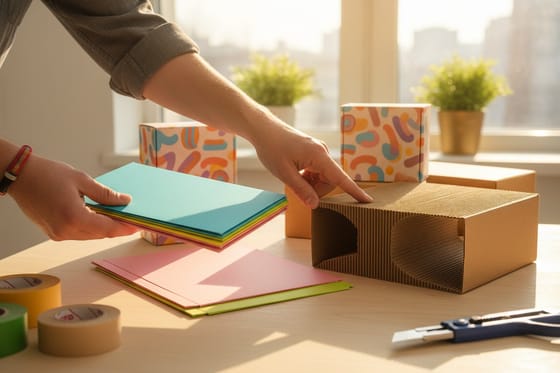
The split that matters is material. Mailers and roll end tuck tops are corrugated, so they take a beating in transit, but the flute underneath can show faintly through a large flat field of solid ink. Cube and pillow boxes are paperboard, which prints crisper and folds sharper, and which is why they usually travel inside a shipper rather than on their own. If you are torn between the two, our comparison of cardstock and corrugated board settles it faster than a sample order will, and the box style guide covers the shapes outside this list.
Size the Box From the Product, Never From the Artwork
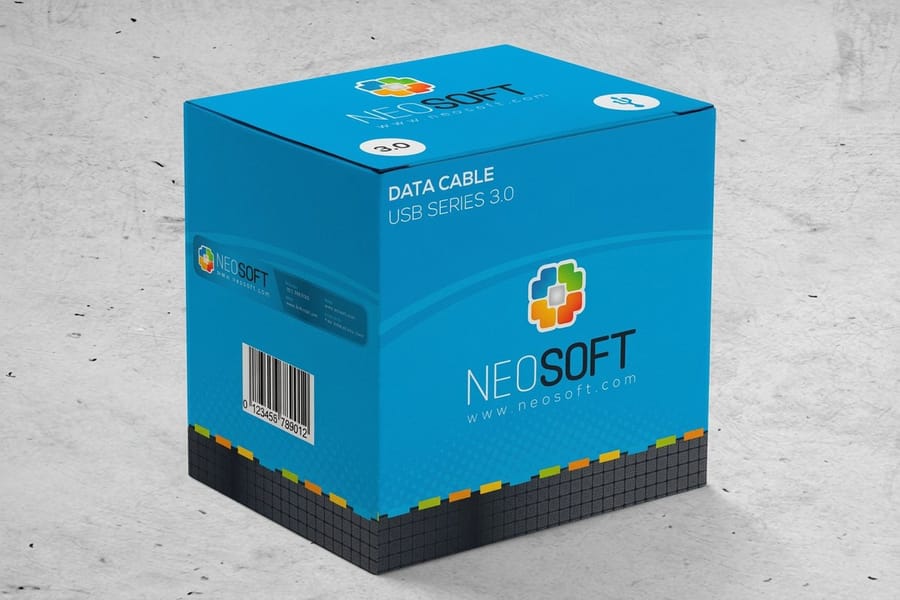
Sizing is where most first packaging projects go wrong, and the mistake is almost always the same: someone measures the box they already have instead of the thing going inside it.
Measure the product at its widest, deepest and tallest points, including any lid, handle or wrap. Then add clearance. About 1/8 inch per side is right for a snug fit on a rigid product, and 1/4 to 1/2 inch per side if the item is wrapped in tissue, sits in a paper nest, or has any give to it. Too tight and the box bows outward at the corners. Too loose and the product slides, which on a shipping box means it arrives sounding broken even when it is not.
Then handle the inside versus outside question, because packaging is quoted on inside dimensions. The board has real thickness, so the outside of a finished box is larger than the number you ordered by roughly one caliper on each face. On corrugated that is not trivial: E flute runs about 1/16 inch thick and B flute about 1/8 inch, so a B flute mailer can measure a quarter of an inch wider outside than its stated size. If the box has to fit a shelf, a shipper or a carrier size band, do that arithmetic before you approve anything.
Depth is the dimension people underestimate. A mailer needs to cover the product height plus whatever padding sits on top of it, or the lid will not sit flat and the wings will not lock. Our guide to measuring a box and calculating cubic inches covers the order the numbers are read in, and the box size chart by product type is a fast sanity check against what other brands in your category use.
Build the Dieline, Then Lay the Artwork On Top of It
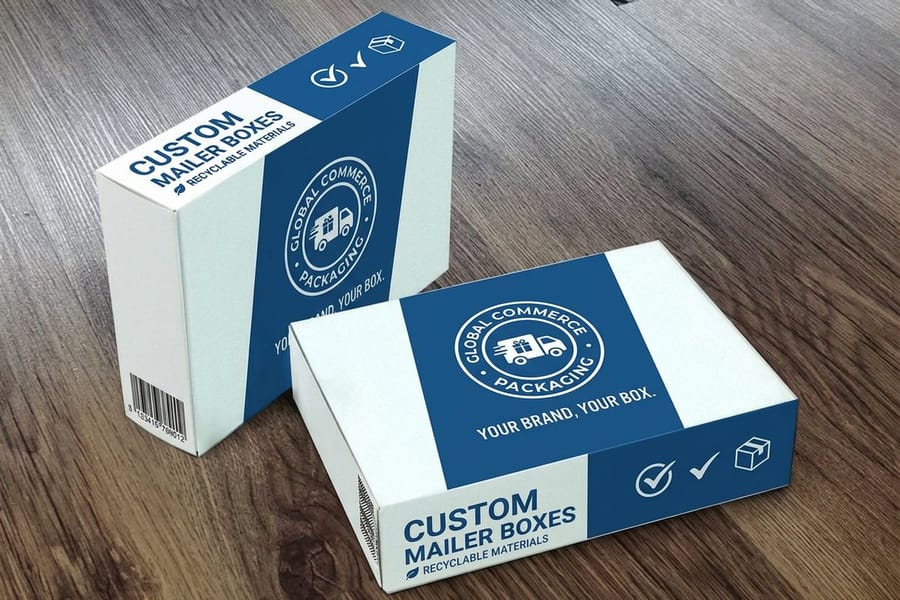
A dieline is a flat drawing of the box with every line typed by what it does. It is not decoration and it is not a guide layer you can nudge. Get the vocabulary straight and the rest of the file falls into place.
- Solid lines cut. These are the steel rules in the die. Anything outside them is trim.
- Dashed lines crease. A dull rule presses a channel into the board so it folds in a predictable place instead of wherever the board feels like breaking.
- The glue tab is the narrow flap, usually around half an inch, that gets folded behind an adjacent panel and glued. Never put artwork you care about on it, because it ends up hidden.
- Bleed runs 0.125 inch past every cut line, flaps and tab included.
- Safety keeps type and logos about 0.25 inch away from cuts and creases.
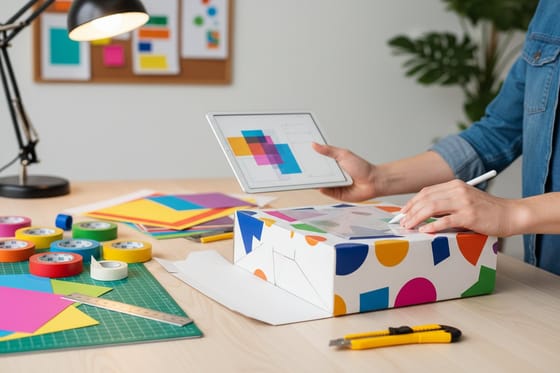
Two file habits save the most reprints. Keep the dieline on its own named layer, in a spot color, set to overprint, and never flatten it into the art. And check panel rotation: the box prints flat and folds afterward, so on most tuck styles the back panel is upside down relative to the front. Artwork that reads correctly on screen across the whole sheet is artwork that will read sideways on a finished box.
Build in CMYK, convert type to outlines, and place images at 300 dpi at final size. Then look at a proof properly rather than glancing at it. Our walkthrough on preparing files for packaging products covers the handoff, checking a packaging proof before approval covers what to look for, and the flat layouts live in the blank template library.
Branding That Survives Board, Folds and a Delivery Van
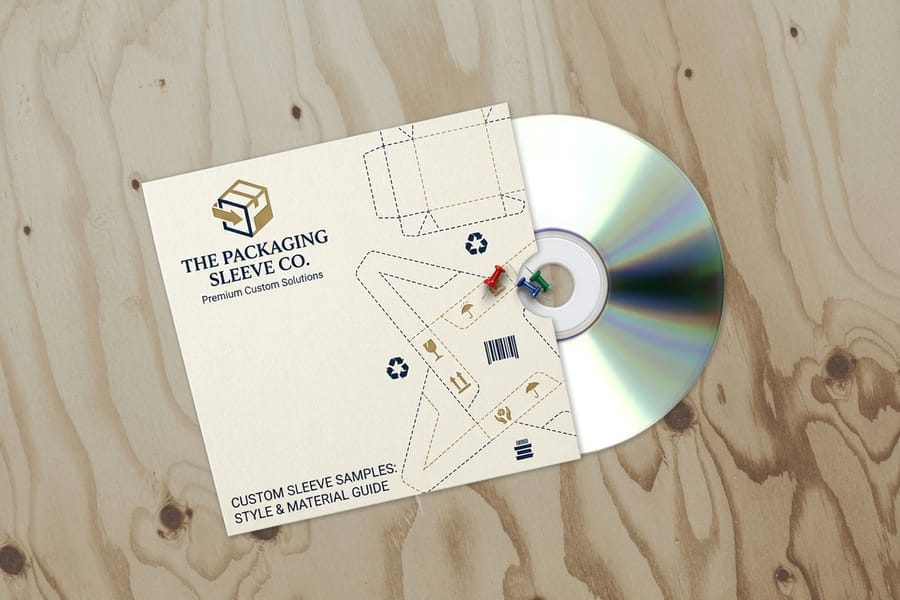
Cardboard is not paper, and a design that looked immaculate on a business card can come apart on a box. Three constraints do most of the damage.
Kraft board has no white base. Printing ink is transparent, so on brown board every color mixes with what is underneath. White disappears, pastels turn tan, and blues drift toward grey. Kraft is superb for a heavy single color mark, bold type and line work, which is exactly the look custom kraft boxes are bought for. If your identity depends on photography or pale tints, order white board and put the kraft on a sleeve instead.
Ink cracks on a crease. Fold a solid dark panel and the ink film splits along the channel, showing a fine line of bare board. There is no coating that fully prevents it. The design fix is simple: end the solid color at the crease, or run a deliberate change of color across the fold so the line reads as intentional.
The panels are not equal. On a mailer, the customer sees the lid, then the inside of the lid, then the product. That inside panel is the cheapest piece of brand real estate in the business and most brands leave it blank. Put the thank you, the reorder code or a pattern there. The outside of the base, by contrast, faces a conveyor belt for two days, so keep it plain enough to stay legible when it is scuffed.
If you want the branding to change faster than the tooling, keep the box neutral and let a packaging sleeve carry the season. It reprints in isolation, it needs no die change, and it slides over the same box all year. Our guide on creating branded packaging takes the identity side further, and custom sleeve boxes explained covers the sleeve and tray combination in detail.
Wally flattens the box first
Cut, crease, bleed, then artwork
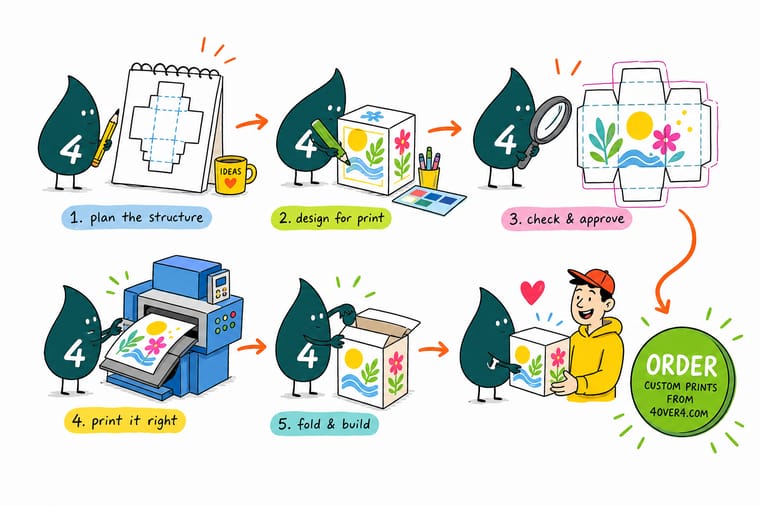
Wally never designs a box on screen first. He unfolds one flat, marks which lines the die will cut and which ones only crease, then runs the artwork a little past every cut edge so no bare board shows. He measures the product, not the picture, and he leaves the fold lines clear of anything anyone needs to read. Do it in that order and the box closes on the first sample.
Configure custom mailer boxes →Specs and pricing
Box styles, sizes, and starting prices
Configure the three styles most brands compare, with live size options and starting prices straight from the 4OVER4.COM configurator.
Print it
Order packaging built around your product
Explore more
Where to go next
By the numbers
Packaging you can count on at 4OVER4
Common Questions
Your cardboard packaging questions, answered
What is the difference between cardboard and corrugated packaging?
In the trade, cardboard usually means a single layer of paperboard, the stiff cardstock a cereal box or a cube box is made from. Corrugated is three layers: a fluted wave glued between two liners, which is what gives a mailer box its crush resistance. Paperboard folds crisper and holds fine print better because the surface is flat. Corrugated survives a delivery truck, but the flute pattern can telegraph faintly through large flat areas of ink. Pick paperboard for a retail piece that travels inside another carton, and corrugated for anything shipping on its own.
What bleed and safety margin does a packaging dieline need?
Bleed runs 0.125 inch past every cut line, including the glue tab and the dust flaps, so a slight shift on the die does not leave a white sliver of board along an edge. Keep type, logos and any border about 0.25 inch clear of both cut lines and crease lines. The margin off the crease matters more than the one off the cut, because a fold that lands a hair off center will slice through a logo sitting right on the line and there is no fixing that after the die is made.
Do I have to supply my own dieline?
You need the correct flat template for the exact style and size you are ordering, and the safest route is to start from ours rather than draw one from scratch. Our blank template library holds the flat layouts, and the sizes offered in the configurator on each packaging product page match those templates. If you are working with a designer, send them the template first and the brand assets second. A dieline redrawn by hand from a photo of a box almost never has the right flap depth.
Can I print full color photographs on kraft boxes?
You can print CMYK on kraft, but treat the brown as a color in the image rather than as blank paper. Ink is transparent, so every color mixes with the substrate underneath it: whites vanish entirely, pale tints turn tan, and blues drift toward green or grey. Photographs come out muddy and low in contrast. Kraft rewards bold single color line art, heavy type and solid marks. If the design depends on photography, order a white board box and use kraft for a sleeve or an insert instead.
What file format should I send for custom cardboard packaging?
Send press-ready vector artwork, usually a PDF, with fonts converted to outlines and images placed at 300 dpi at final size. Keep the dieline on its own clearly named layer so it can be switched off before plating, and never flatten it into the artwork. Build in CMYK, and call out any spot color by name rather than leaving it as a rich black build. Our guide on preparing files for packaging products walks through the handoff step by step.
Why does a custom box cost so much more than a stack of flyers?
Because you are paying for tooling and material, not just ink. A packaging run needs a cutting die built for that exact flat shape, the board itself is many times heavier than text paper, and every box gets folded and glued after printing. That is why a mailer box run starts at $711.78 while a cube box, which uses lighter paperboard and a smaller die, starts at $213.09. It is also why changing the size costs real money and changing the artwork inside the same size costs almost nothing.
Get Started
Ready to put your product in the right box?
Pick the style, set the inside dimensions, upload artwork on our flat template, and we print, cut and crease packaging that closes the way it should.
Legal Disclaimer
Gold Standard guarantees apply to all standard orders placed through 4over4.com. Price match requires verifiable proof of a competitor's published price for an equivalent product with matching specifications and turnaround time. Satisfaction guarantee covers manufacturing defects and print quality issues. Contact support with order number and documentation. On-time delivery rate based on tracked orders 1999 to 2026. Individual results may vary based on shipping carrier performance.
