
Trade Show Booth Design That Makes an Impact


Visitors decide whether to stop from the aisle, in seconds. Earning that stop is a matter of design, across structure, graphics, lighting, function, and the printed displays that carry it all.
Booth design rests on structure, graphics, and lighting. Keep the layout open with one clear focal point, go vertical so you are visible down the aisle, lead with a single bold message readable at twenty feet, and light your graphics so they look premium. Add minimal branded furniture, hidden storage, one demo, and handouts, and equip the booth to capture leads.
Start here
Structure, graphics, lighting
Three things stop traffic in an aisle: an open structure a visitor can walk straight into, one bold graphic that reads from twenty feet, and light aimed at that graphic. A booth earns a stop from the aisle in seconds, so design for structure, graphics, and lighting first, then fit them to the footprint you bought, a 10x10 inline, a 10x20 inline, or an island open on all four sides. Keep the front open with a single focal point, go tall so you are seen down the aisle, lead with one bold message readable from twenty feet, and light your graphics to look premium. Then add minimal branded furniture, hidden storage, one demo, and takeaways, and build in lead capture. The elements below break it all down, with an annotated floor plan for each layout, what every budget tier buys, and live specs on the displays themselves.
What actually makes a booth stop traffic
A trade show floor is an attention economy, and you are competing with hundreds of booths for a visitor who is walking past at a steady pace. The brutal truth is that people decide whether to stop from the aisle, in a few seconds, before they read a single word of detail. So booth design is not decoration; it is the machinery that earns that stop. Get structure, graphics, and lighting right and traffic comes to you.
Three levers do most of the work: an open, inviting layout that pulls people in, height and bold graphics that are visible from far down the aisle, and lighting that makes your space look sharp and premium. Everything else, from furniture to technology, supports those three. This guide walks each element in the order you should design it, then shows exactly which printed displays carry the whole thing.
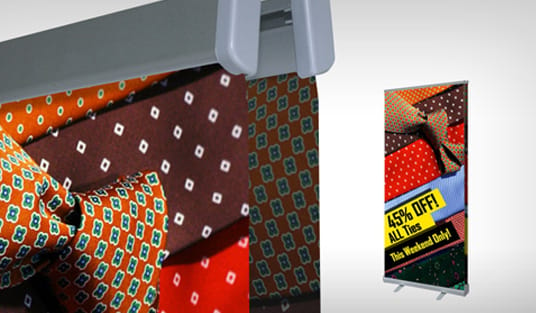
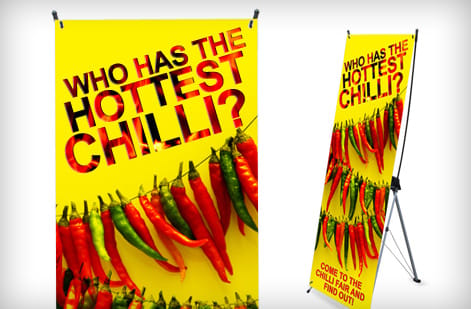
The centerpiece of most booths that work is a large graphic wall with no join. A fabric SEG display gives you that big, wrinkle-free backdrop, and it anchors the layout, graphics, and lighting decisions that follow. If your show is days away, our companion guide on printing booth materials last-minute covers the rushed version.
Structure and layout: open and obvious
Layout is the foundation, and the biggest mistake is a closed-off booth. A table pushed to the front with staff behind it creates a barrier that visitors instinctively avoid. Instead, open the front so people can step in, and design the space so it feels welcoming rather than guarded. An open booth simply gets more foot traffic than a closed one, every time.
Give the space a single focal point that tells a visitor where to look first, usually your main graphic wall carrying your headline message. Then plan a natural flow so people move through the booth in an obvious path, past your demo or display and toward your team. Leave room to move; a cramped booth feels stressful and pushes people back out.
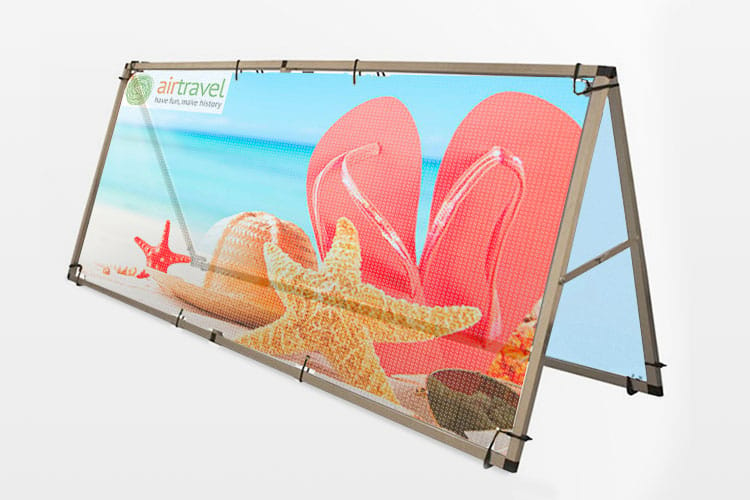
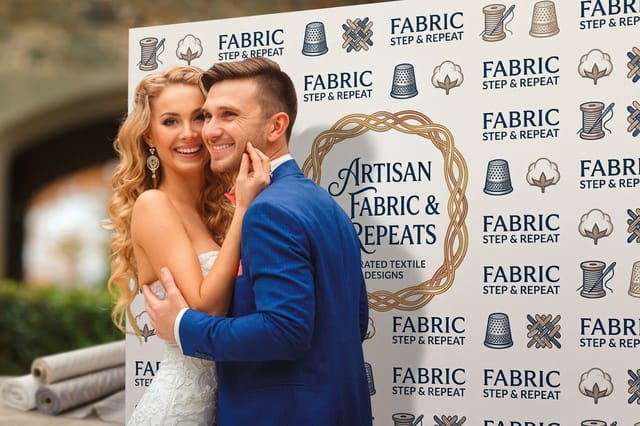
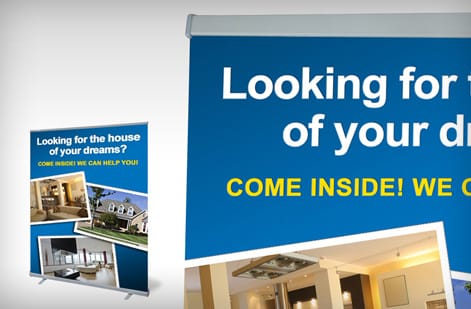
Height is part of structure too. Because visitors judge your booth from far down the aisle, going vertical with a tall display or banner stand makes you visible long before people reach you. A step-and-repeat wall or a tall SEG backdrop turns your footprint into a landmark on the floor.
Booth design examples and layouts
Booth design changes with the footprint, so start from the floor plan you actually bought. Three plans cover almost every show: the 10x10 inline, the 10x20 inline, and the island. Read each one as an overhead view with the same four zones labelled: the entry where visitors step in, the demo zone where they stop, the graphic wall that pulled them over, and the storage nobody should ever see.
10x10 inline booth. Ten feet across the aisle, ten feet deep, open on one side only. Put the graphic wall across the full back so it is the first thing read from down the aisle, and hang a fabric display there rather than a hard panel so the whole wall packs into a case. Leave the middle of the front edge completely open as the entry and push the counter to one side instead of across the front. The demo zone is the strip in front of the graphic wall where a visitor and a staffer can stand side by side without blocking the entry. Storage goes under that counter behind a branded table cover, and a retractable banner stand in the outside front corner buys height without stealing floor.
10x20 inline booth. Two 10x10 bays side by side, still open on one long side, which buys a second zone rather than a bigger version of the first. Either run one continuous graphic wall across the full twenty feet so the headline has room to be read from twenty feet away, or split it: a step-and-repeat wall on one bay for photos and repeated logo exposure, a fabric display wall on the other for the message. Give each bay its own entry so two conversations can run at once, keep the demo zone in the bay further from the aisle flow so the crowd it draws does not plug your own doorway, and consolidate storage into one closed counter at a back corner.
Island booth. Open on all four sides, with no back wall to hide behind, so the design has to work in the round. Build the graphic wall as a center tower or a four-sided structure and repeat the message on every face, because a visitor arrives from any direction and only ever sees one of them first. Keep all four corners clear as entries, place the demo zone in the middle where the crowd it draws stays inside your own footprint, and lock storage inside the tower base or under the counters. Height matters most here, since an island is judged from the far end of the hall and your tallest element sets how far down the floor you reach.
Whichever plan you have, the graphics are the same job at a different scale, and you can size every piece to the footprint in the live specs panel below. Browse the trade show collection to see which displays fit each layout.
Graphics and branding that read from the aisle
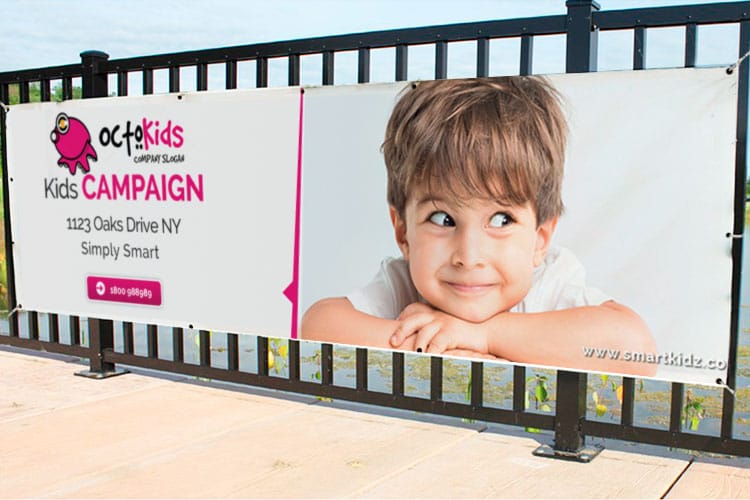
Your graphics have one job: communicate who you are and why to care, to someone reading while walking, from a distance. That means leading with a single bold headline legible from about twenty feet, not a paragraph. Visitors skim, so a clear hierarchy matters more than volume of information. The message lands first, a few strong visuals support it, and any body copy stays short and scannable.
Scale is your friend here, which is why large-format displays carry booth branding so well. A fabric SEG display gives you a big, wrinkle-resistant graphic wall with no visible join, and a step-and-repeat backdrop delivers repeated logo exposure behind every photo. Keep every graphic consistent with your wider brand: the same logo, colors, and voice you use everywhere, so the booth reinforces your identity rather than introducing a stranger.
Order your graphics as a fabric display or step-and-repeat wall, and keep your booth on-brand using the principles in our guide on building a strong brand identity.
Lighting: the cheapest upgrade that reads premium
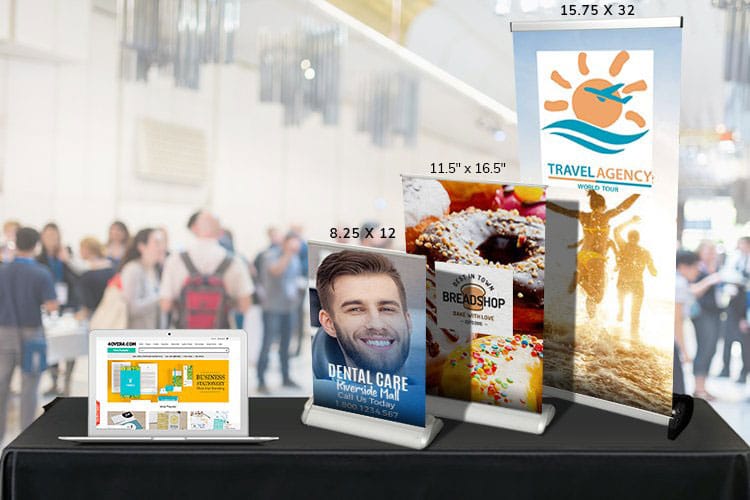
Lighting is the most underrated element in booth design and often the cheapest way to look far more expensive. Convention centers are large and unevenly lit, so a booth that brings its own light instantly looks sharper than its neighbors. Well-lit graphics read as crisp and premium, and light naturally draws the human eye, pulling attention toward your space on a busy floor.
Aim your lighting at your graphics, not at the aisle. Spotlights or bar lights along the top of your display wall make the visuals pop and eliminate the dull, flat look of ambient hall lighting. If your budget allows, backlit fabric displays glow from within and pull the eye from further down the floor.
The point is that great graphics deserve to be seen properly. A carefully designed display loses half its impact in poor light, so treat lighting as part of the design from the start rather than an afterthought you scramble for on setup day.
Functional elements: furniture, fixtures, and hidden storage
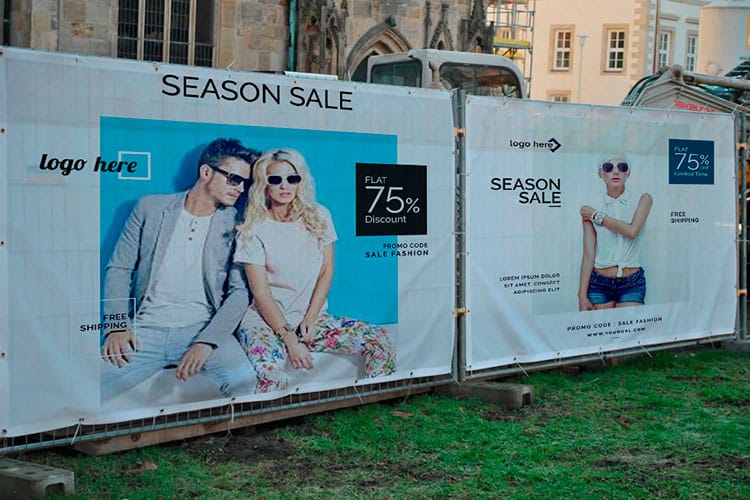
Once the visual design works, the booth still has to function for a full day of traffic. Furniture and fixtures give your team a base and visitors a place to pause: a clean counter, a couple of stools, or a small demo table. The rule is minimalism, because every extra object competes with your message and makes the space feel cluttered.
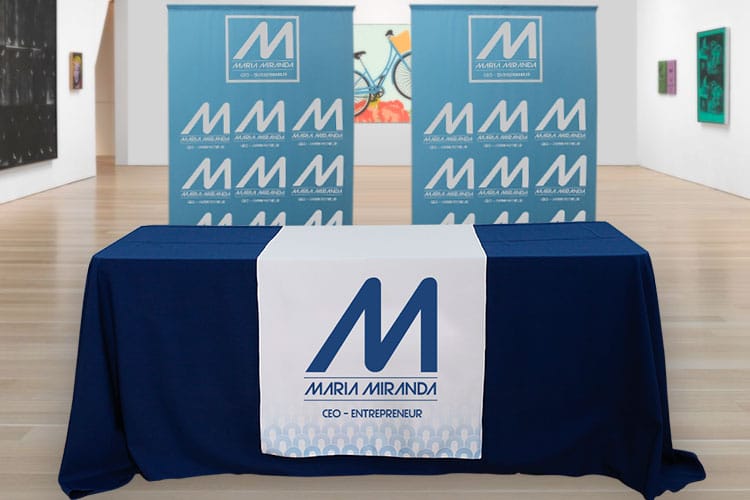
Storage is the element people forget until setup day, when the boxes, bags, cables, and personal items have nowhere to go and end up piled in view. The fix is to hide them. A fitted, branded table cover turns a plain table into a professional surface while concealing everything stored underneath, so the booth stays clean from open to close. It is one of the highest-impact, lowest-effort pieces you can add.
Order a branded table cover alongside your display so function and design arrive together. Keep fixtures few and on-brand, and your booth reads as considered rather than crowded. The full trade show printing collection has the covers, displays, and signage to outfit the whole footprint.
Technology and interaction, used sparingly
A touch of technology gives visitors a reason to stop and a way to engage, but more is not better. One well-placed element beats a wall of gadgets. A single screen looping a short product demo catches the eye and starts conversations without needing a staffer to explain it. An interactive element, a live demo, or a simple game can turn a passerby into a lingering visitor.
Pair any interaction with a clean lead-capture method so engagement converts into a follow-up. Whether it is a tablet sign-up, a business-card drop, or a scan, make it effortless, because a great conversation with no captured contact is a lead lost. Technology should serve the goal of connecting and capturing, not show off for its own sake.
Keep the tech consistent with the calm, uncluttered layout you designed. One demo screen and one capture method, integrated cleanly, will outperform a booth crammed with devices that overwhelm the very visitors you are trying to welcome.
The printed displays that carry the booth
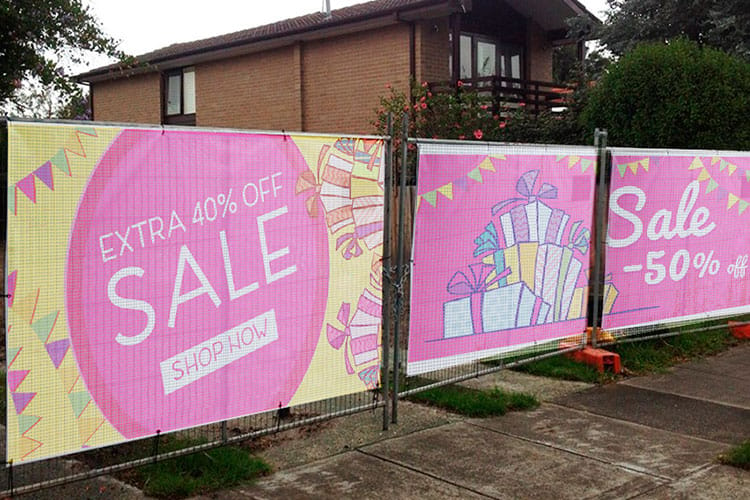
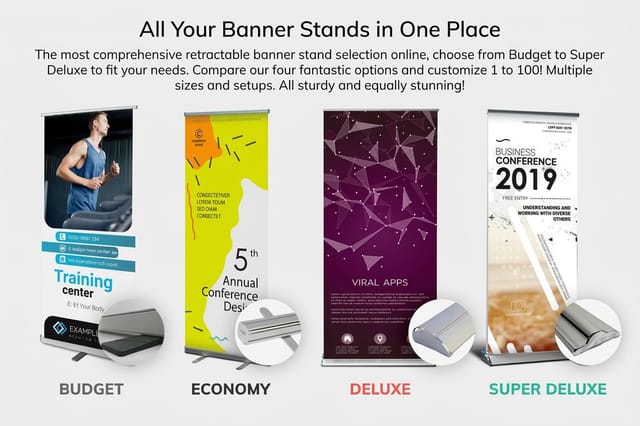
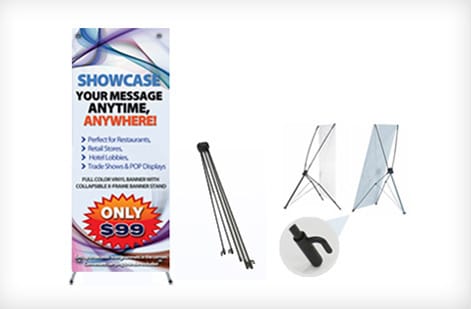
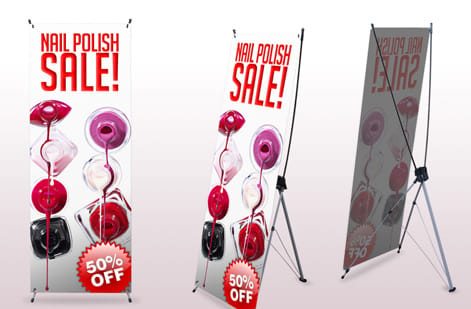
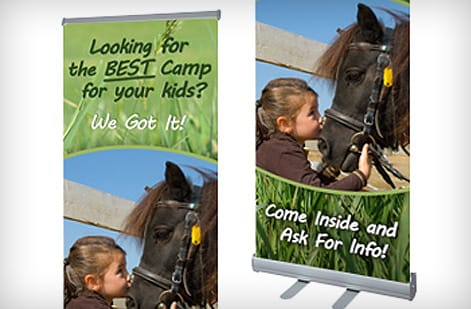
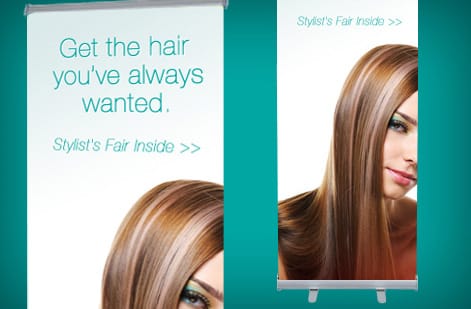
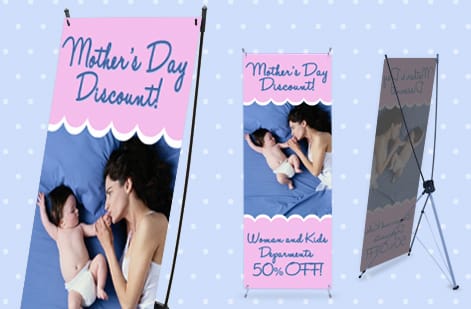
Every design principle above comes to life through printed displays, and choosing the right mix is what turns a plan into a booth. Start with a large graphic wall, either a fabric SEG display with no visible joint for a bold backdrop or a step-and-repeat wall for repeated logo exposure and photo moments. Add tall banner stands for portable vertical branding that sets up in seconds and travels light.
Finish the space with a branded table cover to hide storage, plus handouts and business cards so every visitor leaves with something. Together these pieces deliver the height, message, and function the design calls for, and most of them are reusable assets you bring to every future show rather than one-time costs.
Order your fabric display, retractable banner stands, and step-and-repeat wall together for a coordinated look, and use the live specs panel below to size each piece to your booth footprint and budget.
Booth design by budget
Booth budgets fall into three practical tiers, and each one buys a different set of printed pieces. Every piece is priced live in the configurator once you set size, material, and quantity, so read these tiers as what to buy and in what order, not as a quote.
Under 500 dollars. The takeaway tier, for a first show or a shared table. It buys the pieces that travel flat: business cards, handouts or flyers for the aisle, a branded table cover that hides your boxes and bags underneath, and one retractable banner stand for height behind the table. A single banner stand plus a covered table is already a complete, on-brand presence in a 10x10 corner, and the whole tier fits in a car.
Around 2,000 dollars. The full 10x10 tier. It buys a real back wall, a one-piece fabric SEG display across the ten foot back of the booth, plus two retractable banner stands to frame the entry, the branded table cover over your storage, and the full run of handouts and business cards. This is the tier where the booth stops reading as a table and starts reading as a stand, and the wall and the stands come back out of the case at every show after this one.
Around 10,000 dollars. The 10x20 or island tier. It buys a continuous graphic wall across the full twenty feet or a four-sided island structure, a step-and-repeat wall for photo moments and repeated logo exposure, several banner stands, branded counters and table covers for each bay, replacement graphics so the same hardware can be reskinned for the next show, and printed collateral in show quantities. At this size the hardware is a multi-year asset and the graphics are the part you reprint.
Whichever tier you are in, buy the reusable structure first and the paper last. Price each piece in the live specs panel below, or start from the trade show collection and build the set in one order.
Best practices and the mistakes to avoid
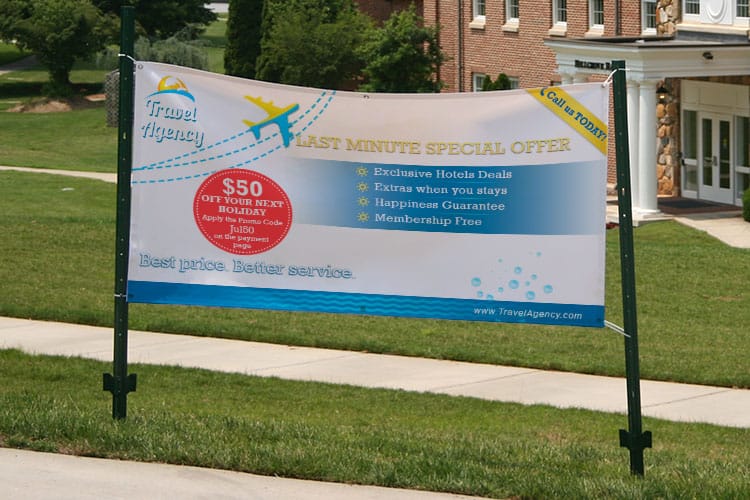
A few habits separate booths that draw crowds from booths that get walked past. Do lead with one message, go vertical, light your graphics, and keep the layout open and uncluttered. Do keep everything on-brand so the booth reinforces your identity. And do plan for capture, because the whole point is to leave with qualified leads, not just compliments.
Avoid the common mistakes: a closed-off front that blocks entry, a graphic wall crammed with text nobody reads while walking, poor or no lighting, visible storage clutter, and a booth so full of furniture and gadgets that there is no room to move or think. Each of these quietly costs you traffic and conversations.
Finally, treat every show as data. Note what drew people in and what they ignored, and refine the design for next time. A booth is a system you improve, and the reusable displays you invest in now become the foundation of a stronger booth at every event. Browse the trade show collection to build yours.
Wally designs the booth for the aisle
Open layout, one bold message, and light on the graphics
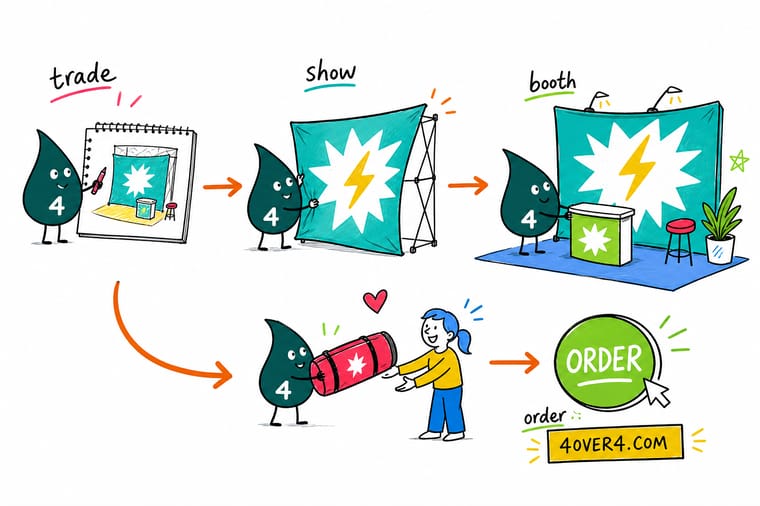
Wally knows a visitor decides from the aisle in seconds, so he keeps the front open, goes tall with an SEG display, leads with a single message readable from twenty feet, and lights the graphics so they look premium. Minimal branded furniture, hidden storage, one demo, and plenty of takeaways finish it. Traffic comes to a booth designed this way.
Order your booth display →Quick reference
The booth design elements, at a glance
Every strong booth balances the same elements. Nail each one and your space draws traffic and captures leads.
| Element | Aim for | Why it matters |
|---|---|---|
| Structure and layout | Open front, clear focal point | An open booth invites people in, and a single focal point tells them where to look first. |
| Height | Tall SEG wall or banner stand | Vertical branding is visible from far down the aisle, which is where the decision to visit is made. |
| Graphics | One message, readable at 20 ft | A bold headline and strong hierarchy beat dense copy that walking visitors never read. |
| Lighting | Light the graphics, not the aisle | Bright, evenly lit visuals look premium and draw the eye toward your space. |
| Furniture and storage | Minimal, branded, hidden storage | A clean counter and a table cover that conceals boxes keep the booth looking sharp all day. |
| Technology | One screen or demo, lead capture | A single looping demo or interactive element gives visitors a reason to stop and a way to be captured. |
| Handouts and cards | Something to take away | Flyers and business cards keep you in front of a lead long after they leave the floor. |
Step by step
Design a high-impact booth in 7 steps
- Set one goal and one message Decide what a visitor should remember, then build the whole booth around that single clear message rather than a list of everything you do.
- Plan the layout and flow Sketch an open front with an obvious focal point and a natural path, so people feel invited in and know where to look and go.
- Build height into the structure Choose a tall SEG display, banner stand, or step-and-repeat wall so the booth is visible from far down the aisle.
- Design bold, hierarchical graphics Lead with a headline readable at twenty feet, support it with a few strong visuals, and keep body copy short and scannable.
- Light the graphics Add lighting aimed at your visuals so they look sharp and premium and pull the eye toward your space on a busy floor.
- Add function without clutter Bring only the furniture, screens, and storage you need, keep the counter clean, and hide boxes under a branded table cover.
- Equip for capture and follow-up Stock handouts and business cards, set up a simple lead-capture method, and make sure every visitor leaves with something and you leave with their details.
Specs and pricing
Booth display specs and live pricing
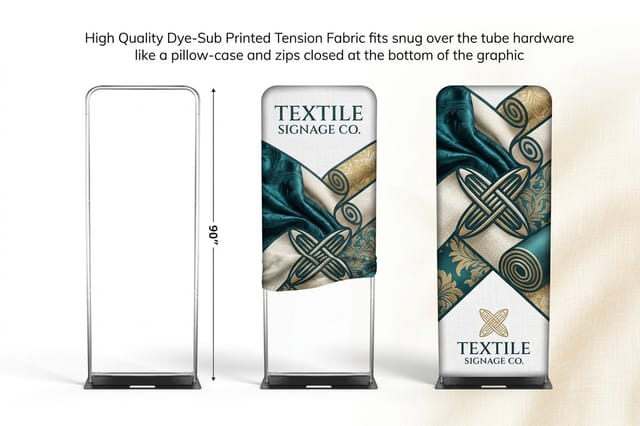
Your graphic wall anchors the whole booth. Here are the live specs and price-per-unit for fabric displays at 4OVER4.COM, straight from the configurator.
| Quantity | Price Per Unit | Total |
|---|---|---|
| 1 | $163.67 | $163.67 |
| 2 | $163.66 | $327.32 |
| 3 | $163.66 | $490.97 |
| 4 | $152.68 | $610.70 |
| 5 | $152.67 | $763.37 |
| 6 | $152.67 | $916.04 |
| 7 | $136.98 | $958.89 |
| 8 | $137.16 | $1,097.28 |
Print it
Build your booth displays at 4OVER4
See it in use
Fabric displays built for booth walls
Explore more
Where to go next

By the numbers
Fabric walls, stands, and step-and-repeats
Common Questions
Common questions about trade show booth design
What makes good trade show booth design and layout?
Good booth design starts with layout and structure. Keep the front open so people feel invited in rather than blocked at a counter, and give the space one clear focal point that tells visitors where to look first. Build in height with a tall display or SEG wall so the booth is visible from far down the aisle, where the decision to stop is actually made. Then design a natural flow through the space. A booth that is open, tall, and easy to move through will out-draw a taller-budget booth that is cluttered and closed off.
What are the functional elements of a trade show booth?
Beyond the visual design, a working booth needs a few functional elements. Furniture and fixtures like a counter or a couple of stools give staff a base and visitors a place to pause. Technology, such as a single looping demo screen or an interactive element, gives people a reason to stop and a way to be captured as a lead. And storage is essential but should be invisible, so a branded table cover that hides boxes and bags underneath keeps the booth looking clean all day. The goal is function without clutter.
How do I design booth graphics that make an impact?
Design for a moving audience reading from a distance. Lead with one bold headline that is legible from about twenty feet, since visitors skim while walking and will never read a wall of text. Build a clear hierarchy so the eye lands on the message first, then a few supporting visuals, then any short body copy. Use large-format graphics like an SEG fabric display or a step-and-repeat wall to carry your branding at scale, keep your colors and logo consistent with the rest of your identity, and light the graphics so they look sharp and premium.
What carries a ten by ten booth?
Match the displays to your space and goals. For a bold backdrop with no visible join, a fabric SEG display gives a large, wrinkle-resistant graphic wall. For portable vertical branding, a retractable banner stand sets up in seconds and travels easily. A step-and-repeat wall is ideal for photo moments and repeated logo exposure. Add a branded table cover to finish the booth and hide storage, plus handouts and business cards for takeaways. Pick the size, material, and finish in the configurator so every piece fits your booth footprint and budget.
What does trade show booth printing cost, and how are prices set?
Booth printing spans a wide range because it covers everything from business cards to a full SEG display wall. Price scales with the product, its size and materials, the quantity, and finishes. Large-format displays and step-and-repeat walls cost more than a banner stand or a stack of handouts, and larger footprints use more material. You set each option in the configurator and the price updates live, so you can design a complete booth to your budget and see exactly what each display and printed piece costs before you commit.
What is a good layout for a 10x10 trade show booth?
Plan the 10x10 as four zones. The graphic wall runs across the full ten foot back so it is the first thing read from down the aisle, and a fabric display carries it because the whole wall packs into a case. The entry is the middle of the front edge, left completely open, with the counter pushed to one side rather than set across the front, since a table across the front is the fastest way to lose traffic. The demo zone is the strip in front of the graphic wall, deep enough for a visitor and a staffer to stand side by side without blocking the entry. Storage sits under the counter behind a branded table cover, and a retractable banner stand in the outside front corner adds height without taking floor space.
How much does a trade show booth design cost?
It depends on how much of the booth you print and how much of it is reusable hardware. Under 500 dollars covers the takeaway tier: business cards, handouts, a branded table cover and one retractable banner stand. Around 2,000 dollars covers a full 10x10: a one-piece fabric SEG back wall, two banner stands, the table cover and your printed collateral. Around 10,000 dollars covers a 10x20 or an island: a continuous twenty foot graphic wall or a four-sided structure, a step-and-repeat wall, several banner stands, branded counters, replacement graphics for reskinning the hardware, and collateral in show quantities. The structure is a multi-year asset and the graphics are the part you reprint, so set size, material and quantity in the configurator and the price updates live before you commit.
Get Started
Design a booth the whole floor notices.
Order your SEG display, banner stands, and step-and-repeat wall from 4OVER4.COM and build a booth that stops traffic and captures leads. A fabric display costs $163.67 and ships in 4 business days.
Legal Disclaimer
Gold Standard guarantees apply to all standard orders placed through 4over4.com. Price match requires verifiable proof of a competitor's published price for an equivalent product with matching specifications and turnaround time. Satisfaction guarantee covers manufacturing defects and print quality issues. Contact support with order number and documentation. On-time delivery rate based on tracked orders 1999 to 2026. Individual results may vary based on shipping carrier performance.
