
How to Design Custom Resealable Bags That Print Clean and Stay Shut


Closure types, the film layers that make a bag food safe, and the parts of the face your artwork has to stay out of. Plus what to do when the run is too small to print film.
Design a resealable bag from the closure outward: choose the zipper, subtract the film it needs, then lay artwork inside what is left. A press-to-close track takes about half an inch of flat film on each side, the header above it takes another inch for the tear notch, and the bottom gusset folds under. On a 6 by 9 inch stand-up pouch that leaves roughly half the face usable. Food safety comes from the inner sealant layer, not the print, because the ink is sealed between laminate layers.
Quick answer
The zipper decides the layout before the logo does
A resealable bag is designed backward from the closure. The zipper track needs flat film on both sides for the sealing jaws, the header above it carries the top seal and the tear notch, and the bottom gusset disappears under the bag once it is filled. What remains is the live area, and it is smaller than the bag looks. Food safety lives in the inner sealant layer, the barrier layer decides shelf life, and printing sits between the two where it cannot touch the product or rub off.
Pick the Closure First, Because It Sets the Layout

Every resealable bag is really two products stuck together: a bag, and a mechanism that lets a customer shut it again. The mechanism gets specified first because it takes up film, and the film it takes is film your artwork cannot use.
| Closure | How it reseals | What it costs you | Where it fits |
|---|---|---|---|
| Press-to-close zipper | A rib presses into a groove and the customer pinches it shut. | Roughly half an inch of flat film above and below the track, plus the header. | Coffee, snacks, granola, pet treats, most dry retail goods. |
| Slider zipper | A moulded slider rides the track and closes it in one pull. | A taller header, more film per bag, and a visibly higher unit price. | Bulk items and anything opened one-handed, like wipes. |
| Child-resistant zipper | Needs a squeeze at both ends before the track releases. | A printed instruction zone on the face that you cannot design over. | Regulated products where the closure is a compliance item. |
| Tin tie | Fold the top over and bend the wire strip. | No airtight seal and no real barrier, so shelf life is short. | Bakery goods and whole-bean coffee sold within days. |
| Adhesive resealable flap | A printed label re-adheres over the opening after each use. | Grip fades after a handful of opens, so it is a light-duty reseal. | Sample packs and low-cost SKUs on plain stock film. |
Read the third column before the second. A slider looks premium in a mockup and adds cost to every unit forever, while a press-to-close zipper costs almost nothing and is what shoppers expect on a snack bag. The adhesive flap is the only one of the five that can be added to a bag you already own, which is why it turns up on short runs and test batches.
Films, and What Actually Touches the Product
A pouch wall is a laminate, not a single plastic. Three jobs get split across the layers: the outer film carries the print, a middle layer blocks oxygen and light, and the inner sealant layer melts under the sealing jaws and is the only part that meets the food. Ink is printed on the underside of the outer film and trapped inside the lamination, which is why a pouch graphic never scuffs off in a shipping carton.
| Structure | Barrier | Trade-off | Typical use |
|---|---|---|---|
| Clear PET and PE | Low | The product sells itself through the film, and shelf life is the shortest of the group. | Candy, pasta, bath salts, anything bought on appearance. |
| Metallized PET and PE | Good | Strong light and oxygen barrier, but the face is opaque, so a window has to be de-metallized at plate stage. | Coffee, chips, protein powder. |
| Foil laminate | Highest | The longest shelf life and the highest price, and it cannot go in a microwave. | Supplements, spices, long-dated goods. |
| Kraft paper and PE | Low to medium | The paper face reads natural and takes ink flat, and it needs the PE liner to hold a seal at all. | Roasters, small-batch food brands, tea. |
| Mono-material PE | Medium | Store drop-off recyclable, with a narrower heat-seal window that punishes a hot or badly set sealing jaw. | Brands with a recyclability claim on the panel. |
The recyclable option is where most briefs run into trouble. Mono-PE seals at a lower temperature than a PET laminate, so a co-packer running the same settings as last month can wrinkle the seal or burn a hole through it. Ask for a seal test on the exact film before the run, not after. If you are weighing a valve into the same structure, our guide to why coffee bags have vents covers what degassing does to that decision.
Sizing a Bag Around a Zipper and a Fill Line
Two numbers decide the bag: what the product occupies, and how much empty film the closure demands. Most first-time briefs get the first one right and forget the second entirely.
Start with the fill. Width has to cover the product width plus its depth plus about an inch of ease, or the bag fights the filler. Then add headspace: leave an inch to an inch and a half of clean film between the fill line and the zipper track. That gap is not wasted bag. It is what keeps powder and crumbs out of the track, and a track with granola dust in it never seals properly again, which is the complaint customers actually write reviews about.
Above the zipper sits the header, three quarters of an inch to an inch of film for the top seal, the tear notch and a hang hole if the bag goes on a peg. Below, a stand-up pouch loses another inch and a quarter to two inches to the bottom gusset, which folds under and faces the shelf once the bag is filled. Side seals take roughly three tenths of an inch on each edge. Add those back up on a 6 by 9 inch pouch and the live artwork area is closer to half the bag face than the whole of it.
Work the numbers before you commit to a format. Our guide on choosing the right pouch size goes through fill volume by product type, and the broader custom pouch design guide covers dielines for stand-up, flat and gusseted formats.
Placing Branding Where the Bag Will Not Swallow It
Design inside the live area, then check every element against the parts of the bag that move. The zipper zone, the header, the gusset and the side seals are all dead ground, and a wordmark that looks centered on a flat dieline lands off-center once the pouch is filled and standing.
Put the product name and the variant in the upper half of the live panel, at a size that reads from three feet away, because that is where a shopper stands. Net weight goes in the bottom third of the front panel, which is both the convention and where regulators expect it. The nutrition panel, the ingredients and the contact details belong on the back, laid out flat and clear of the gusset fold. If the bag is metallized, remember there is no white base under the ink: a white underbase has to be printed for anything that needs to look like paper, and thin type reversed out of a metallic face gets hard to read under store lighting.
Two habits prevent most reprints. Keep critical artwork at least an eighth of an inch away from any seal, since roll printing drifts a little in register and a hairline border tight to a seal will look crooked on half the run. And set the barcode on the back panel, flat, with its quiet zones empty, never bridging the gusset. For the panel-by-panel legal requirements, work through the FDA food labeling guide, and if you are refining the front panel itself, optimizing food labels for shelf appeal is the companion read.
The Small-Run Route: Brand a Stock Pouch
Here is the honest limit. 4OVER4.COM does not run pouch film, so we do not print the bag. What we print is everything that turns a plain stock resealable pouch into your product, and for a brand doing a few hundred units at a time that is the cheaper answer by a wide margin, because there is no plate set to pay for and you can change the artwork between batches.
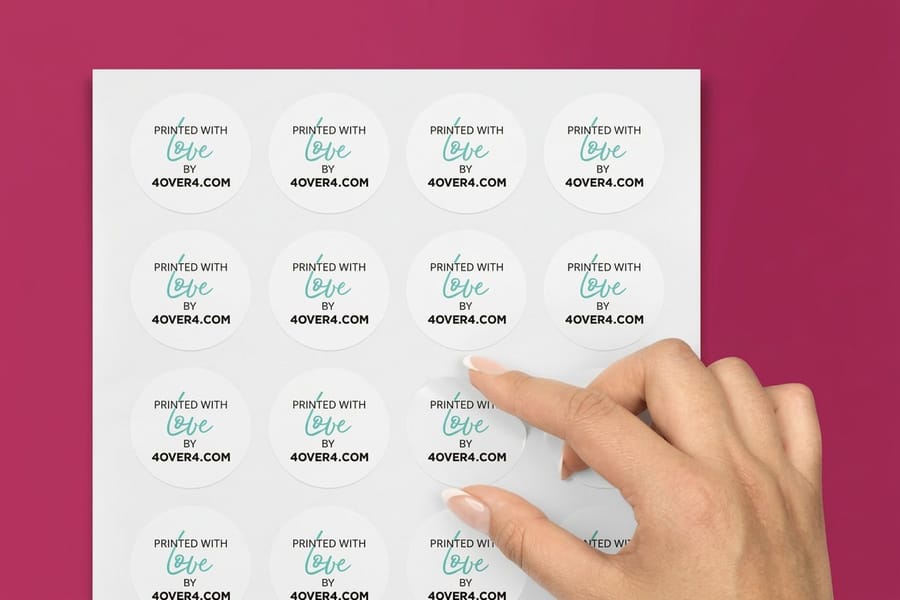
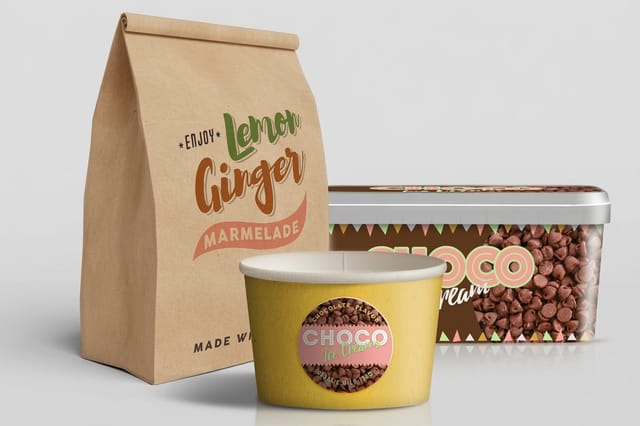
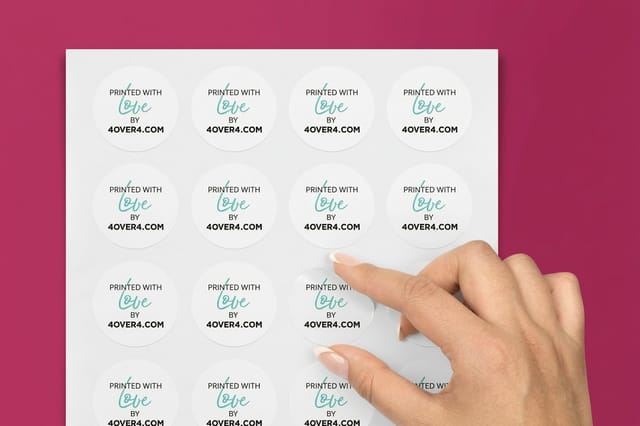
The workhorse is a printed label on the front panel. Premium food labels start at $29.16 and standard food labels at $23.88, so a test batch costs less than a sample carton of printed film. Cut the label to a shape that suits the panel with die-cut labels from $93.37. If the pouch is clear and the product is the hero, premium clear labels from $86.17 leave the window open. For anything refrigerated, frozen or handled with oily hands, move to premium waterproof labels from $84.68, because a paper face lifts at the corners under condensation.
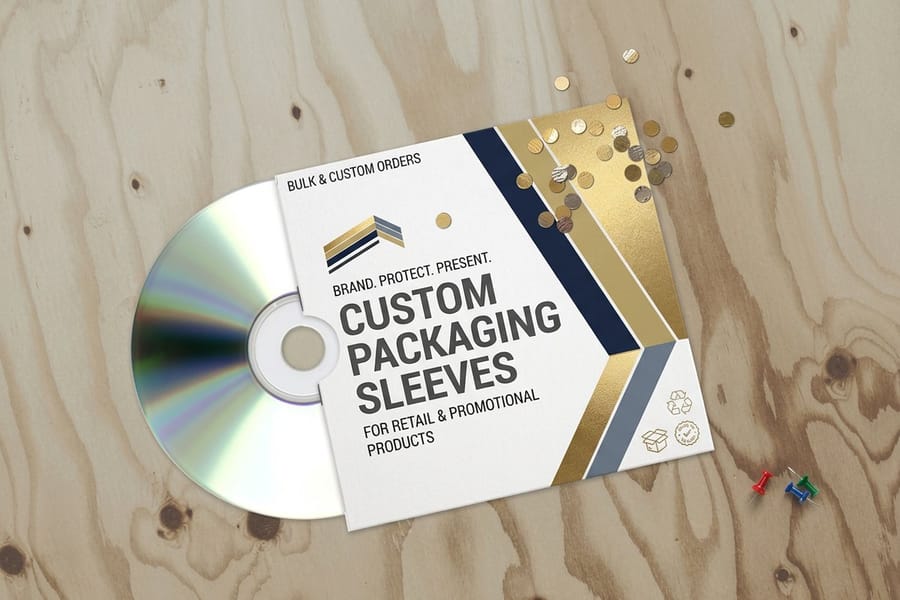
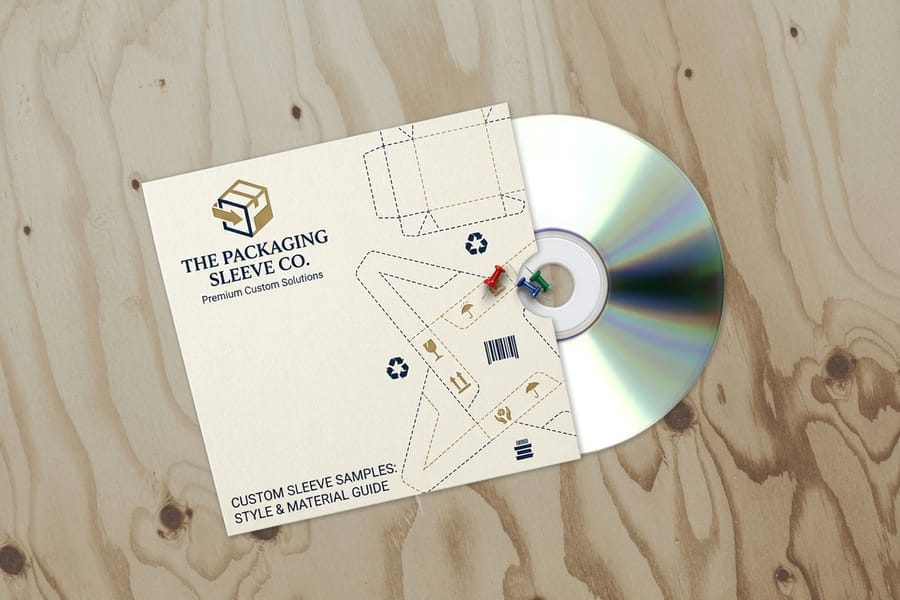
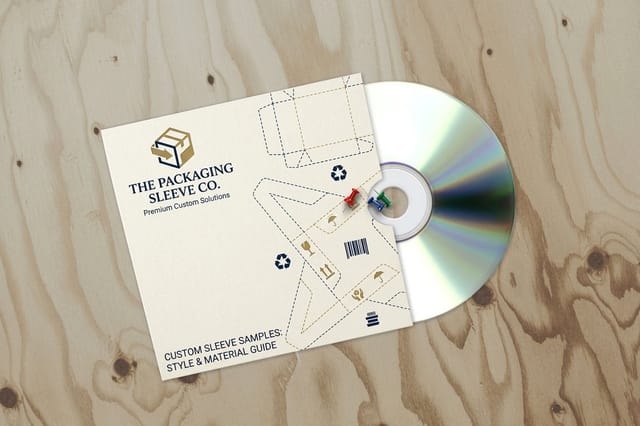
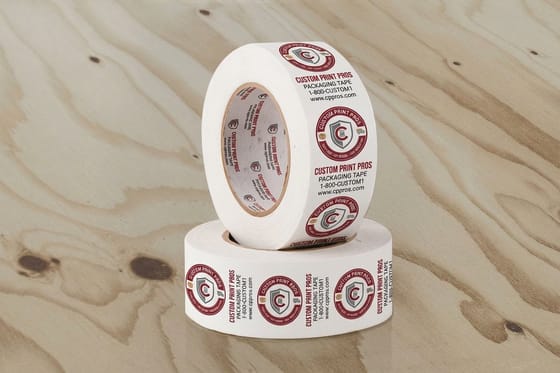
Two other pieces finish the job. Packaging sleeves from $438.25 wrap a pouch or a bundle with full-color artwork on all sides, which suits a gift set or a multipack better than a single label does. Printed packaging tape from $347.11 carries the brand onto the shipping carton so the unboxing matches the shelf.
Size the label against the live panel you measured, not against the bag. Print at full size, cut it out, and stick it on a filled sample pouch before ordering, since a label that clears the zipper on a flat bag can ride into the gusset once the bag stands up. Files follow the same rules as any print job, covered in preparing files for packaging products, and you can start from a correctly sized layout in the blank template library. When you are choosing a face material, paper against vinyl against clear labels lays out how each behaves on film. Everything in this route lives in the packaging printing collection.
Wally explains the resealable bag
The zipper takes its share before your logo gets any
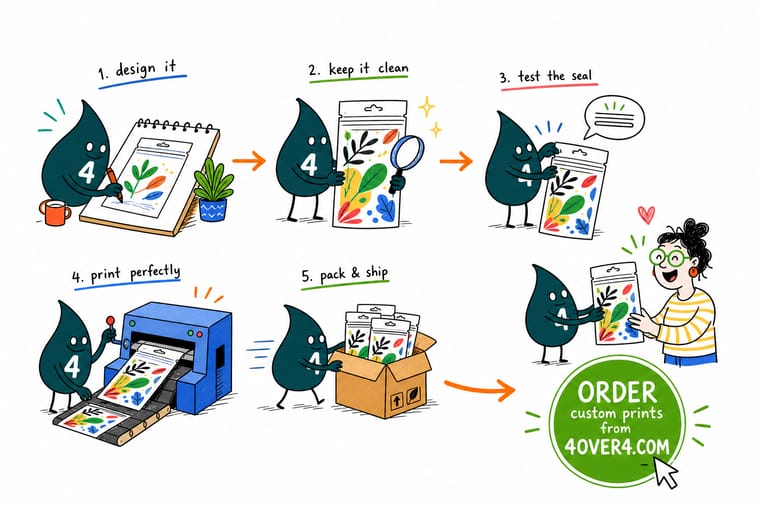
Wally holds up a stand-up pouch and starts subtracting. An inch off the top for the seal and the tear notch. Half an inch above and below the zipper so the jaws have flat film to bite. Nearly two inches at the bottom that folds under when the bag is filled. A little off each side seal. What is left in the middle is where the name, the flavor and the net weight go, and it is about half the bag. Wally cannot print the film itself, so he prints the label that goes on it.
Order premium food labels →Specs and pricing
Label and sleeve options, sizes, and starting prices
The pieces that brand a stock resealable pouch, with live configuration choices and starting prices straight from the 4OVER4.COM configurator.

Print it
Brand your pouch without a plate run
Explore more
Where to go next
By the numbers
Packaging print you can count on at 4OVER4
Common Questions
Your resealable bag questions, answered
Does 4OVER4 print custom resealable bags?
We do not run pouch film, so we do not make the bag itself. What we print is everything that brands one: food labels, die-cut labels, clear and waterproof labels, packaging sleeves, printed tape and the boxes the pouches ship in. For a small brand that is usually the better route anyway, because a stock resealable pouch plus a printed label costs less than a plate run of printed film and lets you change the artwork between batches. Premium food labels start at $29.16 and packaging sleeves at $438.25 at 4OVER4.COM.
What is the minimum order for printed resealable pouches?
It depends on the printing method the converter uses. Rotogravure and flexo both need a plate or cylinder set cut for each design, and that tooling cost is why those quotes are written in thousands of units per SKU. Digital pouch printing skips the plates and takes much smaller runs, but the per-bag price climbs and the film choices narrow. Ask any converter two questions before anything else: what is the minimum per design, and what does a second design cost.
Are resealable bags food safe?
The bag is food safe if its inner sealant layer is, and nothing else in the structure matters for contact. On a laminated pouch the printing sits on the underside of the outer film and is sealed between layers, so ink never meets the product. Ask the supplier for the food-contact declaration on the exact structure you are buying, not on the family of films, and check it covers your product type, since an oily or high-acid food is a different test than dry granola.
Where should the barcode go on a resealable pouch?
On the flat part of the back panel, below the zipper zone and clear of the bottom gusset fold. A barcode printed across a fold or across the zipper track bends when the bag is filled, and a bent barcode is the single most common reason a retail scanner refuses a pouch. Keep the quiet zone on both sides of the bars empty, and if the film is metallized, put a white block behind the code so it has something to contrast against.
Does a resealable bag still need a tear notch?
Yes, if the top is heat sealed above the zipper, which is how most tamper-evident pouches ship. Without a notch the customer reaches for scissors and cuts straight through the zipper track, and the bag never reseals again. The notch belongs in the header strip, above the zipper and clear of your artwork. Laser scoring is the neater version of the same thing on stiffer films.
Will a printed label stick to a resealable pouch?
Usually, but the film decides. Matte laminated films and kraft-faced pouches take pressure-sensitive adhesive well. Heavily slip-treated or silicone-coated films fight it, and a label on a pouch that goes in the freezer or gets handled with oily hands will lift at the corners unless the face and adhesive are rated for it. Order the pouch first, stick a sample label on it, then flex the bag and leave it overnight before committing to a run.
Get Started
Ready to put your name on the pouch?
Measure the live panel, pick a label face that suits the film, and we print food, die-cut, clear and waterproof labels plus sleeves and tape that turn a stock resealable bag into your product.
Legal Disclaimer
Gold Standard guarantees apply to all standard orders placed through 4over4.com. Price match requires verifiable proof of a competitor's published price for an equivalent product with matching specifications and turnaround time. Satisfaction guarantee covers manufacturing defects and print quality issues. Contact support with order number and documentation. On-time delivery rate based on tracked orders 1999 to 2026. Individual results may vary based on shipping carrier performance.
