
How to Design a Custom Pouch That Sells on the Shelf


Sofia is our design and templates voice, built from the knowledge of our production team, with over 20 years in printing.
Format, fill sizing, dielines, seal zones, color, finishes, and proofing, in the order a working designer actually tackles them. Everything below applies whether you are launching one flavor or a full shelf of them.
To design a custom pouch, work in this order. Measure the fill volume and weight, choose a format such as stand up, flat, or spouted, request the exact dieline for that size, then design on top of it with bleed past every edge and a quarter inch safe margin inside. Keep the product name and variant readable from three feet, pick a laminate finish, and approve a physical proof before the full run.
Start here
Format first, then the dieline
A custom pouch is a flat printed sheet that becomes a sealed bag, so the design has to be planned around the conversion rather than added after it. Measure your fill first, choose the format and closure that suit the product, then get the supplied dieline and build your artwork on top of it. Reserve the seal zones, keep critical type inside a safe margin, choose a laminate finish that flatters your palette, and sign off on a physical proof before committing to the run. Our guide on how to choose custom pouch packaging by style, barrier film and label covers the buying side before you design.
Why a custom pouch is designed backward from the shelf

A pouch is the rare piece of print that gets picked up, squeezed, opened, and then kept on a counter for weeks. That means it is doing three jobs at once. It has to survive shipping, it has to sell the product in the two seconds a shopper gives it, and it has to still look intentional once it is half empty and slumped in a cupboard.
Designing one is not the same as designing a flat piece. You start from the contents and the conversion process, then work outward to the graphics. Everything that makes a pouch a pouch, the gusset, the zipper, the sealed edges, the tear notch, takes territory away from your artwork. Our guide to custom food packaging covers the regulatory side, and the custom bags guide covers the closest cousin format.
The order of decisions matters more here than on almost any other printed item. Pick the format, lock the dieline, then design. Reverse that order and you will spend a week redrawing artwork around a seal you did not know existed. If you want the printed pieces that surround the pouch handled at the same time, the custom printing collection is where those live.
What a custom pouch actually is, layer by layer
Pull a stand up pouch apart and you find one printed sheet doing several jobs. The outer layer carries your ink and the finish. A middle layer, often metallized or a barrier film, blocks light, oxygen, and moisture. The inner layer is the sealant, the surface that melts against itself under heat to close the package. That sandwich is why a pouch can be glossy outside and food safe inside.
The structural parts follow from that. A bottom gusset folds under and opens into a base so the pouch stands. Side gussets add depth for bulkier fills. The zipper is welded in before the top seal, which is why there is always a strip of dead space above it. A tear notch, a hang hole, or a degassing valve each need their own clear zone.
Once you know which of those parts your product needs, the rest of the design brief writes itself. The same logic that makes a small object like a custom bookmark or a bulk printed pencil work is at play here, just with more constraints stacked on top.
Size the pouch around the fill, not around the logo

The first number you need is not a dimension. It is the fill volume and the weight of what goes inside. A pouch sized for a light, airy product like tea will look half empty holding the same weight of ground coffee, and a pouch sized tight will bulge and hide the artwork you spent a week on.
Work it out physically. Fill a bag or a measuring jug with the actual product, settle it the way it will settle in transit, and measure the height it reaches. Then add headspace above the fill line for the zipper and top seal, usually around an inch, and add the gusset depth at the bottom. What is left is your true front panel height, and that is the space your design gets.
Also decide early how the pouch sits at retail. Standing on a shelf means the top third of the front panel does the selling, because shelves and neighbors crop the rest. Hanging on a peg means the top inch belongs to the hang hole. Lying in a display bin means the design has to read from directly above.
Build the dieline first, then design inside it
A dieline is the flat map of the pouch before conversion. It shows the front panel, the back panel, both side seals, the gusset, and the fold lines that turn the sheet into a bag. Every printer supplies one for the exact size and format you order, and you design on top of it rather than guessing at it.
Set the dieline as a locked layer in its own spot color so it never prints. Then build three zones on the artboard. The bleed zone runs past every outer edge, usually an eighth of an inch, and holds background color only. The live area sits a quarter inch inside the trim and holds logos, legal type, and barcodes. The dead zone covers the seals and the folded part of the gusset, and nothing you care about goes there.
Watch the back panel orientation. On a stand up pouch the back is typically printed upside down relative to the front on the flat sheet, because the sheet wraps. Placing your ingredient panel the wrong way up is the single most common file error we see, and it is easier to catch on the dieline than on the press. The event ticket guide makes the same point about designing to a supplied template rather than a blank page.
Color, type, and finishes that survive lamination
Build every file in CMYK and treat your screen as a rough guide only. A laminated film face deepens color slightly, a matte laminate mutes it, and a kraft paper face pulls everything warmer and darker because the substrate is not white. If a brand color has to be exact across the range, specify it as a named spot ink rather than hoping a process build lands.
Type has to be bigger than instinct suggests. Body copy below seven points fills in on flexible substrates, and reversed white type on a heavy ink field is worse still. Keep small print in a single solid color, avoid hairline strokes, and give any reversed type a stroke weight with room to breathe.
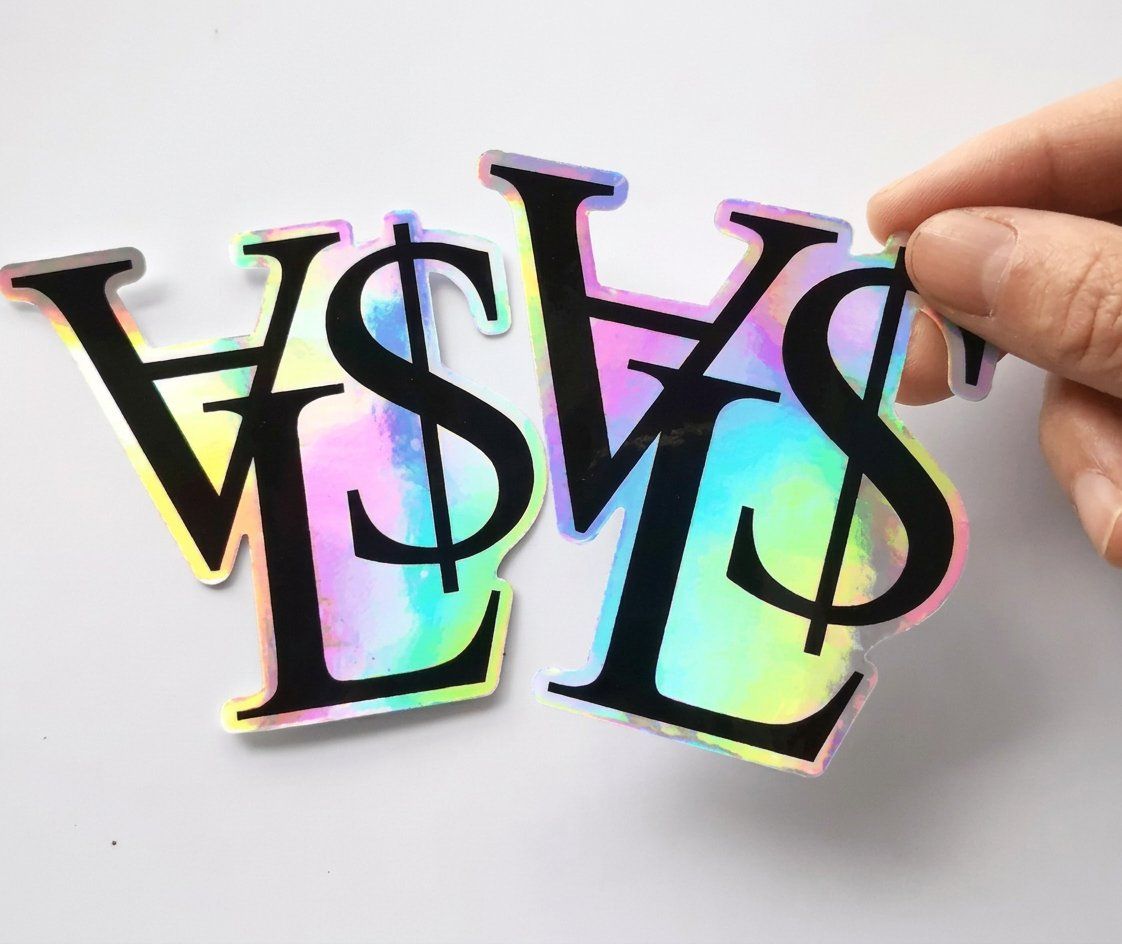
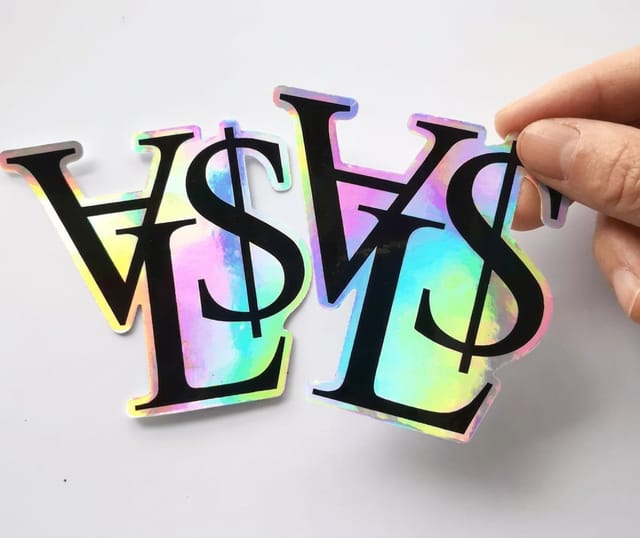
Finishes are where a pouch earns its personality. Soft touch matte reads premium and hides fingerprints. Gloss lifts food photography. A spot gloss or metallic accent over a matte field gives you exactly one element that catches the light, and it should be the logo or the flavor name, never both. If a metallic look is what you are after, the way custom holographic stickers handle light is a fast, cheap way to test the effect before committing a whole packaging run.
Proof it, price it, and keep the brand consistent
Never approve packaging from a PDF alone. Ask for a proof on or close to the real substrate, then check four things: how the color reads under store lighting, whether the seals crop anything, how the front panel looks with the pouch actually filled and standing, and whether small legal type is still legible. Order free paper samples if a kraft or uncoated face is in play, because paper choice changes the whole read.
Pricing follows quantity, size, structure, color count, and every add on. Zippers, valves, spouts, hang holes, and specialty finishes each add cost, and the setup portion is fixed, so the per unit price falls fast as the run grows. Decide your annual volume before your first order rather than reordering in small batches at the highest rate.
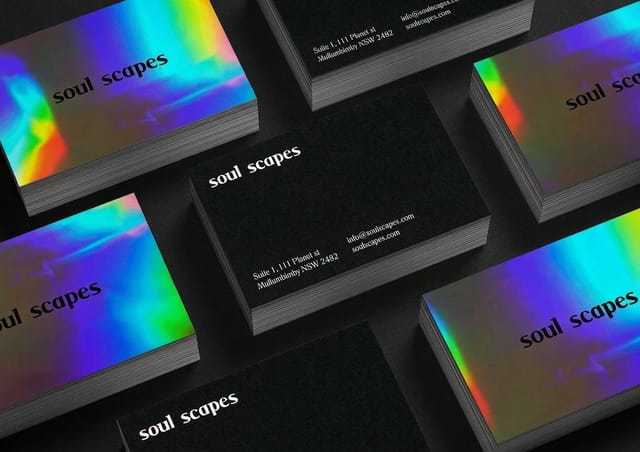
Finally, keep the pouch inside a system. The colors, type, and finish you approve here should show up on the custom business cards that go in the shipment, the custom kraft boxes that carry it, and the inserts a customer opens next. Small pieces like custom notepads and menu cards are the cheapest place to reinforce the same look.
Wally explains the pouch
The bag decides the layout, not the other way around
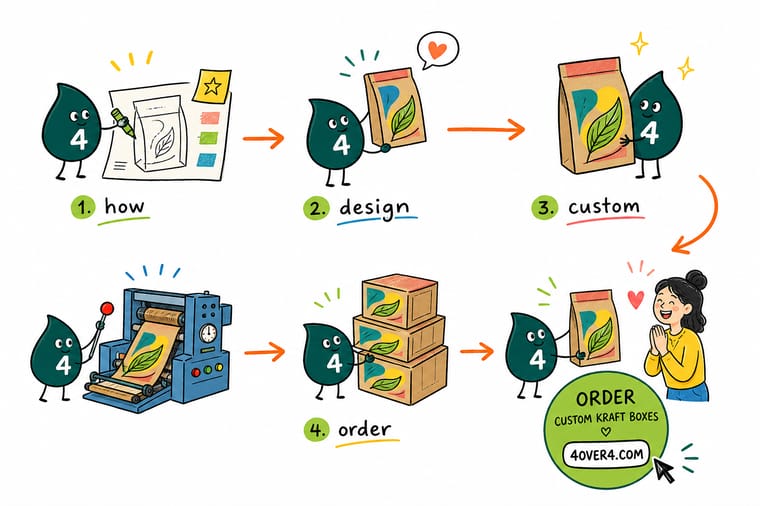
Wally fills the pouch before he opens a design file. He measures the settled product, adds headspace for the zipper, subtracts the gusset, and only then knows how much front panel he really has. Everything after that is discipline: artwork on the supplied dieline, nothing important near a seal, and a printed proof in hand before the press runs.
Explore custom printing →
Infographic
The 7 steps of custom pouch design at a glance
One frame, seven steps. Save it, share it with whoever is drawing the artwork, and work top left to bottom right before you open a design file.
The seven steps run in sequence for a reason. Skip ahead to artwork and you redraw it once the dieline arrives, so settle the fill, the format, and the stock first.
Specs and pricing
Custom kraft packaging specs and live pricing
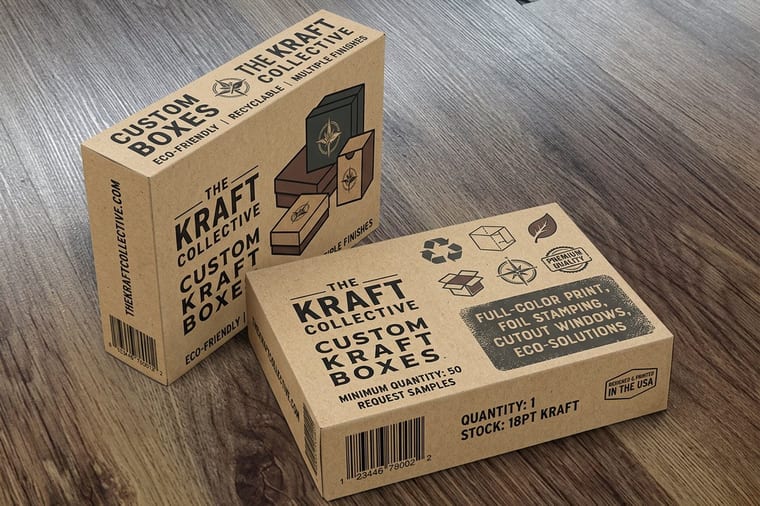
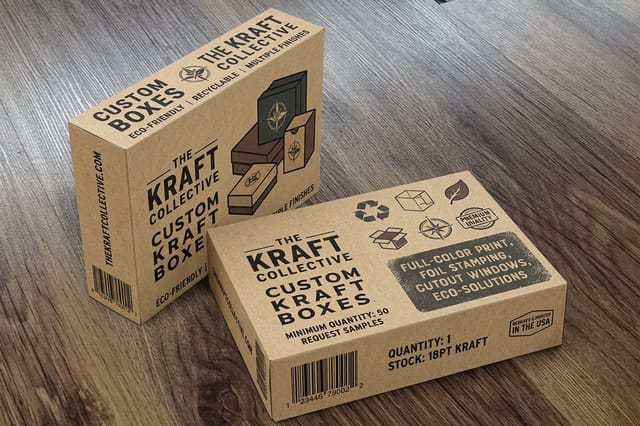
While flexible pouches are quoted per project, the rigid side of custom packaging prices instantly. Custom kraft boxes come at 5 x 7 x 1.7 or 5.5 x 5.5 x 2.625 inches on 14pt uncoated or 18pt cover gloss one side, printed in full color outside, from 250 boxes with 7 business days of production. Use the specs and calculator below to size up stock, quantity, and turnaround.
| Quantity | Price Per Unit | Total |
|---|---|---|
| 250 | $2.85 | $711.78 |
| 500 | $1.42 | $711.78 |
| 1,000 | 79.7¢ | $797.02 |
| 2,500 | 53.5¢ | $1,338.30 |
| 5,000 | 44.6¢ | $2,231.42 |
| 10,000 | 40.4¢ | $4,044.70 |
| 15,000 | 39.0¢ | $5,844.45 |
| 20,000 | 38.3¢ | $7,657.73 |
Print it
Build the rest of the packaging system at 4OVER4
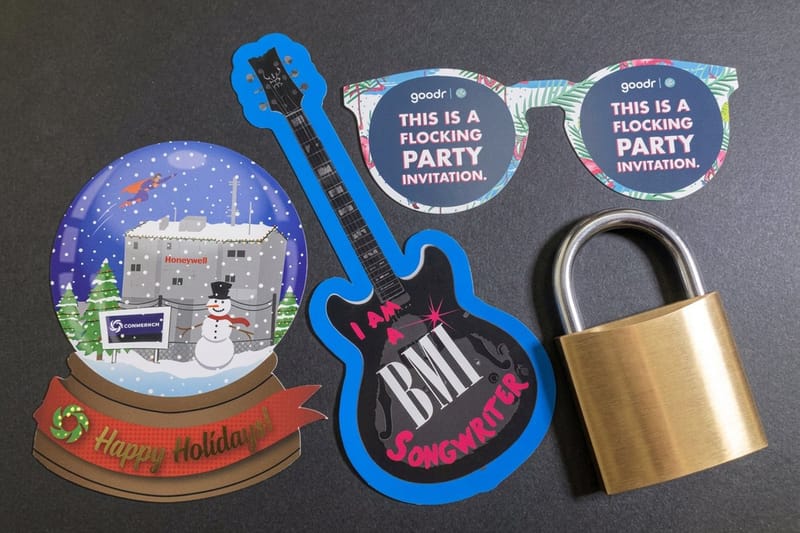
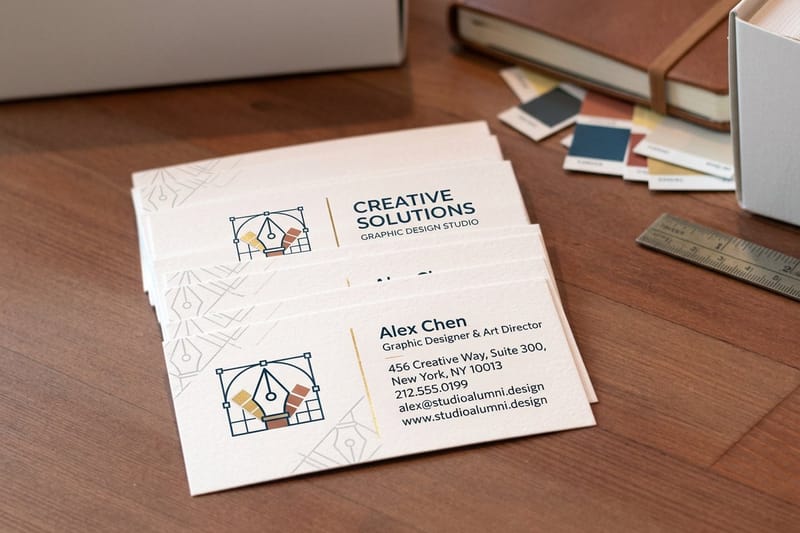
Business cards from 100 for the insert, holographic roll stickers from 100 in sizes from 1 x 1 inch to seal the pouch or the box, and kraft boxes from 250 for the rigid side of the range.
%22%2F%3E%3Ccircle%20cx%3D%2249%22%20cy%3D%2220%22%20r%3D%2224%22%20fill%3D%22%232dd4bf%22%20opacity%3D%220.15%22%2F%3E%3Ccircle%20cx%3D%2254%22%20cy%3D%2227%22%20r%3D%22-3%22%20fill%3D%22%232dd4bf%22%20opacity%3D%220.1%22%2F%3E%3Crect%20x%3D%2279%22%20y%3D%22-9%22%20width%3D%2234%22%20height%3D%2220%22%20rx%3D%224%22%20fill%3D%22%232dd4bf%22%20opacity%3D%220.08%22%20transform%3D%22rotate(44%2080%2030)%22%2F%3E%3C%2Fsvg%3E)
Explore more
Where to go next
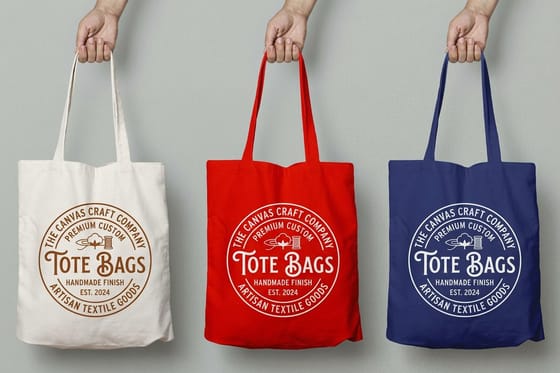
Six next reads: custom bags, the closest format to a pouch, food packaging rules, a logo that holds up at pouch scale, the custom printing collection, design templates with dielines, and the printing FAQs.
By the numbers
Pouches beside 1,000+ other print products
Common Questions
Common questions about custom pouch design
What is a custom pouch?
A custom pouch is a flexible package printed to your own artwork and converted into a sealed bag, usually with a resealable zipper along the top. It starts life as one printed web of film, paper, or kraft laminate, then gets folded, sealed on two or three edges, and finished with the gusset that lets it stand. Because the graphics print flat before conversion, everything you design has to survive folding, sealing, and the trim tolerances of that conversion step.
Which pouch format fits my product and its fill weight?
Start with the contents. Weight and fill volume set the pouch size and the film thickness, while the product itself sets the barrier you need, since coffee wants a valve, powders want a tight zipper, and hardware wants puncture resistance. Then look at how it will be displayed. A stand-up pouch with a bottom gusset holds a shelf face, a flat pouch fits a hook or a mailer, and a spouted pouch suits anything poured. Choose the format first, then let the artwork adapt to it.
What does a custom pouch cost and how is pricing set?
Flexible packaging prices on quantity, size, material structure, number of print colors, and finishing. Plate or setup work is a fixed cost spread over the run, which is why per unit price drops sharply as volume climbs. Add ons like zippers, valves, spouts, hang holes, matte laminate, and foil each add a line to the quote. For related printed pieces you can price instantly, custom kraft boxes start at $711.78 and custom holographic stickers start at $322.98 on our live calculators.
What sizes, stocks, and finishes are available for custom pouches?
Common stand up sizes run from roughly 3 by 5 inches for samples up to 9 by 13 inches for bulk fills, with gussets from 2 to 4 inches. Structures range from clear or metallized film to kraft paper laminate with an inner barrier. Finishes include gloss laminate, soft touch matte, spot gloss over matte, matte with a clear window, and metallic or holographic accents. Every one of those choices changes how your ink colors read, so sample before you commit.
How long does a custom pouch take to print and ship?
Custom flexible packaging is a made to order product, so a first run usually moves through artwork check, dieline approval, a physical or digital proof, printing, conversion, and quality inspection. Repeat runs go faster because the dieline and the color targets are already locked. Printed pieces that share the same brand system, such as business cards, boxes, and stickers, turn around far quicker at 4OVER4 and are the easiest way to keep a launch on schedule.
What file format should I send for pouch artwork?
Send a print ready PDF built in vector wherever possible, with fonts outlined, images at 300 dpi at final size, and all color in CMYK plus any named spot colors. Place your artwork on the supplied dieline as a separate locked layer and never flatten the dieline into the design. Keep a minimum eighth inch of bleed past every trim and seal edge so nothing important lands in a sealed zone.
How much bleed and safe area does a pouch design need?
Treat the seal areas as dead space. Extend background color and pattern well past the dieline edge, then hold logos, legal copy, and barcodes at least a quarter inch inside the live area on the front and back panels. On gussets and side seals give yourself more room, because those panels compress and curve once the pouch is filled and standing.
Get Started
Order 250 kraft boxes from $711.78 for the outer pack
Bring the artwork you just planned to 4OVER4.COM and get boxes, stickers, and cards that match it, printed in-house with live pricing and fast turnaround.
Legal Disclaimer
Gold Standard guarantees apply to all standard orders placed through 4over4.com. Price match requires verifiable proof of a competitor's published price for an equivalent product with matching specifications and turnaround time. Satisfaction guarantee covers manufacturing defects and print quality issues. Contact support with order number and documentation.
