
How to Use Layout Templates in Illustrator for Print-Perfect Artwork


A print template is a locked guide layer that shows the trim, bleed, and safe margin at the exact size your piece will print. Set it up correctly in Illustrator and your artwork lines up to spec on the first try.
An Illustrator layout template is a locked guide layer marking trim, bleed, and safe margin at the final print size. Download the template for your product, open it in Illustrator, lock that layer so it cannot move, build your artwork on a separate layer above it, then hide or delete the template layer before you export a press-ready PDF. Your art lands on spec every time.
Start here
What the template layer is actually showing you
An Illustrator layout template is a locked guide layer that marks trim, bleed, and safe margin at your product's exact print size. Download the right template, open it in Illustrator, lock the template layer, build your design on a new layer above it, keep vital elements inside the safe margin, run backgrounds out to the bleed, then hide the template layer and export a press-ready PDF. The diagram below shows how the layers stack.
Why a layout template decides how your print lands
The gap between a print job that arrives exactly as you pictured it and one that comes back with a clipped logo almost always traces to alignment, not the press. A template removes the guesswork by drawing the trim, bleed, and safe margin right in your file, so you can see where the blade cuts before you place a single element.
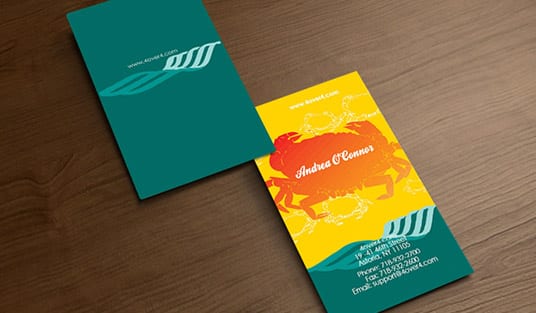
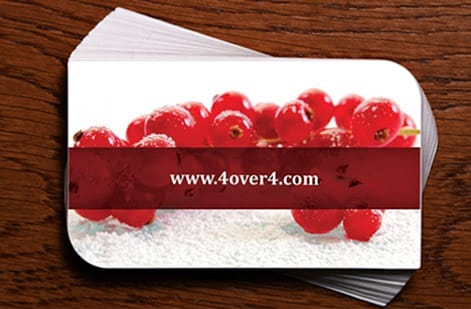
In Adobe Illustrator, a layout template lives on its own locked layer. It is a reference you design against, never something that prints. Build your artwork on a layer above it and you keep a fixed set of guides underneath the whole time, whether you are laying out business cards, a stack of flyers, or a folded brochure.
This guide walks the process in the order you would actually do it: download the template, lock it, set CMYK, design above it, then hide it and export. If you would rather skip building a file at all, our online design tool bakes these guides in for you and our blank templates library gives you a marked starting point for every product.
What is a template layer in Illustrator?

A template layer is a dimmed, locked layer you use purely as a guide. For print, it holds three lines at your product's exact size: the trim where the blade cuts, the bleed 0.125 in beyond it, and the safe margin 0.125 in inside it. You never print the layer itself, you design against it.
The value is that it turns invisible rules into something you can see. Instead of guessing how far your text should sit from the edge, you watch it against the safe-margin line. Instead of hoping a background reaches far enough, you run it to the bleed line. The template makes the abstract concrete, which is why professional print files start from one.
Open the Layers panel when you load a supplied template and you will usually find the guides already isolated on their own layer. If you started from a blank document instead, you can build the same reference yourself using the product's blank template as a base, or read our companion guide on bleed and trim to draw the lines from scratch.
Set up the document and lock the template
Start by matching your document to the template rather than resizing the template to fit art you already built. Open the downloaded file, or create a new document at the exact trim size with 0.125 in of bleed on every side, so the guides land where the blade and bleed actually fall.
With the template open, go to the Layers panel and click the lock icon next to the template layer. Locking it means a stray click cannot nudge the trim or bleed out of place while you work. Then set the document to CMYK under File, Document Color Mode, so your on-screen preview approximates the printed ink instead of glowing screen color.
Finally, create a new layer above the template and name it something clear like Artwork. Everything you design goes here. Keeping art and guides on separate layers is what lets you toggle the template on while you align and off when you export, and it is the same habit that keeps our template library files clean.
Design inside the safe margin and out to the bleed

With the template locked underneath, design entirely on your artwork layer and let the guides do their job. Anything you cannot afford to lose, text, logos, phone numbers, stays inside the safe-margin line, a comfortable 0.125 in in from the trim so the blade never touches it.
Backgrounds work in the opposite direction. Any color block, photo, or pattern that reaches an edge should run all the way to the bleed line, not stop at the trim. That overrun is what protects you if the cut drifts by a hair, and it is the single most common thing missing from files that come back with a thin white edge.
Keep logos and line art as vectors so they stay razor-sharp at any size, and place any photography at 300 DPI at its final size. If your project involves folds, treat each panel like its own small page inside the template and measure the panels to the product's real fold layout.
Hide the template and export a press-ready PDF
The guide lines are for you, not the press, so the last move before export is to hide or delete the template layer. Turn off its visibility in the Layers panel and confirm nothing but your artwork and the bleed remains.
Export to PDF with the artwork flattened, color in CMYK, images at full resolution, fonts embedded, and bleed plus crop marks included. The industry-standard preset for commercial printing is PDF/X-1a, which strips out anything a press cannot use and removes most of the ways a file can go wrong before it leaves your computer.
Upload that PDF in the product configurator and it runs through our free file check, so a second set of eyes catches any stray issue before the press does. For a deeper look at picking a format for a specific job, see our guide on choosing the right file type for printing.
What printing costs once your file is ready

With the file aligned and exported, cost is easy to reason about. Using the template costs nothing, and the file check is included. Printing price then scales with a few simple levers: quantity, where more pieces lower the unit price, plus size, paper stock, and finish.
You set each option in the configurator and the total updates live as you adjust it, so you can see exactly what a heavier stock or a bigger run does before you commit. A run of standard business cards or flyers drops in per-unit price as the quantity climbs.
From there you pick the product and the specs. Use the live specs and pricing panel below to see the exact sizes, stocks, and finishes, or browse our blank templates library to grab the right starting file for your next project.
Wally lines your art up before the blade does
The template is a guide, not the artwork
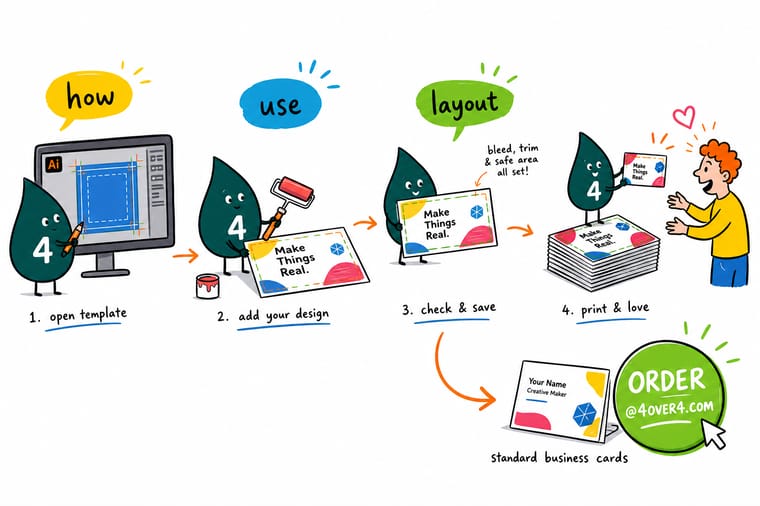
Wally treats the template layer like a set of rails: trim, bleed, and safe margin locked underneath, your design riding on the layer above. Keep the important stuff inside the safe line, run the backgrounds out to the bleed, then hide the template and export one clean press-ready PDF. Build it on the rails and 4OVER4 prints it exactly where you placed it.
Print your template-built files →Quick reference
At a glance
Trim, bleed, safe margin, and resolution in one table. Match these and the file drops onto the press without a query.
| Element | Get it to | Why it matters |
|---|---|---|
| Template layer | Locked, bottom of the stack | Holds the trim, bleed, and safe-margin guides so your artwork has a fixed reference to align to. |
| Artwork layer | New layer above the template | Keeps your design separate from the guides so you can toggle the template on and off freely. |
| Document size | Exact trim + 0.125 in bleed | Matching the template size means the guides land where the blade and bleed actually fall. |
| Color mode | CMYK | Set the Illustrator document to CMYK so on-screen color reflects process-ink output before you export. |
| Guides | View, Guides, Lock Guides | Locking the guides stops them shifting while you drag and place elements on the art layer. |
| Export | Hide template, save PDF/X-1a | Turning the template layer off keeps crop guides off the print; PDF/X-1a is the press-ready preset. |
Step by step
Step by step
- Download the template for your exact product Grab the blank template that matches the product and size you are printing, so trim, bleed, and safe margin are already drawn to spec.
- Open it in Illustrator and check the layers Open the Layers panel. You should see a template or guide layer holding the crop and bleed marks. If it is a single flat layer, make a new layer above it for your art.
- Lock the template layer Click the lock icon beside the template layer so it cannot be selected or moved while you design.
- Set the document to CMYK Under File, Document Color Mode, choose CMYK Color so your preview reflects how the ink will print.
- Build your artwork on the layer above Design entirely on your own layer. Run backgrounds and photos out to the bleed line and keep text inside the safe margin.
- Hide the template and export Turn off the template layer's visibility, then export a flattened PDF/X-1a with bleed and crop marks, and upload it in the configurator.
Specs and pricing
Standard business card specs and live pricing
Once your Illustrator file sits inside the template, the print choices come down to size, stock, and finish. Here are the live specs and price-per-unit for standard business cards at 4OVER4.COM.
| Quantity | Price Per Unit | Total |
|---|---|---|
| 100 | 17.6¢ | $17.57 |
| 200 | 11.5¢ | $23.07 |
| 300 | 9.15¢ | $27.46 |
| 400 | 7.96¢ | $31.86 |
| 500 | 7.25¢ | $36.26 |
| 600 | 6.77¢ | $40.64 |
| 700 | 6.43¢ | $45.04 |
| 800 | 6.18¢ | $49.43 |
Print it
Print your template-built artwork at 4OVER4
See it in use
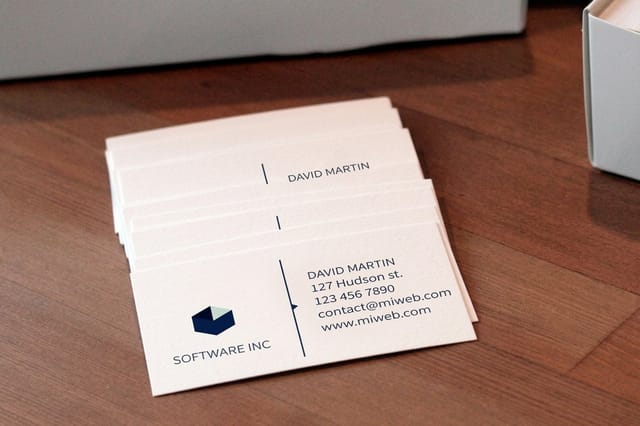
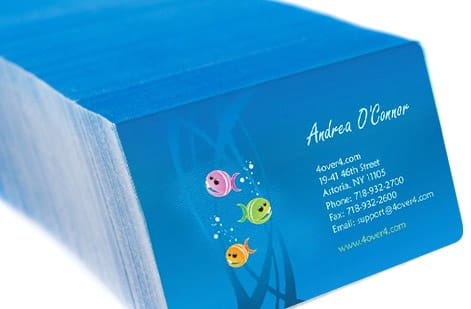
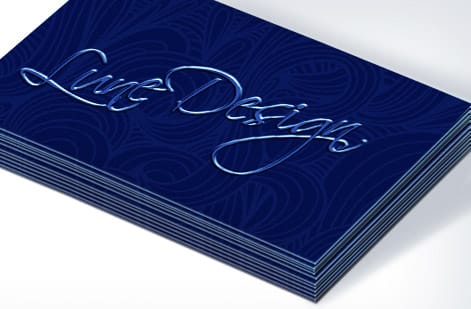
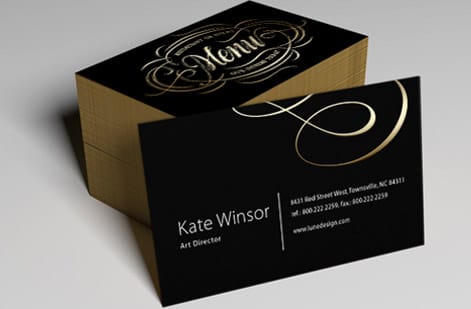
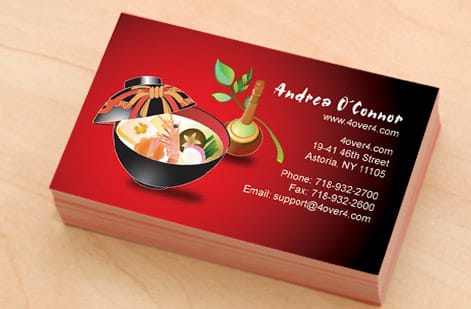
Real cards printed from correctly aligned files




Explore more
Where to go next




By the numbers
What happens to your file after upload
Common Questions
Common questions
What is a template layer in Illustrator?
A template layer is a dimmed, locked layer used as a tracing and alignment reference that you do not print. In print work, it usually holds the trim line, the bleed line, and the safe-margin line at your product's exact size. You build your design on a separate layer above it, using the template purely as a guide. Because it is locked and hidden at export, it never becomes part of the artwork the press sees.
How do I use a downloaded print template in Illustrator?
Open the template file in Illustrator, look at the Layers panel, and lock the layer that holds the crop and bleed guides. Create a new layer above it and do all of your designing there. Match your document color mode to CMYK, run any edge-to-edge art out to the bleed, and keep text inside the safe margin. When the design is finished, hide or delete the template layer and export a press-ready PDF so only your artwork prints.
Why does my Illustrator artwork keep getting cut off at print?
Almost always it is because the design was built without the trim and safe-margin guides, so important elements sit too close to the edge. A commercial blade can shift slightly from one cut to the next, and anything within about 0.125 in of the trim risks being clipped. Using a product template fixes this because it draws the safe margin for you, showing exactly how far in your text and logos need to stay.
Do I need bleed if I use a template?
Yes, whenever color or imagery touches the edge. The template shows a bleed line 0.125 in past the trim, and any background or photo that reaches the edge should extend all the way to that line. Bleed gives the cut a margin of error so a slight shift never leaves a thin unprinted sliver along the border. If your design has a genuine white border, you still keep the safe margin even, but full-bleed art always needs the bleed filled.
What does it cost to print artwork built from a template, and how are prices set?
Downloading and using the template is free, and running your finished PDF through our file check before you order is included. Print cost then scales with quantity, size, paper stock, and finish. You set each option in the configurator and the price updates live as you adjust it, so a heavier stock or a larger run shows its effect on the total before you commit.
Can I use the same template approach in other design software?
Yes. The layer method is the same in InDesign, Photoshop, and most professional tools: keep the supplied guides on a locked layer, design above them, and hide those guides before export. Illustrator is popular for vector-heavy work like logos and type because it keeps that art razor-sharp at any size, but the discipline of designing inside a template carries across every program.
Get Started
Order 100 business cards from $17.57 once the file fits the template
Build your file inside the right template, export a press-ready PDF, and print it on the size, stock, and finish your project calls for at 4OVER4.COM. Standard business cards print on 14pt Gloss Cover in 3 business days.
Legal Disclaimer
Gold Standard guarantees apply to all standard orders placed through 4over4.com. Price match requires verifiable proof of a competitor's published price for an equivalent product with matching specifications and turnaround time. Satisfaction guarantee covers manufacturing defects and print quality issues. Contact support with order number and documentation. On-time delivery rate based on tracked orders 1999 to 2026. Individual results may vary based on shipping carrier performance.
