
How to Upscale Images Free and Still Print Them Sharp


Free upscalers are worth using, but only after you know how many pixels the finished size actually needs. Here is the arithmetic, the tools, and the point where enlarging stops helping.
Divide the pixel width of your file by the print width in inches. That number is your real resolution, and if it falls short, Upscayl, GIMP or ImageMagick will enlarge the file for free without a watermark or an upload. Upscaling manufactures pixels rather than recovering them, so it rescues a file that is close to target and cannot save one that is far below it. Aim for 300 PPI on anything held in the hand, 150 on a poster, and 100 on a banner read from across a room.
Quick answer
The maths comes first, the upscaler comes second
Pixel width divided by print width in inches gives your effective resolution, and that single number decides whether upscaling is worth doing. If the file lands within roughly 30 percent of target, a free upscaler closes the gap: Upscayl for photographs, GIMP for a predictable enlargement, ImageMagick when you have a folder of them. If it lands far below, the answer is a different source file, a smaller placement, a bigger viewing distance, or a vector rebuild. Below is what to check, in the order that saves the most time.
Measure What You Have Before You Upscale Anything
Open the file and find its pixel dimensions. Finder shows them under Get Info, Windows shows them in file properties, and every editor puts them at the top of the image size dialog. Divide the pixel width by the width you intend to print in inches, and that number is your real resolution.
A 3000 pixel wide file gives you 300 PPI across 10 inches, 150 PPI across 20 inches, and 75 PPI across 40 inches. Same file, same pixels, three different answers. This is why a photograph that looked flawless on a business card falls apart on a poster, and why the question is never how good the image looks on screen.
Two traps catch people here. The first is the DPI tag. A file labelled 72 DPI has exactly the same pixels as one labelled 300 DPI, and changing that label changes nothing about the image. In Photoshop, open Image Size, untick Resample, and type 300 into the resolution box. The pixel count stays frozen and the width and height collapse to the size that file can honestly print. That collapsed size is the answer, and our breakdown of DPI against PPI explains why the two terms get tangled in the first place.
The second trap is scaling inside a layout. If you place a 3000 pixel image into InDesign and blow it up to 180 percent, the effective resolution drops by the same factor. The Links panel reports both numbers, and the effective one is what the press sees. Our guide to print resolution covers the full set of targets by product.
The Free Tools That Work, and What Each One Costs You
Three free tools cover nearly everything, and they split along one line: whether they average the pixels you have or invent new ones.
| Tool | Cost | How it adds pixels | Strong on | Where it breaks |
|---|---|---|---|---|
| Upscayl | Free, open source, desktop | Real-ESRGAN style AI models, running offline on your own machine | Photographs at 2x. Skin, foliage, fabric and stone come back convincingly detailed. | Type, logos, charts and screenshots. It reinvents letter shapes and you notice at reading distance. |
| GIMP | Free, open source, desktop | Classic interpolation. Scale Image with NoHalo or LoHalo | Honest, predictable enlargement with no invented detail and no surprises. | Softness. Past about 150 percent the result reads as a blur rather than a bigger picture. |
| ImageMagick | Free, open source, command line | Lanczos and other resampling filters, scriptable across a folder | Batches. One command resizes 200 product shots to the same target overnight. | No interface and no preview. You are choosing a filter blind until you open the output. |
| Browser free tiers | Free with limits | Server-side AI models, results returned as a download | A quick look at what AI upscaling can do without installing anything. | Output caps, watermarks on some, and your client artwork sitting on someone else's server. |
The ImageMagick command most jobs need is short: magick input.jpg -filter Lanczos -resize 200% output.tif. Put the filter before the resize or it gets ignored, and write out to TIFF or PNG so you are not stacking a second round of JPEG compression on top of the first.
Whichever tool you pick, feed it the largest original you can find. Upscaling a re-saved JPEG magnifies the compression blocks along with everything else, and no model can tell a genuine edge from a compression artifact. If the file is already blocky, work through the repair steps for a pixelated image before you enlarge it, not after.
Finish the same way every time: enlarge, apply a light sharpen, then convert to CMYK and check the result at 100 percent. Our RGB to CMYK conversion guide covers that last step, and the finished file drops straight into large format posters from $25.
How Much Resolution Each Print Size Actually Needs
The 300 PPI habit comes from reading distance, not from printing. The eye resolves roughly one arcminute of detail, which at a 12 inch reading distance works out to a little under 300 PPI. Move the piece to a wall six feet away and that theoretical floor drops below 50 PPI. Trade practice sits well above the floor to leave room for sharpening and press behaviour, which is where these working targets come from.
| Piece | Read from | Working PPI | Pixels at that size |
|---|---|---|---|
| 4 by 6 inch photo print | About a foot | 300 | 1200 by 1800 |
| 18 by 24 inch poster | 3 to 6 feet | 150 | 2700 by 3600 |
| 24 by 36 inch poster | 4 to 8 feet | 150 | 3600 by 5400 |
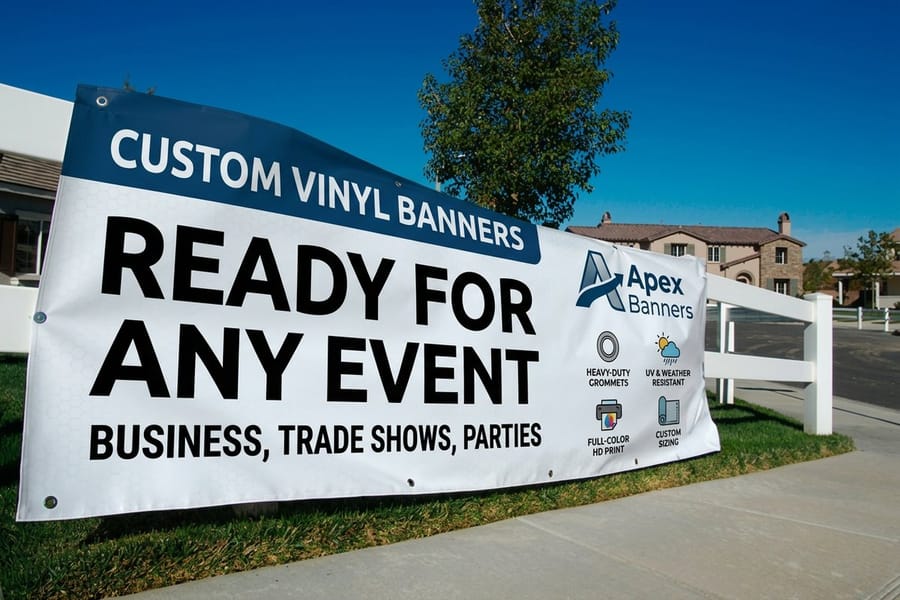
| 3 by 6 foot vinyl banner | 10 feet and up | 100 | 3600 by 7200 |
| 8 by 8 foot backdrop | 15 feet and up | 72 | 6912 by 6912 |
Read that table before you open an upscaler, because it often ends the job. A 4000 pixel wide phone photo already clears the 24 by 36 inch poster target at 150 PPI with room to spare, and no amount of processing will improve a file that is already past the threshold. It will only add artifacts.
The relationship also runs the other way. A file too soft for standard posters at 18 by 24 inches may be entirely correct for a vinyl banner at 3 by 6 feet, because nobody stands a foot from a banner. Sizing the piece to the file is faster and cheaper than fighting the file, and the large format range gives you room to move. For the poster maths specifically, our big poster sizing guide lists the pixel targets size by size.
When Upscaling Is the Wrong Answer
Some files cannot be rescued by any amount of resampling, and recognising them early saves a reprint.
- Logos, wordmarks and type. These have exact intended edges. Redraw them as vector in Illustrator or free Inkscape and the resolution question stops existing, because vector art prints at whatever size you scale it to.
- Charts, tables and screenshots. An AI model will smooth the axis labels into shapes that are almost letters. Rebuild the chart at final size instead.
- Anything downloaded from social media. Platforms re-encode uploads aggressively. Go back to the person who shot it and ask for the camera original.
- Images you can simply use smaller. Cropping tighter, or giving the weak photo a quarter of the layout instead of the whole background, fixes the problem in five minutes with no quality loss.
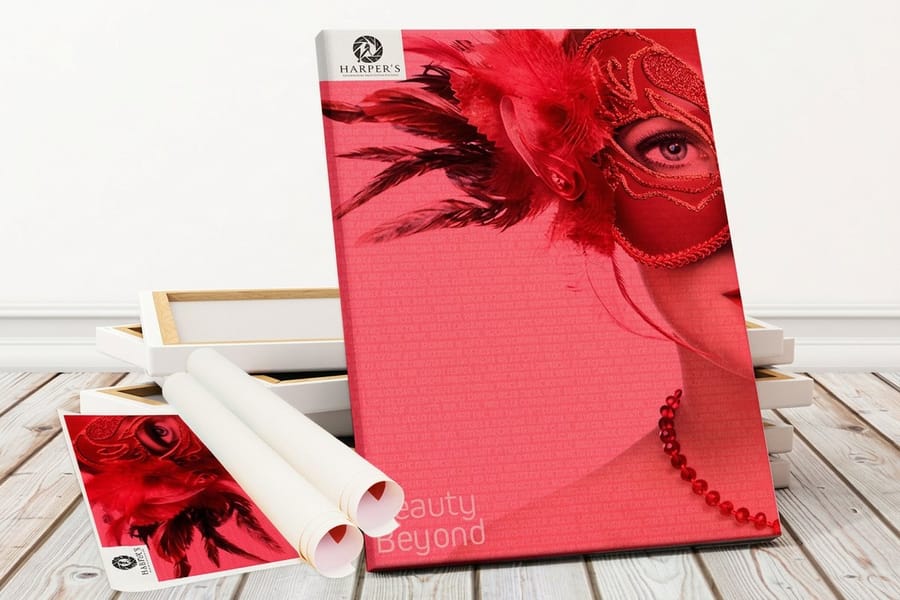
There is also a substrate answer. Texture hides softness, and gloss exposes it. The same file that looks tired on glossy photo paper reads as intentional on rolled canvas from $25, because the weave breaks up the edges before your eye can judge them. Matte poster stock behaves the same way to a lesser degree, and mounted posters from $39.99 sit far enough back on a wall that the argument rarely comes up at all.
Before you commit, build the file at the correct trim size from the start. Grab the right dimensions from the blank template library, follow the file type rules for what to send, and place the image at 100 percent so nothing gets silently scaled in the layout. Our prepress team flags low-resolution artwork before it prints, and you can order free paper samples to see how much a given stock forgives. Everything we print is listed under poster printing if you want to compare stocks and sizes side by side.
Wally explains free upscaling
Count the pixels before you stretch them
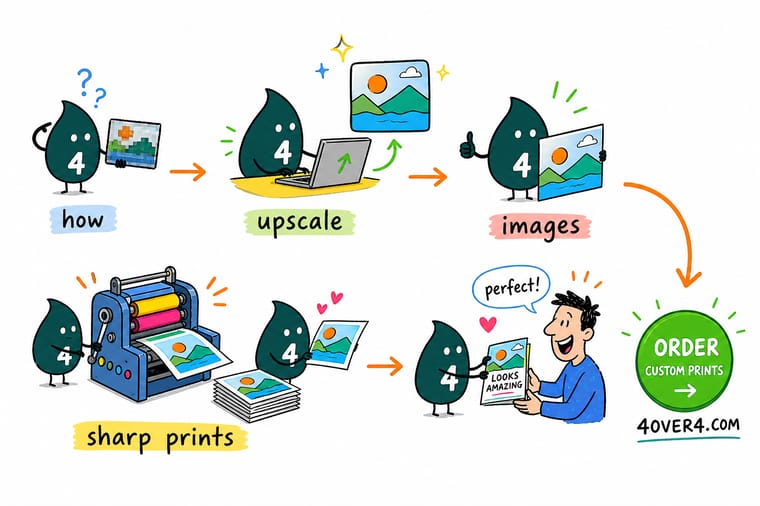
Wally takes the pixel width of the file and divides it by the width of the print in inches. That number tells him everything. Above target, he prints it and stops. Close to target, he runs it through a free upscaler and sharpens lightly. Far below, he does not pretend software can fix it. He asks for the original, shrinks the image in the layout, or prints it bigger so people stand further back. Logos never get upscaled at all. Those get redrawn as vector, once, and then they work at any size forever.
Print a large format poster →Specs and pricing
Sizes, stocks and starting prices for the big formats
Once you know the resolution your file supports, pick the size that suits it. These are live configuration options and starting prices from the 4OVER4.COM configurator.



Print it
Put the finished file on something worth looking at

Explore more
Where to go next
By the numbers
Large format printing you can count on at 4OVER4
Common Questions
Your image upscaling questions, answered
Can a free image upscaler really add detail that was not there?
It adds pixels, and a modern AI model adds plausible-looking detail, which is not the same thing. Real-ESRGAN style upscalers were trained on millions of photographs, so when they double the size of a portrait they fill the new pixels with texture that matches what skin and hair usually look like. On a photograph that is often indistinguishable from a genuinely larger capture. On anything the model has weak priors for, such as a serial number, a small logo or the tick labels on a chart, it fills in confident nonsense. Judge the output at 100 percent zoom, not at fit-to-screen.
Does setting a file to 300 DPI in Photoshop fix a low-resolution image?
No, and this is the single most common misunderstanding in file prep. The DPI value stored in a JPEG is a label, not content. If you open Image Size, untick Resample and type 300 into the resolution field, the pixel count does not move at all and the print dimensions shrink to whatever those pixels can actually cover at 300. That shrunken size is the truth about your file. If you leave Resample ticked, Photoshop manufactures new pixels, which is upscaling under a different name.
How many pixels do I need for a 24 by 36 inch poster?
At 150 PPI, which is the normal working target for a poster viewed from a few feet away, you need 3600 by 5400 pixels. At 300 PPI you would need 7200 by 10800, and almost nobody supplies that for a poster, nor do they need to. If your file lands between 100 and 150 PPI at final size, print it and look at a proof rather than upscaling on principle. Large Format Posters start at $25 at 4OVER4.COM, so a test print costs less than an afternoon of resampling experiments.
What is the best free upscaler for a logo?
None of them. Every upscaler works by predicting pixels, and a logo is a shape with an exact intended edge, so any prediction is a distortion. Trace it as vector instead, in Illustrator if you have it or in Inkscape if you do not, then export at any size you like with no loss. If the logo is not yours to redraw, ask whoever owns the brand for the EPS, AI, SVG or PDF original. They almost always have one.
Can I print a phone photo as a large poster?
Usually yes, if you use the original file rather than a copy that has been through a messaging app. A recent phone shoots roughly 4000 by 3000 pixels, which is 133 PPI across 30 inches and perfectly acceptable for a wall poster. What kills these jobs is the source: a photo sent through chat, downloaded off social media, or screenshotted comes back at a fraction of the pixels with compression damage baked in. Go back to the phone and export the full-size original before you do anything else.
What happens if I upload a low-resolution file to 4OVER4.COM?
Our prepress team reviews the artwork before anything goes on press and flags files whose effective resolution is too low for the size ordered, so you hear about it before you pay for a soft print. You can also request a proof and see the file placed at final size. If you want to judge paper and finish at the same time, order free samples and look at how much a matte stock forgives compared with a gloss one.
Get Started
Ready to see how your file actually prints?
Pick the size your pixels support, upload the artwork, and our prepress team flags anything too soft before it reaches the press.
Legal Disclaimer
Gold Standard guarantees apply to all standard orders placed through 4over4.com. Price match requires verifiable proof of a competitor's published price for an equivalent product with matching specifications and turnaround time. Satisfaction guarantee covers manufacturing defects and print quality issues. Contact support with order number and documentation. On-time delivery rate based on tracked orders 1999 to 2026. Individual results may vary based on shipping carrier performance.
