
How to Enlarge a Photo for Printing Without Losing Sharpness


Emma is our prepress and print production voice, built from the knowledge of our production team, with over 20 years in printing.
The pixel math that tells you how big you can go, the upscaling steps that hold up, the point where no software helps, and the surfaces that flatter a big photo.
Divide your photo's pixel width by the width you want in inches. If the answer is 100 or higher, print it as it is, because a poster is read from several feet away and does not need the 300 PPI a business card needs. If the answer is lower, resize once to the final dimensions with Preserve Details 2.0 in Photoshop or Super Resolution in Lightroom, sharpen after the resize rather than before, and put the result on matte poster paper or canvas rather than gloss.
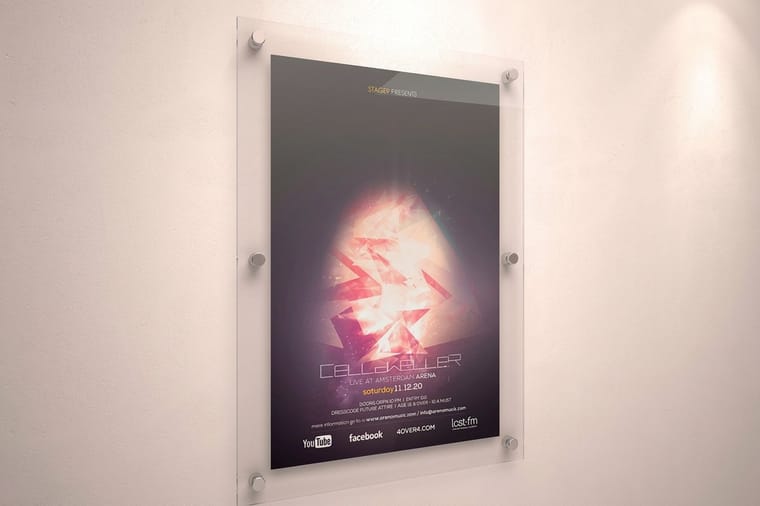
Quick answer
Pixels divided by inches is the only number that matters
Enlarging a photo for print is a resolution decision first and a software step second. Take the pixel width, divide by the finished print width in inches, and read the result: 150 PPI or better is comfortable at any size, 100 PPI is normal for posters and wall pieces, and below about 75 PPI the softness becomes visible from across a room. When the number falls short, resample once to the final size with a modern algorithm, sharpen afterwards, and choose a surface with texture. A canvas weave forgives an enlargement that a sheet of gloss acrylic will expose.
Work Out the Biggest Print Your File Already Supports
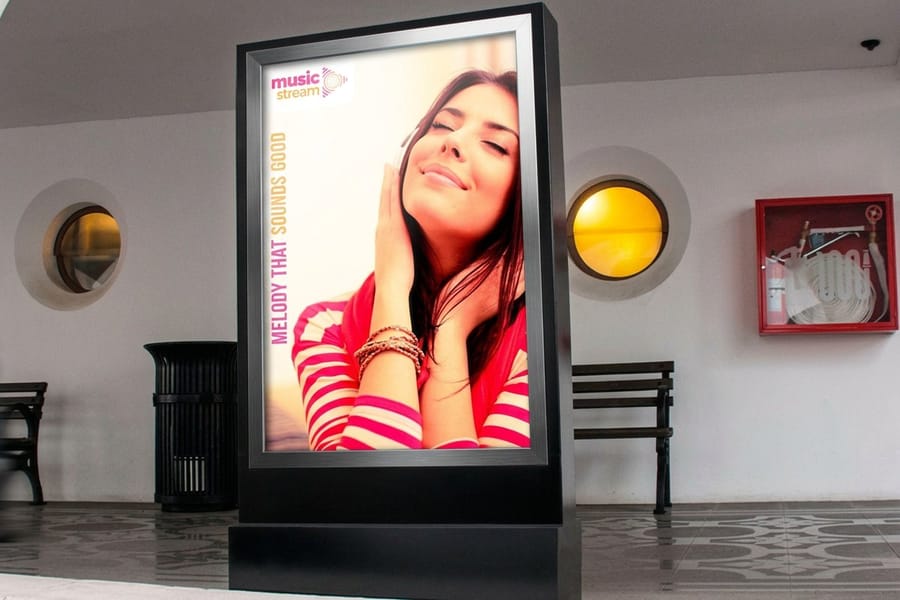
Open the file and read its pixel dimensions, not its DPI setting. The DPI number stored in a JPEG is a note to the software, not a property of the image, and changing it without resampling does nothing at all. Pixels are the only thing you have.
Then divide. A 4500 pixel wide photo printed 30 inches wide gives 150 PPI. The same file printed 45 inches wide gives 100. Both are perfectly ordinary poster resolutions, and the reason is distance: your eye resolves roughly the same angular detail whether it is looking at a business card or a wall, so a piece read from six feet away needs a fraction of the pixels per inch that a piece read at arm's length does.
| Print size | Pixels for 150 PPI | Pixels for 100 PPI | How it is normally viewed |
|---|---|---|---|
| 11 x 17 in | 1650 x 2550 | 1100 x 1700 | Held or pinned close, so softness shows quickly. |
| 16 x 20 in | 2400 x 3000 | 1600 x 2000 | Framed at eye level, two to three feet away. |
| 18 x 24 in | 2700 x 3600 | 1800 x 2400 | Standard wall poster, three to four feet. |
| 24 x 36 in | 3600 x 5400 | 2400 x 3600 | Room poster, four to six feet. |
| 36 x 48 in | 5400 x 7200 | 3600 x 4800 | Statement piece, read from across the room. |
If your file already clears the 100 PPI column at the size you want, you do not need to enlarge anything. Send it as it is. If it falls short, the enlargement below is worth doing, and if it falls badly short, pick a smaller size or a more forgiving surface. The big poster printing sizes and resolution guide lists the same numbers against our full size range, and common poster sizes covers which dimensions actually sell.
To enlarge a photo to poster size with us, pick the size from the table, check your pixels against its column, and upload the file at that finished size. Large format posters print one at a time from 11 by 17 up to 48 by 96 inches or any size you enter, on 10 mil semi gloss as standard, 10 mil hi gloss for a sharp file or 32 lb bright white uncoated for a forgiving one, with 3 mil gloss or matte lamination as an option. A 24 by 36 inch poster from a 2400 by 3600 pixel file prints at 100 PPI and reads well from four to six feet.
Enlarging the File, Step by Step

Every serious tool does the same job with a different name on the button. The order of operations matters more than the brand.
- Start from the largest original you have. The camera file, the RAW, the export before it went to the web. A file that has been through a social platform has already lost detail to compression.
- Photoshop: Image, then Image Size. Tick Resample, set Width and Height in inches to the finished print size, set Resolution to 150, and choose Preserve Details 2.0 from the resample menu. Nudge the Reduce Noise slider up only until grain calms down, because pushing it turns skin and foliage to plastic.
- Lightroom or Camera Raw: right-click the image, choose Enhance, tick Super Resolution. It doubles each linear dimension, so four times the pixels, and it works noticeably better on a RAW file than on a JPEG.
- Affinity Photo: Document, then Resize Document, with Lanczos 3 separable as the resample method. GIMP users want Image, Scale Image, with NoHalo or LoHalo.
- Sharpen last. At the final size, once, lightly. Then zoom to fit the screen and judge it at something like print scale.
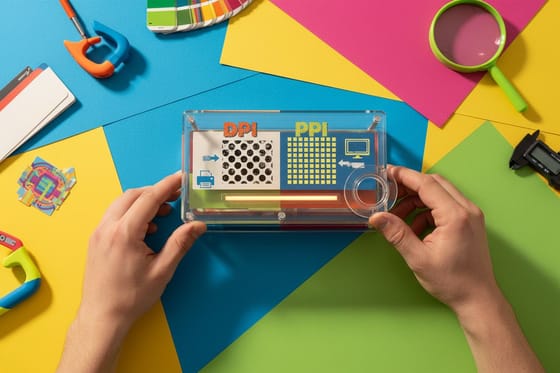
Two habits to drop. The old advice to enlarge in 10 percent steps was a workaround for bicubic interpolation in early Photoshop versions and gains you nothing against the current algorithms, so resize once in a single move. And do not set the resolution field to 300 out of habit for a 40 inch print, because you will manufacture a 12000 pixel file that is soft, enormous, and slower to handle at every stage. Our walkthrough on how to change DPI in Photoshop shows exactly what the Resample checkbox does to your pixel count, and DPI vs PPI untangles the two numbers people swap by accident.
What Upscaling Cannot Fix, and How to Spot It Early
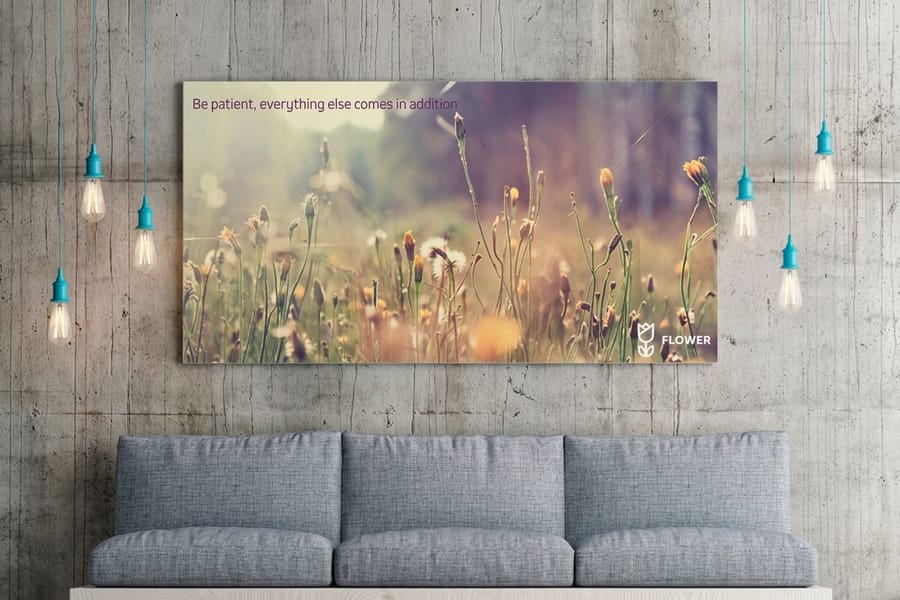
An upscaler reconstructs edges. It cannot recover information the original file never held, and it will happily invent a confident, wrong version of whatever it cannot see. These are the cases where a bigger print is the wrong answer.
- Heavy JPEG compression. Blocky 8 by 8 squares in the sky and mushy color in the shadows get enlarged along with everything else, and the model often mistakes a compression edge for a real one.
- Motion blur and missed focus. Sharpening a blurred edge produces a halo, not detail. Nothing has ever fixed this.
- Phone night mode and digital zoom. Both smear texture into a waxy surface. It looks fine on a 6 inch screen and dreadful at 3 feet.
- Screenshots and web-sized images. A 72 PPI screen grab at 1200 pixels wide is a 12 inch print at 100 PPI, and stretching it further is wishful thinking.
- Text inside the photograph. Signage, labels and license plates are where upscalers hallucinate most visibly. If text matters, rebuild it as vector type over the image.
Check three places at 100 percent before you commit: hair or fur, foliage or grass, and any brick or fabric texture. Those are where an over-enlarged file goes plastic first. If they look wrong, drop a size, or move to canvas where the weave does some of the work for you. A rolled canvas print from $25 is the cheapest way to see how a marginal file behaves on a textured surface before you commit to something bigger.
Pick the Material That Flatters the File You Have
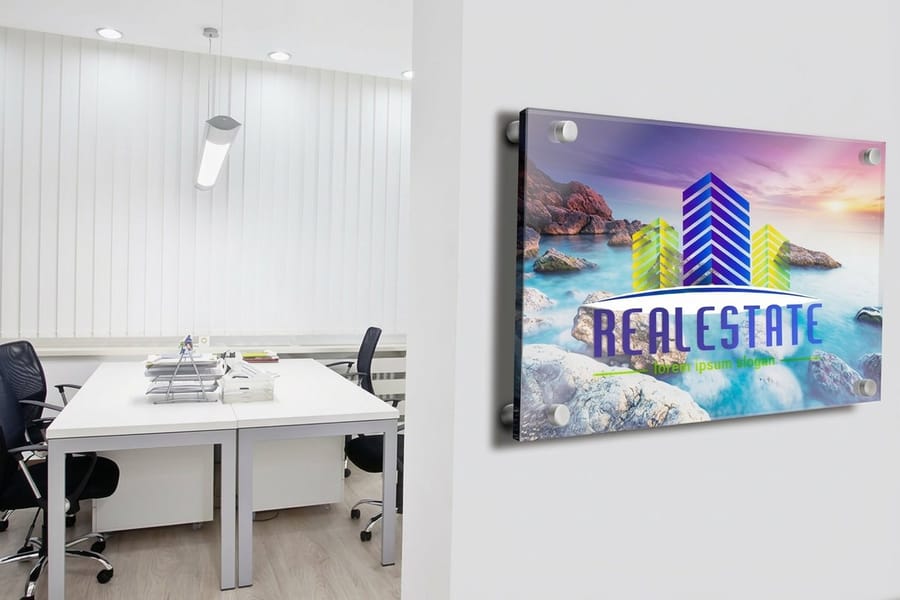
Material choice does more for an enlarged photo than another round of sharpening. A textured or matte surface scatters light across the fine detail and softens the difference between real detail and reconstructed detail. A glossy surface does the opposite and reports every flaw honestly.
| Product | Surface | How it treats an enlarged file | From |
|---|---|---|---|
| Large format posters | Matte or gloss poster paper | Matte is forgiving and the cheapest way to test an enlargement at full size. | $25 |
| Rolled canvas | Canvas weave, unstretched | The weave masks soft edges. You stretch or frame it yourself. | $25 |
| Mounted posters | Poster paper on rigid board | Same paper, no ripple or curl, hangs flat straight out of the box. | $39.99 |
| Foam core | Print on lightweight rigid board | Built for displays and events rather than permanent walls. | $49.99 |
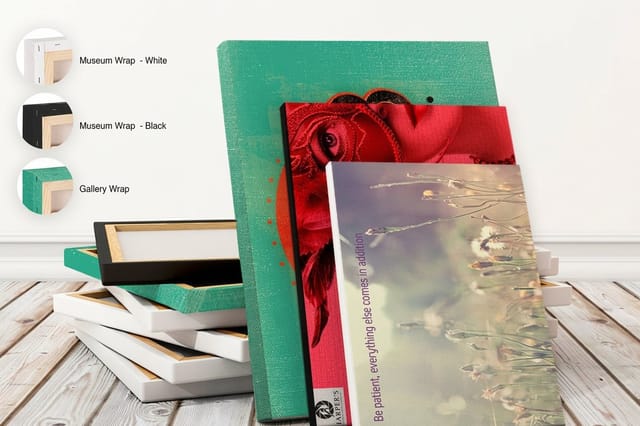
| Stretched canvas | Canvas over a wooden frame | The most forgiving finish for a file you had to push hard. | $59 |
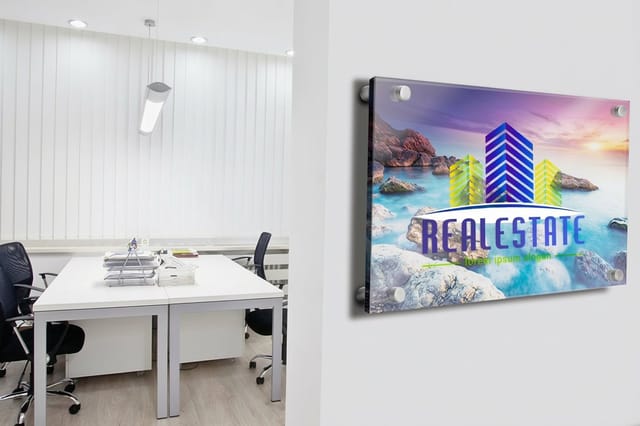
| Acrylic prints | High gloss face-mounted acrylic | Deepest color and sharpest look, and it magnifies every artifact. | $152.72 |
The practical rule: if the file cleared 150 PPI without help, acrylic will reward you. If you upscaled it two times or more, canvas is the safer home for it. Anything in between goes on matte poster paper, mounted if it needs to hang flat. Canvas vs posters compares the two head to head, and making wall art from photos covers sizing a piece to the wall rather than to the file. Browse the full range on the poster printing and large format printing pages, and check the best color profile for printing before you export, because a big flat sky is where a profile mismatch shows first.
Wally explains photo enlargement
Pixels divided by inches, then pick the right surface
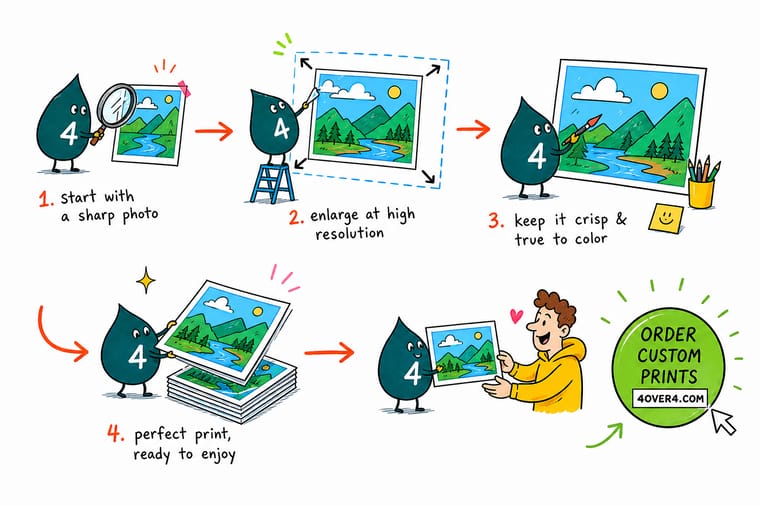
Wally takes the pixel width of your photo and divides it by how wide you want the print. Get 150 or more and he prints it as it is. Get 100 and he still prints it, because a poster is read from four feet away, not four inches. Get 60 and he stops, resizes the file once to the finished size, sharpens after rather than before, and puts it on canvas so the weave hides what the upscaler had to guess. What he never does is promise that software can recover detail the camera never captured.
Print your photo large format →
Specs and pricing
Sizes, stocks and starting prices for big photo prints
Large format posters print from 11 by 17 to 48 by 96 inches or any size on 10 mil semi gloss as standard, with hi gloss, uncoated, canvas and vinyl stocks and 3 mil gloss or matte lamination. Stretched canvas runs from 11 by 14 to 36 by 36 inches with a 1.5 inch gallery wrap, and mounted posters from 8 by 10 to 40 by 60 inches on 3/16 inch foam core, all from a single print. Configure the size you worked out above and see the live options and starting price straight from the 4OVER4.COM configurator.

Print it
Order the enlargement once the math checks out
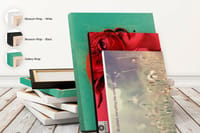
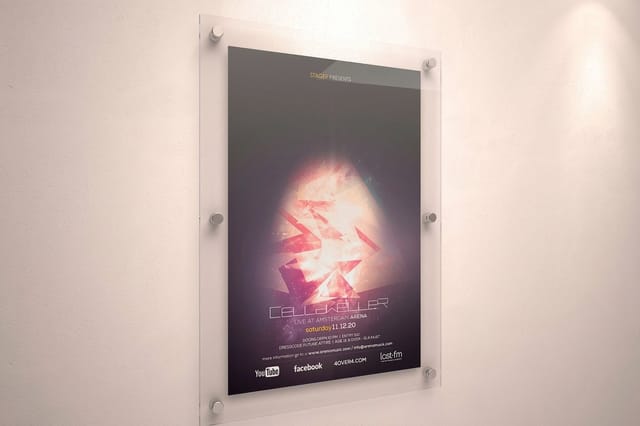
Send a file that clears the 100 PPI column to large format posters for the cheapest full size test, to stretched canvas when the weave can hide a soft edge, and to acrylic prints at 16 by 24, 20 by 30 or 24 by 36 inches only when the file was big to begin with.
%22%2F%3E%3Ccircle%20cx%3D%2235%22%20cy%3D%2219%22%20r%3D%2230%22%20fill%3D%22%23f59e0b%22%20opacity%3D%220.15%22%2F%3E%3Ccircle%20cx%3D%2233%22%20cy%3D%2229%22%20r%3D%229%22%20fill%3D%22%23f59e0b%22%20opacity%3D%220.1%22%2F%3E%3Crect%20x%3D%2275%22%20y%3D%229%22%20width%3D%2220%22%20height%3D%2219%22%20rx%3D%224%22%20fill%3D%22%23f59e0b%22%20opacity%3D%220.08%22%20transform%3D%22rotate(15%2080%2030)%22%2F%3E%3C%2Fsvg%3E)
Explore more
Where to go next
The big poster guide lists pixel counts for every large size, and the DPI versus PPI guide sorts out which number your file has. The Photoshop guide shows the resample checkbox and what it does to your pixels, and the canvas versus posters guide says which surface hides an enlargement.

By the numbers
Large format photo work inside 1,000+ products
Common Questions
Your photo enlargement questions, answered
What resolution do I need for a 24 by 36 inch poster?
Aim for 3600 by 5400 pixels, which is 150 PPI at that size and the point where a poster stops rewarding more pixels. If your file is 2400 by 3600, you are at 100 PPI and it will still look right on a wall, because nobody stands eight inches from a 3 foot poster. Below roughly 1800 by 2700 the softness starts to show even at normal viewing distance, and that is the moment to print the image smaller or move it to canvas.
Can a phone photo be printed at poster size?
Yes, more often than people expect. A 12 megapixel phone shot is about 4032 by 3024 pixels, so the long edge covers 40 inches at 100 PPI or 27 inches at 150. The catch is not the pixel count, it is what the phone did to the picture. Digital zoom, night mode and heavy noise reduction smear fine texture into a waxy surface that only becomes obvious once it is three feet wide, so check a 100 percent view of the hair, foliage and fabric before committing.
Does upscaling software actually help, or is it a myth?
It helps, but not in the way the marketing suggests. Resampling to the output size gives the press a clean pixel grid so you do not get stair-stepped edges along diagonals, and the modern machine-learning models reconstruct edges far better than old bicubic interpolation did. What none of them do is recover information that was never captured. Think of upscaling as making an enlargement look intentional rather than as adding detail.
Should I sharpen before or after enlarging?
After, at the final size, and less than you think. Sharpening first means the upscaler amplifies the halos you just created. Do the resize, then apply a small amount of unsharp mask or a modest output sharpening pass, then look at the file at print scale rather than at 100 percent zoom. Halos that are invisible on a screen become a visible white outline on matte poster stock.
What file should I send once the photo is enlarged?
A flattened file at the finished print dimensions, saved as a high quality JPEG or a TIFF, with the color profile embedded. Do not send a small file with a note asking us to scale it up, because the enlargement decisions are yours to make and you cannot judge them from a proof. If you are unsure which profile to embed, our guide to the best color profile for printing walks through when sRGB is fine and when to convert.
Will 4OVER4.COM tell me if my photo is too low resolution?
Yes. Files go through a prepress check before anything is printed, and we flag resolution that will not hold at the size you ordered rather than printing it and letting you find out. Free proofs are available on request so you can approve the file before the press runs it. If the file cannot support the size, we will tell you what size it can support.
Get Started
Order a large format print, ready in 2 business days
Pick the size your file supports, choose matte paper, canvas or acrylic, and we check the resolution before anything goes on press.
Legal Disclaimer
Gold Standard guarantees apply to all standard orders placed through 4over4.com. Price match requires verifiable proof of a competitor's published price for an equivalent product with matching specifications and turnaround time. Satisfaction guarantee covers manufacturing defects and print quality issues. Contact support with order number and documentation.
