
How to Make Sticker Sheets in Adobe Illustrator With Print Ready Cut Lines


The artwork is the easy half. What decides whether a sheet comes back peelable or ruined is the two cut paths you draw over it, and the spot swatch you stroke them with. Here is the exact setup a print shop wants.
To make a sticker sheet in Illustrator, open a CMYK document at the finished sheet size with 0.125 in of bleed, then add two kinds of cut path stroked with a spot swatch named CutContour. One thru cut traces the outside of the sheet. One kiss cut sits around each sticker, offset about 0.0625 in from the art, with 0.125 in of clearance from its neighbors and Overprint Stroke checked. Outline your type, save as PDF/X-4 with bleed, and upload it to 4OVER4.
Start here
The whole workflow in one paragraph
A sticker sheet in Illustrator is artwork plus two cut paths, and the cut paths are the part that has to be right. Open a CMYK artboard at the finished sheet size with 0.125 in of bleed and Raster Effects at 300 ppi. Build a spot swatch called CutContour. Draw one thru cut around the sheet and one kiss cut around each sticker, offset from the art, spaced 0.125 in apart, with Overprint Stroke checked so no white halo appears. Outline the type, save PDF/X-4 with bleed, and upload it to 4OVER4.COM. The diagram below shows what each cut does to the stock.
Why the cut line is the whole job in Illustrator
Illustrator earns its place on a sticker sheet for one reason: it exports a real vector cut path inside the PDF. The cutter opens your file, finds the CutContour plate, and drives the blade along the exact curve you drew. Nothing gets interpreted, redrawn or guessed at.
That is the whole difference between the two obvious tools. Photoshop can hold richer artwork, but it has no way to write a live cutter path, so a Photoshop sheet arrives as a labelled layer that a prepress operator has to read and rebuild. If your art is painted, textured or photographic, work it up there and follow our Photoshop sticker sheet walkthrough, then place the flattened result into Illustrator for the cutting stage. Flat logos, lettering and hard-edged shapes belong in Illustrator from the first click.
The finish line either way is a print-ready PDF on the 4OVER4 sticker sheets page. Before you draw anything, it is worth knowing what a sheet is good at and where a single die-cut sticker makes more sense, which is what the comparison of sheets, rolls and die-cut singles sorts out.
Step 1. Set up your Illustrator file
File, New. Set Width and Height to the finished size of the sheet, choose Inches, and set Bleed to 0.125 in on all four sides. Open the Advanced section and set Color Mode to CMYK. Presses lay down CMYK ink, so building in that space keeps the greens and oranges on your monitor close to the ones that come off the machine, and it stops a late conversion from dropping the saturation out of a neon.
Still in Advanced, set Raster Effects to High, 300 ppi. This is the setting almost nobody checks, and it costs people real money. Raster Effects controls the resolution at which Illustrator renders drop shadows, glows, feathers and any Photoshop effect you apply. It defaults to 72 ppi in older documents and in files that travel between machines. Your vectors stay razor sharp, so the file looks perfect on screen, and every soft edge prints as a visible pixel staircase. Change it now, or change it later under Effect, Document Raster Effects Settings and re-render everything.
Set your rulers to inches with Control or Command plus R, and pull guides for two things: a margin holding artwork clear of the sheet edge, and a safe zone inside each sticker. Cutting has a tolerance of roughly a sixteenth of an inch, so treat the outer edge of every sticker as a danger zone and let the background absorb the drift rather than a face or a word. If you would rather start from a layout that already has this built in, our Illustrator layout template guide covers working from a supplied artboard.
Step 2. Build the CutContour spot swatch before you draw a single path
A cut line is not a drawing. It is an instruction on its own printing plate, and it only becomes one if you give it a spot color. Open the Swatches panel, click New Swatch, and set three things: the name to CutContour, the Color Type to Spot Color, and the color to something loud that appears nowhere in your artwork. Magenta at 100 percent is the habit, because it is easy to see against almost anything.
The name is not decoration. CutContour is the label most RIP and cutting software looks for automatically, so a plate carrying that name gets routed to the blade without anyone touching it. A plate called Cut, Dieline or Layer 3 usually needs a prepress operator to reassign it by hand, which is a delay on your order and an opportunity for the wrong line to get cut.
Make a new layer at the top of the Layers panel, name it CutContour as well, and lock it until you are ready. Every cut path on this sheet will live there and nowhere else. Keeping cut paths and artwork on separate layers is what lets you switch the cut off, look at the sheet as it will print, and switch it back on. It is the same discipline as building a proper spot channel for white ink, which our guide to white ink and spot colors in Illustrator works through in more detail.
Step 3. Draw the thru cut, the outside cut of the sheet
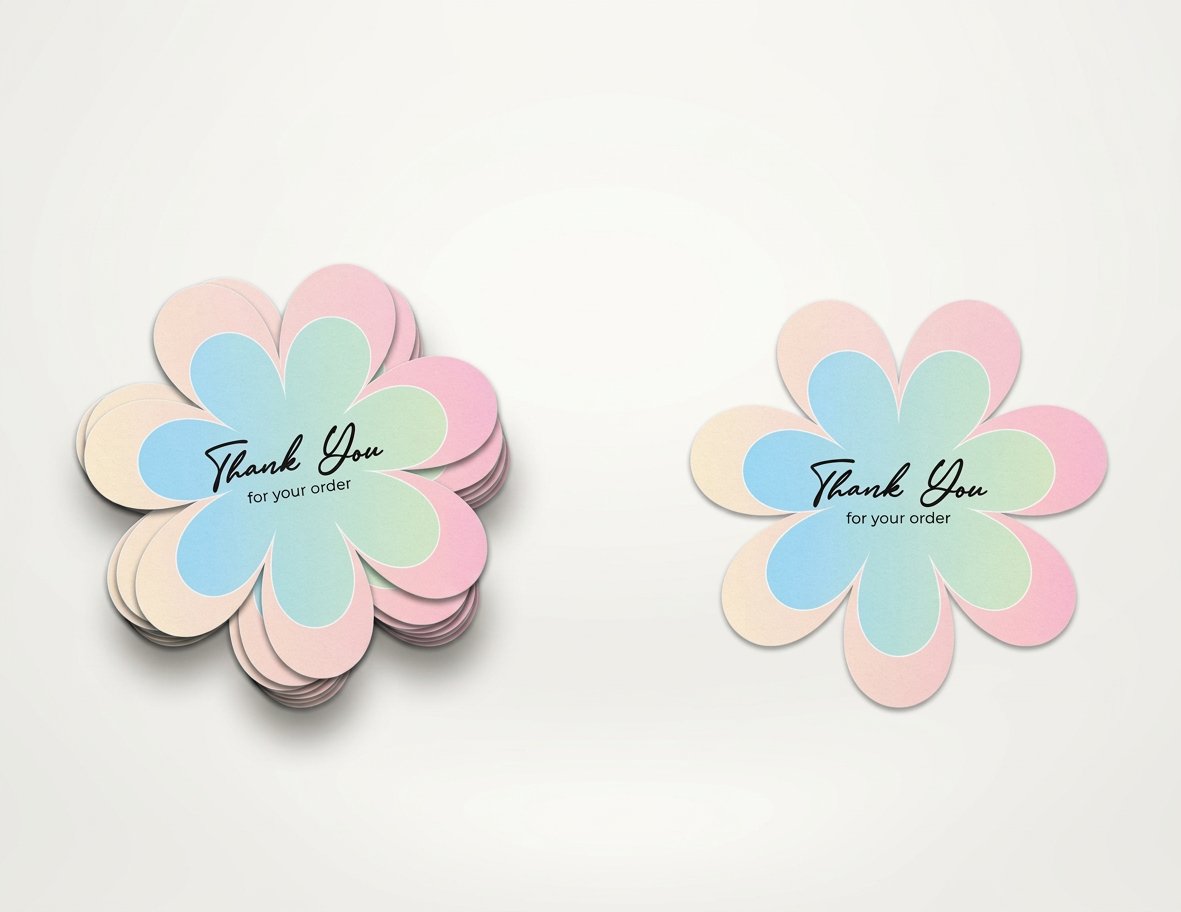
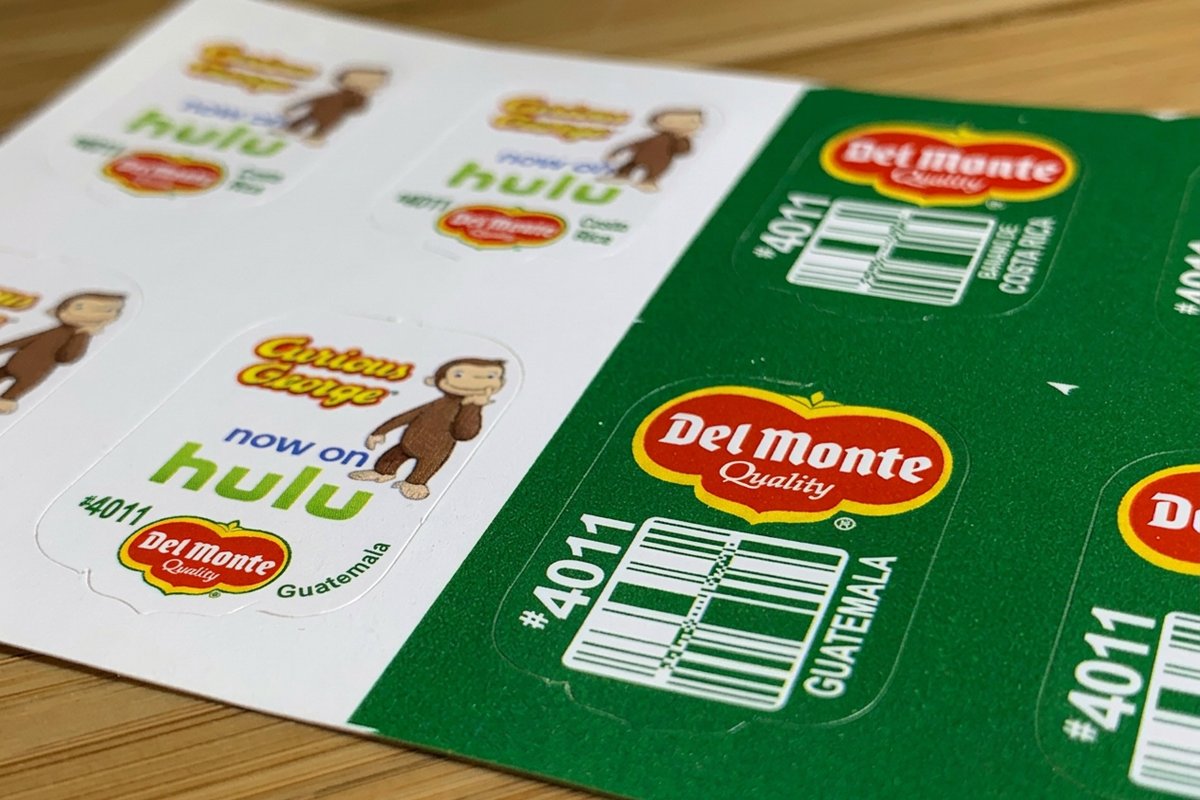
Start with the outside. The thru cut is one closed path that traces the shape of the finished sheet, and the blade takes it through the printed face, the adhesive and the paper liner together. That is what separates your sheet from the press sheet it was printed on.
Draw a rectangle at the finished sheet size, centered on the artboard, using the Rectangle tool with exact values typed into the Transform panel rather than dragged by eye. Give it a corner radius of about 0.125 in if you want rounded corners, which most sheets do because a sharp corner on a card of stickers is the first thing to bend in an envelope. Then remove the fill entirely, set the stroke to your CutContour swatch, and set the stroke weight to 0.25 pt. Weight is irrelevant to the cutter, which follows the path center line, but a hairline keeps it from hiding your artwork while you work.
Now the step that separates a clean sheet from a ragged one. With the path still selected, open Window, Attributes and check Overprint Stroke. A spot color knocks out whatever sits beneath it by default, so without overprint your cut line punches a bare channel through the background and every sticker sheet comes back with a thin white halo around the edge. One checkbox. Turn on View, Overprint Preview and you will see the halo appear and disappear as you toggle it.
Keep your background artwork running out to the bleed line, a full 0.125 in past the thru cut on all four sides. A sheet trimmed a hair off center with no bleed shows a white sliver on one edge, and there is no fixing that after the fact. If you want the outside of the sheet to be a shape rather than a rectangle, that is a custom-shaped sticker job and the same rules apply, just to a more interesting path.
Step 4. Draw the easy-peel kiss cuts around each sticker
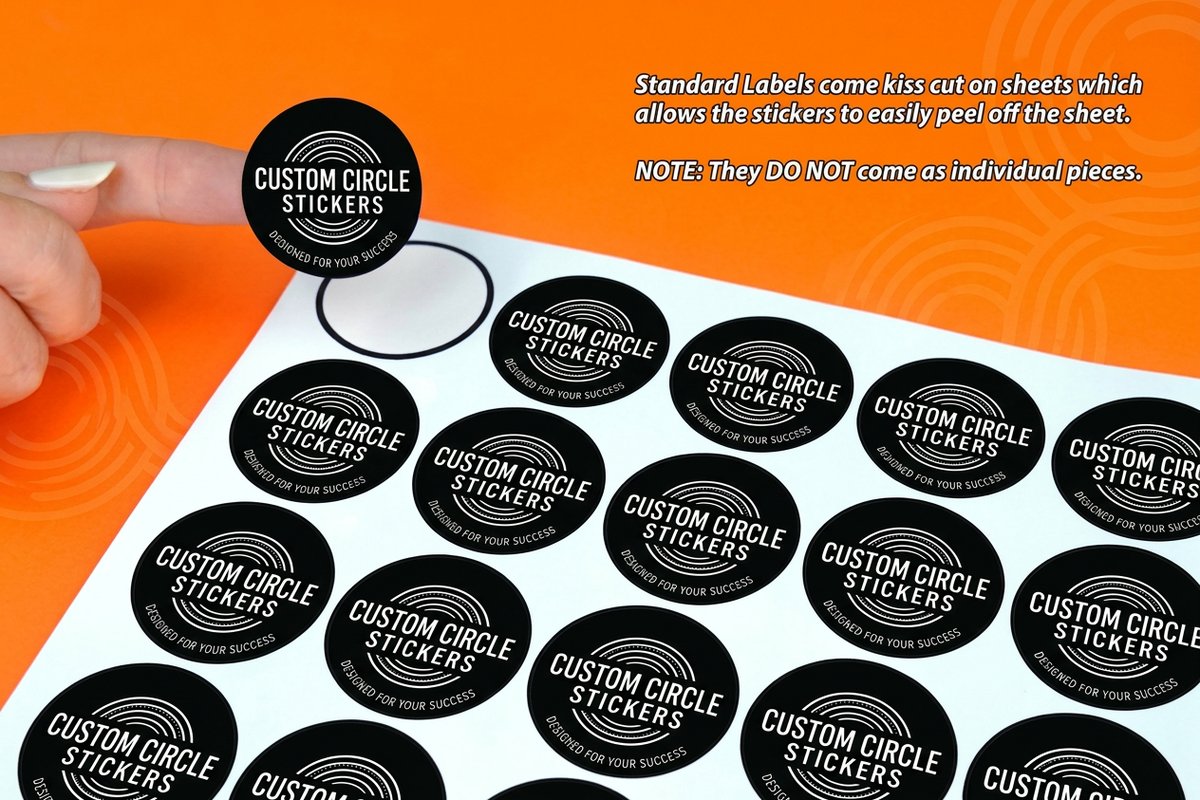
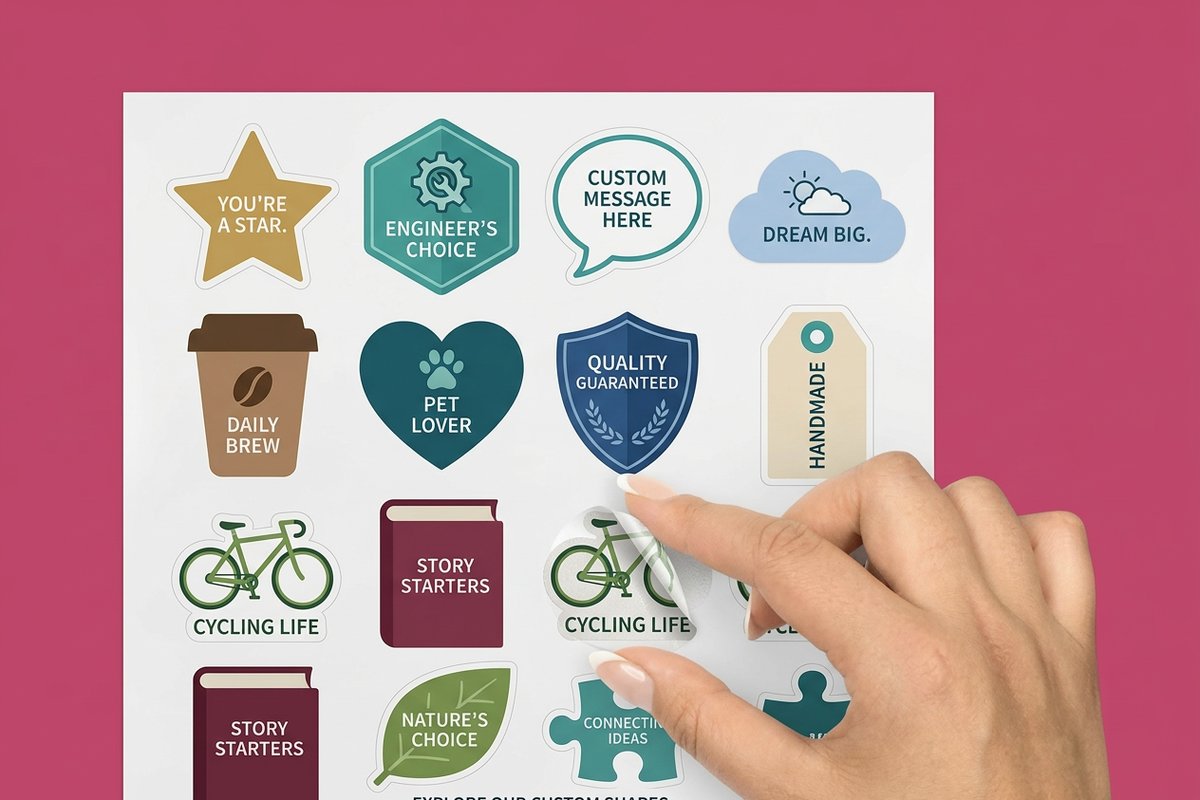
The kiss cut is the one people actually notice. It goes through the printed face and the adhesive and stops on the liner, so each sticker lifts off while the sheet stays whole. Every design on the sheet gets exactly one closed kiss-cut path, and they all sit on the CutContour layer with the thru cut.
Build each one from the artwork rather than eyeballing it. Select a design, then Object, Path, Offset Path with an offset of 0.0625 in to 0.125 in and Joins set to Round. Round joins matter more than they sound: a miter join on a sharp corner throws a long spike, and a spike is where a blade digs in and tears the face instead of slicing it. If the offset comes back as a tangle of overlapping loops, which happens on any illustration with separate elements, run Pathfinder, Unite on the copy first so you get one outer silhouette to offset.
Then simplify. Object, Path, Simplify and pull the slider down until the curve is still faithful but the anchor count has dropped. A contour traced off complex art can arrive carrying several hundred points, and a cutter fed that many stutters through the curve and leaves a visibly faceted edge on thin necks and tight radii. You want the fewest points that still describe the shape.
Spacing is where sheets go wrong. Leave at least 0.125 in between one kiss cut and the next, and the same distance between any kiss cut and the thru cut around the sheet. Registration between the print and the cut moves by a fraction of a millimeter, and stickers packed tight are how one design ends up nicked by its neighbor. That gap at the sheet edge is also what makes a sticker easy to peel, because a fingernail needs somewhere to start that is not the very corner of the card.
One more habit worth keeping: no kiss cut should cross another. Overlapping contours give the cutter two answers to the same question, and the sticker that comes back is whichever one it picked. If two designs need to interlock, merge them into a single sticker with a single path around the pair.
Step 5. Complete the sheet before you go anywhere near export
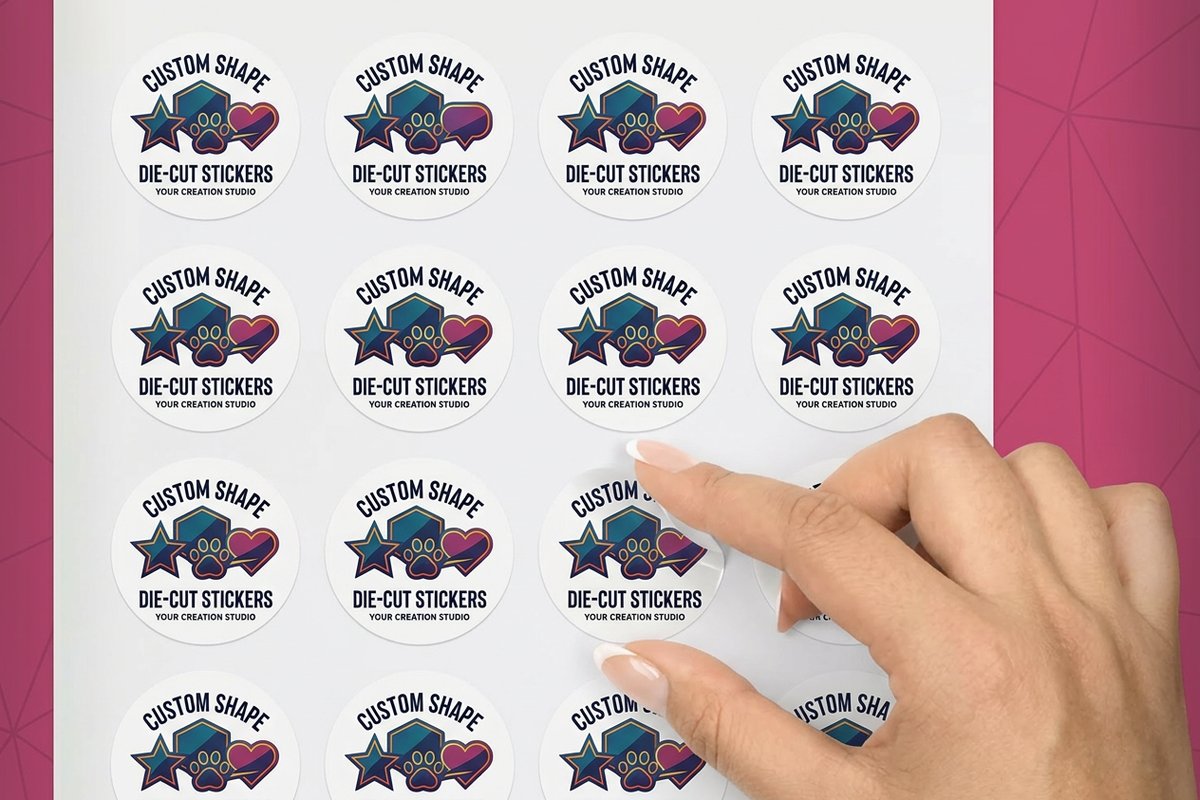
With the cuts drawn, the sheet needs four checks that take two minutes and save a reprint.
Outline your type. Select all, then Type, Create Outlines, or Shift plus Command or Control plus O. Fonts that are not embedded reflow or substitute on the RIP, and a sticker set in a substituted font is a wasted run. Do it on a copy of the file so you can still edit the words later, and read converting text to shapes in Illustrator if any of your type carries effects that complicate the conversion.
Check your links. Window, Links shows every placed image, and any that are missing or modified need relinking now, at full resolution. Placed art at 300 ppi at the size it appears on the sheet is the target. Anything pulled off the web at 72 ppi looks fine on a monitor and pulpy on vinyl.
Check your color. Window, Separations Preview lists the plates. You should see Cyan, Magenta, Yellow, Black and CutContour, and nothing else. A stray Pantone that crept in with a placed logo becomes an extra plate and an extra cost, and our guide to converting Pantone spot color to CMYK covers the safe way to fold it back in.
Then run the test that catches almost everything. Still in Separations Preview, switch the CutContour plate off. Your artwork should be completely unaffected. If a shape disappears with it, that shape is stroked or filled with the cut swatch and it was never meant to be, which is exactly the error that produces a sticker with a slice through the middle of it. Switch the CMYK plates off instead and you should see only the cut paths, one per sticker plus one around the sheet, floating on their own.
Step 6. Export the sheet as a print-ready PDF
File, Save As, and choose Adobe PDF. Pick the PDF/X-4:2008 preset. It preserves live transparency and, more to the point here, it preserves your spot color as a spot color instead of silently converting the cut line into a process build that the cutter cannot find.
In the Marks and Bleeds panel, check Use Document Bleed Settings so your 0.125 in of bleed travels with the file. Leave trim marks, registration marks and color bars unchecked unless the order asks for them, because on a sheet those marks land inside the printable area and become part of the artwork. In the General panel, uncheck Preserve Illustrator Editing Capabilities. It roughly doubles the file size by embedding a whole second copy of the document, and it does nothing for the press.
Then open the PDF you just made in Acrobat and look at it, because the PDF is the file we print, not the .ai. Confirm the cut lines are there, confirm the type held, and confirm the bleed extends past the sheet edge. Our guide to exporting a print-ready PDF from Illustrator or InDesign goes deeper on the preset choices, and working with transparency in Illustrator is worth reading if your sheet uses blend modes or soft shadows over a colored background.
Upload the sheet to 4OVER4
Go to the sticker sheets page and set your size, face stock, finish and quantity. Order the sheet at the size you built the artboard at. A sheet scaled after the fact scales your cut lines and your safe zones with it, and the 0.125 in gaps you were careful about turn into something else.
Upload the PDF, and note in the order which paths are kiss cuts and which is the thru cut. Our prepress team checks the file before it goes to press and will come back to you if the CutContour plate looks wrong, but telling us the intent up front is faster than a round trip.
From there we print, cut, laminate if you chose it, and ship from our Queens, New York facility. If you are still weighing options, browse the whole custom sticker range, compare face materials in choosing the right sticker material, or read how sticker pricing works so the live number in the configurator makes sense at a glance.
Wally explains the two cuts
One line frees the sheet, the other frees the sticker
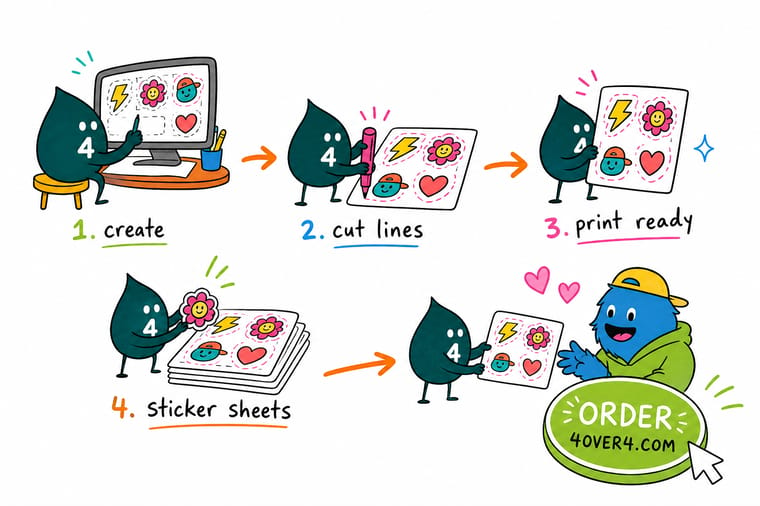
Wally has watched a lot of files come through prepress, and the sheets that go straight to press all look the same: a spot swatch called CutContour, one thru cut around the outside, one kiss cut per sticker, and Overprint Stroke checked so nothing punches a hole in the art. Draw those two lines properly and the rest is just choosing a stock. Build it in Illustrator, then let 4OVER4 print, cut, finish and ship the sheet.
Print your sticker sheet →Quick reference
Every Illustrator setting this sheet depends on
Six settings decide whether a sticker sheet prints and cuts the way you drew it. Set them once, save the file as a template, and you never think about them again.
| Setting | Where it lives | What it should be | What goes wrong if it is not |
|---|---|---|---|
| Color Mode | New Document, Advanced | CMYK | A late RGB conversion drains the saturation out of neons and bright greens |
| Bleed | New Document | 0.125 in, all four sides | A sheet trimmed slightly off center shows a white sliver on one edge |
| Raster Effects | New Document, Advanced | High, 300 ppi | Shadows, glows and feathers rasterize at 72 ppi and print as visible steps |
| Cut swatch | Swatches, New Swatch | Name CutContour, type Spot Color, 100 percent | The cutter never finds the path, and the line prints as visible artwork |
| Overprint Stroke | Window, Attributes | Checked, on every cut path | The spot line knocks out the art beneath it and leaves a white halo |
| PDF preset | Save As, Adobe PDF | PDF/X-4:2008, Use Document Bleed Settings | The spot color converts to process and the cut path disappears |
Specs and pricing
Sticker sheet specs and live pricing
Once the PDF is ready, the decisions left are size, stock, finish and quantity. Here are the live specs and the price per unit for sticker sheets at 4OVER4.COM, straight from the configurator.
| Quantity | Price Per Unit | Total |
|---|---|---|
| 25 | $7.25 | $181.24 |
| 50 | $3.89 | $194.42 |
| 100 | $2.05 | $205.18 |
| 200 | $1.18 | $236.36 |
| 300 | 89.2¢ | $267.56 |
| 400 | 74.7¢ | $298.76 |
| 500 | 65.8¢ | $328.86 |
| 600 | 60.7¢ | $364.23 |
Print it
Other sticker formats worth drawing cut lines for
See it in use
Real sticker work, printed in-house




Explore more
Where to go next


By the numbers
Sticker printing you can count on at 4OVER4
Common Questions
Common questions about making stickers in Illustrator
How do you make a sticker in Illustrator?
Open a new CMYK document at the finished size of the sheet with 0.125 in of bleed, place or draw your artwork, then add the cut path. Select the design, use Object, Path, Offset Path at about 0.0625 in to get the border that makes a sticker read as a sticker, and stroke that offset path with a spot swatch named CutContour instead of filling it. On a sheet, every design gets one of those closed paths and a single larger path traces the sheet itself. Outline your type with Type, Create Outlines, save as a PDF with bleed included, and upload it. The whole job is about ten minutes once you have the swatch built, and the swatch can be saved into a template so you never build it twice.
What size and color mode should the Illustrator document be?
Build the artboard at the exact finished sheet size, set Color Mode to CMYK in the Advanced section of the New Document dialog, and set Bleed to 0.125 in on all four sides. While you are in Advanced, check Raster Effects and set it to High, 300 ppi. That setting is the one people miss: it defaults to 72 ppi in older documents and in files opened from other machines, and it quietly rasterizes every drop shadow, glow and feather at screen resolution. The vectors stay sharp, the effects turn to mush, and it only shows up on the printed sheet.
What is the difference between a kiss cut and a thru cut on a sticker sheet?
A kiss cut goes through the printed face and the adhesive and stops on the paper liner underneath, so the sticker separates but the sheet stays in one piece. A thru cut goes through face, adhesive and liner together, which is how a single sticker leaves the press as its own object. A sticker sheet uses both at once: kiss cuts around each design so people can peel them one at a time, and one thru cut around the outside so the finished sheet is a clean rectangle or a custom shape. Draw them the same way and label them clearly, and note on your order which is which.
Why does the cut line have to be a spot color named CutContour?
Because the cutter reads plates, not intentions. A spot color lands on its own separation, so the cutting software can find that one plate, follow the paths on it, and ignore everything else. A line drawn in 100K black sits on the black plate with your artwork, which means it prints as a visible outline and the cutter never sees it as a path. The name matters too. CutContour is the convention most RIP and cutting software recognizes by default, and a plate called Cut Line or Layer 3 usually needs a prepress operator to reassign it by hand, which is a delay and a chance to get it wrong.
How do I add a white border around a sticker in Illustrator?
Select the artwork, then Object, Path, Offset Path with an offset between 0.0625 in and 0.125 in. Set Joins to Round so tight corners open up instead of forming spikes, because a spike is where a blade tears rather than cuts. That gives you one closed path around the design. Fill a copy of it with white and send it behind the artwork so the border prints, then take the original offset path, remove its fill, and stroke it with CutContour as the cut. If the offset produces overlapping loops on a busy illustration, run Pathfinder, Unite on it first so you end up with a single outer silhouette rather than a nest of paths.
Should I use Illustrator or Photoshop for a sticker sheet?
Use Illustrator when the cut matters and Photoshop when the art does. Illustrator writes a live vector cut path into the exported PDF, which is exactly what a cutter wants, and its offset and simplify tools were built for this job. Photoshop cannot export a true cutter path at all, so a Photoshop sheet relies on a clearly named layer stroked in an obvious color and a prepress operator interpreting it. On the other hand, painted illustration, photography and heavy texture live more comfortably in Photoshop. The common answer is both: paint in Photoshop, place the flattened art into Illustrator, and draw the cut lines there. Our companion walkthrough covers the Photoshop route in full.
How much do custom sticker sheets cost?
Sticker sheet pricing at 4OVER4 starts at $181.24, and the per-sheet cost falls as the quantity climbs because the setup is spread across more pieces. Size, stock and finish move the number too, and a laminate or a specialty face material sits above a plain one. The configurator on the product page recalculates the total live as you change each option, so you can see what a run actually costs before you commit to it.
What sizes, stocks and finishes can I get, and how long does printing take?
Sheet sizes, face materials from paper to vinyl, and finishes from matte to gloss laminate are all set on the product page, and the specs panel further up this guide lists the live combinations. Turnaround is not a single number because it moves with the stock, the finish and the quantity you pick, so the available production and shipping windows appear beside the live price once your options are set. Order the sheet at the size you designed the artboard at, since a sheet resized after the fact rescales your cut lines with it.
Get Started
Your cut lines are drawn. Let us cut them.
Bring the PDF to 4OVER4.COM, pick your size, stock and finish, and watch the price update live as you go. We print, kiss cut, laminate and ship from Queens, New York.
Legal Disclaimer
Gold Standard guarantees apply to all standard orders placed through 4over4.com. Price match requires verifiable proof of a competitor's published price for an equivalent product with matching specifications and turnaround time. Satisfaction guarantee covers manufacturing defects and print quality issues. Contact support with order number and documentation. On-time delivery rate based on tracked orders 1999 to 2026. Individual results may vary based on shipping carrier performance.
