
How to Create Sticker Sheets in Adobe Photoshop


Jordan is our labels, packaging and sustainability voice, built from the knowledge of our production team, with over 20 years in printing.
Fit several designs on one page, print them together, and let the cutter free each sticker. This walkthrough takes you from a blank Photoshop file to a print-ready sheet, then straight to the order.
To make a sticker sheet in Photoshop, open a new CMYK document at your final sheet size and 300 DPI. Pull guides for your margins, lay out each sticker with space between them, draw a cut line around every design on its own layer, then flatten and export a print-ready PDF. Upload that file to 4OVER4 and we cut, finish, and ship your custom sticker sheets. Planning a whole collection? Here is how to make your own sticker book from finished sheets.
Start here
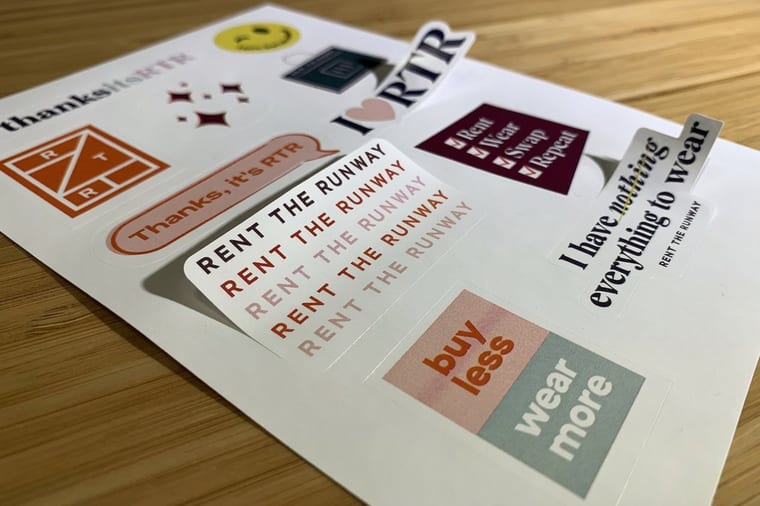
A Photoshop sticker sheet from canvas to kiss cut
A sticker sheet holds several designs on a single printed page, and Photoshop is a strong place to build one when your art is raster. Open a CMYK file at your final sheet size and 300 DPI, set guides for your margins and spacing, choose a background or keep it transparent, draw a cut line around each sticker, then flatten and export a print-ready PDF. Upload it to 4OVER4.COM and we cut and finish the sheet for you. The steps below take it one screen at a time.
Photoshop suits sticker sheets with painted or photo art
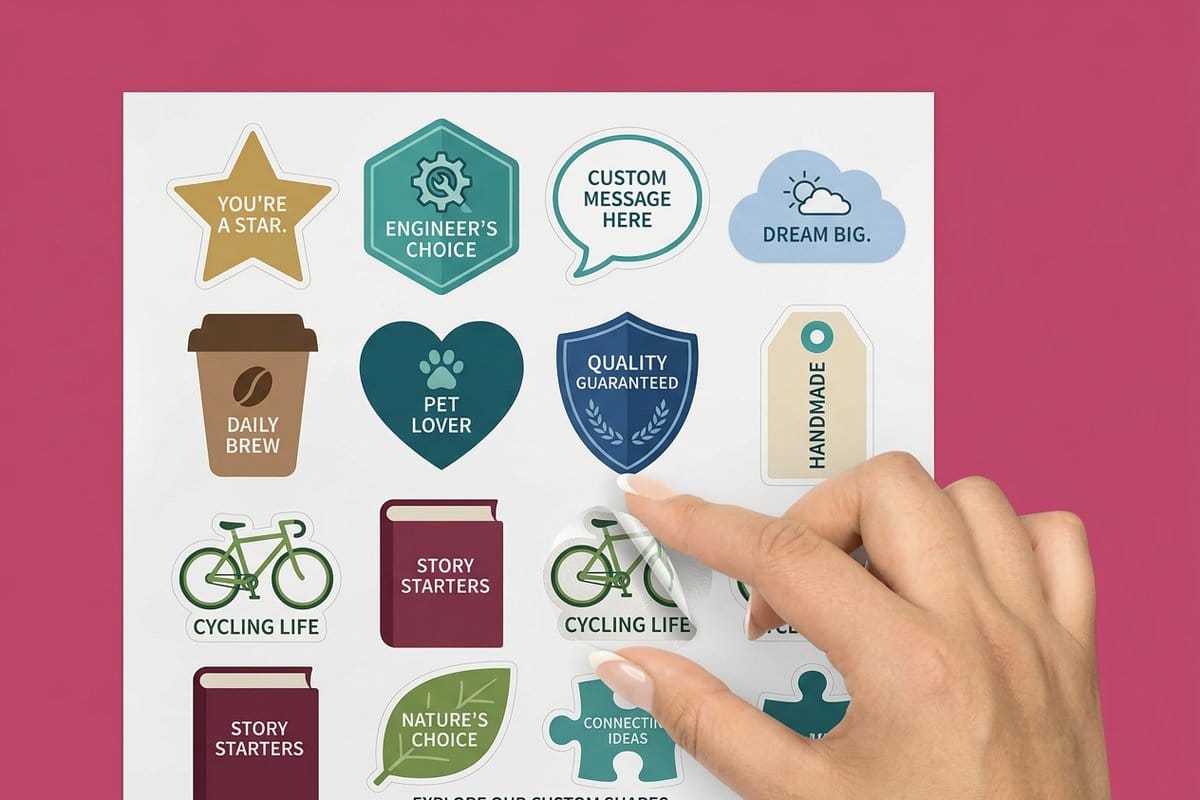
One printed page holding a whole set of designs is the cheapest way to sell or hand out that set at once. Instead of ordering five separate stickers, you print one page that holds all five, and the cutter frees each one so buyers peel them off individually. It is how enamel-pin shops, bands, and small brands ship a whole mini collection on a single card.
Photoshop earns its place here when your art is raster: textured illustrations, painted characters, photos, or anything with soft shading. Those live more comfortably in Photoshop than in a vector tool. The trade is that Photoshop does not draw a true cutter path on its own, so you plan the cut yourself, which is exactly what the steps below cover. If your sheet is all flat logos and hard-edged shapes, our notes on Photoshop and Illustrator color work can help you decide where to build.
Whatever you draw, the finish line is the same: a print-ready file uploaded to 4OVER4 sticker sheets. Before you open a canvas, it helps to skim the design side of sticker sheets so your layout choices and your print settings pull in the same direction.
The five settings the press checks on your sheet

Our prepress team opens every sheet file looking for the same five settings. A sheet that prints and cuts cleanly needs: the right document size, CMYK color, 300 DPI resolution, enough space between stickers, and a cut line around each one. Miss any of those and you either lose sharpness, shift your colors, or crowd the blade.
The good news is you do not have to design from a blank page to get there. Our online designer and ready-made design templates already bake the print settings in, which is the fastest route if you want a polished sheet without touching a single Photoshop menu. Prefer to work by hand in Photoshop? Keep reading, and consider ordering free samples first so you can feel the stocks your art will land on.
It also pays to match the format to the job. A sheet is ideal for a set of small related designs, but a bold single graphic often belongs on a die-cut sticker, and see-through art shines on clear stickers. If you are still weighing formats, the comparison of sheets, rolls, and die-cut singles lays the options side by side.
Step 1: Open a CMYK canvas at 300 pixels per inch
Open File, then New, and build the document at the finished size of your sheet. A common choice is 8.5 by 11 inches, but any size works as long as it matches what you will order. Set the resolution to 300 pixels per inch and the color mode to CMYK. Those two settings are the ones people forget, and they are the hardest to fix after the art is done.
Add bleed if your background runs to the edge of the sheet. Extend the canvas by an eighth of an inch on every side, or design with a background layer that already spills past the trim, so the press has room to cut without leaving a white sliver. If the pixels-per-inch to size math is fuzzy, the 300 DPI setup guide spells it out, and saving a print-ready PDF covers the export side you will reach in Step 5.
Step 2: Drag guides for the sheet margin and the gaps

Rulers first, with Control or Command plus R, then drag guides from each ruler to mark two things: a margin around the whole sheet, and the spacing between individual stickers. Keeping your art a quarter inch or so from the sheet edge, and giving each sticker its own margin, means the cutter has room to work and no two designs run into each other.
Inside every sticker, hold a safe zone. Anything you cannot afford to lose, a face, a word, a logo edge, should sit comfortably inside that inner boundary, not near the cut. Cutting has a small tolerance, so treat the outer edge of each sticker as a danger zone and let the background, not your subject, absorb any drift. This is the same margin thinking that governs strong sticker-sheet layouts.
Step 3: Fill a backdrop layer or let the stock show
Behind the stickers you have two choices. A solid background color ties a set together and reads as intentional, like a branded card of stickers. Add a new layer beneath your artwork and fill it, keeping the color inside your bleed so it reaches the trim edge cleanly. Because presses run CMYK ink, check bright fills against a print reference rather than trusting your screen, and convert any imported RGB art with our RGB to CMYK steps.
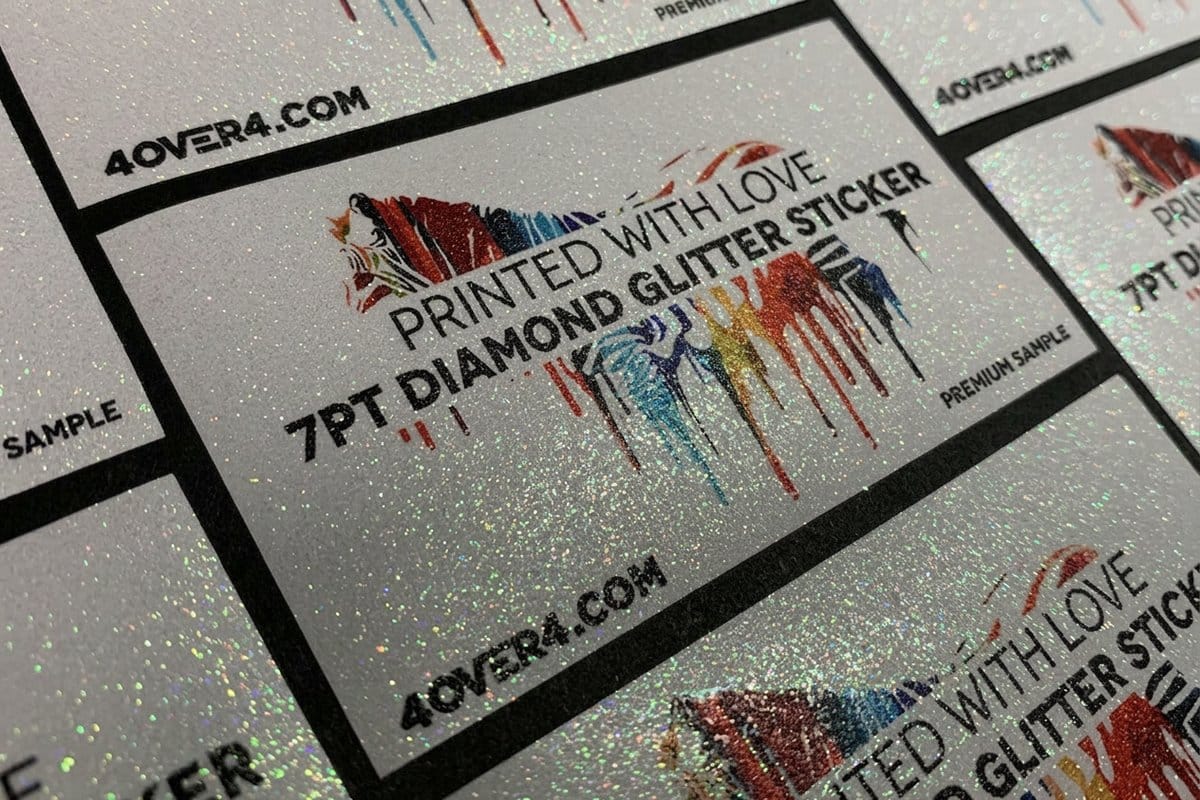
If you would rather each sticker float on the sheet with no printed backdrop, keep the background layer transparent and let the stock show through. That is where material choice starts to matter: a white vinyl looks different behind your art than a clear stock or a glitter finish. Our guide on choosing the right sticker material pairs each look with the job it does best.
Step 4: Trace a contour around each design with the Pen tool
Two jobs share the word cut, and a sheet uses the first one. A kiss cut goes through the vinyl face and stops at the paper backing, which is what keeps a dozen stickers sitting together on one 8.5 by 11 sheet until someone peels one off. A die cut goes through face and backing, so every sticker leaves the press as a separate piece with a white border around it. This is the step that turns a printed page into a sheet of peelable stickers. Around each design, draw a clean contour with the Pen tool and place all of those paths on a single, clearly named layer such as Cut Lines. The path should trace the outline you want the blade to follow, offset a little outside the artwork so the cut never clips your design.
Keep the shapes simple. Smooth curves and gentle corners cut better than jagged, fiddly outlines, and every sticker should be its own closed path with a little space from its neighbors. Leave about an eighth of an inch between one contour and the next, and the same distance in from the trim, so a small shift on the cutter never bites into the sticker beside it. Because Photoshop does not export a live cutter path the way a vector tool does, a clearly labeled cut-line layer tells our team exactly where to separate each piece. If a fully custom silhouette is what you are after, a dedicated custom-shaped sticker handles the contour for you, and the breakdown of rolled, cut-to-size, and sheet stickers explains how each cutting style behaves.
How to make a die cut sticker outline in Photoshop
A die cut outline starts from the artwork, not from a shape you draw by eye. Command or Control click the layer thumbnail to load the design as a selection, then go to Select, Modify, Expand and push the edge out about 0.1 inch, which is 30 pixels at 300 DPI, for the white border that makes a sticker read as die cut. Follow with Select, Modify, Smooth at 4 to 8 pixels so tight corners round off. A blade tracks a smooth curve cleanly and chatters on a jagged one, and thin spikes in an outline are where cutting goes wrong.
Now turn that selection into a line. Fill it with white on a layer beneath the art so the border prints, load the white layer again, then choose Make Work Path in the Paths panel at a tolerance near 1.0 pixels. Higher tolerance simplifies the curve until it stops matching your art; lower tolerance hands the cutter far more anchor points than it needs. With the path live, add a 1 pt Stroke so the outline is visible on screen. Illustrator users reach the same place with Object, Path, Offset Path; in Photoshop the Expand and Smooth pair is the equivalent move, and the result is one closed contour per sticker.
Put that outline on a layer of its own, name the layer CutContour, and give the stroke a 100 percent spot color that appears nowhere else in the file, magenta by habit. CutContour is the name cutting software looks for, and the layer is what tells prepress which lines to cut and which to print, so keep it visible on export and save the PDF with layers intact rather than flattening the contour away. Sheet artwork gets kiss cut through the face only; a single sticker gets cut through face and backing. If you would rather hand the contour work to us, sticker sheets ship with the cut set up for you, and the rest of the range lives on the sticker printing page.
Step 5: Flatten the art and keep the CutContour layer
A last check before export takes two minutes. Confirm the document is still CMYK at 300 DPI, that your bleed reaches the edge, and that nothing important sits outside its safe zone. Hide any working guides you do not want printed, and keep the cut-line layer visible and labeled so it travels with the file.
Then export. Choose File, then Save As or Export, and produce a PDF or a flattened high-resolution file. Flattening bakes your layers down so the sheet prints exactly as you see it, with no surprise transparency, so flatten the artwork and leave the CutContour layer alone. Our walkthrough on saving a print-ready PDF from Photoshop covers the export presets that keep quality high and file size sane.
Upload your sheet to 4OVER4
Head to the sticker sheets page and set your size, stock, finish, and quantity. Order the size your canvas was built at, 5 x 7, 5.5 x 8.5, 7 x 9, 8 x 10, 8.5 x 11 or 11 x 11 inches, pick uncoated, semi-gloss or hi-gloss label or white vinyl, tell the configurator how many stickers sit on each sheet, and start from 25 sheets. The price updates live as you go, so you can balance a heavier laminate or a bigger run against your budget before you commit. When the options look right, upload the file you exported in Step 5 and place the order.
From there it is our job. We print your sheet, cut each sticker along the lines you drew, apply the finish you picked, and ship the finished cards to your door from our Queens, New York facility. If you want to compare your options before ordering, browse the full custom sticker range or read how sticker pricing works so the live number on the configurator makes sense at a glance.
Wally explains the cut line
The line you draw is the line the blade follows
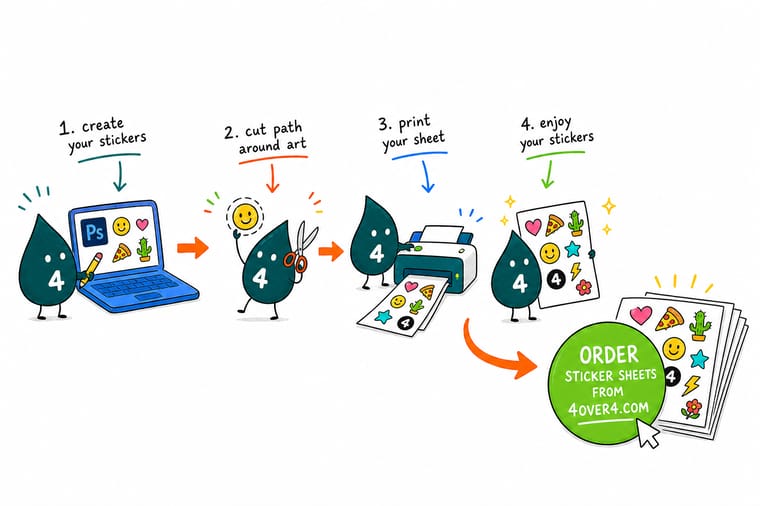
Wally's one rule for sticker sheets is simple: mind the cut. Set your file up CMYK at 300 DPI, give every sticker a little breathing room, and draw one clean contour around each design on its own layer. That path is what turns a printed page into stickers you can actually peel. Build it in Photoshop, then let 4OVER4 cut, finish, and ship the sheet.
Print your sticker sheet →
Infographic
The 5 steps at a glance
One frame, the whole workflow. Keep it beside your canvas so you never skip the setting that trips people up.
The setting people skip is the first one. Lock CMYK, 300 DPI, and the right size before you design, and the rest of the sheet falls into place.
Specs and pricing
Sticker sheet specs and live pricing
When your file is ready, the printing decisions come down to size, stock, finish, and quantity. Sticker sheets start at 25 for $181.24, which is $7.25 a sheet.
| Quantity | Price Per Unit | Total |
|---|---|---|
| 25 | $7.25 | $181.24 |
| 50 | $3.89 | $194.42 |
| 100 | $2.05 | $205.18 |
| 200 | $1.18 | $236.36 |
| 300 | 89.2¢ | $267.56 |
| 400 | 74.7¢ | $298.76 |
| 500 | 65.8¢ | $328.86 |
| 600 | 60.7¢ | $364.23 |
Print it
More sticker formats to print at 4OVER4
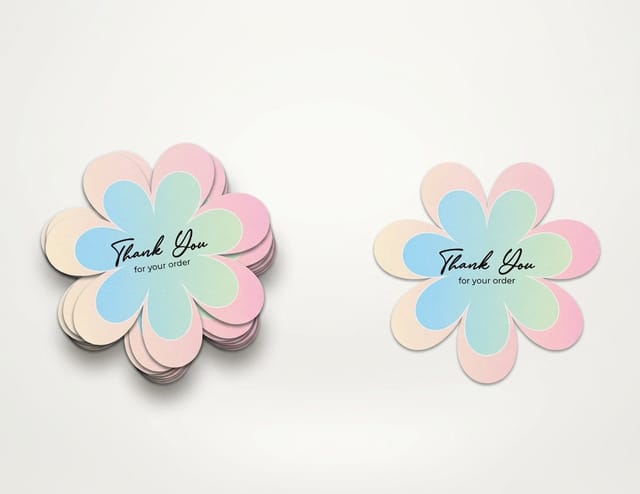
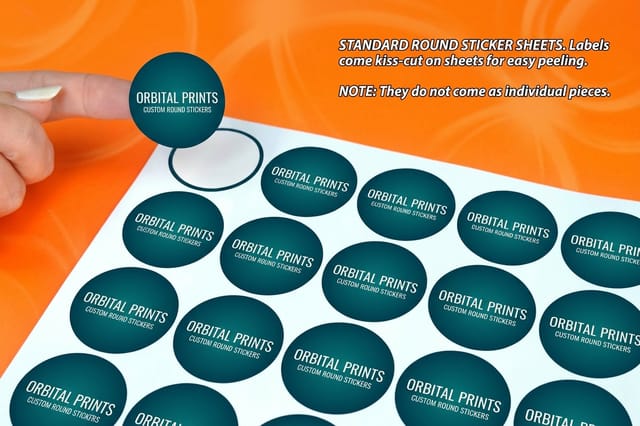
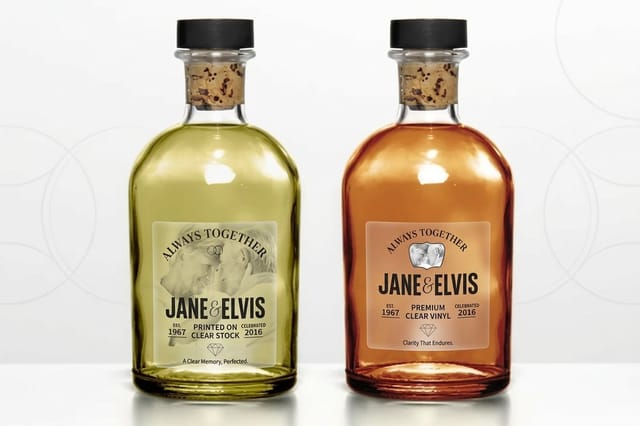
See it in use
Sheets and cut shapes we have printed

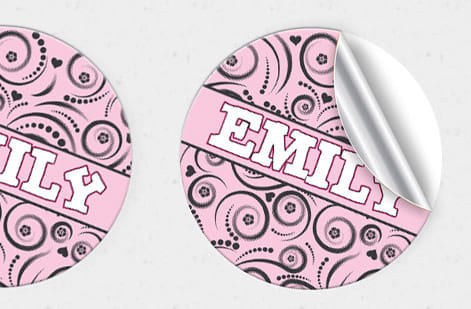
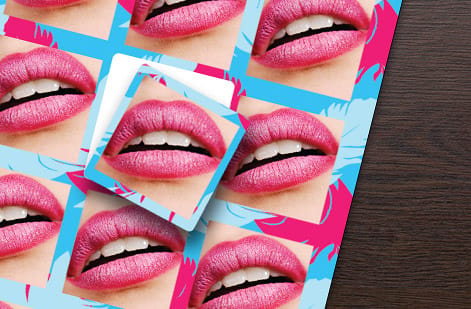
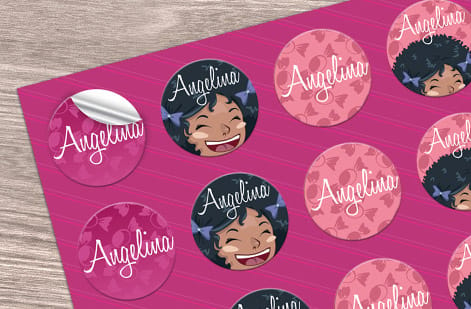
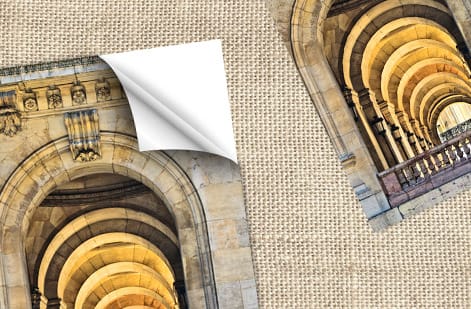
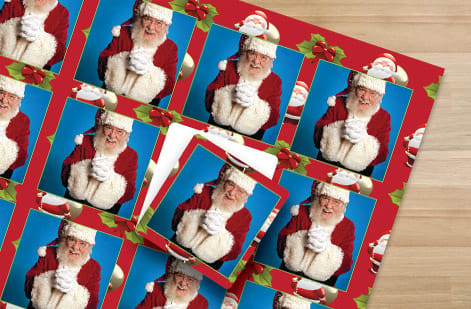



Explore more
Where to go next

By the numbers
Where your Photoshop file gets printed and cut
Common Questions
Common questions about sticker sheets in Photoshop
Can you make sticker sheets in Photoshop?
Yes. Build the document at 8.5 by 11 inches, 300 pixels per inch, CMYK, lay the designs out on it, then draw one cut contour per sticker on a layer of its own. Photoshop is a raster editor, so it handles photos, textures, and painted artwork better than most vector tools, which makes it a natural choice for illustrated or photographic sticker sheets. The one thing to plan for is the cut line: Photoshop does not export a true vector cut path the way Illustrator does, so you either mark your cut contour on a clearly named layer or supply a matching outline. Name that layer CutContour, stroke it in a spot color you use nowhere else in the design, and it travels with the file to the cutter. For sheets built entirely from crisp logos or flat shapes, our guide on choosing the right approach in our Photoshop and Illustrator notes is worth a read, but for anything with raster art, Photoshop is the right room to work in.
What size and resolution should a sticker sheet be in Photoshop?
Build the document at the exact finished size of the sheet, for example 8.5 by 11 inches, at 300 pixels per inch, which is 2550 by 3300 pixels. If your background runs to the edge, add an eighth of an inch of bleed on all four sides and build the canvas at 8.75 by 11.25 inches instead. Working at final size and full resolution means what you see on screen is what prints, with no last-minute upscaling that softens your edges. Art pulled off the web at 72 pixels per inch looks fine on a monitor and mushy on vinyl, so rebuild or rescale it at the source rather than stretching it on the sheet. If you are unsure how DPI maps to pixels, our 300 DPI setup guide walks through the math so your sheet lands sharp on paper or vinyl.
Should a sticker sheet be RGB or CMYK?
Set the document to CMYK before you start designing. Presses print in CMYK ink, so building in that color space keeps the greens and oranges you see on screen close to what comes off the press. If you built in RGB, convert with Edit, Convert to Profile before you export and check the bright colors, which shift the most: neon green, electric blue, and pure orange give up the most saturation. Leave View, Proof Colors on while you work so nothing surprises you at export. Our guide on converting RGB to CMYK covers the safe way to do it in Photoshop.
Do I have to add the cut lines myself?
For a sticker sheet, yes, you decide where the cuts fall by drawing a contour around each sticker. On a sheet those contours are kiss cuts, meaning the blade goes through the vinyl face and stops at the backing, so every sticker stays on one carrier and peels off when someone wants it. A die cut single is the other job: the blade goes through face and backing, and each sticker leaves with its own white border. Put those paths on their own layer, name it clearly, and keep the shapes simple so the blade can follow them cleanly. Leave roughly an eighth of an inch between neighboring contours and the same distance in from the trim, so a small shift on the cutter never bites into the sticker next door. If you would rather not manage cut lines at all, kiss-cut sheets and pre-set shapes take that step off your plate, which is one reason many people compare sheet stickers against rolls and die-cut singles before committing.
How much does it cost to print custom sticker sheets?
Sticker sheet pricing at 4OVER4 starts at $181.24, which buys 25 sheets at 5 x 7 inches, and the per-sheet cost drops as your quantity climbs, since setup is spread across more pieces. Price the size your Photoshop canvas was built at, because an 8.5 x 11 inch canvas ordered as a smaller sheet rescales every cut line. Size, stock, and finish also move the number, and a laminate or a specialty face material sits above a standard one. The configurator on the product page updates the total live as you change each option, so you can see exactly what a run costs before you order.
How long does sticker sheet printing take?
Turnaround depends on the stock, finish, and quantity you choose, and the production window is shown on the product page as you configure your order. If you need them fast, set your options first and the available print and ship times appear with the live price so there are no surprises at checkout.
How do you make a die cut sticker outline in Photoshop?
Load the artwork as a selection by Command or Control clicking the layer thumbnail, then choose Select, Modify, Expand and push the edge out about 0.1 inch, which is 30 pixels at 300 pixels per inch, to create the white border that reads as a die cut sticker. Follow that with Select, Modify, Smooth at 4 to 8 pixels so tight corners round off, because a blade tracks a smooth curve cleanly and chatters on a jagged one. Fill the expanded selection with white on a layer under the art so the border prints, load it again, and use Make Work Path in the Paths panel at a tolerance near 1.0 pixels, which stays faithful to the shape without burying the cutter in anchor points. Stroke that path on a layer of its own so the outline is visible in the file you send. On a sheet the blade only kisses through the vinyl face and leaves the backing whole, so contours can sit closer together; a die cut single goes through face and backing, so give it more room.
What should the cut line layer be named?
Name it CutContour, the name cutting software looks for, and stroke it in a 100 percent spot color that appears nowhere else in the design, magenta by habit. One layer holds every contour on the sheet, the artwork stays on its own layers underneath, and nothing else lives on the cut layer. Photoshop does not export a live vector cut path the way Illustrator does, so that clearly named layer in an obvious spot color is what tells our prepress team which lines to cut and which to print. Keep it visible when you export and save the PDF with layers intact, so the file we cut is the file you proofed.
Get Started
Order 25 sticker sheets from $181.24
Bring your sheet to 4OVER4.COM and print it on the size, stock, and finish that makes your art shine. Sticker sheets run 5 business days in production.
Legal Disclaimer
Gold Standard guarantees apply to all standard orders placed through 4over4.com. Price match requires verifiable proof of a competitor's published price for an equivalent product with matching specifications and turnaround time. Satisfaction guarantee covers manufacturing defects and print quality issues. Contact support with order number and documentation.
