
How to Convert a Word Doc to a Print-Ready PDF


A Word file reflows on every machine, a PDF freezes the page. Word has no bleed setting, so the page size has to be built larger before you export.
Convert a Word doc to a print-ready PDF by setting the page to the final print size, then exporting with fonts embedded and images at print quality. Add a safe margin, extend edge art for bleed, use Save As or Export to PDF rather than print-to-PDF, then open the file and confirm the fonts, images, and margins survived before you upload.

Quick answer
Word to a print-ready PDF in 3 steps
- 1. Set the page size to the final print size, and add bleed In Layout, set the Word page to the exact trim size of the piece instead of leaving it on letter, keep text and logos at least 0.125 inch inside every edge, and extend any background or photo that touches the edge slightly past the page so a small cut shift leaves no white sliver.
- 2. Use File then Save As or Export, and choose PDF, not print to PDF The built-in export keeps live text and travels with your fonts. The print to PDF driver is a different path: it can rasterize the page and substitute a system font on the way out, which is where most rejected Word files go wrong.
- 3. Turn on font embedding and best-for-printing quality, then check the file In the export options, switch on embed fonts and pick the standard or print-optimized quality setting rather than minimum size, which compresses images. Then open the PDF, confirm the fonts, images and margins held, and upload it to 4OVER4.COM, where the free file check confirms it before the run.
Start here
Freeze the page before you send it
A PDF freezes your page so it prints the same everywhere, which a Word file cannot promise. Set the document to the final print size, pull margins to a safe zone, extend edge art for bleed, then export with fonts embedded and images at print quality using Save As or Export to PDF. Open the result and confirm the fonts, images, and margins held before uploading it to 4OVER4.COM. The export blueprint below shows the settings that matter.
Why printers want a PDF, not a DOC
A Word document is a living file. It reflows depending on the fonts, the software version, and the settings on whatever machine opens it, which means the same DOC can look one way on your screen and another on ours. For a printed piece, where the layout has to land exactly as designed, that variability is a problem.
A PDF solves it. It freezes the page: the fonts, the images, the spacing, and the margins are all locked in place, so the file prints the same everywhere. That is why commercial printers ask for a PDF rather than a native Word file, and why converting correctly matters more than the design software you used.
This guide walks the conversion in the order that avoids a rejected file, from page size to the final check. If you would rather skip Word entirely, our online design tool exports a print-ready file for you, and it goes straight into an order for flyers and more.
Setting page size and bleed in Word

Before you export, set the document to the size it will actually print. In the Layout tab, change the page dimensions to your final trim size rather than leaving it on letter. Getting this right first is important, because resizing after the layout is built usually forces you to rearrange everything.
Pull your margins in to a safe zone of at least 0.125 inch, keeping text and key elements clear of the edge so the trim never clips them. Word has no true bleed control, so if a background or image reaches the edge, extend it slightly past the page boundary by hand, which prevents a thin white line from showing after the piece is cut.
These are the same trim, bleed, and safe-margin ideas behind any commercial job. Our guide on creating print-ready files covers them in full, and they apply whether you design in Word, InDesign, or the browser.
Embedding fonts and flattening images

Two things travel poorly out of Word unless you tell it otherwise: fonts and image quality. A font lives on your computer, not automatically inside your file, so if the export leaves it out, the press substitutes a different typeface and your layout shifts. The fix is to turn on font embedding in the export options, which packs the actual typefaces into the PDF.
Images are the other trap. Word compresses them by default to keep files small, which softens photos and logos on paper. When you export, choose the standard or print image-quality setting rather than minimum size, so your images keep the resolution they need. Presses reproduce detail at about 300 DPI at final size, and compression quietly undercuts that.
If your artwork started as a photo or a web graphic, it may also be in RGB. For the truest color on paper, prepare images in CMYK first, using our guide on converting RGB to CMYK, before you place them in the document.
Exporting to PDF the right way

How you create the PDF matters as much as the settings. Use Word's built-in Save As PDF or Export command rather than a print-to-PDF driver. The built-in export preserves live text and embedded fonts cleanly, while printing to PDF can rasterize the page or drop font data, which is exactly what you are trying to avoid.
In the export dialog, confirm two things: font embedding is on, and the quality is set to standard or print rather than minimum size. Some versions of Word bundle these behind an Options button, so open it and check rather than assuming the defaults are right for print.
The result should be a self-contained PDF that carries its fonts and full-resolution images inside it. That is the same portable, press-ready format professional tools produce, and our guide on exporting a print-ready PDF shows how the equivalent settings look in Illustrator and InDesign.
Checking your PDF before upload

Never upload a PDF you have not opened. Once it is exported, open the file and look it over: do the fonts render correctly, are the images crisp when you zoom in, did the margins and layout hold, and is the page the right size? A minute of checking here prevents the most common cause of a rejected or delayed print job.
Pay special attention to anything near the edges and to any custom fonts, since those are where Word exports most often go wrong. If a typeface looks different or an image looks soft, go back, fix the export setting, and re-export rather than hoping it prints fine.
When you order with us, your PDF also runs through a free file check, so a second set of eyes catches issues before the press does. That safety net is real, but it works best when you have already done your own pass, so the file arrives clean.
Upload and print at 4OVER4

With a checked PDF in hand, the rest is quick. Pick your product and upload the file, whether you are printing flyers, brochures, or letterhead. Size, stock and finish are then set in the configurator.
Pricing scales with quantity, size, stock, and finish and updates live as you choose, so you can see exactly what a heavier stock or a larger run does before you order. If the feel of the paper matters for your piece, order free paper samples first and judge the stock in hand.
Use the live specs and pricing panel below to set your options, upload your Word-exported PDF, and print a piece that lands exactly as you designed it, with no font swaps or soft images along the way.
Troubleshooting
When the PDF comes out wrong
These are the three faults that send a Word export back for a redo. Each one is fixed in Word and exported again, not patched at the press.
Fonts changed after export
The typeface swapped because it never made it inside the file. Open the Word doc again, export through File then Save As or Export, and switch on embed fonts in the options before you save. If that box is greyed out, the font is licensed so it cannot embed: pick one that can, or set that headline as artwork at print resolution. Then open the new PDF, click into a headline with the text tool, and if the type is live and correct the press will set it exactly as you see it. Printing to PDF is the other usual cause, because a print driver can substitute a system font on the way out.
Images look blurry or pixelated
Either the export compressed them or they were low resolution before you placed them. Export again with the standard or print-optimized image quality option instead of minimum size, which is built for email rather than a press. If a photo still looks soft at 100 percent zoom in the PDF, the source file is too small: an image saved off a web page has nowhere near the pixels a printed piece needs, so drop in the original photo, or vector artwork for a logo. Scaling a small image up inside Word adds size, never detail.
Page size is not what you set
The PDF inherits the Word page setup, so a letter-size PDF means the document was still letter size when it exported. Go back to Layout, set the page dimensions to the exact trim size of the piece, and check that a section break has not left part of the file on the old size. Export again, then confirm the dimensions in the document properties of the PDF before you upload. If color or images run to the edge, remember Word has no true bleed setting, so push that art past the page and keep text 0.125 inch inside every edge.
Wally freezes the page before he prints it
Right size, bleed, embedded fonts, full quality
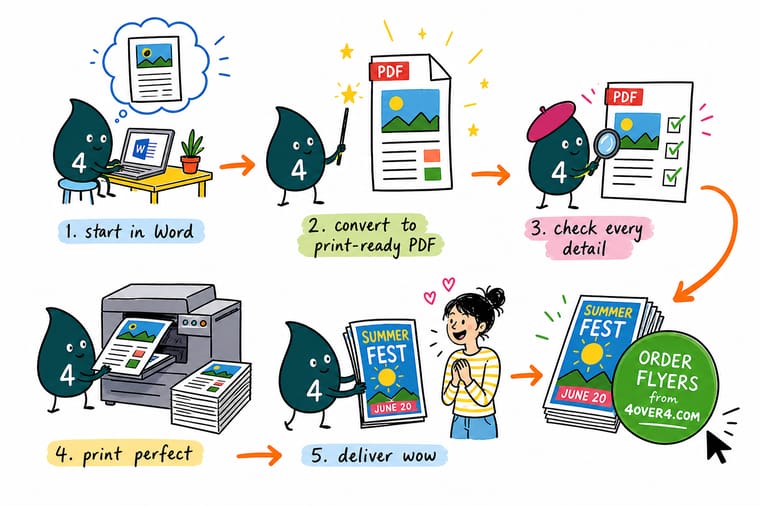
Wally treats a Word file as a starting point, not a final one. He sets the page to the print size, adds a safe margin and bleed, turns on font embedding, and exports at print quality with Save As PDF. Then he opens the file to confirm the fonts and images survived. Freeze the page as a clean PDF, and 4OVER4 prints it exactly as you built it.
Upload and print →Quick reference
The Word to PDF export setup, at a glance
A clean conversion comes down to the same handful of settings. Match these in Word and your PDF prints the way you designed it.
| Setting | Get it to | Why it matters |
|---|---|---|
| Page size | Match the final print size | Set the Word page to the exact trim size so the layout maps to the printed piece, not a letter sheet. |
| Margins | 0.125 in safe zone | Keep text and key elements at least 0.125 inch inside the edge so nothing gets trimmed off. |
| Bleed | Extend art past the edge | If color or images reach the edge, run them past it so a slight cut shift leaves no white sliver. |
| Font embedding | On | Turn on embed fonts so your typefaces travel inside the PDF and are never substituted at the press. |
| Image quality | Print, not minimum size | Choose the print or standard export option so images stay at full resolution instead of being compressed. |
| Export path | Save As or Export to PDF | Use Word's built-in PDF export rather than printing to PDF, so text and fonts are preserved cleanly. |
| Final check | Open and inspect the PDF | Review the exported file for correct fonts, sharp images, and intact margins before you upload it. |
Step by step
Convert a Word doc to a print-ready PDF in 7 steps
- Set the page size to the print size In Layout, set the page dimensions to the exact size your piece will print, whether that is a flyer, a letter sheet, or a custom size, instead of leaving it on the default.
- Pull margins to a safe zone Keep text and important elements at least 0.125 inch inside every edge, so nothing critical sits close enough to the trim to get cut.
- Handle edge-to-edge art If a background or image reaches the edge, extend it slightly past the page so it bleeds, since Word has no true bleed setting and a hairline gap otherwise shows after trimming.
- Turn on font embedding In the export options, enable embed fonts so your typefaces are packed inside the PDF and cannot be swapped on another system.
- Choose print image quality Select the standard or print-optimized export setting rather than minimum size, so photos and logos keep their full resolution.
- Export to PDF, do not print to it Use Save As PDF or Export in Word, which preserves live text and embedded fonts, rather than the print-to-PDF route that can rasterize the page.
- Open and check the result Open the finished PDF, confirm the fonts render, images are sharp, and margins held, then upload it to order and let the free file check confirm it.
- File format PDF, reached through File then Save As or Export. The print to PDF route is a different path and can rasterize the page.
- Optimize for, circled Standard, the best-for-printing setting, rather than minimum size, which compresses photos and logos and softens them.
- Embed fonts, circled On. Embedding packs your typefaces inside the PDF so the press cannot substitute them on another system.
- Page range and size All pages, at the trim size you already set in Layout, so the export inherits the right dimensions instead of a letter sheet.
- After you click save Open the PDF and confirm the fonts render, the images are sharp, and the 0.125 inch safe margin held before you upload it.
Specs and pricing
Flyer specs and live pricing
Once your PDF is ready, size, stock and finish are what is left. Flyers run 50 for $39.54, which is $0.79 each.

| Quantity | Price Per Unit | Total |
|---|---|---|
| 50 | 79.1¢ | $39.54 |
| 100 | 57.1¢ | $57.11 |
| 200 | 37.3¢ | $74.69 |
| 300 | 28.6¢ | $85.68 |
| 400 | 24.4¢ | $97.76 |
| 500 | 21.8¢ | $108.75 |
| 600 | 18.7¢ | $112.03 |
| 700 | 16.5¢ | $115.33 |
Print it
Upload your PDF and print

See it in use
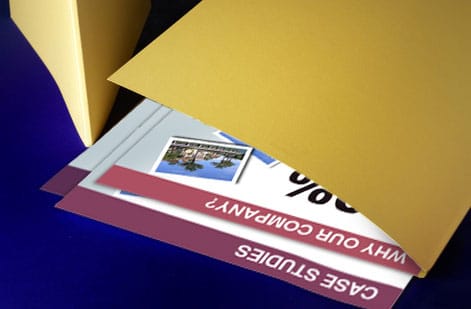
Flyers printed from customer PDFs







Explore more
Where to go next



By the numbers
The stocks your exported PDF can print on
Common Questions
Common questions about converting Word to a print-ready PDF
How do I turn a Word doc into a PDF for printing?
Use Word's built-in export rather than printing to PDF. First set the page to your final print size and pull margins into a safe zone, extending any edge art slightly past the page for bleed. Then choose Save As or Export, pick PDF, and in the options turn on font embedding and select the standard or print image-quality setting instead of minimum size. That produces a PDF with your type locked in and images at full resolution. Finally, open the exported file and check that fonts, images, and margins all survived before you upload it to order.
Which export setting keeps my images full resolution?
Two settings matter most: font embedding and image quality. Turn on embed fonts so your typefaces travel inside the file and the press never substitutes them, which is the single most common way a Word-based print job goes wrong. Then pick the standard or print-optimized quality option rather than minimum size, because minimum size compresses your images and softens them. Use Save As PDF or Export rather than a print-to-PDF driver, since the built-in export preserves live text and embedded fonts more reliably. When in doubt, choose the settings that favor print quality over a small file.
What does it cost to print from a PDF, and how are prices set?
Converting your Word file to a PDF costs nothing, and running that PDF through our free file check before you order is included. Printing cost then scales with the usual levers: quantity, size, paper stock, and finish. More copies lower the unit price, larger sizes and heavier stocks raise it, and you set each option in the configurator where the total updates live as you choose. That means you can see exactly what a bigger run or a premium stock does to the price before you commit, with no surprises after the file is uploaded.
What sizes, stocks, and finishes can I print my PDF on?
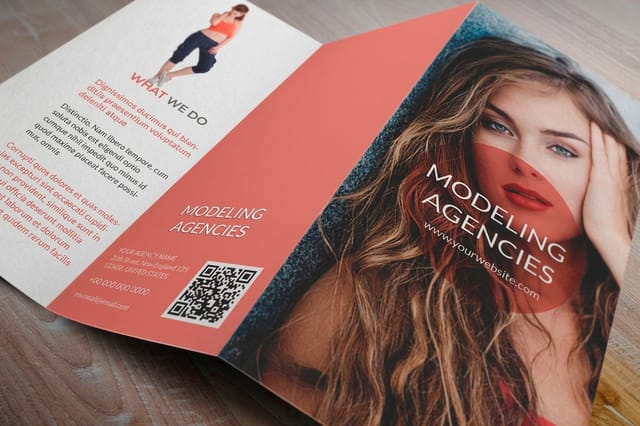
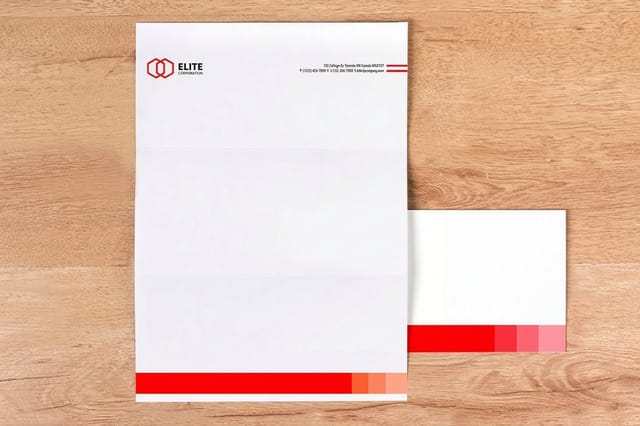
A correctly prepared PDF prints on almost any product. Flyers and brochures made in Word are common, and they come in standard sizes on stocks from a light text weight for handouts to a heavier gloss or matte cover. Letterhead prints on smooth business stock, and finishes range from uncoated for a natural feel to coated for saturated color. Match the stock to the job, and if the feel matters, order free paper samples first so you can judge the weight and finish in hand before printing a full run from your file.
How long does it take to print and ship once my PDF is ready?
Once your print-ready PDF is uploaded and passes the file check, production and shipping run on a predictable timeline shown in the configurator as you choose your options. Standard sizes and stocks move fastest. The best way to avoid a delay is to prepare the file correctly the first time, with embedded fonts and full-resolution images, so it clears pre-press without a hold. Get the PDF right and the rest is quick and predictable, even on a deadline.
Why does my Word document look different after printing?
It usually comes down to fonts and images. If you send a Word file, or export a PDF without embedding fonts, the press may not have your exact typeface and substitutes another, which shifts spacing and line breaks. And if you export at minimum size, Word compresses your images and they print softer than they looked on screen. Both problems disappear when you export a proper PDF with fonts embedded and images at print quality, because the PDF freezes the page exactly as you designed it, independent of any software or fonts on the other end.
Get Started
Order 50 brochures at $1.14 each
Upload your Word-exported PDF to 4OVER4.COM and print it on the size, stock, and finish your project calls for. Letterhead runs 50 for $99.95, which is $2.00 a sheet.
Legal Disclaimer
Gold Standard guarantees apply to all standard orders placed through 4over4.com. Price match requires verifiable proof of a competitor's published price for an equivalent product with matching specifications and turnaround time. Satisfaction guarantee covers manufacturing defects and print quality issues. Contact support with order number and documentation. On-time delivery rate based on tracked orders 1999 to 2026. Individual results may vary based on shipping carrier performance.
