
Custom Cap Printing Explained, From Embroidery to Heat Transfers


Jordan is our labels, packaging and sustainability voice, built from the knowledge of our production team, with over 20 years in printing.
What actually happens to a logo on a curved, seamed cap crown: the four decoration methods, the placement sizes that hold, and how to buy a run without paying for a setup twice.
Most custom cap printing is not printing at all. A cap crown is curved, seamed and usually stiffened across the front, so the logo goes on as embroidery, and flat methods are reserved for the styles that give a press something flat to land on. Embroidery holds solid marks and lettering down to about a quarter inch tall. Heat applied transfers handle full color, gradients and small type, but need a curved cap platen and a panel without a seam. Patches solve everything the other two cannot, at a higher unit cost.
Quick answer
Seams and curvature, not ink, set the rules
A cap is decorated around its construction. Embroidery is the default because a stitching head can follow a curved, stiffened crown and thread survives washing. Heat applied transfers give you full color and small type, but only on a panel that a curved cap platen can reach evenly. Patches ignore seams entirely and cost more. Whichever route you pick, the front decoration area on a structured adult cap is about 4.5 inches wide by 2.5 inches tall, and a 6 panel splits that box down the middle.
Custom caps
What a custom cap order is made of
A custom cap is three purchases in one quote: the blank cap, the decoration, and a one time setup. Embroidery is the usual decoration, with the front area on a structured adult cap about 4.5 inches wide by 2.5 inches tall, and most decorators set a floor of 24 to 48 caps per style and per color. Ask for the stitch count and a sew out on the real blank before you approve the run.
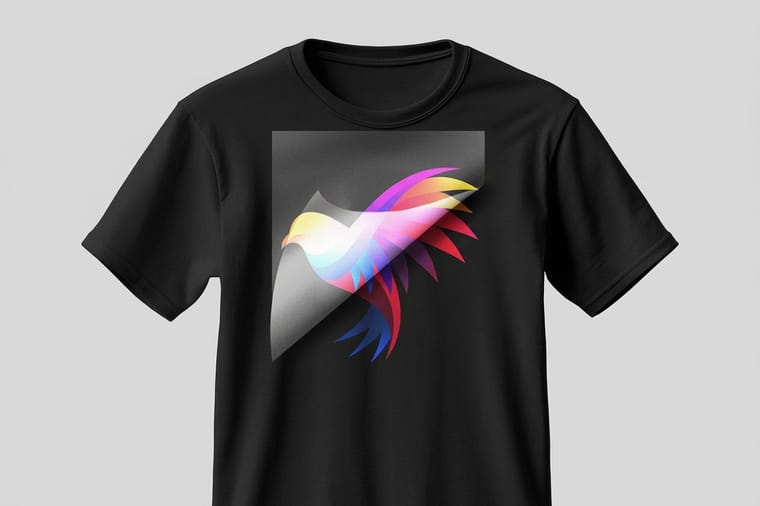
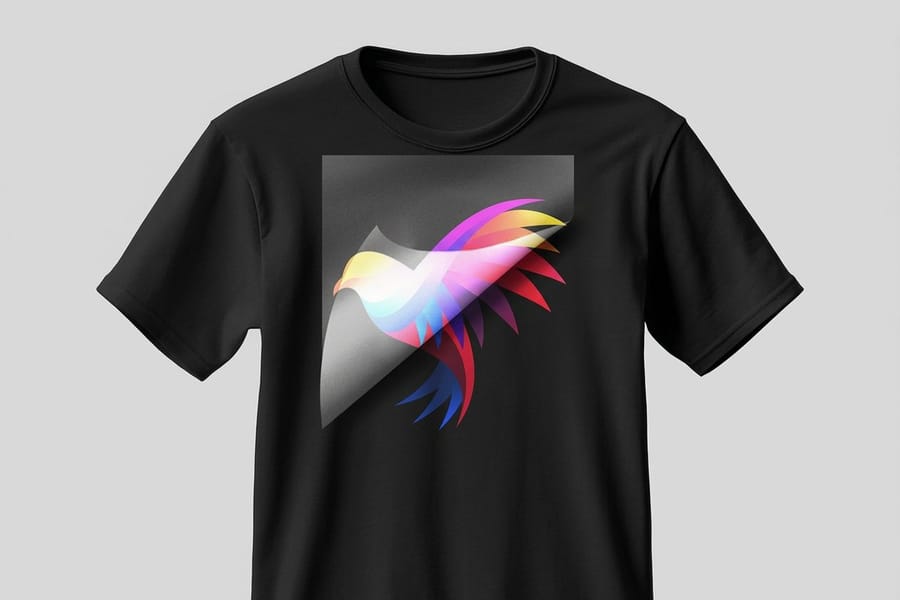
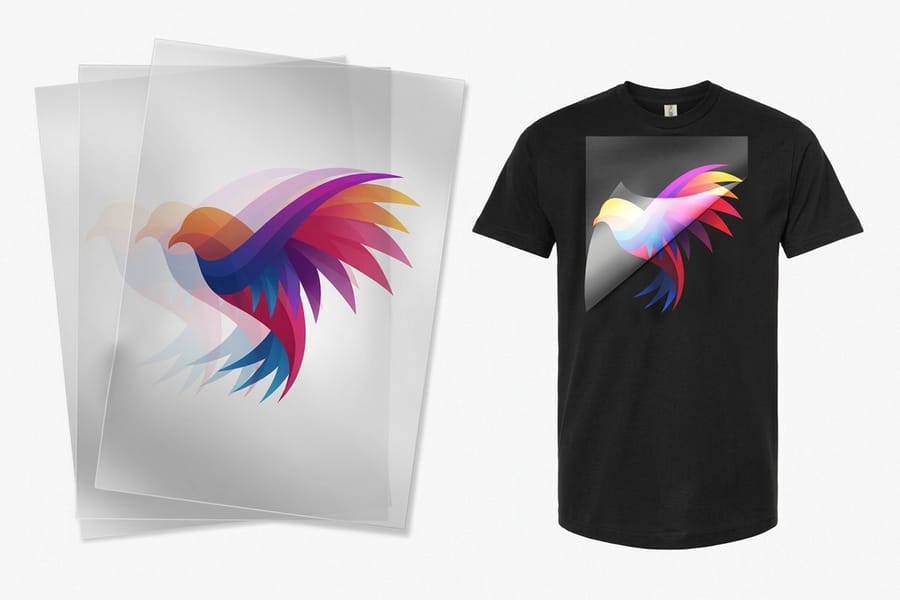
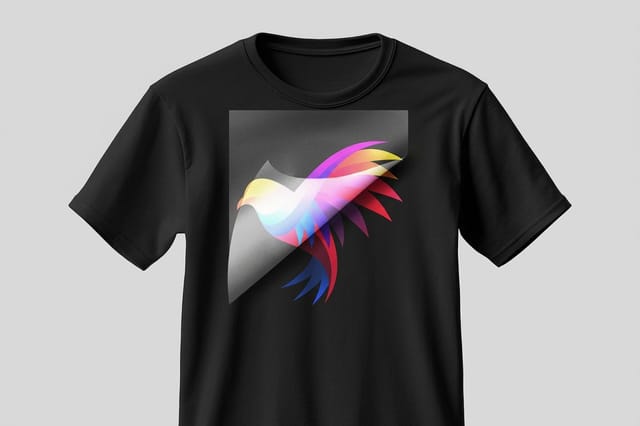
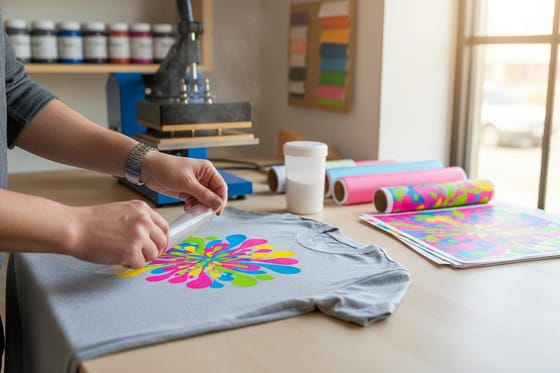
We do not decorate caps. For a full color logo that a decorator heat presses onto the front panel, we print heat activated transfer film (DTF) to any size in 4 business days, and we print the t-shirts, tote bags and stickers that ship with the caps.
The Four Ways a Logo Gets Onto a Cap
Ask five decorators for cap printing and you will get four different processes back, priced in four different units. Knowing which one your artwork actually needs saves the argument.
| Method | How the logo lands | Artwork it holds | Where it fails |
|---|---|---|---|
| Flat embroidery | Needle and thread stitched through the panel on a cap frame. | Solid marks, block or clean sans lettering down to roughly a quarter inch. | Fine serifs, gradients, photos, and any color count high enough to jam the head with thread changes. |
| 3D puff embroidery | Foam is laid on the panel, stitched over, then the excess is torn away. | Bold block letters and chunky shapes on the front panel only. | Thin strokes, small text, and open counters, where the foam pokes through and has to be trimmed by hand. |
| Heat applied transfer | A printed film is pressed onto the panel with a curved cap platen. | Full color, gradients, photographic detail, tiny type. | Seams, mesh, and anything the platen cannot reach. Needs a real cap press, not a flat one. |
| Sewn on patch | A woven, embroidered or leather patch is stitched onto the finished cap. | Everything, including artwork that would cross a seam. | Budget and lead time, and the visible stitched border, which is a design decision rather than a defect. |
Read the last column first. Embroidery is the default because it survives a wash, a rucksack and two summers, and because the equipment is in every apparel shop. Transfers exist for the jobs thread cannot do: a four color illustration, a photograph, a QR code, a line of 6 point type. The film itself is a printed product rather than a stitched one, which is why heat activated transfer film starts at $19 here and gets pressed by whoever is decorating the blank.
If you are weighing thread against ink across a whole uniform, not just the cap, our comparison of embroidery and direct to garment printing covers the cost curve on shirts, and direct to film transfers explains what is inside the film.
Cap Construction Decides What You Can Put On It
The blank you choose constrains the artwork more than the decoration method does. Four things about the cap matter, and you can check all four in the supplier listing before anything gets stitched.
- Panel count. A 6 panel cap carries a seam down the exact center of the front. Artwork that crosses it distorts as the crown flexes and the two halves rarely line up perfectly. A 5 panel has one flat, uninterrupted front, which is why wide horizontal logos end up there.
- Structured or unstructured. Structured caps have buckram behind the front panel, so the crown holds its shape and gives the machine a firm surface. Unstructured caps collapse, which softens embroidery and makes a heat press harder to keep even.
- Fabric. Cotton twill takes both thread and transfers without drama. Polyester performance fabric needs a low temperature transfer and a decorator who has thought about dye migration, because a hot press on a dyed polyester crown can pull the cap color up into a white graphic hours after it cooled.
- Mesh backs. Trucker mesh is a decoration dead zone. It will not hold stitches cleanly and a transfer has nothing continuous to bond to, so the back of a trucker is decorative only.
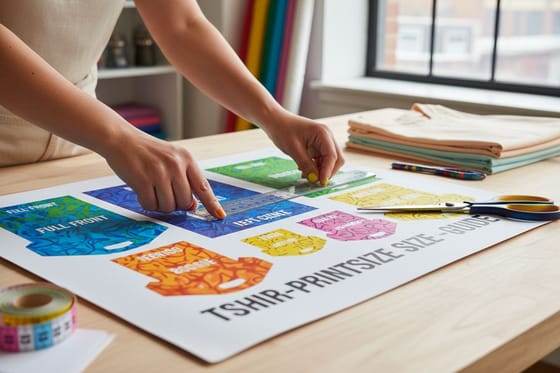
The practical shortcut: pick the blank around the widest element in your logo. If the mark is a compact badge, a structured 6 panel is fine and looks sharper. If the mark is a long wordmark, go 5 panel and stop fighting the seam. The same instinct applies to placement on soft goods, which is why our print size guide for shirts starts with the garment rather than the graphic.
Placement and Size, Panel by Panel
Cap decoration areas are small, and they are bounded by seams rather than by taste. These are the working numbers a decorator will quote you, and they hold across most adult blanks.
| Position | Usable area | What belongs there | Watch for |
|---|---|---|---|
| Front center | About 4.5 in wide by 2.5 in tall on a structured crown. | The primary mark, or mark plus company name. | The center seam on a 6 panel, and the curve stealing height at the top of the box. |
| Side panel | Roughly 2 in by 1.5 in, left or right. | A secondary icon, a year, a chapter or location name. | Sitting too far forward, where the seam and the eyelet crowd the design. |
| Back, above the closure | Roughly 2 in wide by 1 in tall. | A short URL or a single word. | Snapback plastic and strap hardware, which cut the area down further. |
| Visor | A narrow band on the top or the underside. | A repeated small mark, or a sponsor line on the underside. | The stiffener inside the visor, which some machines will not clear. |
Height is the constraint people miss. A 4.5 inch box sounds generous until a two line lockup has to fit inside 2.5 inches of it, at which point the second line drops below the quarter inch floor and closes up. The fix is to rebuild the lockup for the cap rather than scale the one from your letterhead: stack it tighter, drop the tagline, and thicken any stroke that reads as a hairline at final size.
Give the decorator vector artwork with fonts outlined, plus a note stating the finished width in inches and which panel it goes on. That single note prevents the most common cap reorder, which is a logo stitched a half inch bigger than the one on last year's batch. The same handoff discipline is covered end to end in our guide on ordering custom printed apparel.
Ordering in Bulk, and the Merch That Ships With It
Cap pricing has three moving parts and only one of them is the cap. There is the blank, the decoration, and the one time setup, and shops present them in different orders to make quotes hard to compare.
- Minimums run per style and per color. Twenty four to forty eight pieces is the common floor for embroidery, and it applies to each colorway, not to the order total. Two dozen black and two dozen stone is usually two setups, not one.
- Embroidery is quoted by stitch count. Price moves with how much thread goes in, so a dense filled badge costs more per cap than an outlined version of the same mark. Ask for the stitch count before you approve the digitizing, because that is the number driving your unit price.
- Ask for a sew out. A single stitched sample on the actual blank costs a small fee and catches the two failures that matter: letters closing up, and thread color looking wrong against the fabric. Approving a screen mock up instead is how brands end up with a pallet of caps nobody wants to wear.
- Lead time is longer than print. Blanks have to arrive before decoration starts, so a headwear run is gated by stock availability rather than by machine time. Order the caps first and let the printed items catch up.
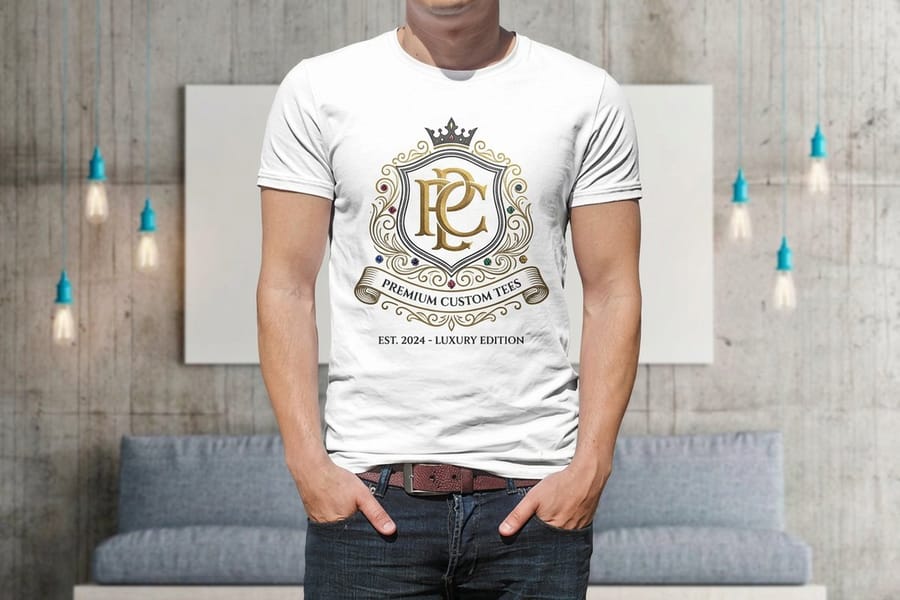
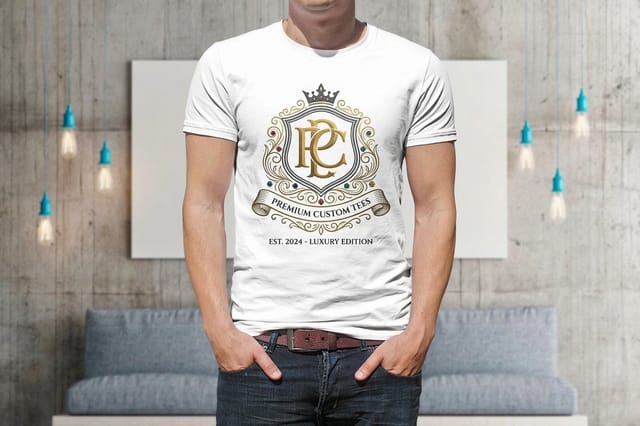
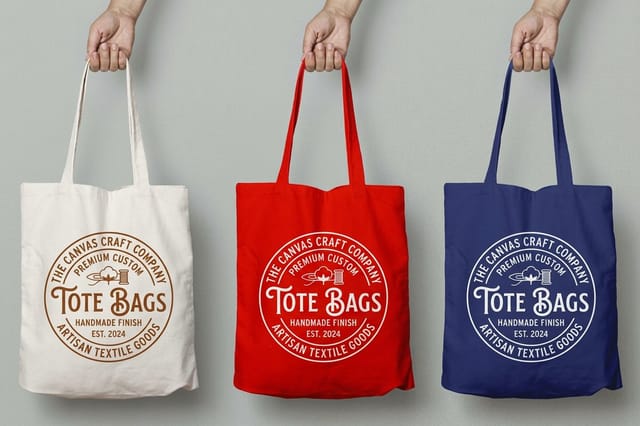
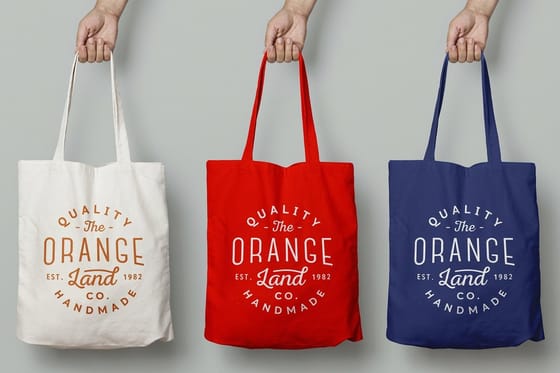
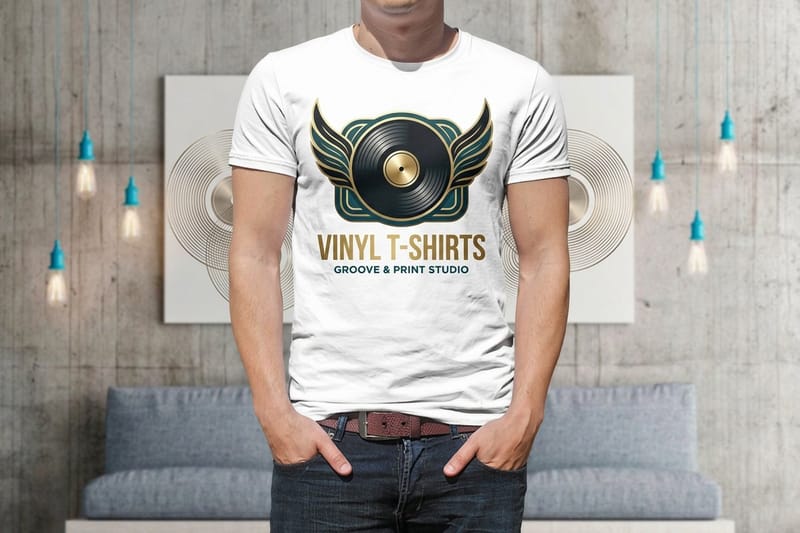
That last point is where planning the whole set beats planning the cap. Nobody hands out a cap on its own. The rest of the kit is flat, fast and printed rather than stitched: premium t-shirts from $21.96 for the team, canvas tote bags from $22.73 for the giveaway table, promotional stickers from $23.88 to go in every box, and vinyl t-shirts when a small run needs a bold single color graphic fast.
Match the artwork across all of it before anything goes to production. The cap will carry the simplified, stitchable version of your mark, so use that same simplified version on the shirt and the tote and the set reads as one brand instead of three near misses. Browse the promotional products collection for the giveaway items, custom t-shirt printing for the apparel, and tote bag printing for the bags, or read the complete guide to promotional apparel before you commit a budget.
Wally explains cap decoration
The seam decides the logo, every time
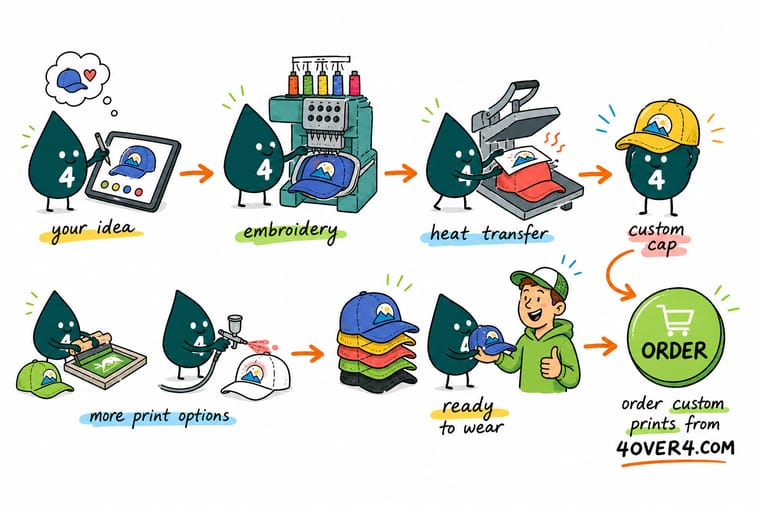
Wally puts a cap on the frame and finds the seam running down the middle of a 6 panel front. Artwork that crosses it pulls apart when the crown flexes, so he either moves to a 5 panel with one flat front, splits the lockup, or sews a patch straight over the top. Then he checks the letter height. Anything under about a quarter of an inch fills in with thread and stops being readable, so the tagline goes on the back or comes off. Caps are not ours, but the shirts, totes and stickers that ship with them are.
Shop the promotional products collection →
Specs and pricing
The printed half of a cap program, priced live
We do not decorate headwear, so these are the items that go with it: the transfer film a cap decorator presses, plus the apparel and bags that carry the same mark. The DTF transfer film prints to any size in 4 business days. Premium t-shirts take a full color print up to 8.5 x 11 inches on the front, back or both, in white or black, sizes S to XXL, from one shirt at $21.96. Canvas totes are 14.5 x 16 inches in natural, red or royal blue. Sizes, quantities and starting prices come straight from the 4OVER4.COM configurator.


Print it
Build the merch set around the cap
Use the simplified cap version of the logo on all three. Order the transfer film first so the decorator has it when the blanks arrive, then the shirts, ready in 5 business days, and the totes, ready in 7.

Explore more
Where to go next
Read the embroidery versus DTG guide to choose between thread and ink, the DTF guide for how the transfer film works, the shirt print size guide for chest and full front measurements, and the tote guide for minimums and turnaround.
By the numbers
Caps from a shop that has served 150,000+ businesses
Common Questions
Your cap printing questions, answered
Can you screen print on a cap?
Rarely, and it is almost never the right call. Screen printing needs the substrate to sit flat under the squeegee, and a cap crown does not. There are rotary cap presses that hold a crown against a curved platen, but very few shops own one, the registration on multi color art is poor, and the ink stops dead at the seams. If your art is genuinely too detailed for thread, a heat applied transfer on a flat fronted 5 panel is the practical route, not screen. The full mechanics of the flat process are in our guide on how screen printing works.
What is a digitizing fee and do I pay it twice?
Digitizing is the work of converting your logo into a stitch file: every stitch type, direction, density and underlay is decided by a person, not by a converter button. It is a one time charge per design at a given size, and any decent shop keeps the file and reuses it on reorders at no extra cost. Ask for that in writing, and ask whether the file is yours if you leave. The catch is scale. A stitch file built for a 4 inch front logo does not simply shrink to a 2 inch side hit, because stitch density and the smallest letter height have to be redecided, so a second size usually means a second digitizing charge.
How small can text go on an embroidered cap?
A quarter of an inch of letter height is the working floor for clean lettering, and even that assumes a simple sans serif on a smooth cotton twill front. Below it, the gaps inside letters like e, a and 8 fill in with thread and the word turns into a dark blur. Serifs, script and thin strokes need more height than that, not less. The usual fix on a cap is ruthless: keep the mark and the name on the front, move the tagline to the back above the closure, or drop it. If you need the small legal line to read, it belongs on a printed piece, not stitched into twill.
Will my brand color match exactly in thread?
No, and any shop that promises an exact match is guessing. Thread comes in fixed color ranges from a handful of makers, and a decorator matches your Pantone reference to the nearest cone on a physical thread chart. Most brand colors land close enough that nobody notices, but saturated oranges, bright teals and anything fluorescent are the usual problem children. Ask for the thread number they intend to use, then check it against a physical card rather than a screen, because monitors flatter thread badly.
Does 4OVER4.COM sell blank caps?
No. We do not stock or decorate headwear, and we would rather say so than sell you something we do not print. What we do print is everything that goes around the cap in a branded merch set: premium t-shirts from $21.96, canvas tote bags from $22.73, promotional stickers from $23.88, and the heat activated transfer film from $19 that a decorator can press onto a flat fronted cap panel. Order the caps from a headwear decorator, order the rest here, and match the artwork across both.
Which cap style should I pick if my logo is wide?
A 5 panel, or a trucker with a solid foam front. Both give you one uninterrupted front panel, so a horizontal logo sits flat instead of straddling the center seam of a 6 panel and pulling apart as the crown flexes. If the brief demands a 6 panel, the honest options are to split the logo so the mark sits left of the seam, shrink it to fit one side, or apply the design as a patch that is sewn on top and ignores the seam underneath. Patches cost more per cap and add a stitched border, which some brands love and others hate.
Get Started
A premium t-shirt costs $21.96, a canvas tote $22.73
Send the cap to a headwear decorator, then match it here. Shirts, totes, stickers and transfer film, all configured and priced live, all carrying the same mark.
Legal Disclaimer
Gold Standard guarantees apply to all standard orders placed through 4over4.com. Price match requires verifiable proof of a competitor's published price for an equivalent product with matching specifications and turnaround time. Satisfaction guarantee covers manufacturing defects and print quality issues. Contact support with order number and documentation.
