
T-Shirt Print Size Guide


Jordan is our labels, packaging and sustainability voice, built from the knowledge of our production team, with over 20 years in printing.
Full front prints go 10 to 12 inches wide, left-chest logos stay 3.5 to 4 inches, and full backs run 10 to 14 inches. Here are the standard sizes, a quick chart, and the setup that keeps every shirt sharp.
How big should a t-shirt design be? A full front or center-chest print is 10 to 12 inches wide, a left-chest logo is 3.5 to 4 inches wide, and a full-back print is 10 to 14 inches wide. Start the top of a center or back design 3 to 4 inches below the collar, and build artwork at 300 DPI (or vector) at the final print size for a crisp result.
Quick tips
Quick tips for sizing your t-shirt design
Match the design width to the placement: 10 to 12 inches for a full front, 3.5 to 4 inches for a left-chest logo, and 10 to 14 inches for a full back. Start the top of a center or back print 3 to 4 inches below the collar, scale youth prints down to 7 to 9 inches, and build artwork at 300 DPI at full size or as vector. 4OVER4.COM shows the printable area and live pricing on every shirt page so your art always lands right.
Why print size makes or breaks a t-shirt
Most custom shirts that look off have a sizing problem, and the artwork is fine. A 6 inch logo that felt perfect on your screen prints small and lost on an adult chest, and a front print pushed past 12 inches wide, or started less than 3 inches below the collar, crowds the neckline and the side seams. Getting the dimensions right is the difference between a shirt people want to wear and one that sits in a drawer.
This guide gives you the standard t-shirt print sizes for every placement, a simple size chart for adult and youth tees, and the setup steps that keep your design sharp. Whether you are printing team shirts, event merch, or a small run for your brand, the numbers here work across almost any garment. When you are ready, you can size and order your shirts at 4OVER4.COM custom t-shirt printing.
Need a hand placing the art? The Online Designer lets you drop your file onto a shirt template and scale it visually, so you can see the real size before you commit. If you are printing a batch, our guide to screen printing explains how the method affects fine detail and minimum sizes.
Standard t-shirt print sizes by placement
Each spot on a shirt has a size range that looks balanced on the body. Start with the placement, then match the width to it.
- Full front (center chest): 10 to 12 inches wide. This is your statement print, sized to fill the chest without touching the seams.
- Left chest (pocket area): 3.5 to 4 inches wide. A small, clean logo mark, ideal for uniforms and branded staff shirts.
- Full back: 10 to 14 inches wide. Team names, tour dates, and large graphics live here.
- Upper back (yoke): 8 to 12 inches wide, sitting just below the collar for a smaller callout.
- Sleeve: 1.5 to 4 inches wide, running along the sleeve for a subtle accent or sponsor logo.
The diagram below shows how these placements sit on the garment. The exact printable area still depends on the shirt size you order, so confirm it on the t-shirt printing product page before you finalize.
Standard adult print widths by placement. Top of a center or back design starts 3 to 4 inches below the collar.
For a cohesive brand look, keep the same logo mark consistent across shirts, branded merchandise, and your other marketing materials so everything reads as one identity.
T-shirt print size chart: adult and youth

Use this chart as your starting point, then adjust for the specific shirt and the look you want. Widths are the design width, not the printable area of the garment.
| Placement | Adult design width | Youth design width | Top edge below the collar |
|---|---|---|---|
| Full front | 10 to 12 in | 7 to 9 in | 3 to 4 in |
| Left chest | 3.5 to 4 in | 3 to 3.5 in | 3 to 4 in from the shoulder seam |
| Full back | 10 to 14 in | 8 to 10 in | 3 to 4 in |
| Sleeve | 1.5 to 4 in | 1.5 to 3 in | Runs lengthwise on the outer arm, not measured from the collar |
| Youth full front | Scale down from the adult file | 7 to 9 in | 2.5 to 3.5 in |
If you are printing a size run that mixes adult and youth tees from one design, size the art for the smaller garments and let it read a touch smaller on the larger shirts. That keeps the design from ever running off the edge of a smaller printable area. A design that is 11 inches on an adult small will still fit an adult 2XL comfortably, so you rarely need separate files unless you are also printing toddler sizes.
Design width and height by placement, in inches, centimeters and pixels
The chart above gives widths, because width is what you set first. Height still has a ceiling, and a file that is the right width and too tall runs into the hem. These are the working ranges for an adult tee, with the metric and pixel equivalents a Canva or Photoshop canvas asks for.
- Full front: 10 to 12 inches wide by 12 to 14 inches tall, which is 25 to 30 by 30 to 36 centimeters. At 300 DPI a 12 by 14 inch canvas is 3600 by 4200 pixels.
- Left chest: 3.5 to 4 inches wide by 3.5 to 4 inches tall, about 9 to 10 centimeters square, or 1200 by 1200 pixels at 300 DPI.
- Full back: 10 to 14 inches wide by 12 to 16 inches tall, 25 to 36 by 30 to 41 centimeters, up to 4200 by 4800 pixels.
- Sleeve: 1.5 to 4 inches wide by up to 3 inches tall, roughly 4 to 10 by 8 centimeters.
Most adult print areas top out near 12 by 16 inches, so a full back that reaches 14 inches wide should stay short. In Canva, set a custom size in inches at the finished dimensions and download a transparent PNG. Then drop the file onto the shirt template in the Online Designer for custom t-shirt printing and the printable box shows you whether the height clears the hem. The t-shirt printing web story runs through the build options before you open the designer.
How to choose the right print size
The right size comes down to intent. Ask what the design is doing on the shirt.
Want the design to be the focal point? Go full front at 10 to 12 inches, or full back at 10 to 14 inches. Big, centered art works for events, merch, and anything meant to be read from across a room.
Want a subtle, professional mark? A left-chest logo at 3.5 to 4 inches is the classic choice for uniforms, retail staff, and corporate gifts. Pair it with a larger back print if you want branding on both sides.
Not sure? Print a paper mock at actual size, cut it out, and hold it against a shirt. Seeing the real dimensions on a body beats guessing from a screen every time. The Online Designer does the same thing digitally by scaling your file over a shirt template. When it looks right, you can move straight to ordering at 4OVER4.COM.
Where to position your design (placement measurements)
Size is half the job. Placement is the other half. Here is where each print should sit.
- Full front: center the design horizontally, with the top edge 3 to 4 inches below the collar so it lands at chest height.
- Left chest: position it about 4 inches in from the center of the shirt and 3 to 4 inches down from the shoulder seam, so it sits over the wearer's chest, not the shoulder.
- Full back: center it horizontally with the top of the art 3 to 4 inches below the collar. For a name or number bar, drop it lower toward the mid-back.
- Sleeve: run it lengthwise along the sleeve, centered on the outer arm.
Standard adult print widths by placement. Top of a center or back design starts 3 to 4 inches below the collar.
These measurements keep prints off the seams, the collar, and the underarm, which is exactly where fabric folds and ink can crack. When you configure your order, the shirt template shows the printable box for each location, so your art always lands inside it.
Common t-shirt print size mistakes to avoid
Even experienced designers trip on these. Avoid them and your shirts come out clean the first time.
Sizing the front print too small. A 6-inch design on an adult chest looks lost. Unless you are going for a deliberate left-chest logo, fill the space at 10 to 12 inches.
Making it too big. Art that touches the collar or runs into the side seams looks cramped and can distort as the fabric stretches. Leave breathing room on all sides.
Ignoring the youth scale. Dropping an adult-sized file onto a kids tee crowds the whole shirt. Scale front prints down to 7 to 9 inches for youth sizes.
Low-resolution artwork. A small image stretched to print size turns blurry and pixelated. Build files at 300 DPI at the final size, or use vector art.
Forgetting the transparent background. If your PNG has a white box behind the art, that box prints too. Export with a transparent background so only the design shows.
For more setup help across print projects, the 4OVER4.COM guide hub covers artwork prep, sizing, and file formats for dozens of products.
Preparing print-ready artwork

Once the size and placement are set, get the file itself right. A few habits make the difference between a crisp print and a fuzzy one.
- Resolution: 300 DPI at the final print size. A 12-inch-wide front print should be around 3,600 pixels wide.
- Vector when you can: logos and text hold up best as vector (AI, EPS, or PDF) because they scale with zero quality loss.
- Transparent background: export a PNG with transparency so the shirt color shows through around your art.
- Color mode: design in RGB for on-screen accuracy, and expect a slight shift on fabric. For screen printing, spot colors keep bold areas crisp.
- Line weight: avoid hairline-thin lines and tiny type. Fine detail can drop out or fill in on fabric, especially at small sizes.
If you want the printer to handle sizing and placement for you, upload your art to the Online Designer and scale it against the shirt right there. Prefer to see the paper and ink quality first? Order free samples before you commit to a full run.
How print method affects size and detail
The way a shirt is printed changes what sizes and details work best, so it is worth matching the method to your design.
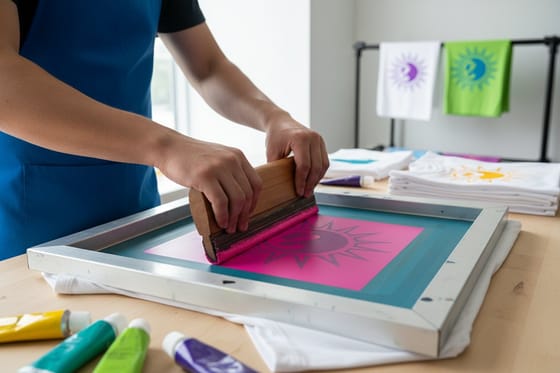
Screen printing is the classic choice for larger runs. It handles bold, large prints beautifully and keeps colors vivid, though every ink color adds a screen. It shines at full-front and full-back sizes.
Direct-to-garment (DTG) prints full-color artwork directly onto the fabric, which is ideal for detailed designs, photos, and small batches at any of the standard placement sizes.
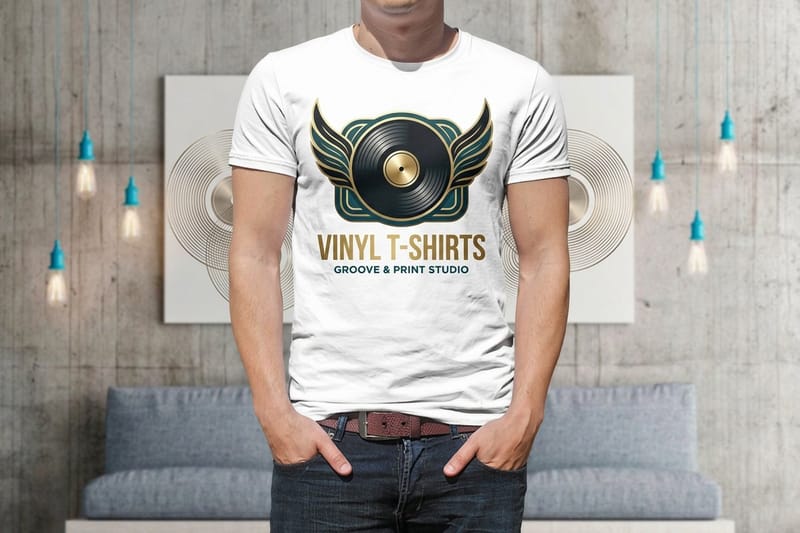
Vinyl is great for crisp names, numbers, and simple shapes. Explore vinyl t-shirts when you need sharp lettering, or step up to premium t-shirts for a heavier, softer garment. If you want to try printing shirts yourself first, this DIY custom t-shirt walkthrough shows the home approach and where a professional print pulls ahead.
Getting your sizes right with 4OVER4
You now have the full picture: 10 to 12 inches for a full front, 3.5 to 4 inches for a left chest, 10 to 14 inches for a full back, and youth prints scaled down to keep the proportions right. Set your artwork up at 300 DPI at full size, position it 3 to 4 inches below the collar, and you are ready to print.
4OVER4.COM makes the last step easy. Every shirt product page shows the printable area and live pricing as you configure, so there are no surprises. Pick your style, upload your art at the right size, and place your order. Start with premium t-shirts for a heavier, softer garment, vinyl t-shirts for crisp names and numbers, or kids t-shirts when the run includes youth sizes, and the kids t-shirts web story shows the youth options at a glance. For inspiration on what other customers have made, browse the custom t-shirt showcase, then head to t-shirt printing to build yours.
Wally explains print sizing
The right size is what makes a shirt look pro
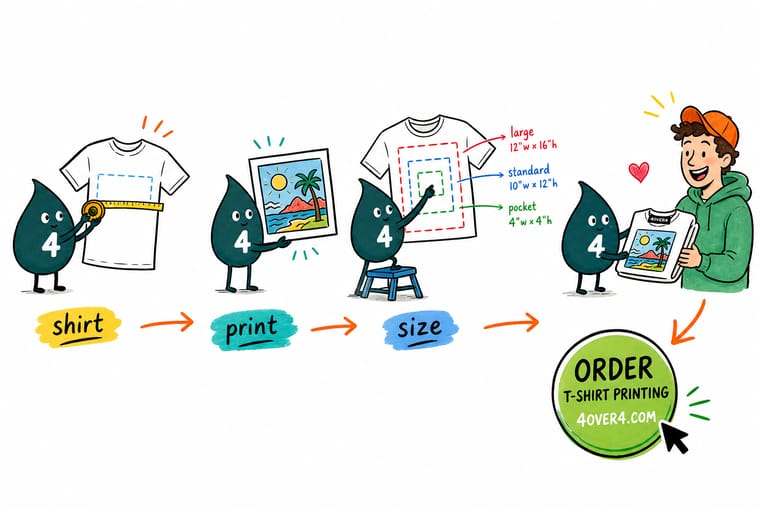
Wally measures every shirt like a tailor: a full front wants 10 to 12 inches, a left chest wants 3.5 to 4, and a full back wants 10 to 14. Start the art 3 to 4 inches below the collar, build it at full size, and it prints crisp every time. Get the numbers right, then let 4OVER4 print it to your exact design.
Order custom t-shirts →
Specs and pricing
Custom t-shirt specs and pricing
The configurator prices full color printing on an 8.5 x 11 inch print area, on the front, the back or both sides, on white or black shirts in sizes S to XXL. You can order a single shirt, and the price per shirt drops as the count rises. Here is what a custom t-shirt gives you at 4OVER4.COM, with live specs and price-per-unit straight from the configurator.
| Quantity | Price Per Unit | Total |
|---|---|---|
| 1 | $21.96 | $21.96 |
| 2 | $16.47 | $32.93 |
| 3 | $16.46 | $49.39 |
| 4 | $15.93 | $63.71 |
| 5 | $15.93 | $79.63 |
| 6 | $15.93 | $95.56 |
| 7 | $15.85 | $110.94 |
| 8 | $15.38 | $123.02 |
Print it
Order custom t-shirts at 4OVER4
See it in use
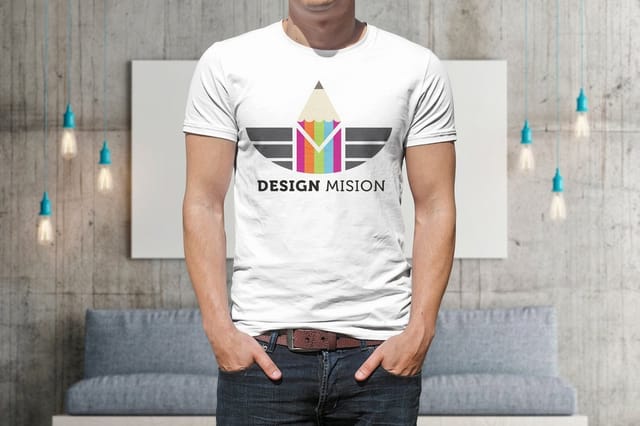
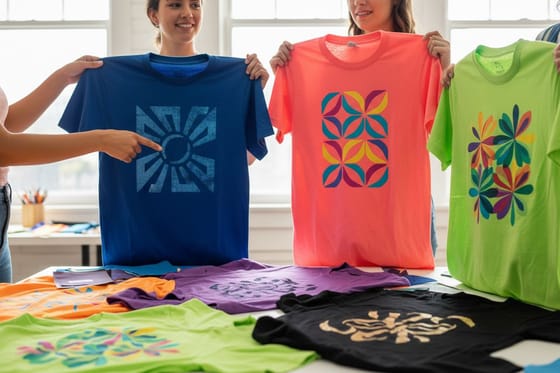
Shirts printed at the sizes above


Explore more
Where to go next


By the numbers
A thousand products, shirts and paper both
Common Questions
Common questions about t-shirt print sizes
What is the recommended t-shirt design size in width and height?
For an adult full front, 10 to 12 inches wide by 12 to 14 inches tall. A left chest logo is 3.5 to 4 inches in both directions, and a full back runs 10 to 14 inches wide by 12 to 16 inches tall. Keep the top edge of a front or back design 3 to 4 inches below the collar, and build the file at 300 DPI at those finished dimensions.
What size should my Cricut design be for a shirt?
Size it the same as any other print, then check it against the mat. A Cricut cuts up to 11.5 inches wide on a 12 inch mat, so a full front design lands at 10 to 11.5 inches wide and a left chest logo at 3.5 to 4 inches. For a full back that wants 12 to 14 inches, split the art into two pieces or move the run to a printer, since heat transfer vinyl also adds a stiff hand across a large area.
What are the standard t-shirt print sizes by placement?
A full-front or center-chest print is usually 10 to 12 inches wide. A left-chest logo is 3.5 to 4 inches wide. A full-back print runs 10 to 14 inches wide, and a sleeve print is 1.5 to 4 inches wide. These are widths that fit most adult shirts cleanly and keep your design centered inside the printable area.
What is a t-shirt print size chart?
A print size chart lists the recommended design width for each placement and garment size. For adults, plan on 10 to 12 inches for a full front, 3.5 to 4 inches for a left chest, and 10 to 14 inches for a full back. For youth tees, scale the full front down to 7 to 9 inches. Always check the product template for the exact printable area before you finalize.
How big should a design be on the front of a shirt?
For a bold statement print, size the artwork 10 to 12 inches wide and start the top edge 3 to 4 inches below the collar so it sits at chest height. For a smaller branded look, a left-chest logo of 3.5 to 4 inches works better. The right choice depends on whether you want the design to be the focal point or a subtle mark.
What is the standard t-shirt back print size?
A full-back print is typically 10 to 14 inches wide. Team names, event graphics, and large artwork sit best toward the upper back, with the top of the design about 3 to 4 inches below the collar. Keep the art inside the printable area so nothing runs off the side seams or into the shoulders.
How do I choose the right t-shirt design size?
Start with the placement, then match the width to that spot: full front, left chest, full back, or sleeve. Consider the garment size range you are ordering, since one file may need to scale between adult and youth. Look at where the design sits on the body, not just how it looks flat, and confirm the printable area on the product page before you order.
What resolution should t-shirt artwork be?
Build raster artwork at 300 DPI at the final print size. A 12-inch-wide front print at 300 DPI means the image should be about 3,600 pixels wide. Vector files (AI, EPS, or PDF) are even better because they scale to any size without losing sharpness. Export with a transparent background so only your design prints, not a white box.
How much does custom t-shirt printing cost and how is pricing set?
Pricing is driven by the shirt style, the quantity, the number of print locations, and the number of ink colors or print method. Live per-unit pricing shows on the product page as you configure your order, so you always see the real number before checkout. Larger quantities lower the cost per shirt, which is why team and event orders get more affordable at volume.
Get Started
Ready to print your custom t-shirts?
Pick your style, upload your correctly sized design, and we print sharp, long-lasting shirts for teams, events, and merch.
Legal Disclaimer
Gold Standard guarantees apply to all standard orders placed through 4over4.com. Price match requires verifiable proof of a competitor's published price for an equivalent product with matching specifications and turnaround time. Satisfaction guarantee covers manufacturing defects and print quality issues. Contact support with order number and documentation.
