
Bleeds, Cut Line and Safety Checklist for Printing


Three lines separate a file that prints clean from one that comes back with white slivers and shaved logos. Here is what bleed, the cut line, and the safe zone each do, the exact margins to use, and a checklist to run before every upload.
Bleed, cut line, and safe zone are the three nested boundaries of any print file. Bleed extends edge color about 0.125 inch past the trim so no white shows after cutting. The cut line is where the blade lands and sets the finished size. The safe zone sits 0.125 to 0.25 inch inside the cut line and holds anything you cannot afford to lose. Set all three correctly and your printed piece comes out exactly as designed.
Start here
The print-ready checklist in one paragraph
Bleed, cut line, and safe zone are the three lines that keep your artwork intact through the trimmer. Extend edge color 0.125 inch past the trim for bleed, build your document to the finished size so the cut line is right, and hold text and logos 0.125 to 0.25 inch inside for the safe zone. Nail all three, add high-resolution CMYK artwork, and even a complex die-cut piece from 4OVER4.COM prints exactly the way you drew it. The diagram further down shows all three lines at once.
Why bleed, cut line, and safety decide whether your print survives the trimmer
A printed piece rarely comes off the press one at a time. Your die-cut flyers are ganged onto a large sheet, run through the press, and then cut down in tall stacks by a guillotine blade. That blade is fast and accurate, but across a stack it can wander by a hair. Bleed, the cut line, and the safe zone are the three simple rules that keep your design looking deliberate no matter where the blade lands.
Get them wrong and the symptoms are familiar: a thin white sliver along one edge, a logo shaved on one side, body copy that sits nervously close to the border. Get them right and none of that happens, on the first run or the fifth reorder. The rules are the same whether you are ordering custom die-cut labels, a batch of die-cut postcards, or a full custom shaped print run.
This guide walks through each line in plain terms, shows the exact measurements to use, and ends with a one-page checklist you can run before every export. If you would rather not measure anything, our free online design tool already places the bleed, cut, and safe lines for you, and you can order free paper samples to feel the stock before you commit.
What is bleed?
Bleed is the strip of artwork that runs past the final trim edge, so that any color or image meant to reach the border actually reaches it after cutting. The industry standard is 0.125 inch, one eighth of an inch, on all four sides. If your background is a solid teal or a photo that fills the frame, that teal or photo has to extend into the bleed area, not stop neatly at the edge.
The reason is mechanical. When a stack of sheets is trimmed, the blade shifts a little from the top sheet to the bottom. Without bleed, that shift exposes the unprinted white paper underneath and you get a pale hairline along the edge. With bleed, the blade cuts through printed color the whole way down, so every piece looks edge to edge. This matters most on products designed to be seen at the border, like die-cut stickers and die-cut hangtags.
One caution: bleed is for elements you want cut off, not content you want to keep. Push a background into the bleed, but never park a logo or a phone number out there. Anything in the bleed zone is expected to disappear under the blade.
What is the cut line? (cut lines for printing)
The cut line, also called the trim line, is where the blade actually lands. It marks the finished size of your piece, and it is the single most important reference in the whole file. Design your layout to the cut line and the printed product comes out the exact dimensions you planned. Cut lines for printing are just the marks that communicate that boundary to the press.
On a standard rectangular product the cut line is a straight box: a business card trims to 3.5 by 2 inches, a postcard to 4 by 6, and the blade follows those edges. On a die-cut product the cut line is a custom path instead of a rectangle, which is exactly what makes a shape a shape. Our guide to die cutting covers how that custom line becomes a physical cut, and what die-cut stickers are shows the idea applied to one popular product.
Think of the three lines as nested boxes. The cut line is the middle box and your true size. Bleed lives just outside it, the safe zone just inside it. Once you can picture those three boxes, every print template on the site reads the same way, from a simple die-cut business card to an any-shape custom die-cut.
What is the safe zone?
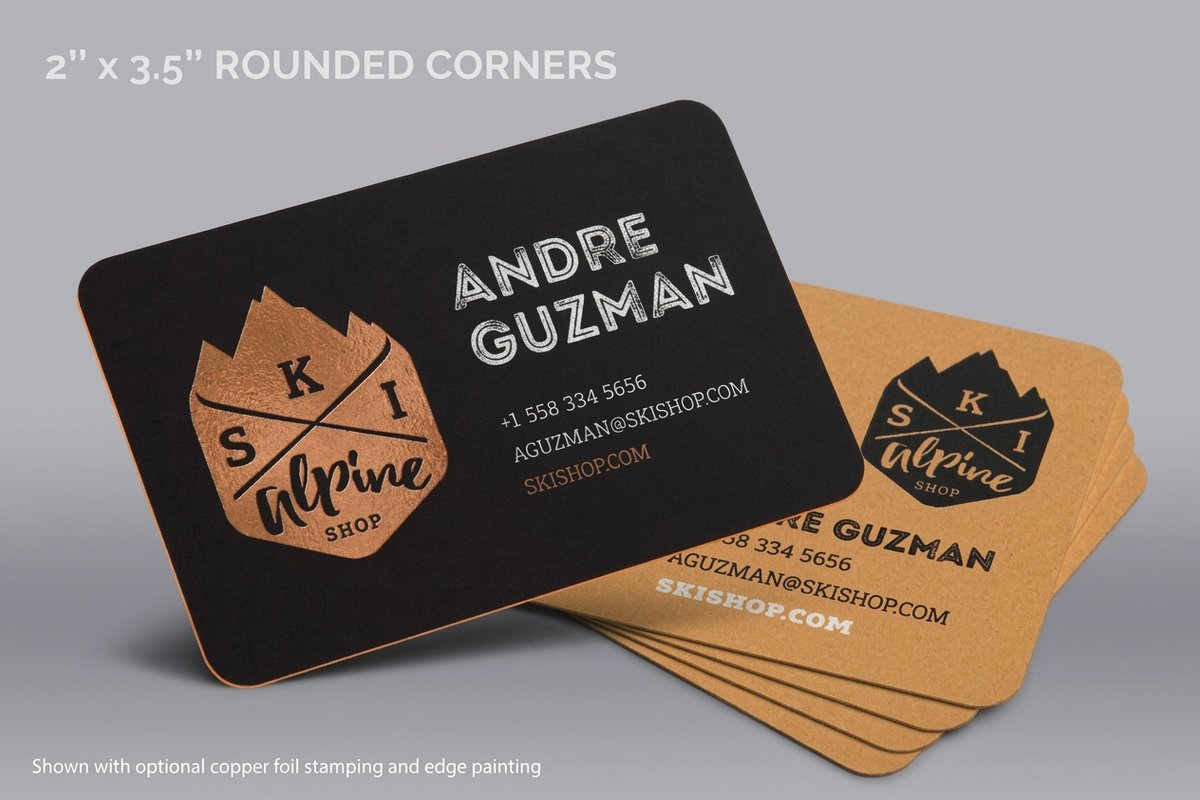
The safe zone, or safety margin, is an inner boundary set 0.125 to 0.25 inch inside the cut line. It is the opposite of bleed: where bleed pushes edge-reaching color outward, the safe zone pulls anything you care about inward. Keep your headline, body copy, logo, and page numbers inside this line and the same trimmer drift that bleed protects against can never touch them.
The mistake here is subtle because it looks fine on screen. A phone number sitting one millimeter from the edge in your design file can end up shaved, or so close to the border that the card feels cramped and cheap. Holding a consistent margin is a quiet mark of quality, the same discipline that good logo design and a solid design-stage checklist rely on.
The safe zone matters even more on products with a purpose at the edge, like packaging and shelf-ready packaging, where a trimmed barcode or cut-off callout can stop a piece from doing its job. When in doubt, give important content a little more room, not less.
How much bleed and margin do you actually need?
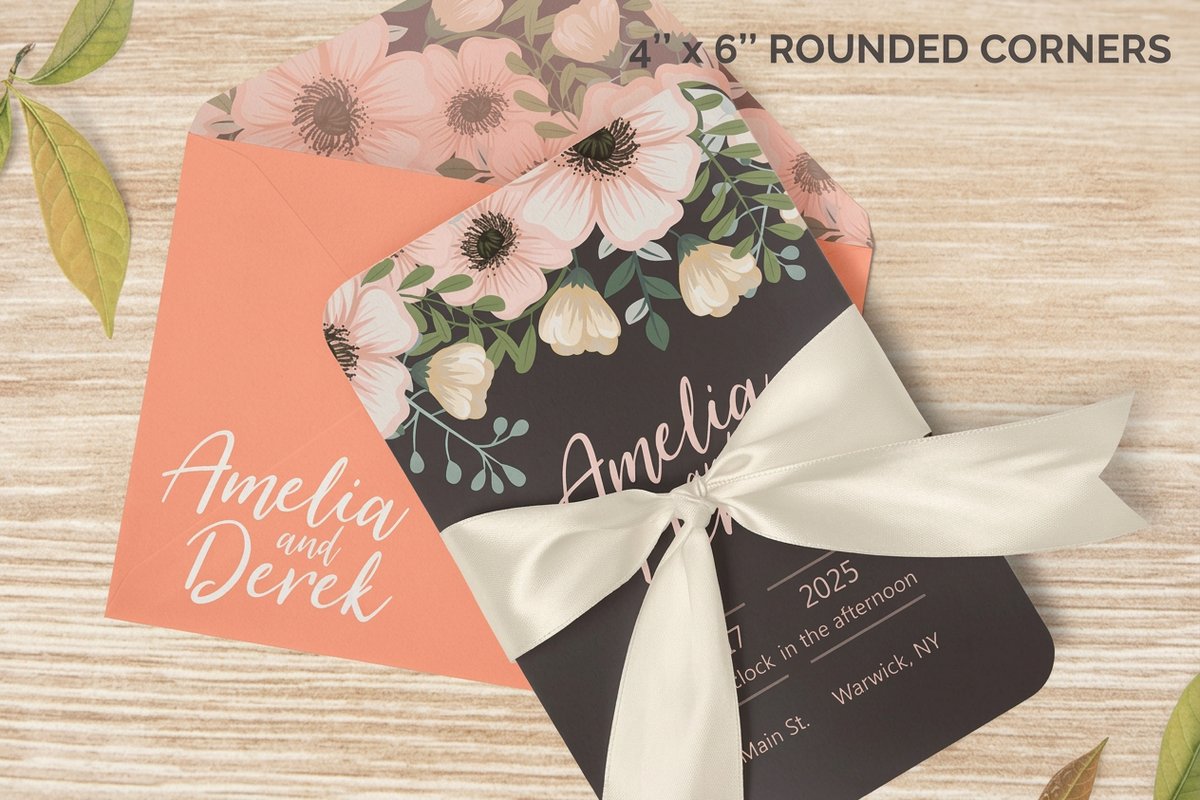
For most flat products the recipe is short. Add 0.125 inch of bleed on all four sides, and hold your safe margin 0.125 to 0.25 inch inside the trim. That means your document is slightly larger than the finished piece. A 4 by 6 inch postcard is built as a 4.25 by 6.25 inch file, with the trim at 4 by 6 and the important content kept about a quarter inch in.
The finished size is where you start, then you work outward for bleed and inward for safety. Export at 300 DPI or higher so the print stays crisp, flatten to CMYK so the color matches what the press can reproduce, and save as a print-ready PDF whenever you can. Large-format and specialty items occasionally ask for a wider bleed, so read the product template rather than assuming one number fits everything.
The fastest way to be certain is to skip the manual math. Download the template for your specific product at 4OVER4.COM, which arrives with bleed, cut, and safe lines already placed, or drop your artwork into the free online design tool and let it flag anything sitting outside the lines before you order.
The print-ready file checklist
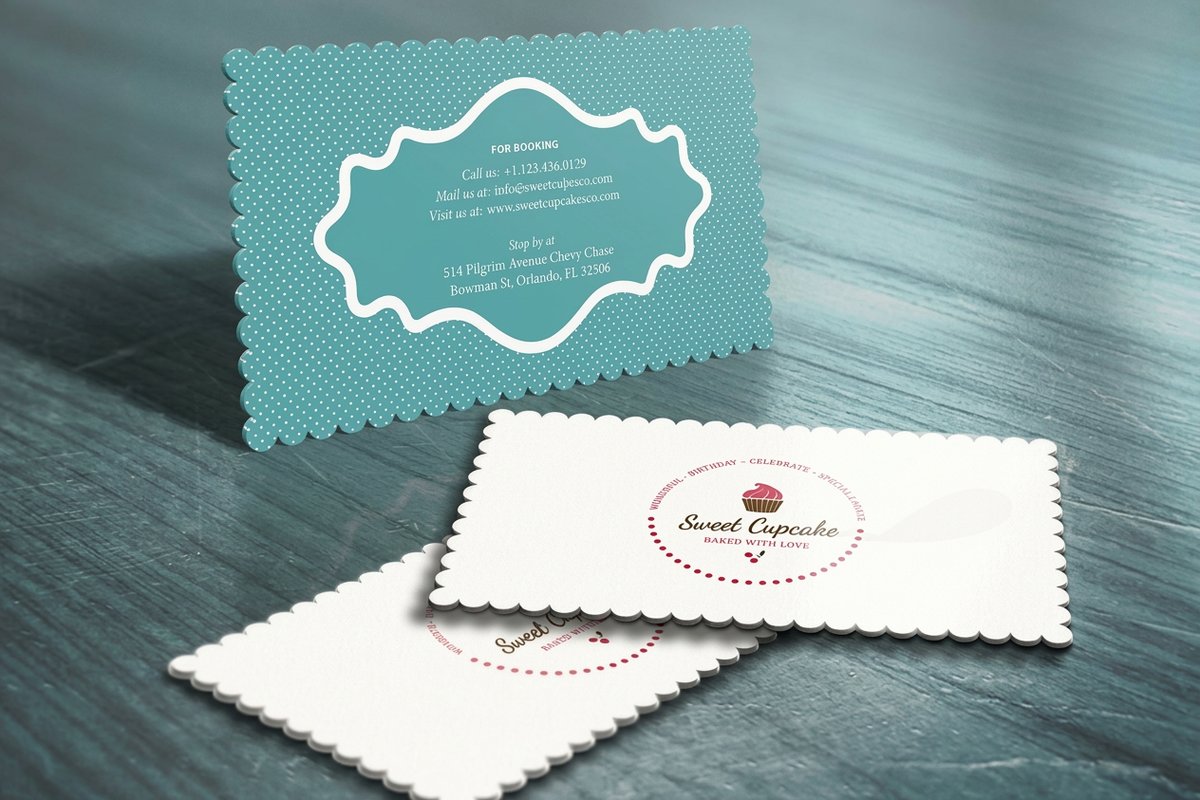
Before you upload anything, run this quick pass. It takes under a minute and catches the handful of issues that cause almost every reprint.
- Bleed added: every background color or image that touches an edge extends 0.125 inch past the trim.
- Cut line correct: the document is built to the finished size, so the trim lands exactly where you want it.
- Safe zone respected: all text, logos, and key details sit 0.125 to 0.25 inch inside the cut line.
- Resolution high enough: raster images are 300 DPI or better at final size, so nothing prints soft.
- Color in CMYK: the file is converted from RGB to CMYK, so the printed color matches your intent.
- Fonts and links handled: type is outlined or embedded and images are linked or packaged, so nothing drops out.
- Format print-ready: exported as a flattened, high-resolution PDF whenever the product allows it.
Keep this list next to your export button. It works the same for a single die-cut flyer run and a stack of custom labels, and it pairs well with the shortcut of letting a pro shop handle the heavy lifting, which is the case our guide on outsourced printing services makes in full.
What print-ready files cost, and how printing is priced

Building bleed and safe zones into a file costs nothing on its own. It is simply how the artwork is set up, and the templates and design tool at 4OVER4.COM handle it for free. The price you pay is for the print itself, and it moves with a few predictable levers.
Those levers are quantity, size, stock, and finish. Larger runs lower the per-unit price, bigger pieces and heavier stocks cost more, and finishes like lamination or specialty coatings add to the total. A run of die-cut flyers starts around $34 and the unit price falls as the quantity climbs, and you can watch every choice update the number live in the configurator before you commit.
If you want the lowest-effort path, browse our ready-made products for designs that are already print-ready, or explore staggered cut printing and the wider shaped printing range. To see the exact specs and current pricing for die-cut flyers, use the panel below.
Wally explains the three lines
Bleed out, cut in the middle, keep it safe inside
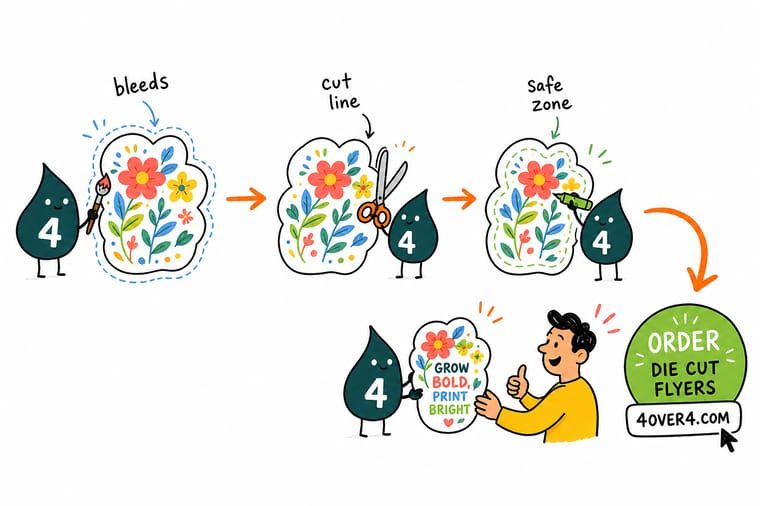
Wally reads every print file as three nested boxes. Edge color pushes out to the bleed line so the trimmer never shows white, the cut line in the middle is the real size, and the safe zone on the inside guards your text and logo from the blade. Build the file with all three in mind, or grab a 4OVER4 template that has them placed already, and your print comes out exactly as drawn.
Start a print-ready project →Diagram
The anatomy of a print-ready file
One frame, three lines. Save it and use it as a reference the next time you set up a business card, postcard, label, or any die-cut piece.
Read the file as three nested boxes: bleed on the outside for edge color, the cut line in the middle for your true size, and the safe zone on the inside for anything you cannot afford to lose.
Specs and pricing
Die-cut flyer specs and live pricing
When your file is print-ready, the rest comes down to size, stock, and finish. Here are the live specs and price-per-unit for die-cut flyers at 4OVER4.COM, straight from the configurator.
| Quantity | Price Per Unit | Total |
|---|---|---|
| 50 | 68.1¢ | $34.05 |
| 100 | 51.6¢ | $51.62 |
| 200 | 30.2¢ | $60.42 |
| 300 | 23.8¢ | $71.40 |
| 400 | 20.0¢ | $80.19 |
| 500 | 17.8¢ | $88.98 |
| 600 | 17.6¢ | $105.44 |
| 700 | 17.1¢ | $119.73 |
Print it
Put a print-ready file to work at 4OVER4
See it in use
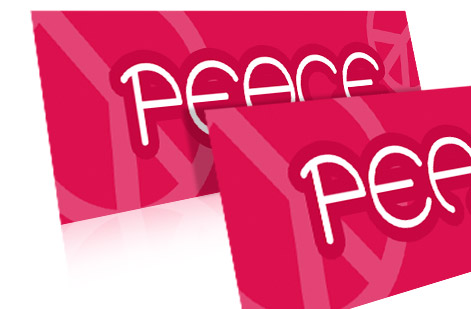
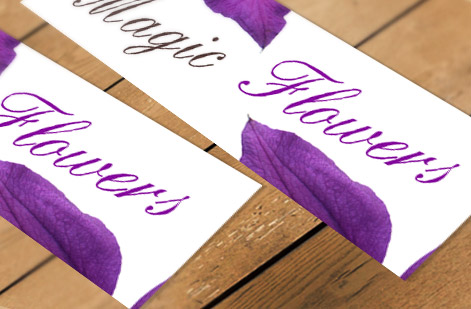
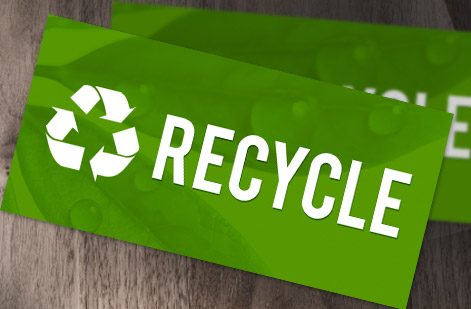
Real die-cut work, printed in-house

Explore more
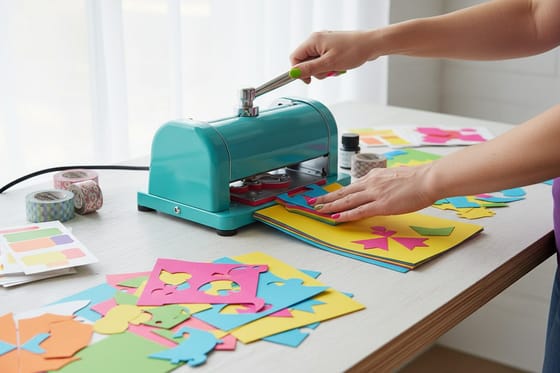
Where to go next



By the numbers
Print-ready work you can count on at 4OVER4
Common Questions
Common questions about bleed, cut lines, and safe zones
What is bleed in printing?
Bleed is the extra bit of artwork that extends past the final trim edge of a piece, usually about 0.125 inch (one eighth of an inch) on every side. Because commercial jobs are printed on large sheets and then cut down in stacks, the blade can shift by a hair from sheet to sheet. Bleed gives that blade somewhere to land without exposing the unprinted paper underneath, so any background color or photo that reaches the edge stays edge to edge after cutting.
What is the cut line, and what are cut lines for printing?
The cut line, also called the trim line, is the exact boundary where the guillotine cuts your printed sheet down to its finished size. Cut lines for printing are simply the marks in your file that tell the press operator where the piece begins and ends. Everything inside the cut line stays on the finished product, everything in the bleed area past it gets sliced off. Your real dimensions live at the cut line, so that is the size you design to.
What is the safe zone in a print file?
The safe zone, or safety margin, is an inset boundary that sits 0.125 to 0.25 inch inside the cut line. Keep text, logos, page numbers, and anything critical inside it. Because the trimmer drifts slightly, content parked right against the cut line risks getting shaved off or ending up uncomfortably close to the edge. The safe zone is your buffer against that normal variation.
How much bleed and margin do I actually need?
For most flat printed products the standard is 0.125 inch of bleed on all four sides and a safe margin of 0.125 to 0.25 inch inside the trim. A 4 by 6 inch postcard, for example, becomes a 4.25 by 6.25 inch document once you add the bleed, with the important content held about a quarter inch in from the edge. Large-format and specialty pieces sometimes ask for more, so check the template for the exact product before you export.
How do I choose the right cut line for my file?
Start from the finished size you want the piece to be in hand, then build your document to that size and let it become the cut line. Add bleed outward from there and pull your safe margin inward. The simplest way to get it right is to download the product template at 4OVER4.COM, which already has the bleed, cut, and safe lines placed for you, or upload your file to the free online design tool and let it flag anything that falls outside the lines.
What does a print-ready file cost, and how is printing priced?
Setting up bleed and safe zones adds nothing to your price, it is just how the file is built. Printing cost itself scales with a few levers: quantity (more pieces lower the unit price), size, paper stock, and finish. Die-cut flyers, for instance, start around $34 and the per-unit price drops as the quantity climbs. You set each option in the configurator and watch the total update live before you order.
Get Started
Ready to send a print-ready file?
Build your artwork with bleed, cut, and safe lines in place, or start from a 4OVER4.COM template that already has them. Adjust every option and watch your price update live.
Legal Disclaimer
Gold Standard guarantees apply to all standard orders placed through 4over4.com. Price match requires verifiable proof of a competitor's published price for an equivalent product with matching specifications and turnaround time. Satisfaction guarantee covers manufacturing defects and print quality issues. Contact support with order number and documentation. On-time delivery rate based on tracked orders 1999 to 2026. Individual results may vary based on shipping carrier performance.
