
Standard Rack Card Sizes and How to Pick the Right One


The standard rack card is 4 by 9 inches, tall and narrow to fit a display pocket and show its headline above the lip. Here are the standard and alternate sizes, how to pick the right one, and how to set up the file.
The standard rack card size is 4 by 9 inches, portrait, printed front and back. Slim 3.5 by 8.5 and tall 4.25 by 11 inch alternates suit specific racks. Put your headline in the visible top third, add 0.125 inch of bleed, and keep the header clear of the rack lip.
Start here
Rack card sizes in one paragraph
The standard rack card size is 4 by 9 inches, portrait, printed on both sides. The alternates are a slim 3.5 by 8.5, a long 4 by 12, and a tall 4.25 by 11 inches. Because the pocket hides the lower part, put your headline in the top third, add 0.125 inch of bleed on every edge, and keep the header clear of the rack lip. The diagram below shows the sizes and the rack fit.
Watch it printed
See standard rack cards on the press, in 90 seconds
What a rack card is, and where it lives
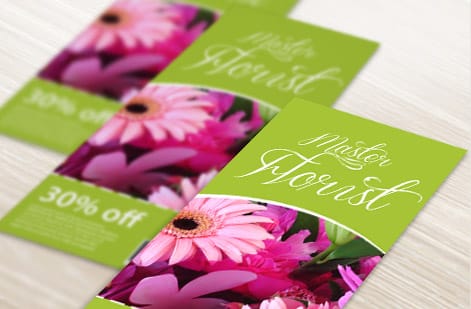
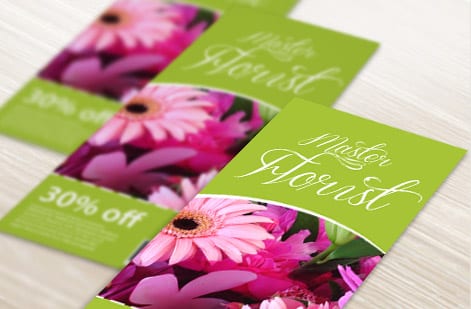
A rack card is a tall, narrow, single-panel card printed on both sides, designed to sit in a display rack, the rows of shallow pockets you see in hotel lobbies, visitor centers, restaurants, and waiting rooms. Its whole shape is dictated by that rack: narrow enough to line up beside others, tall enough to show a headline above the pocket lip.
Because a rack card is a flat, unfolded piece, it is simpler to design and set up than a folded brochure, while still giving you two full sides to work with. That makes it a favorite for promoting a service, a location, an event, or a menu in a spot where people are already browsing.
This guide focuses on the one thing that trips people up most: the size. We will cover the standard 4 by 9 inch dimension, the common alternates, how to match a size to a rack, and how to set the file up correctly. For the broader picture of what rack cards do and how to design them, pair this with our guide on what rack cards are.
The standard rack card size: 4 by 9 inches
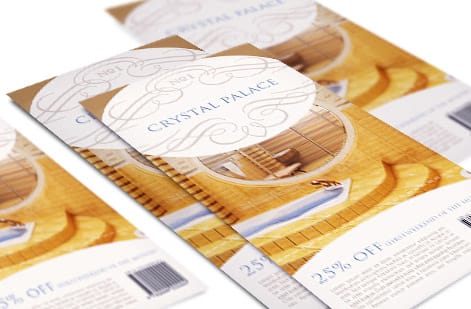
The standard rack card size is 4 by 9 inches, in portrait orientation, and it is the size to pick whenever you are unsure. It fits the common display pocket, shows its headline above the rack lip, and is the most widely stocked and economical rack card format.
A useful bonus of the 4 by 9 dimension is that it shares a footprint with a standard number 10 envelope, so a 4 by 9 rack card can double as a mailer if you want to send it as well as display it. That flexibility is part of why it became the default.
Design it vertically, and remember that the top third is the part guaranteed to show when the card sits in a pocket. Put your headline, logo, and main hook up there so a passerby scanning a rack sees your message without pulling the card. Our rack cards print this standard size on a range of stocks and finishes.
Other common rack card sizes
While 4 by 9 is the default, two alternates cover specific needs. A slim 3.5 by 8.5 inch rack card fits tighter display pockets and makes a lighter, more economical piece, which is handy when a particular rack is narrower than standard or when you are printing in high volume.
At the other end, a 4.25 by 11 inch card gives you more room for content and stands taller above the rack, so it can draw the eye in a crowded display. The extra height is useful when you have more to say or want the card to read as a premium piece.
The right alternate almost always comes down to the specific rack the card will live in, so if you know the display, measure the pocket before you choose. If your content really needs multiple panels, a folded piece may serve better, which our guide on rack cards versus brochures and our brochure size guide can help you weigh.
Choosing size for the rack and laying out both sides
Choosing a size is really about the rack and the reader. Measure the pocket if you can, and picture how much of the card the lip will cover, usually the bottom portion, which tells you exactly how much room your headline has up top. A card that looks great flat can lose its hook the moment a rack hides the wrong part of it.
Once the size is set, plan both sides. The front earns the pick-up: a strong headline and image in the top third, then a clear benefit below. The back closes the sale once the card is in hand, with details, photos, a map, contact information, or a call to action. Because both faces print, treat them as a pair rather than an afterthought.
Keep the visible top third clean and high-contrast so it reads from a few feet away, and let the denser information sit lower and on the back. Our guides on captivating rack card design and getting a rack card picked up go deeper on the layout.
Bleed, safe area, paper, and finish

Setting up a rack card file is the same discipline as any print piece, with one extra note for the rack lip. Build at the final size, extend any edge art 0.125 inch past the trim on all four sides for bleed, and keep text and your headline inside a safe margin, giving extra room at the top where the pocket covers the card.
Work in CMYK, place images at 300 DPI at final size, and export a flattened, press-ready PDF so the card prints exactly as designed. Every order runs through a free file check, so a second set of eyes catches anything before it prints.
Finally, choose paper and finish for the display. A sturdy card stock stands upright without curling, a gloss coat makes photos pop and resists fingerprints in a busy rack, a matte or silk finish reads as premium, and a metallic stock adds shine that stands out. Our metallic rack cards add that extra catch, and the full range lives in rack cards.
Rack card templates
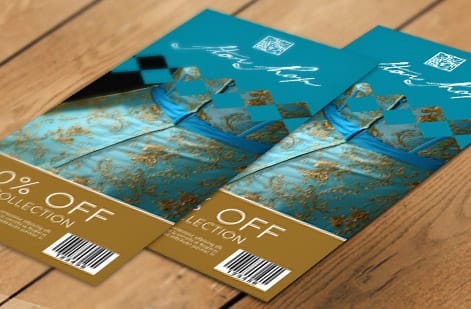
Every rack card blank template is built at the final trim size with 0.125 inch of bleed already added on all four sides and a 0.125 inch safe margin held inside the trim. The top third is marked as well, because that is the strip the rack pocket leaves visible.
- 4 x 9 in, the standard. Build to 4.25 x 9.25 in with bleed, keep text inside 3.75 x 8.75 in. Download the rack card template.
- 3.5 x 8.5 in, slim. Build to 3.75 x 8.75 in with bleed, keep text inside 3.25 x 8.25 in. Download the rack card template.
- 4 x 12 in, long. Build to 4.25 x 12.25 in with bleed, keep text inside 3.75 x 11.75 in. Download the rack card template.
- 4.25 x 11 in, extra tall. Build to 4.5 x 11.25 in with bleed, keep text inside 4 x 10.75 in. Download the metallic rack card template.
Drop your art into the template at 300 DPI in CMYK, keep the headline in the top third, and export a flattened PDF with the bleed left on. The free file check confirms the setup before anything prints.
Wally sizes the card to the rack
4 by 9 is the default, the top third does the selling
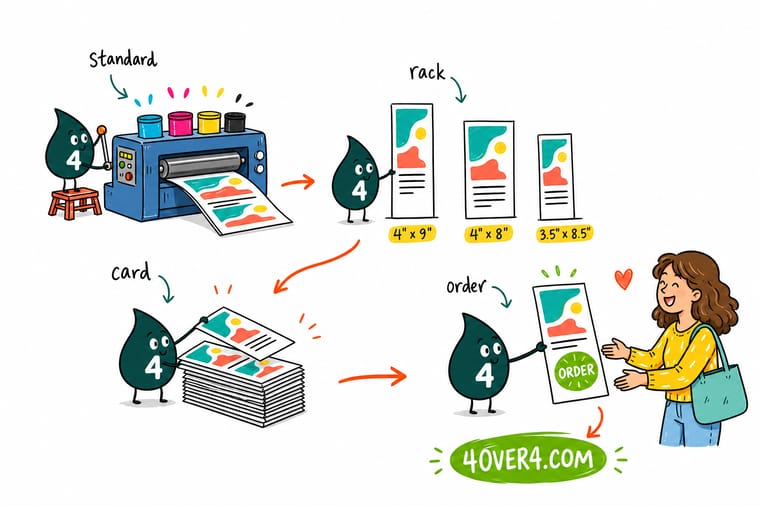
Wally reaches for the 4 by 9 inch standard unless a rack calls for something slimmer or taller. He loads the headline into the top third that shows above the pocket lip, uses both sides, adds a bleed on every edge, and keeps the header safe. Then he picks a sturdy stock so the card stands tall in the display and prints it clean.
Print your rack cards →Quick reference
Rack card sizes, at a glance
Start with the 4 by 9 standard, then switch to an alternate only if a specific rack calls for it.
| Size | Millimeters | Pixels at 300 DPI | With bleed | Type | Best for |
|---|---|---|---|---|---|
| 4 x 9 in | 102 x 229 mm | 1200 x 2700 px | 4.25 x 9.25 in | The standard | Fits a standard rack pocket and shows the headline above the lip. The default choice. |
| 3.5 x 8.5 in | 89 x 216 mm | 1050 x 2550 px | 3.75 x 8.75 in | Slim | A narrower card for tighter rack pockets and lighter, more economical mailers. |
| 4 x 12 in | 102 x 305 mm | 1200 x 3600 px | 4.25 x 12.25 in | Long | A full extra three inches of height for schedules, menus and long price lists. |
| 4.25 x 11 in | 108 x 279 mm | 1275 x 3300 px | 4.5 x 11.25 in | Extra tall | More room for content and extra height that stands taller above the rack. |
| Orientation | n/a | n/a | n/a | Vertical (portrait) | Rack pockets are tall and narrow, so a portrait layout fits and displays correctly. |
| Sides | n/a | n/a | n/a | Front and back | A flat, single-panel piece printed on both faces for twice the space. |
| Setup | n/a | n/a | n/a | 0.125 in bleed, safe top third | Bleed on every edge, and keep the headline clear of the rack lip. |
Step by step
Choose and set up your rack card in 7 steps
- Start with the 4 by 9 inch standard Unless a specific rack requires otherwise, choose the standard 4 by 9 inch size. It fits the common display pocket and is the most widely stocked and economical rack card.
- Match the size to the rack If your card lives in a particular display, measure the pocket. Choose the slim 3.5 by 8.5 inch card for tighter racks or the 4.25 by 11 inch card when you want more height and content.
- Design vertically and load the top third Lay the card out in portrait, and put your headline, logo, and hook in the top third, the part that shows above the rack lip when the card sits in a pocket.
- Plan the front and back Use the front to grab attention and the back for details, contact information, a map, or a call to action. Both sides print, so use them.
- Add bleed and set the safe area Build at the final size, extend any edge art 0.125 inch past the trim, and keep text and the headline inside a safe margin, especially clear of the top where the rack lip covers the card.
- Choose paper and finish Pick a sturdy stock that stands up in a rack without curling, and a finish, from matte to gloss to metallic, that suits the brand and holds up to handling.
- Export and order Flatten the artwork, export a press-ready PDF, and match it to the rack card product and size you chose. The free file check confirms it is ready before printing.
Specs and pricing
Rack card specs and live pricing
Once you have picked a size, the print decisions come down to stock and finish. Here are the live specs and price-per-unit for rack cards at 4OVER4.COM, straight from the configurator.
| Quantity | Price Per Unit | Total |
|---|---|---|
| 50 | 85.7¢ | $42.84 |
| 100 | 60.4¢ | $60.42 |
| 200 | 31.2¢ | $62.40 |
| 300 | 25.5¢ | $76.45 |
| 400 | 22.6¢ | $90.51 |
| 500 | 20.9¢ | $104.57 |
| 600 | 20.5¢ | $123.02 |
| 700 | 20.2¢ | $141.47 |
Print it
Print your rack cards at 4OVER4

See it in use
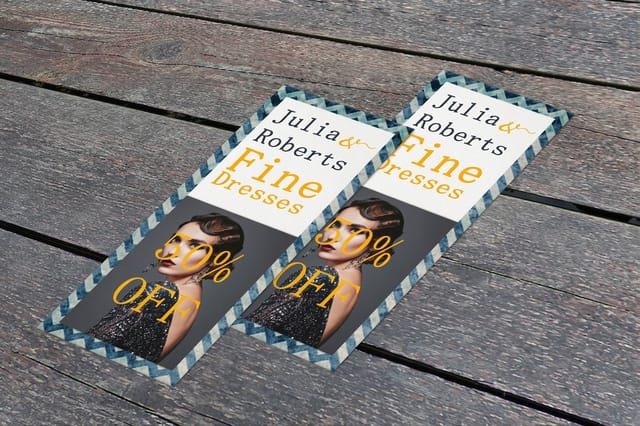
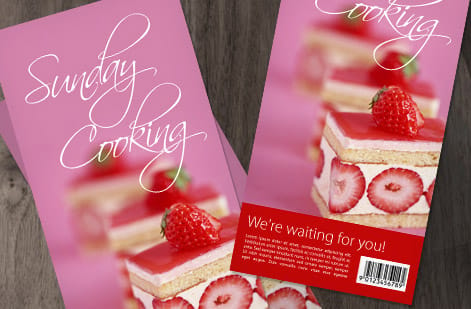
Rack cards customers printed for racks and counters




Explore more
Where to go next


By the numbers
Rack card stocks and the delivery record behind a rack order
Common Questions
Common questions about rack card sizes
What is the size of a rack card?
The standard rack card is 4 x 9 inches, the size that fits brochure racks in hotels, lobbies and visitor centers. 4OVER4 prints standard rack cards from $42.84.
Are cards usually A5 or A6?
A5 (5.8 x 8.3 inches) and A6 (4.1 x 5.8 inches) are European sheet sizes for flyers and postcards; a US rack card is 4 x 9 inches, taller and narrower so it stands in a rack pocket.
What is the standard rack card size?
The standard rack card size is 4 by 9 inches, printed in a vertical, portrait orientation. That tall, narrow shape is designed to fit a standard brochure or rack display pocket, the kind you see in hotel lobbies, visitor centers, and waiting rooms, while showing its headline above the lip of the rack. It is also the same footprint as a standard number 10 envelope, so a 4 by 9 rack card can double as a mailer. If you are unsure which size to pick, the 4 by 9 standard is the safe, widely stocked default.
What other rack card sizes are available?
Beyond the 4 by 9 inch standard, two alternates are common. A slim 3.5 by 8.5 inch rack card fits tighter display pockets and makes a lighter, more economical mailer. A larger 4.25 by 11 inch card gives you more room for content and stands taller above the rack, which can help it get noticed. The right alternate depends on the specific display it will live in and how much information you need to fit. When a card will sit in a particular rack, measuring that pocket is the surest way to choose.
What size is a rack card in pixels?
A standard 4 by 9 inch rack card is 1200 by 2700 pixels at 300 DPI, which is the resolution to build at for print. With the 0.125 inch bleed added on all four sides the document becomes 4.25 by 9.25 inches, or 1275 by 2775 pixels. The other sizes work out to 1050 by 2550 pixels for the slim 3.5 by 8.5 inch card, 1200 by 3600 pixels for the long 4 by 12, and 1275 by 3300 pixels for the extra tall 4.25 by 11. If your software works in pixels rather than inches, set the document to the bleed figure, not the trim figure.
What is the difference between a rack card and a brochure?
A rack card is a single flat card printed front and back, usually 4 by 9 inches, and it is shaped to sit in a display rack with its headline showing above the pocket lip. A brochure is folded, which gives it four or more panels and a reading order, so it holds far more information but has to be opened before any of it is read. Choose a rack card when the message is one offer and one action a passer-by can take in a second. Choose a brochure when the reader has already decided to spend a minute with you.
Why are rack cards tall and narrow?
Rack cards are tall and narrow because of where they live: a display rack with rows of shallow pockets that hold the lower portion of each card while the top shows. The vertical shape lets many cards sit side by side in a compact display, and it puts the headline at eye level above the rack lip. This is why a rack card is designed in portrait and why the top third matters so much: it is the only part guaranteed to be visible when the card is in a pocket, so your hook has to live there.
How should I lay out the top and bottom of a rack card?
Treat the top third as your billboard. Because a rack pocket covers the lower part of the card, the headline, logo, and main hook must sit in the top third that stays visible, so someone scanning a rack sees your message without pulling the card. Use the rest of the front and the entire back for supporting details, photos, contact information, a map, or a call to action. Both sides print, so plan them together: the front earns the pick-up, and the back closes the sale once the card is in hand.
How do I set up bleed and safe margins on a rack card?
Build your file at the final size, such as 4 by 9 inches, then extend any artwork that touches an edge 0.125 inch past the trim on all four sides for bleed, so a slight cutting shift never leaves a white sliver. Keep all text and your headline inside a safe margin, roughly 0.125 inch in from the trim, and give extra attention to the top, since the rack lip can cover the first portion of the card. Work in CMYK, place images at 300 DPI, and export a flattened, press-ready PDF. Every order runs through a free file check.
What paper and finish work best for rack cards?
A rack card needs a stock sturdy enough to stand upright in a display without curling or flopping, so a heavier card stock is the norm. For finish, a gloss coat makes photos pop and resists fingerprints in a high-traffic rack, a matte or silk finish reads as more premium and is easier to write on, and metallic stock adds shine that catches the eye in a crowded display. Match the finish to your brand and to how the card will be handled. Our rack card and metallic rack card products cover the full range of stocks and finishes.
Get Started
Ready to print rack cards that fit the rack?
Pick the 4 by 9 standard or an alternate size, choose a stock and finish, and watch the price update live. Upload your file and the free file check confirms it is ready.
Legal Disclaimer
Gold Standard guarantees apply to all standard orders placed through 4over4.com. Price match requires verifiable proof of a competitor's published price for an equivalent product with matching specifications and turnaround time. Satisfaction guarantee covers manufacturing defects and print quality issues. Contact support with order number and documentation. On-time delivery rate based on tracked orders 1999 to 2026. Individual results may vary based on shipping carrier performance.
