
How to Create Labels That Fit, Stick, and Print Clean


Six steps from a tape measure to a finished roll: sizing off the container, picking a face stock that survives the job, and building a file with a die line the blade can follow.
Creating a label is four decisions and one file: measure the container to set the size, choose a face stock that matches what the container goes through, pick the shape and its die line, then build artwork with 0.125 inch of bleed past the cut and everything important 0.125 inch inside it. On a wrap-around label, width is the circumference plus 0.25 inch of overlap and height stays inside the straight wall. Standard labels start at $23.88 at 4OVER4.COM, waterproof at $84.68 and custom die-cut at $93.37.
Quick answer
Measure first, choose the stock second, draw the die line last
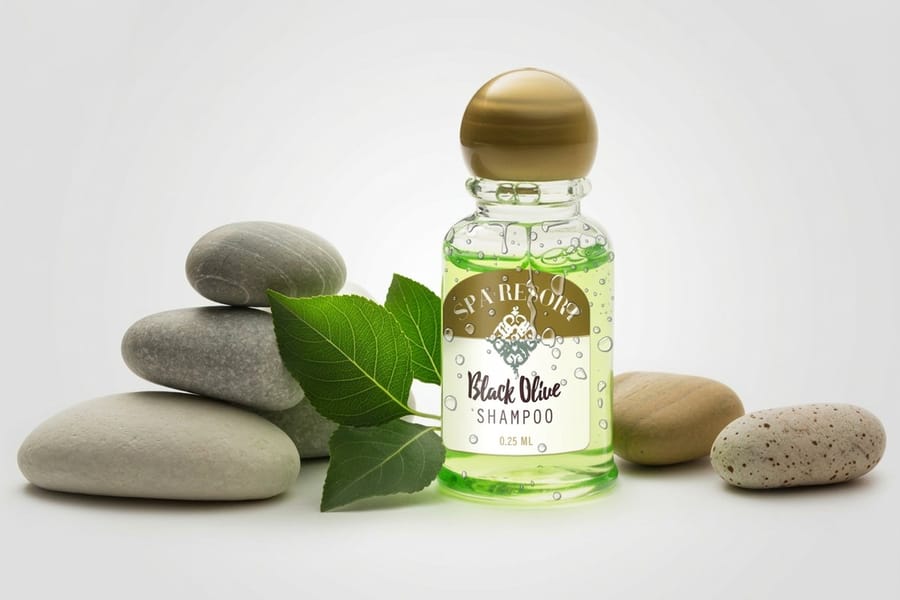
A label is sized off the container, not off the artwork. Wrap a tape around the straight wall: label width equals that circumference plus 0.25 inch of overlap, and height stays clear of the shoulder and base curves by about 0.125 inch. Choose the face stock by what the container actually goes through, since paper lifts and wicks the moment condensation reaches an edge. Then build the file at final size with 0.125 inch of bleed past the cut, a 0.125 inch safe margin inside it, and a custom shape supplied as its own closed vector path.
Create a Label in Six Steps
The order matters. Most label jobs that come back wrong were designed before anyone measured anything, and a beautiful layout built to the wrong width cannot be rescued in prepress.
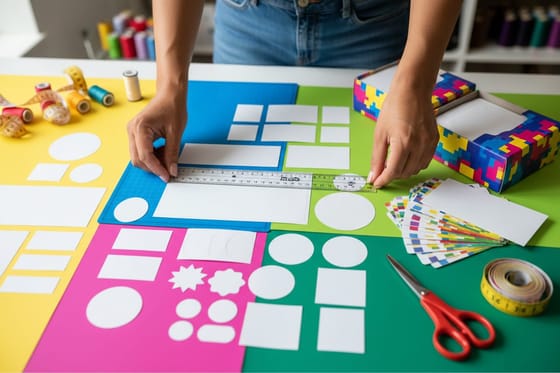
One, measure the container. A tape around the straight wall gives you the circumference. The straight wall height gives you the maximum label height. Write both down before opening a design file.
Two, set the size and shape. Width equals circumference plus 0.25 inch of overlap on a wrap. Height stays 0.125 inch clear of the shoulder and the base. On a flat surface, pull the label in at least 0.25 inch from each panel edge.
Three, choose the face stock. This is decided by what the container goes through, not by how the label looks on screen. A fridge, a shower, an ice bucket and a warehouse shelf are four different answers.
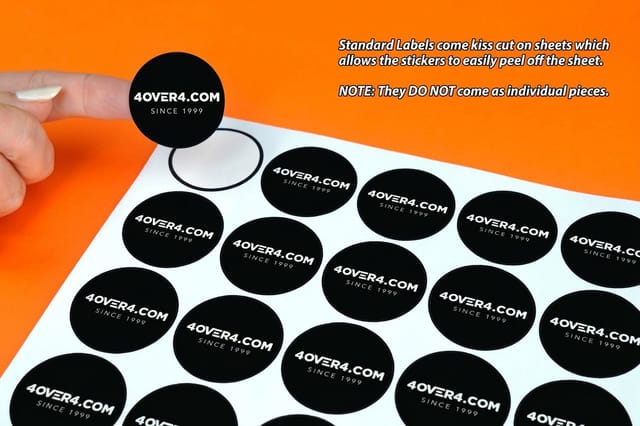
Four, choose roll or sheet. Rolls feed an applicator and suit repeat production. Sheets are easier to hand-apply and easier to order in small numbers.
Five, build the file. Die line as a closed vector path, 0.125 inch bleed past it, 0.125 inch safe margin inside it, CMYK, images at 300 ppi at final size.
Six, proof on the actual container. Print one at size on plain paper, cut it out, and tape it to the bottle. Two minutes here catches the type that sits too low and the logo that lands on the seam. Then order from our label printing range, or start with standard labels at $23.88 if the job is straightforward.
Size and Shape, and What Each Shape Costs You
Shape is the decision with the biggest gap between what it looks like in a mockup and what it costs on an invoice. A rectangle and a circle come off a standard cutting tool. Anything else needs a die.
| Shape | How it is cut | Suits | The catch |
|---|---|---|---|
| Rectangle or square | Straight cuts from a stock size. | Boxes, folders, shipping cartons, pantry jars. | Corners look sharp on a curve, so soften them with a small radius on cylinders. |
| Circle or oval | A standard round tool in common diameters. | Jar lids, candle tops, soap bars, seals on packaging. | Centering by hand is unforgiving, since a circle shows every degree of rotation. |
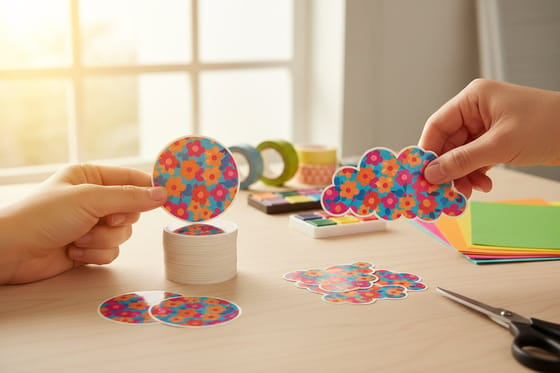
| Custom die-cut | A cutting die made to your outline path. | Logos with a distinctive silhouette, product ranges that want a shelf signature. | Starts at $93.37 rather than $23.88, and cut tolerance shows on thin borders. |
| Wrap-around | Cut as a long rectangle sized to the container. | Bottles, cans, tubes, anything with a full straight wall. | Get the overlap wrong and the seam either gaps or double-covers the artwork. |
The catch column is where jobs actually go wrong. Cut tolerance on a die is small, but it is not zero, so a 2 mm border that follows the outline exactly will read as off-center on some pieces in the run. Either make the border thick enough that a fraction of drift disappears into it, or leave the border off and let the artwork run to the edge. Die-cut labels are worth the extra cost when the silhouette itself is doing the branding work, and the comparison in round labels vs die-cut labels walks through the cases where a stock circle wins instead. If you want the standard sizes in one place, the complete label size guide lists them.
Choose the Material by What the Container Survives
Face stock is where price and disappointment meet. The screen shows you a color; it does not show you what happens after twenty minutes in a cooler.
| Face stock | Looks like | Holds up to | Fails when | Starts at |
|---|---|---|---|---|
| Standard paper | Gloss or matte print, the everyday retail look. | Dry handling, boxes, pantry shelves, asset tags indoors. | Condensation reaches the edge, which lifts first and then wicks ink. | $23.88 |
| Waterproof | A slightly firmer face with a plastic hand. | Fridges, coolers, bathrooms, anything that gets wiped down. | Budget is the only real constraint, at roughly three times paper. | $84.68 |
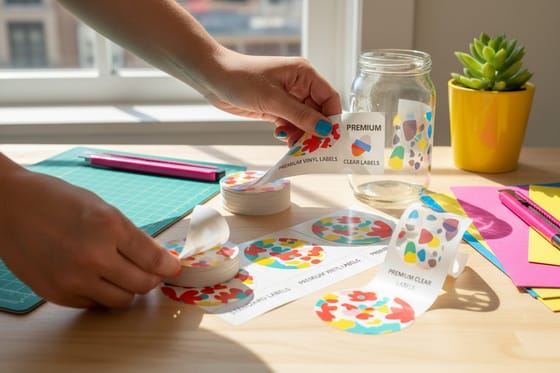
| Clear | The no-label look, ink appearing to float on glass. | Smooth glass and clear plastic where the contents are the show. | Applied to dark or textured surfaces without a white underprint. | $86.17 |
| Metallic | Shine coming from the stock itself, not from ink. | Spirits, cosmetics, gift and premium packaging. | Used behind photographs, since the shine only shows where ink is absent. | $108.75 |
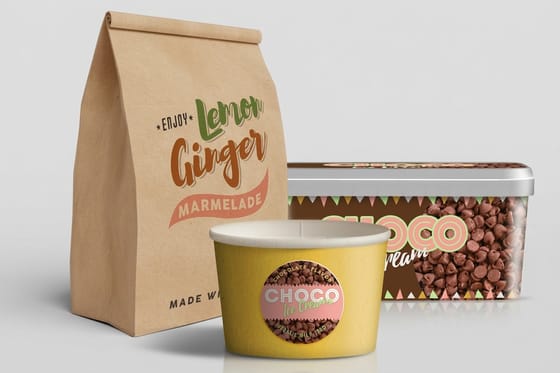
| Premium food | An upgraded face built for jars, tubs and packaging. | Grocery shelves, farmers market stock, small-batch runs. | The product is frozen or submerged, which calls for waterproof. | $29.16 |
Two habits save most of the trouble. Test the adhesive on the real surface before committing to a run, because recycled cartons, powder-coated metal and low-energy plastics all resist adhesives that grip glass without complaint. And design for the stock rather than against it: on metallic stock, leave the shape you want to shine unprinted instead of trying to simulate metal in CMYK. Our breakdown of paper vs vinyl vs clear labels goes deeper on the face stocks, and premium bottle labels at $29.16 are the usual starting point for beverage work.
Build a File That Cuts Where You Expect
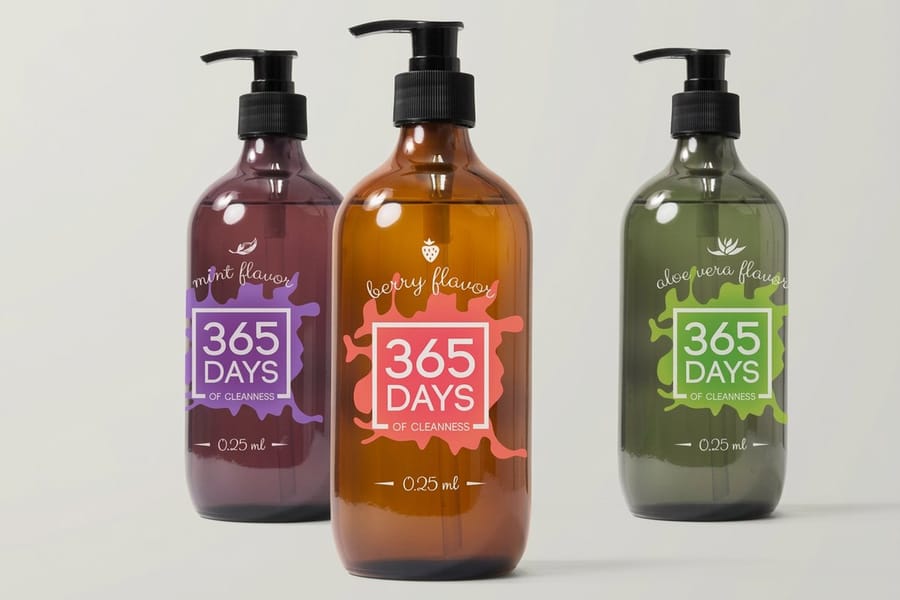
Three numbers cover almost every label file. Bleed is 0.125 inch past the cut. The safe margin is 0.125 inch inside it. Images sit at 300 ppi at final size, not at the size they came off a phone.
Build the artboard at the finished label size, then extend every background, photograph and color block 0.125 inch beyond each edge. That overhang is what the blade eats, and without it a fraction of drift leaves a white sliver along one side. Pull all type, logos, barcodes and legal copy 0.125 inch inside the cut, and give a barcode more room than that since scanners need quiet zones on both ends.
Set the document to CMYK before you start rather than converting at the end, because a color picked in RGB can shift noticeably on conversion and bright oranges and blues shift the most. Convert fonts to outlines or package the file with the fonts included. If a specific brand color has to match across products, specify a spot color instead of hoping a CMYK build repeats, and read choosing the right file type for printing before exporting.
For a custom shape, the die line is a separate closed path on its own named layer, drawn as a single continuous vector with no strokes left unexpanded. Never draw it as a dashed guide inside the artwork, and never leave two overlapping paths where you meant one. The mechanics of bleed and trim are covered in bleed and trim explained, and a correctly sized starting layout is faster than building from nothing, so grab one from the blank template library.
Roll or Sheet, and How Many to Order
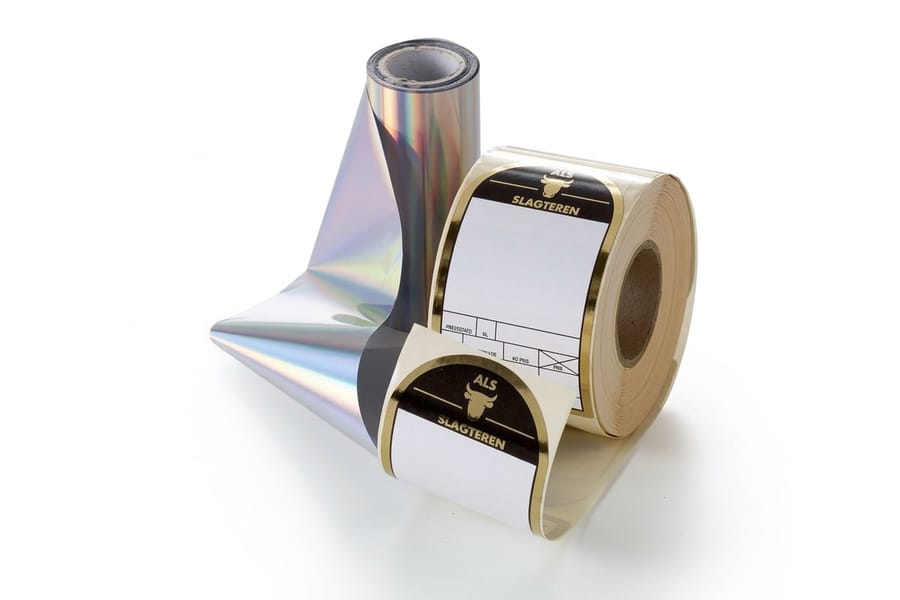
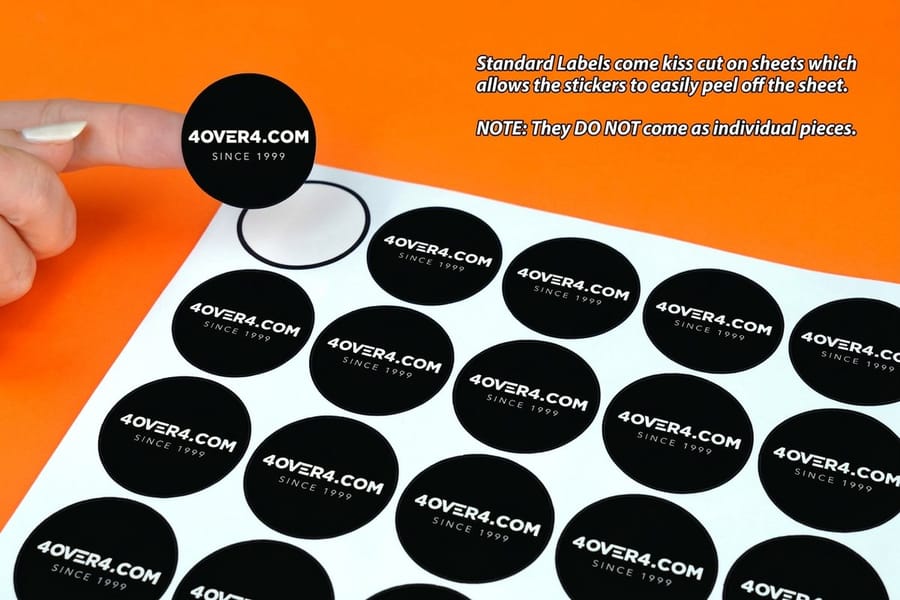
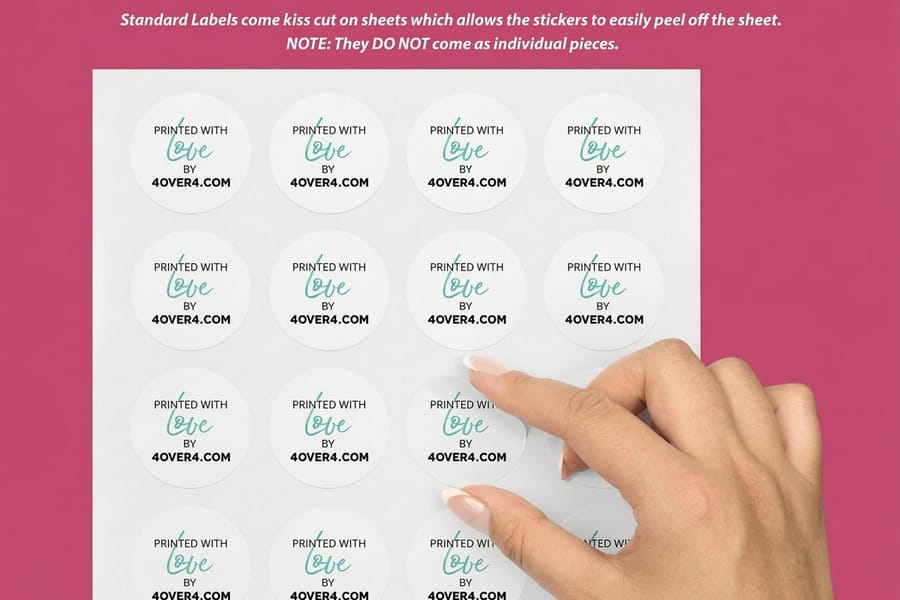
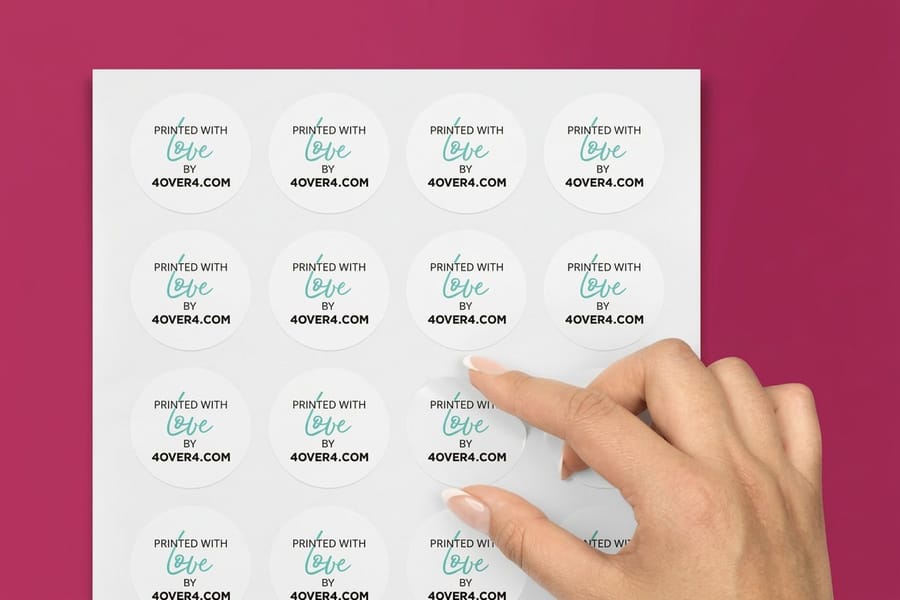
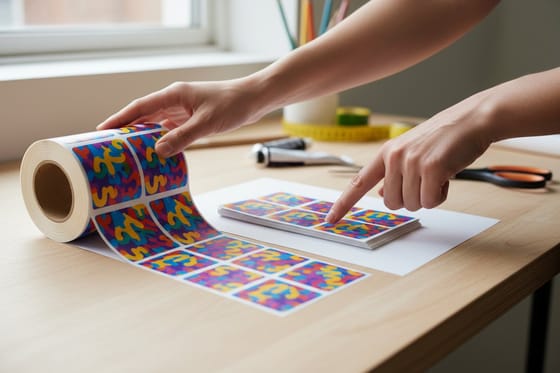
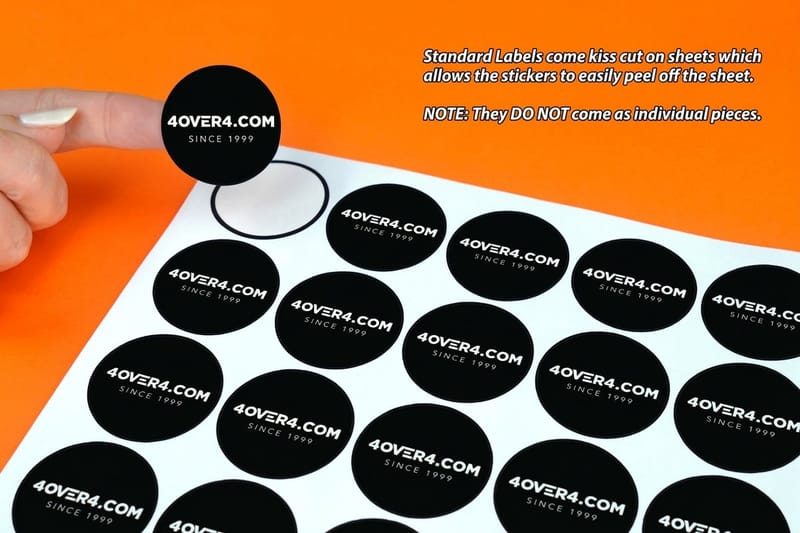
Sheets suit hand application and small numbers. A sheet sits flat on a table, you peel what you need, and reordering is easy. Rolls suit repeat production, because a label applicator needs a roll with a consistent gap and a known core size, and hand-peeling a thousand labels off a roll is slower than off sheets.
The cost curve is the part people underestimate. Setup, plates and any cutting die are paid once, so the second thousand labels is dramatically cheaper per piece than the first thousand. That is also why roll production carries a bigger entry point: shaped roll labels start at $300.05 because the run size that makes roll production sensible is simply larger. Ordering three small batches across a year costs meaningfully more than ordering one batch of the same total quantity.
Balance that against artwork that changes. If a recipe, a net weight or a compliance line is still moving, a shorter run is cheaper than reprinting a year of stock. A practical middle path many small brands take: print the branded portion in quantity and add variable details on a smaller separate label. Roll labels vs sheet labels compares the two formats in detail, and if your labels are really stickers being handed out rather than applied to product, the sticker printing range is priced for that instead.
Wally explains creating labels
Tape measure first, design file second
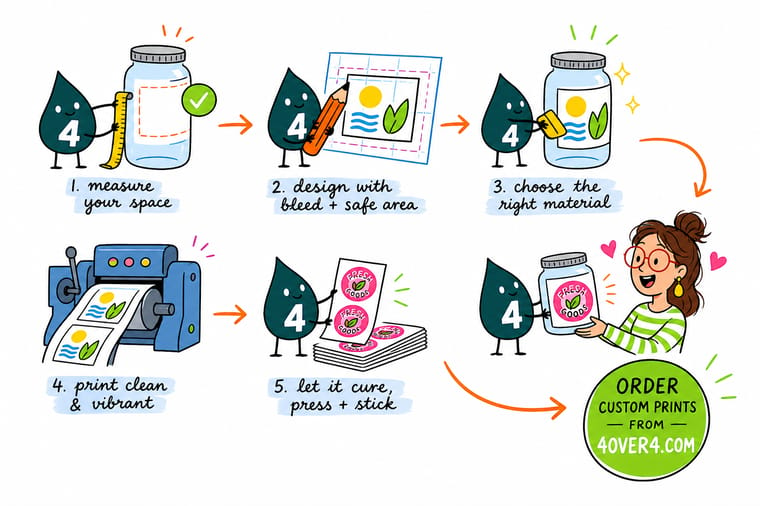
Wally puts a tape around the bottle before he opens a design file. Circumference plus a quarter inch gives him the width, the straight wall gives him the height, and the shoulder curve tells him where to stop. Then he picks the stock by where the bottle is going, waterproof if it meets a fridge, clear if the glass is doing the work. Last he draws the die line as one closed path, runs the background an eighth of an inch past it, and keeps the type an eighth of an inch inside. Anything outside that line belongs to the blade.
Order custom labels →Specs and pricing
Label stocks, sizes, and starting prices
Compare the label options side by side, with live configuration choices and starting prices straight from the 4OVER4.COM configurator.

Print it
Order labels built for the container they go on


Explore more
Where to go next
By the numbers
Label printing you can count on at 4OVER4
Common Questions
Your label questions, answered
What size should I make my label?
Measure the container and subtract, never guess from the artwork. For a straight-sided bottle or jar, wrap a tape around it: label width equals that circumference plus 0.25 inch for the overlap where the ends meet. Height should stay inside the straight wall of the container, minus about 0.125 inch top and bottom, because a label that climbs onto the shoulder or the base curve will crease. For a flat box or a folder, start from the panel size and pull the label in by at least 0.25 inch on each edge so a slightly crooked application still looks deliberate. If you want the common sizes laid out, our guide to choosing the correct label size lists them by container type.
Do I have to supply a die line, and how do I make one?
For a standard rectangle or circle, no: pick the stock size and we cut it. For a custom shape, yes. Draw the cut as a single closed vector path in Illustrator or InDesign, put it on its own layer, name that layer die line, and give it a spot color swatch set to overprint so it is impossible to confuse with printing artwork. Keep the path simple, since deep notches and sharp interior corners fight the blade. Then extend the background artwork 0.125 inch past that path on every side, and keep type and logos 0.125 inch inside it.
Paper or vinyl for a jar that lives in a fridge?
Vinyl or another waterproof face, every time. Paper label stock absorbs condensation, the edges lift first, then the ink wicks and the whole face goes soft. It is the single most common complaint we hear from small food and beverage brands who ordered on price alone. Premium waterproof labels start at $84.68 against $23.88 for standard labels, so the honest way to think about it is cost per shelf life, not cost per label. If the product is dry pantry goods that never sees moisture, standard stock is genuinely fine.
Can I just print labels at home instead?
For a handful of one-off labels, yes, and it is faster. Home printing falls apart at three points: the sheet stock available at office stores comes in fixed shapes so a custom die-cut is out, inkjet ink is not water resistant unless you laminate afterward, and cost per label stops being competitive past a few hundred pieces because you are paying consumer ink prices. Our guide on how to print labels at home covers the cases where it works. Past that, an offset or digital run gives you a sharper edge, a proper adhesive matched to the surface, and colors that repeat batch to batch.
Will a clear label actually look invisible on a bottle?
Only if the file is built for it. Clear stock has no white behind the ink, so any color you print over a dark or tinted surface will go muddy and photographs will look like a ghost. The fix is a white underprint layer sitting only beneath the areas that need to stay opaque, leaving the rest of the label genuinely clear. Premium clear labels start at $86.17 and look best on smooth glass or clear plastic where the no-label effect is the point. On textured or matte surfaces the film shows its own edge, and a matte paper label often looks better.
How much do custom labels cost?
At 4OVER4.COM standard labels start at $23.88, premium labels with an upgraded face start at $29.16, premium waterproof labels start at $84.68, premium clear labels start at $86.17, die-cut labels start at $93.37 and metallic labels start at $108.75. Shaped roll labels start at $300.05 because roll production carries a much larger minimum run. The number that actually moves your total is quantity, not material: the die and the setup are paid once, so the second thousand always costs far less per label than the first.
Get Started
Ready to put your label on the shelf?
Pick the size off your container, choose paper, waterproof, clear or metallic, upload the die line, and we print labels that cut where you drew them.
Legal Disclaimer
Gold Standard guarantees apply to all standard orders placed through 4over4.com. Price match requires verifiable proof of a competitor's published price for an equivalent product with matching specifications and turnaround time. Satisfaction guarantee covers manufacturing defects and print quality issues. Contact support with order number and documentation. On-time delivery rate based on tracked orders 1999 to 2026. Individual results may vary based on shipping carrier performance.
