
How to Choose the Correct Label Size


Jordan is our labels, packaging and sustainability voice, built from the knowledge of our production team, with over 20 years in printing.
The right label size starts with the product, not the artwork. Measure the panel where the label will live, leave a little breathing room on every edge, then round to a size that prints clean. Here is how to get it right the first time.
To choose the correct label size, measure the flat panel where the label will sit, then subtract a small margin on every side so the design never wraps onto a curve or crowds a seam. For bottles and jars, measure the straight vertical panel and the circumference. For boxes and flat items, measure the panel face. Round to the nearest standard size, add bleed, and print it as sheet or roll labels at those exact dimensions.
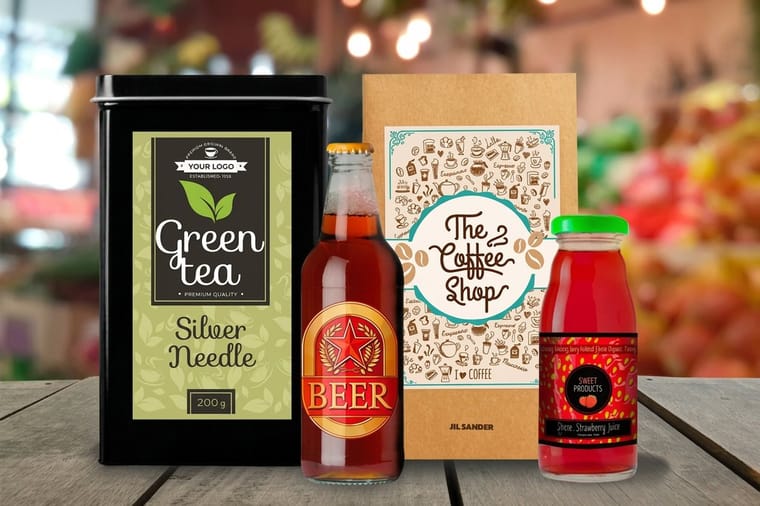
Quick tips
Quick tips for choosing the correct label size
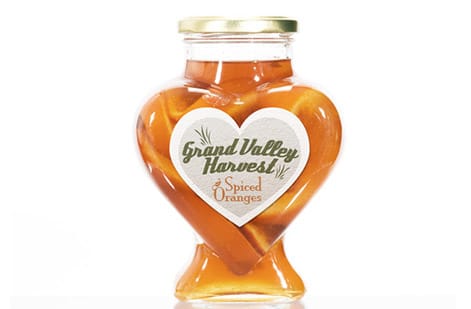
Measure the product before you design the label. Find the flat panel where the label will sit, then subtract a small margin so nothing wraps onto a curve or crowds a seam. For bottles and jars, measure the vertical panel and the circumference. For boxes and flat items, measure the panel face. Round to the nearest standard size, add 0.125 inch of bleed, and choose sheet labels for short runs or roll labels for volume. 4OVER4.COM prints your labels at the exact size you measure. The Standard Jar Labels story shows a label sized to a jar panel.
Watch it printed
See standard product labels on the press, in 113 seconds
Start with the product, not the label
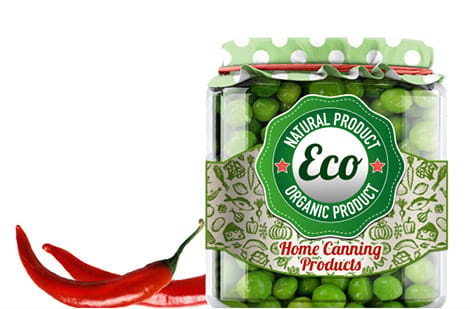
To choose the correct label size, measure the flat panel on the product, then take 0.125 inch off every edge so the label lands inside it with margin to spare. On a bottle that is two numbers: the height of the straight vertical panel, and the distance around it minus about 0.25 inch so the ends stop short of meeting. Measure, subtract, then round down to the nearest standard size.
The most common label mistake happens before anyone opens a design file. People pick a size that looks nice on screen, send it to print, then discover the label wraps onto the curve of a bottle or crowds a fold on a box. The fix is simple: the product chooses the label size, never the artwork.
Every container gives you a usable area, the flat, straight, uninterrupted panel where a label can lie down without fighting a curve, a seam, or a shoulder. Find that area first. Measure it. Everything else, the design, the shape, the finish, is built to fit inside what the product will actually hold.
If you are printing a full range at once, keeping sizes consistent across your product labels makes your shelf look intentional instead of accidental. This guide covers how to measure, how to match a size to a surface, and how to hand the printer a file that comes back exactly the way you pictured it.
Ask the right questions before you pick a size

Two questions settle most of the decision. Answer them honestly and the size almost picks itself.
What surface am I working with? A flat box panel is generous and forgiving. A tall cylinder gives you height but limits how far the artwork can travel around before the ends meet. A tapered tub, a squeezable pouch, or a domed lid each change what will sit flat. Check for seams, embossing, and the exact point where a curve begins, because a label that runs past that point will lift or bubble.
What content will I print? A minimalist candle label needs far less room than a food label carrying ingredients, net weight, and a nutrition panel. List what legally and practically has to appear, then size the label so that content breathes rather than shrinking to fit. If a regulated panel is involved, our FDA food labeling guide shows what has to be there.
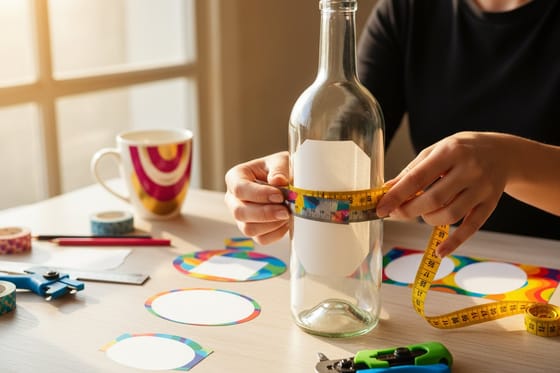
How do I get those numbers onto paper? Make your own measuring strip. Cut a strip of copy paper about 1 inch wide, wrap it around the widest part of the panel, mark where it overlaps, then lay it flat against a ruler and read the length. Take 0.25 inch off that number so the two ends stop short of each other instead of butting or overlapping. Do the same for height, measuring only the straight section between the shoulder and the base. Write both figures down, height first, then wrap length, and order to the closest standard size at or below them.
Print the size before you print the run. Draw a plain rectangle or circle at those two numbers, print it at 100 percent with page scaling turned off, cut it out, and tape it to the actual container. A sheet of copy paper tells you in ten seconds what a finished run would tell you a week later: whether the label clears the seam, sits level on the curve, and leaves the panel room to breathe. Then rebuild the artwork at that exact size in the online designer, which lays in the trim, the 0.125 inch bleed, and the safety margin for you.
Not sure the artwork will fill the size cleanly? Build it first in the online designer, order a physical proof through free proofs, or request free material samples so you can feel the stock before you commit to a run.
How to measure the right label size
You do not need special tools, just something to measure with and a minute of care. There are two reliable ways to find the size, and the one you use depends on what you have on hand.
Use a measuring tape. For a flat panel, measure the height and width of the area you want to cover, then subtract a safe margin on each side. For a bottle or jar, measure the height of the straight vertical section, then run the tape around the widest part you plan to label to get the circumference.
Use a sheet of paper. No flexible tape? Wrap a strip of paper around the container, mark where the two ends overlap, then lay the strip flat and measure to the mark. That length is your circumference. Trim a little off for the overlap gap so the label ends do not butt together, and you have your label width.
The diagram shows the two numbers that matter for a wrap label: the height of the straight panel and the width, which is the circumference minus a small gap. Feed those into the online designer and design straight onto the correct canvas.
Match the size to the product and surface

Once you know the panel and the content, matching a size to the surface is mostly pattern recognition: a 3 by 2 inch rectangle for a bottle front, a 2 inch round for a jar lid or a candle, 4 by 6 inches for a parcel. These pairings cover the jobs we print most often, and each one links to the product that fits it best.
| Label size | Common use | Print it as |
|---|---|---|
| 1.5" × 1.5" | Lids, caps, small tins, seals | Roll Custom Labels |
| 2" round | Candles, soap, jars, cosmetics | Round Labels |
| 3" × 2" | Bottles, tubes, retail products | Product Labels |
| 3.5" × 4" | Wine and spirits bottles | Custom Wine Labels |
| 4" × 3" | Food containers, boxes, pouches | Product Labels |
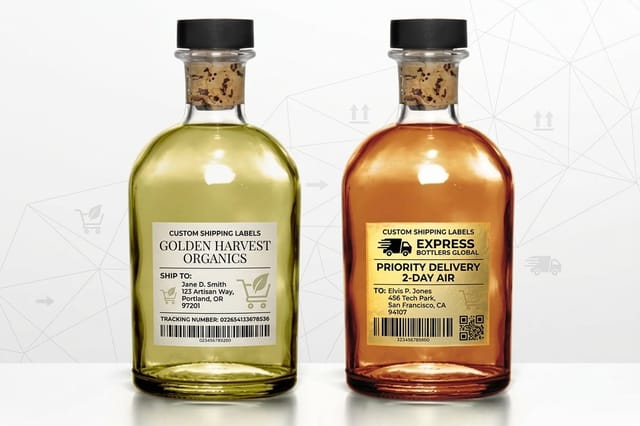
| 4" × 6" | Shipping, mailing, fulfillment | Custom Shipping Labels |
Treat these as starting points, not rules. A slim cosmetic tube wants a taller, narrower label than a squat jar even when both hold the same volume. When your run is high and uniform, roll labels apply faster by hand or machine, while sheet product labels suit shorter runs and mixed shapes. For anything that lives in a cooler, a sink, or the outdoors, step up to a waterproof or vinyl stock so the size you chose still looks right after it gets wet. The Roll Vinyl Labels and Roll Waterproof Labels stories show both stocks on real containers, and the Roll Jar Labels video shows a roll sized to a jar.
Round to a standard size when you can

Custom dimensions are always available, but a standard size earns its keep. It runs on tooling the printer already has, so it moves faster and costs less, and it slots neatly into common applicators if you scale up later.
The trick is to round toward the panel, not away from it. If your bottle panel measures 3.15 inches tall, a 3 inch label sits comfortably inside it with margin to spare. Push to 3.25 inches and you invite the top edge to ride up onto the shoulder. When in doubt, size down a hair and let the margin absorb the difference.
There is one honest exception. When the shape is the point, a die-cut silhouette, a shaped wine label, a badge that has to match a logo, a custom die-cut label is worth the extra step. Reserve the custom die for when the outline does real work, and lean on standard rectangles and rounds for everything else.
The standard label sizes printers stock, by shape
Standard means a size the printer already has a die for, and the list is shorter than the catalogs suggest. These are the sizes that cover most orders, in inches. Match your measured panel to the nearest one at or below it.
- Rectangles. 1 by 2.625 for addresses and small product tags, 2 by 3 and 2 by 4 for jars and shipping, 3 by 2 and 3 by 4 for bottles and boxes, 4 by 6 for parcels, and 8.5 by 11 for a full sheet.
- Squares. 2 by 2 and 3 by 3, for candles, lids and packaging seals.
- Rounds. 1, 1.5, 2, 2.5 and 3 inch circles, with 2 inch the most ordered for jars and lids.
- Ovals. 2 by 3 and 3 by 4, the classic shapes for wine, soap and cosmetics.
- Wraps. Long rectangles such as 8 by 2 or 8.5 by 2.5 that run around a bottle with a small gap.
In millimeters, a 3 by 2 inch label is 76 by 51 mm, a 2 inch round is 51 mm across, and a 4 by 6 shipping label is 102 by 152 mm. Anything outside the list is a custom label, which prints just as well but adds a die and a little time.
Leave room: bleed, safe margin, and overlap

Three small allowances separate a label that looks store-bought from one that looks homemade. None of them are optional.
- Bleed. Extend any color or image that touches the edge 0.125 inch past the trim line. Cutting is precise but never perfect, and bleed guarantees no thin white sliver shows up along an edge.
- Safe margin. Pull logos, text, and anything you cannot afford to lose at least 0.125 inch inside the trim. On curved products, give yourself a touch more, because the edges are the first thing a curve distorts.
- Overlap gap. On bottles and jars where the label wraps fully around, stop the artwork a little short of a full circumference so the two ends do not collide. A small deliberate gap looks intentional. Two ends fighting each other never does.
If setting these guides by hand sounds fiddly, it is. The online designer lays down bleed and margin lines at the size you choose so you design inside the safe zone from the first click. New to the terms? The printing terms glossary keeps the vocabulary straight.
Sheet labels or roll labels is a size decision too
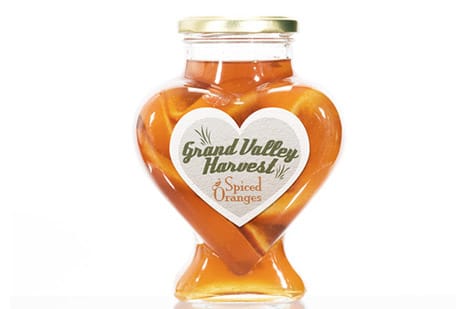
Format is not just about delivery. It quietly shapes the sizes that make sense for your job.
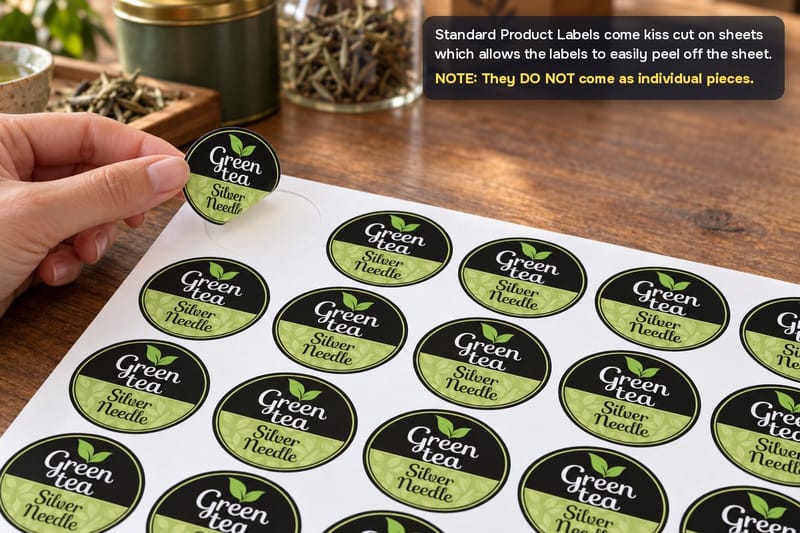
Sheet labels arrive flat, several to a page. They are the right call for short runs, prototypes, mixed shapes on one order, and anything you will peel and place by hand. Odd or oversized dimensions are easy here because each label is just a shape on a sheet.
Roll labels arrive wound on a core, ready for volume and for machine application. When you go this route you specify more than width and height: you also pick the unwind direction and the core size so the roll feeds correctly into your applicator. Uniform, repeatable sizes shine on a roll.
A quick way to decide: if you are labeling a few dozen units a month by hand, order sheet product labels. If you are filling hundreds or thousands and want an applicator to do the work, order roll labels and lock the size so every unit comes out identical.
Address and shipping label sizes for envelopes and parcels
Mailing labels follow the mail piece, not the product, so the sizes are fixed by the envelope trade and the carriers.
- Return address. 0.5 by 1.75 inches holds three lines, 0.67 by 1.75 holds four, and 1 by 2.625 adds a legible logo. All of them sit in the top left corner. Our return address label size guide has the type sizes that fit each one.
- Delivery address on an envelope. 1 by 2.625 inches, the 30-up sheet layout, is the standard on a #10 business envelope. Larger 9 by 12 and 10 by 13 envelopes take 2 by 4 inches so the address reads at a glance.
- Parcels. 4 by 6 inches is the carrier standard for a shipping label, the size every desktop thermal printer feeds. 4 by 6.75 adds a tear-off receipt strip. On an office printer, two 5.5 by 8.5 inch half-sheet labels fill a letter page.
Keep any barcode at least 0.125 inch inside the trim, and on a parcel put the label on the largest flat face, away from seams and tape, so the scanner reads it in one pass.
Sizing mistakes that ruin an otherwise great label

Great artwork cannot rescue the wrong dimensions. These are the errors we see most, and all of them are avoidable.
Sizing to the screen instead of the product. A label that fills your monitor can still be too tall for the panel. Print a plain paper mock at the real size and tape it on before you order.
Forgetting the curve. Flat width and wrap width are not the same number. Measure the circumference, then leave an overlap gap so the ends do not clash.
No bleed or margin. Art built exactly to the trim line comes back with white edges or clipped text. Always add the 0.125 inch on both counts.
Oversizing to a standard size. Rounding up looks efficient on paper and lifts at the edges in real life. Round toward the panel, not away from it.
Ignoring where the label lives. A label bound for a freezer, a shower, or a garden needs a waterproof stock, or the crisp size you measured will curl and peel. Choose the material alongside the size, not after it.
Get your file print-ready at the size you chose
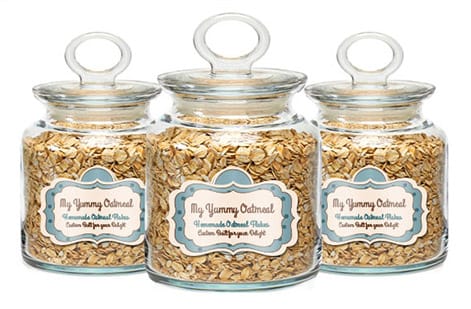
You have measured, matched, and rounded. The last step is handing the printer a file that honors those numbers exactly.
- Build the canvas to the final trim size, then add the 0.125 inch bleed on every side. If your label is 3 by 2 inches, your document is 3.25 by 2.25 inches with the trim marked.
- Set the color mode to CMYK so what you approve on screen is what prints. Our material guide pairs well with this once you settle the stock.
- Outline your fonts or embed them, and place images at 300 dpi at final size so nothing goes soft when it is this small.
- Proof at 100 percent. View the file at actual size, not zoomed in, so you catch anything crowding the safe margin.
When it is ready, configure your run, drop in the file, and order product labels at the exact dimensions you measured. Want a second set of eyes first? A free proof confirms the size and color before the full run prints.

Specs and pricing
Product label specs and live pricing
Once you know the size, here is what a made-to-order product label gives you at 4OVER4.COM, with live specs and price-per-unit straight from the configurator. Set your exact dimensions when you order.
| Quantity | Price Per Unit | Total |
|---|---|---|
| 25 | 95.5¢ | $23.88 |
| 50 | 72.9¢ | $36.44 |
| 100 | 42.7¢ | $42.72 |
| 150 | 32.7¢ | $49.01 |
| 200 | 27.6¢ | $55.29 |
| 250 | 24.6¢ | $61.57 |
| 300 | 22.0¢ | $65.97 |
| 400 | 17.6¢ | $70.36 |
Print it
Order labels in the size that fits your product
Wally explains label sizing
Measure the product, then print the label to match
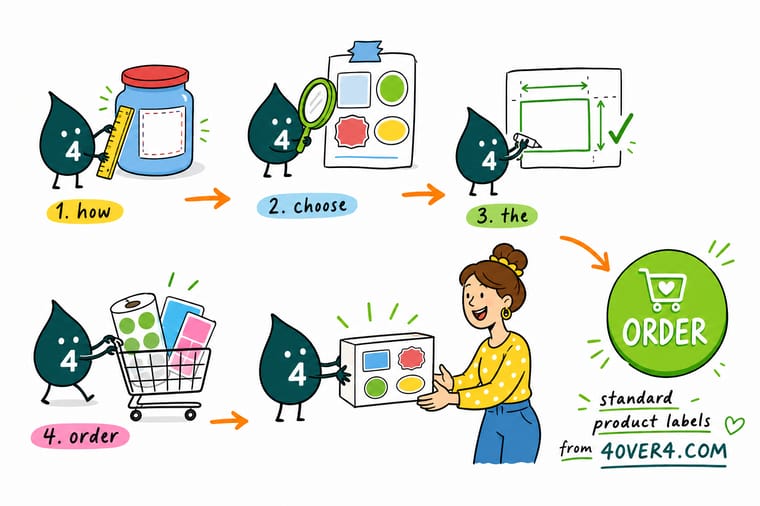
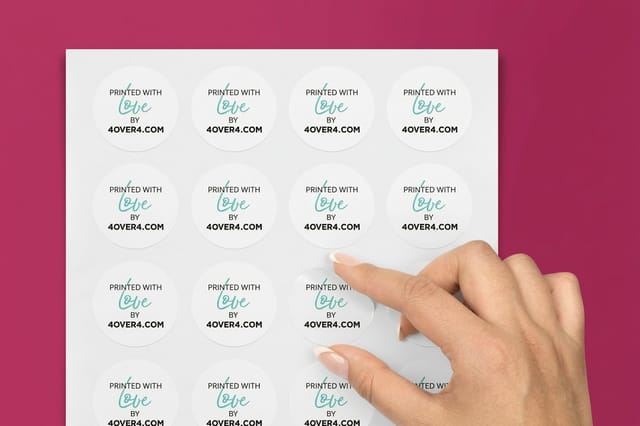
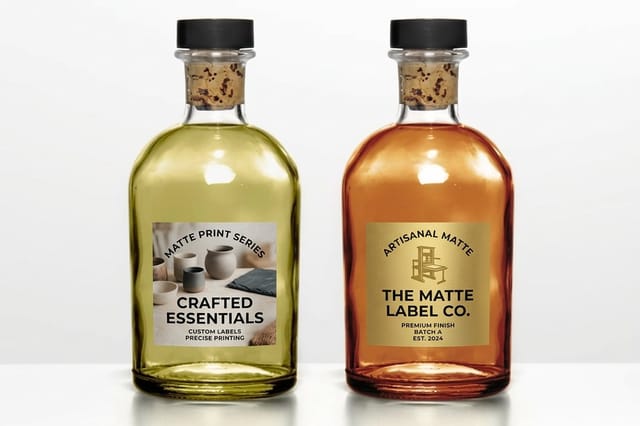
Wally sizes a label the way a tailor sizes a suit: measure the body first, then cut the cloth. Find the flat panel, note the height and the wrap, subtract a little for margin and overlap, and round to a clean standard size. Get those two numbers right and the label lies flat with no bubbles and no seam across your logo. When the size is set, print it as sheet or roll labels at 4OVER4 in the exact dimensions you measured.
Order product labels →See it in use
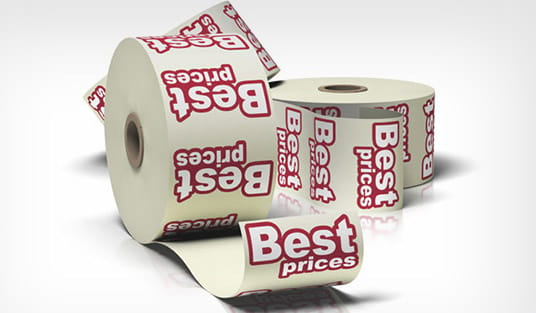
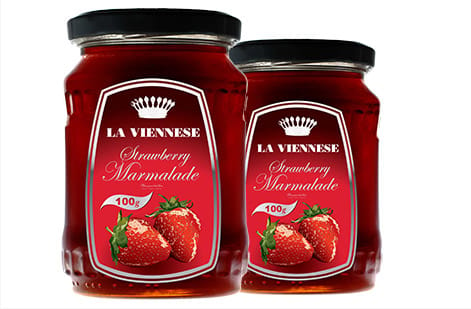
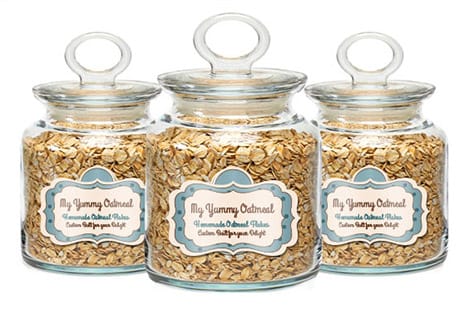
Label sizes at work, in finished jobs




Explore more
Where to go next


By the numbers
The label stock list runs past sixty
Common Questions
Common questions about label size
What size is a 4x6 label?
4 by 6 inches, or 102 by 152 mm, which is the standard shipping label. Carriers generate labels at that size, every desktop thermal printer feeds it, and it is the label a parcel is expected to carry. A 4 by 6.75 inch version adds a tear-off strip for a receipt. The same 4 by 6 size also works as a large product label on a box, but for anything smaller than a shipping carton it is usually too big.
What is the size of a standard label?
There is no single standard, because label sizes follow the thing they are stuck to. The everyday standards are 1 by 2.625 inches for an address label, 30 to a letter sheet, 2 by 4 inches at 10 to a sheet, 4 by 6 inches for shipping, 3 by 2 inches for a product front label, and a 2 inch round for jars and lids. Measure the panel first and match it to the nearest of those, or order a custom size when the shape is the point.
What is the most common label size?
There is no single answer because it depends on the product, but a few sizes cover most jobs. A 3 by 2 inch rectangle suits bottles and retail products, a 2 inch round fits jars and candles, and 4 by 6 inch is the standard for shipping. Start from the panel you are labeling, then match it to the closest of these rather than guessing.
What is the standard shipping label size?
4 by 6 inches, 102 by 152 mm. That is the size carrier labels are generated at and the size every desktop thermal printer feeds, so it is the one to order if you ship parcels. The 4 by 6.75 inch version is the same label with a strip at the bottom for a tear off receipt. If you print on an office printer instead of a thermal unit, use the 5.5 by 8.5 inch half sheet and get two labels to a letter page. Print at 100 percent with page scaling turned off, and keep the barcode at least 0.125 inch inside the trim so the cut never clips it.
How do I measure a label for a bottle or jar?
You need two numbers. First, the height of the straight vertical panel, which is the part of the bottle that is not curving inward at the shoulder or base. Second, the distance around the bottle, its circumference. Wrap a strip of paper around the widest labeling area, mark where it overlaps, and lay it flat to read the length. Subtract a small gap so the two ends do not butt into each other.
Should I round my label size up or down to a standard size?
Round down slightly rather than up. A label a touch smaller than the panel sits cleanly inside it with margin to spare, while one that is even a millimeter too big wraps onto a curve, overlaps a seam, or lifts at the edge. When you order at 4OVER4.COM you can also request a custom size, but a standard size that fits is faster and cheaper.
What size label fits a standard wine bottle?
A common front label for a 750ml Bordeaux or Burgundy bottle runs about 3.5 to 4 inches wide by 4 to 4.5 inches tall, with a smaller back label for the details. Bottle shapes vary, so measure your specific bottle rather than trusting a generic number. Our guide to wine bottle label dimensions walks through it in detail.
What size label fits a 16 oz bottle?
A 16 oz bottle is usually about 2.5 inches across, which puts the distance around it near 8 inches. An 8 by 2 inch wrap covers that with a small overlap, and a 3 by 2 inch front label is the safer pick when the bottle carries a molded seam or a ribbed grip panel. Measure the straight vertical section before you order, because a 16 oz sports bottle and a 16 oz beer bottle hold the same volume and give you very different panel heights.
Do I need bleed on a label, and how much?
Yes. Add 0.125 inch of bleed on every side if your artwork runs to the edge, so the color extends past the cut line and no white slivers show after trimming. Keep important text and logos at least 0.125 inch inside the trim as well. Our online designer sets these guides for you automatically.
What is the difference between sheet and roll label sizing?
Sheet labels come on flat sheets and are ideal for short runs, mixed shapes, and hand application. Roll labels come wound on a core and are built for volume and machine application, so you also specify the roll direction and core size. The label dimensions themselves are measured the same way, the format just changes how they are delivered and applied.
Get Started
Ready to print labels in the right size?
Set your exact dimensions, drop in your artwork, and we print sheet or roll labels that apply flat and read clean on every product.
Legal Disclaimer
Gold Standard guarantees apply to all standard orders placed through 4over4.com. Price match requires verifiable proof of a competitor's published price for an equivalent product with matching specifications and turnaround time. Satisfaction guarantee covers manufacturing defects and print quality issues. Contact support with order number and documentation.
