
How to Convert Text to a Shape in Photoshop for Print-Ready Files


Converting text to a shape turns your letters into vector outlines, so a missing font can never break your layout on press. Do it last, because the text is no longer editable afterward.
To convert text to a shape in Photoshop, duplicate the type layer, then right-click it and choose Convert to Shape. The letters become vector outlines that print exactly as designed, with no font to substitute. Use Convert to Shape rather than Rasterize so type stays sharp, repeat for every layer, then export a flattened press-ready PDF and upload it for a free file check.
Start here
Letters become vector paths
Converting text to a shape turns live type into vector outlines that never need a font installed. Duplicate the type layer, right-click it, and choose Convert to Shape, not Rasterize, so the letters stay crisp at any size. Repeat for every text layer, flatten the file, and export a press-ready PDF, then upload it for a free file check so it prints exactly as designed.
Why converting text to a shape matters for print

A font that lives on your computer does not automatically live inside your file. If you hand a press a design that only references a font, and that exact typeface is not on their system, it can be substituted for another, quietly shifting your spacing, breaking your line ends, and wrecking a layout you spent hours on. Converting text to a shape removes that risk entirely.
When you convert type to a shape in Photoshop, each letter stops being live text and becomes a vector outline made of anchor points and paths. The press no longer needs your font, because the letters are now artwork that prints exactly as drawn on any machine. It is the Photoshop equivalent of outlining fonts in Illustrator, and it is one of the core steps in preparing a truly print-ready file.
This matters most for the type people judge you by: a logo, a wordmark, or the headline on a business card or brochure. Lock those as shapes and they print sharp and correct, every time, on every stock.
Convert to Shape vs Rasterize: keep it vector
Photoshop gives you two ways to make type no longer editable, and they are not equal for print. Convert to Shape keeps your letters as vector paths, so they stay razor-sharp at any size, exactly what you want for logos, wordmarks, and headlines that must look crisp on paper. Rasterize Type, by contrast, turns the letters into pixels at the current resolution.
Rasterizing has its place when you need to apply pixel-based effects, but it makes the type resolution-dependent: scale it up later and it can soften or go blocky, because you are stretching pixels rather than redrawing a clean path. For a print file, that is a risk you do not need to take with your most important text.
So reach for Convert to Shape first. If a specific effect forces you to rasterize, do it at the final print size and at 300 DPI so the type holds detail. Our guide on choosing the right file type covers when vector and raster each make sense in a print workflow.
The conversion, step by step
The process itself takes seconds per layer. Start by duplicating your text layer and hiding the copy, because a shape is no longer editable as words, and keeping an editable original saves you if a typo turns up later. Then select the working type layer in the Layers panel so Photoshop knows exactly which text to convert.
Right-click the layer name and choose Convert to Shape, or use the Type menu and select Convert to Shape. The live text becomes a vector shape layer, with each letter now a path defined by anchor points. Zoom in to confirm everything converted cleanly, paying attention to thin strokes and fine serifs, which are where problems, if any, show up first.
Repeat for every remaining text layer, because a single font left as live text can still be substituted. When all type is locked, flatten the file, confirm CMYK color and full-resolution images, and export a flattened, press-ready PDF ready to upload.
Upload with confidence and a free file check
Locking your fonts is one of the last steps before your file is truly press-ready. Once type is converted to shapes, color is CMYK, and images sit at 300 DPI at final size, you have a file that needs no interpretation on our end. That is the whole goal: a design a commercial press can print without editing, so the result matches your screen.
Even with a perfect file, a second set of eyes helps. Every order you place at 4OVER4 runs through a free file check, which confirms the file is press-ready and flags anything worth a second look before the press does. It is a safety net that costs you nothing and catches issues while they are still cheap to fix.
Prefer not to wrestle with font-locking at all? Our online designer bakes print rules in so your type is handled correctly from the start, and our free design templates give you a correct foundation to build on. Then print your locked design on the stock and finish your project calls for.
Wally locks your letters before they travel
A shape needs no font, so nothing gets swapped
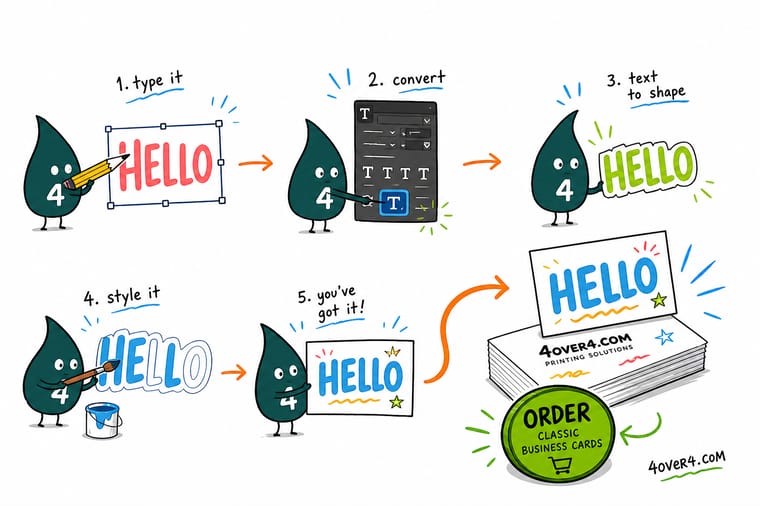
Wally duplicates the type layer, converts it to a vector shape, and watches the letters turn into clean paths with anchor points. Now the press needs no font at all, so nothing gets substituted and your type prints exactly as drawn. Lock every layer, export a press-ready PDF, and let the free file check confirm it before it runs.
Print your press-ready design →Step by step
Convert text to a shape in 6 steps
- Duplicate your text layer firstSelect the type layer and duplicate it, then hide the copy. Converting to a shape removes the ability to edit the words, so keep an editable original in case you need to fix a typo later.
- Select the type layer to convertClick the working text layer in the Layers panel so Photoshop knows exactly which type you want to turn into a vector shape.
- Right-click and choose Convert to ShapeRight-click the layer name and pick Convert to Shape, or use the Type menu and choose Convert to Shape. The letters become editable vector paths on a shape layer.
- Check the anchor points and pathsThe text is now made of vector outlines with anchor points, not pixels. Zoom in to confirm every letter converted cleanly, especially thin strokes and fine serifs.
- Repeat for every text layerDo the same for each remaining type layer. No font can be left as live text if you want the file to be immune to substitution on any system.
- Flatten and export a press-ready PDFFlatten the artwork, confirm the color is CMYK and images are full resolution, then export a flattened PDF. Upload it to 4OVER4 for a free file check before the run.
Infographic
Live text vs a vector shape
The same word, two states. Live text depends on a font being installed; a converted shape is pure vector artwork the press can print anywhere.
Convert to Shape keeps letters as vector paths, so your type is immune to font substitution and stays crisp on paper.
Specs and pricing
Business card specs and live pricing
Type-locked designs print sharpest on smooth stocks. Classic business cards run 100 for $17.57, which is $0.18 each.
| Quantity | Price Per Unit | Total |
|---|---|---|
| 100 | 17.6¢ | $17.57 |
| 200 | 11.5¢ | $23.07 |
| 300 | 9.15¢ | $27.46 |
| 400 | 7.96¢ | $31.86 |
| 500 | 7.25¢ | $36.26 |
| 600 | 6.77¢ | $40.64 |
| 700 | 6.43¢ | $45.04 |
| 800 | 6.18¢ | $49.43 |
Print it
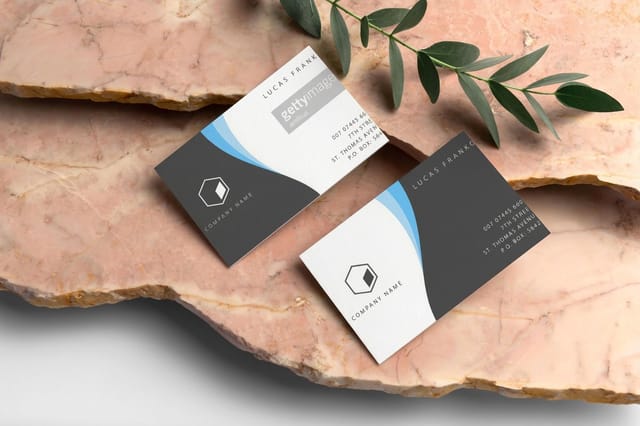
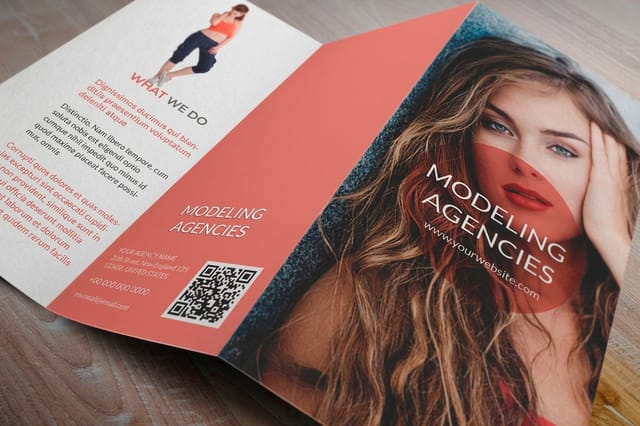
Print your font-locked design at 4OVER4
See it in use
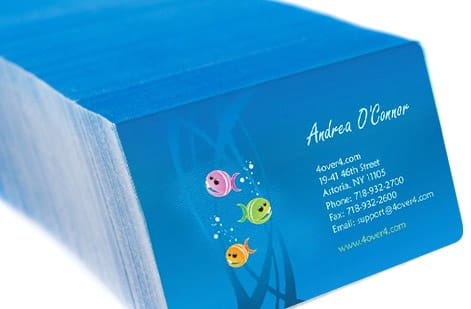
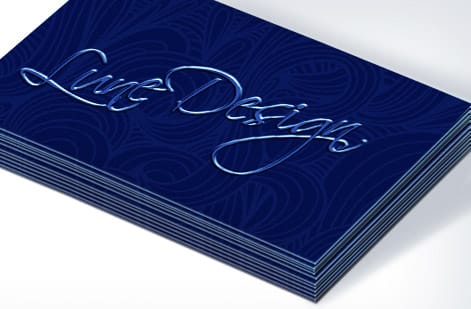
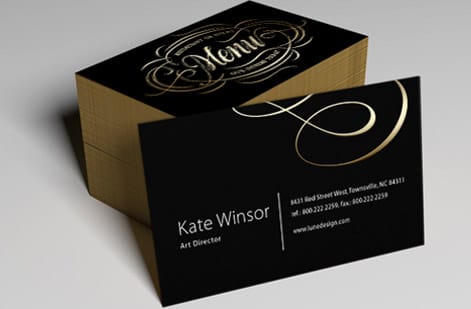
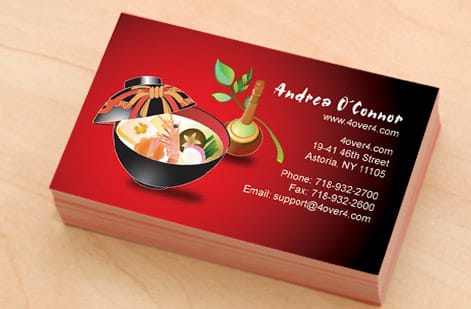
Outlined type we printed at small sizes




Explore more
Where to go next

By the numbers
Smooth coated stocks that hold fine letters
Common Questions
Common questions about converting text to a shape
What does converting text to a shape in Photoshop do?
It turns your live, editable type into vector outlines, the same idea as outlining fonts in Illustrator. Instead of the file referencing a font that must be installed to display correctly, each letter becomes a shape defined by anchor points and paths. That means the press no longer needs your font at all, because the letters are now artwork. It permanently locks in your typography so it prints exactly as you designed it, with no risk of a missing font being swapped for a different one that wrecks your layout.
How do I convert text to a shape in Photoshop?
First duplicate your text layer and hide the copy so you keep an editable original. Then select the working type layer, right-click its name in the Layers panel, and choose Convert to Shape, or use Type then Convert to Shape from the menu. Photoshop replaces the live text with a vector shape layer whose letters are made of paths and anchor points. Repeat for every text layer, flatten the file, and export a press-ready PDF. Zoom in first to confirm thin strokes and serifs converted cleanly.
Should I use Convert to Shape or Rasterize Type?
Use Convert to Shape when you want the type to stay crisp at any size, because it keeps the letters as vector paths that never pixelate. Rasterize Type turns the letters into pixels at the current resolution, which is fine if you only need to apply pixel-based effects, but the text can soften if it is scaled up and it is resolution-dependent. For print files, Convert to Shape is the safer choice for logos, wordmarks, and headlines you want sharp on paper. If you must rasterize, do it at the final print size and at least 300 DPI.
What does it cost to print files with converted text, and how are prices set?
Converting text costs nothing beyond your design time, and running the finished file through our free file check before you order is included. Printing cost then scales with the usual levers: quantity, size, paper stock, and finish, with the unit price dropping as the quantity climbs. You set each option in the configurator and the price updates live, so you can see exactly how a heavier stock or a larger run changes the total before you commit.
What sizes, stocks, and finishes work for type-heavy designs?
Crisp type reads best on a smooth stock, so a coated or premium smooth paper keeps fine letters sharp, while heavily textured stocks can slightly soften small text. Standard sizes run most efficiently for the lowest cost, and finishes like spot gloss or foil can make a wordmark stand out once your type is locked as shapes. Use the live specs on the product page to match the size, stock, and finish to your design before you order.
How long does printing take once my file is ready?
Once your artwork is press-ready, with text converted to shapes, color in CMYK, and images at full resolution, standard products move quickly and rush options are available on many. Upload the flattened PDF, let the free file check confirm it is ready, choose your quantity, and the job prints and ships. Preparing the file correctly, including locking your fonts, is what keeps the timeline smooth with no back-and-forth to fix a substituted typeface.
Get Started
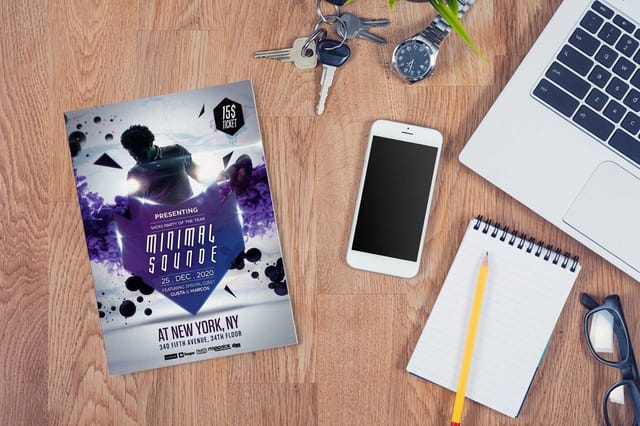
Order 50 flyers at $0.79 each with outlined type
Lock your fonts as shapes, export a press-ready PDF, and print it at 4OVER4.COM on the size, stock, and finish your project needs. Every order gets a free file check.
Legal Disclaimer
Gold Standard guarantees apply to all standard orders placed through 4over4.com. Price match requires verifiable proof of a competitor's published price for an equivalent product with matching specifications and turnaround time. Satisfaction guarantee covers manufacturing defects and print quality issues. Contact support with order number and documentation. On-time delivery rate based on tracked orders 1999 to 2026. Individual results may vary based on shipping carrier performance.
