
How to Add Foil to Certificates for a Clean Gold Finish


Foil on a certificate is a transfer, not an ink. The die picks up the metal in one pass, the artwork layer has a specific shape, the stock underneath decides the finish, and a foil seal sometimes beats a full stamp.
To foil a certificate, put the elements you want in metal on their own layer as solid 100% K vector shapes, and a heated brass die presses a foil film onto the sheet so the metal releases only where the die touches. Everything else prints as ink. Foil holds no gradients and no fine screens, it needs smooth stock to transfer cleanly, and the recipient name must stay on a flat area so a printer or a pen can still mark it. On short runs, printing flat and applying a foil seal costs less than cutting a die.
Quick answer
A die, a heated film, and a layer that says exactly where the metal goes
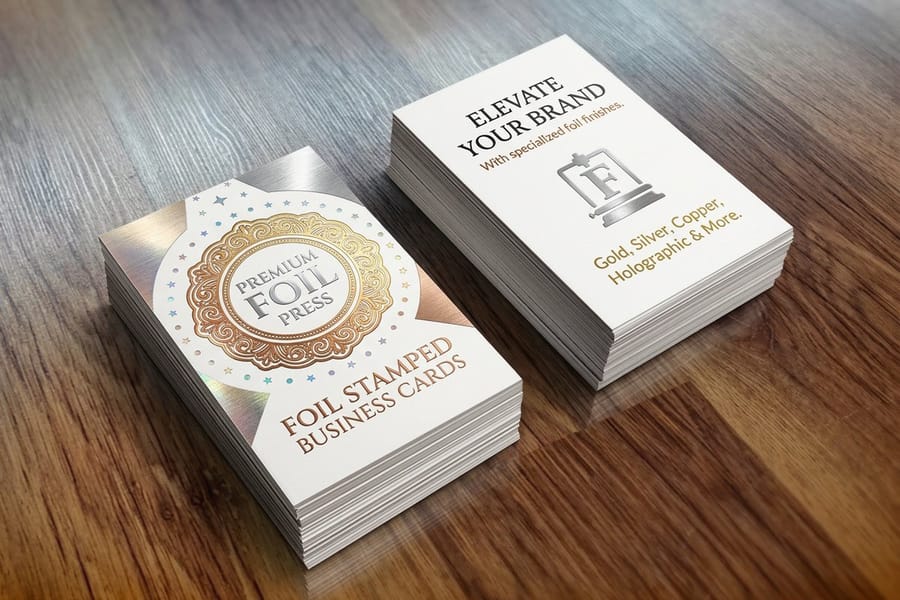
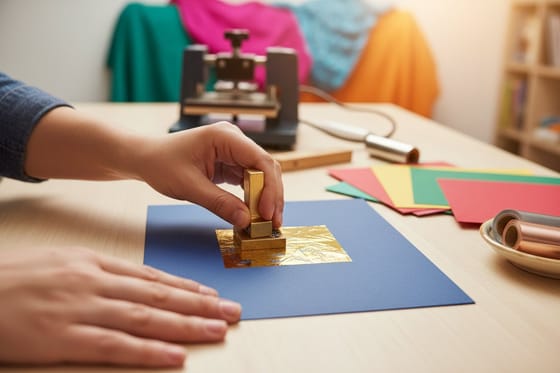
Foil is applied, not printed. A brass die etched from your foil layer is heated and pressed against the certificate through a roll of metallised film, and the metal separates from its carrier only under the die face. That is why the foil layer has to be flat solid vector art, why a gradient cannot be foiled, and why a heavily textured sheet gives you a broken line. Design the border, the title and the seal in foil, leave the name and signature area flat, and hold every foil element an eighth of an inch inside the trim.
Three Ways to Get Gold Onto a Certificate
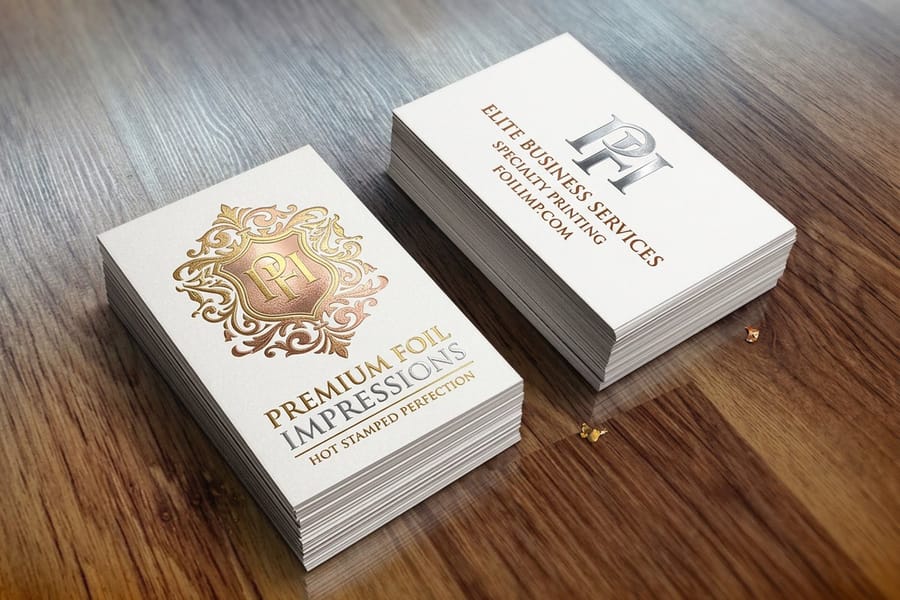
The word foil covers three different production routes, and they do not cost the same or hold the same detail. Picking the wrong one is the usual reason a certificate comes back looking cheaper than the design promised.
| Method | How the metal lands | Detail it holds | Where it fits |
|---|---|---|---|
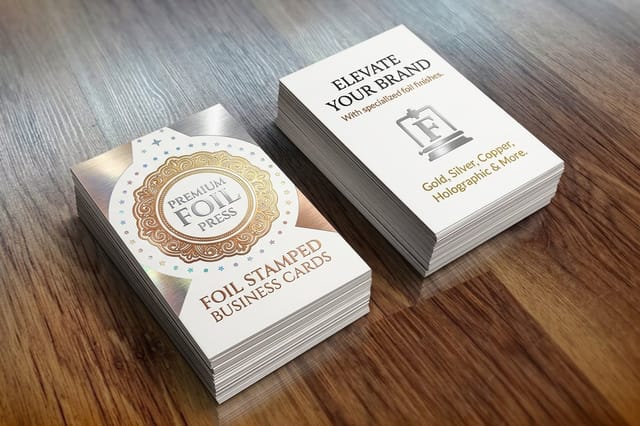
| Hot foil stamping | A heated brass die presses foil film onto the sheet. | Crisp down to about half a point of stroke, flat and mirror bright. | The classic award certificate. Borders, titles, crests and seals on a decent run. |
| Raised foil | Foil laid over a raised clear layer, so the metal sits proud of the sheet. | Same as flat foil, plus a ridge you can feel with a fingertip. | Certificates handed over in person, where the piece is held rather than filed. |
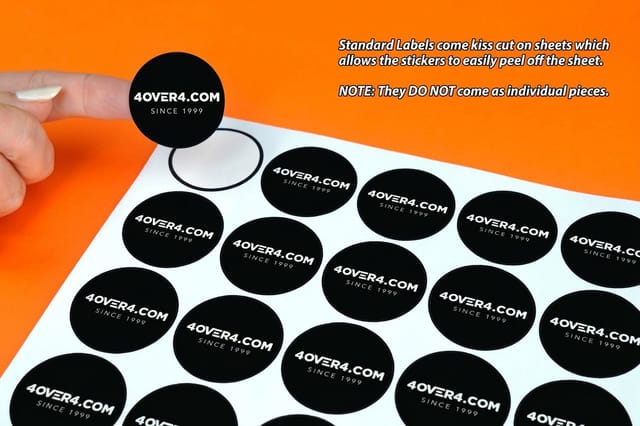
| Foil seals | A foil label printed and die cut, then applied to a flat printed certificate. | Fine detail is fine, but the seal is a separate object stuck on the sheet. | Short runs, or any job where the certificate itself has to stay laser printable. |
| Metallic ink | Pigmented ink printed on press like any other color. | Photographs, gradients and screens, none of which foil can do. | Artwork with soft edges, or where you need gold and a full color image in the same element. |
The third column decides most jobs. Foil is binary: metal or no metal, with no tonal range in between. If the crest on your certificate has shading in it, either flatten it to a single solid shape for the die or print it in metallic ink instead of foil. For the raised version and how it differs from a flat stamp, read foil stamping compared with raised foil.
Building the Foil Layer So the Die Comes Out Right

A die is etched from one flat shape. That single sentence explains every foil artwork rule, and following it takes about ten minutes in Illustrator or InDesign.
Put every foil element on its own layer, name it Foil, and fill each shape 100% K with no tint, no stroke effects and no transparency. Delete drop shadows and outer glows from anything on that layer, because the die will either ignore them or, worse, etch a hard edge where the soft edge ended. Convert type to outlines. Keep strokes at half a point or heavier and type at 8 point or larger, and be careful with high contrast display serifs, where the thin strokes fall below that threshold even when the point size looks generous.
Two spacing rules save reprints. Hold every foil element at least an eighth of an inch inside the trim, since a foil edge that gets clipped by normal cutting variation looks like a defect rather than a design. And leave a little air between two heavy foil shapes, because a hot die can push foil across a very narrow gap and close it up. Our foil file setup guide covers the layer naming and export settings in detail, and you can start from a correctly sized certificate layout in the blank template library.
The Stock Under the Foil Decides How It Looks
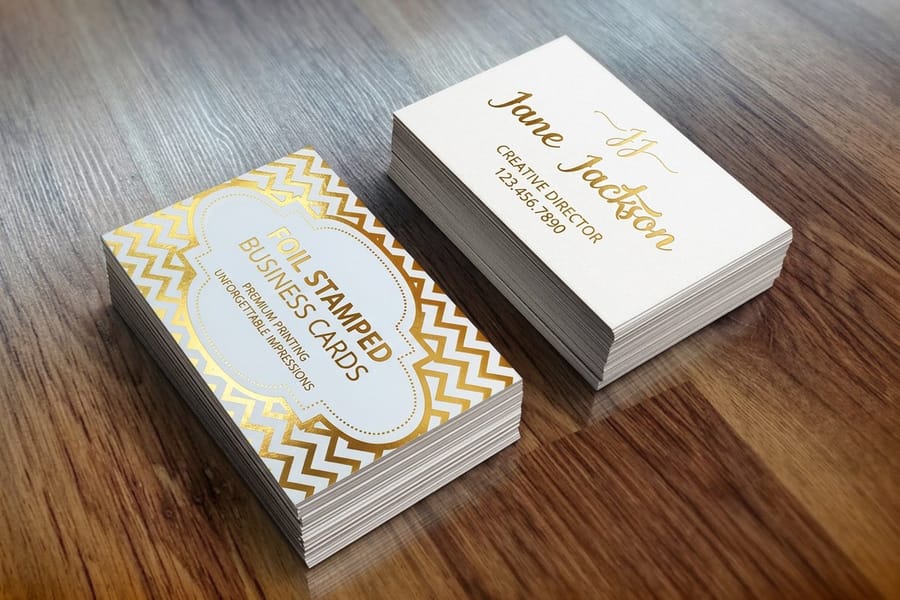
Foil transfers by contact, so the surface it lands on matters more than the color of the foil itself. Smooth is the whole answer.
On smooth coated cover or a smooth heavy uncoated sheet, the die meets the paper across its full face and the foil comes off as an unbroken mirror. On deep linen, felt or heavy parchment, the die only reaches the high points of the texture, and the foil line arrives broken and speckled with paper showing through. That is a real trade-off, because the textured stocks people instinctively associate with awards are exactly the ones that fight the process. If the certificate has to be textured, use a light texture, keep foil elements chunky, and accept a slightly softened edge.
Weight matters for a different reason. A certificate is handled, framed and often passed around a room, so anything under cover weight flops in the hand and reads as a printout. Our stock guide for certificates goes through the options by weight, and the certificate size guide covers what fits a standard frame.
Names, Signatures and the Seal at the Bottom
Foil is not variable data. Every sheet from one die gets the same metal in the same place, which means the recipient name is a separate problem and needs to be designed for from the start.
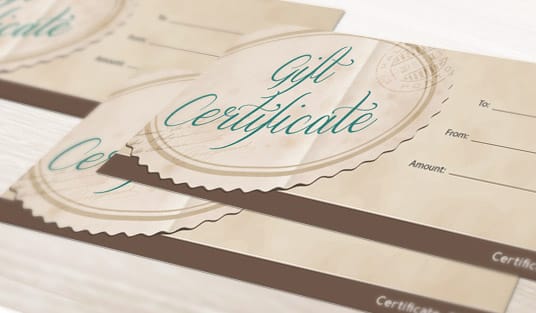
Leave a flat band across the certificate for the name, the date and the signature lines, and keep foil well away from it. Toner will not bond to a metallised surface, so a name laser printed over foil flakes off at the first fold, and a ballpoint pen skids on it. A flat name band on plain paper takes toner, inkjet and ink from a fountain pen without argument, and it is the difference between a certificate you can personalize in the office and one you cannot.
The seal is where short runs get interesting. Instead of a die and a press setup, print the certificate flat and apply a metallic seal after the fact. The full range sits in the foil printing collection.
Wally explains foil certificates
The die decides where the gold lands
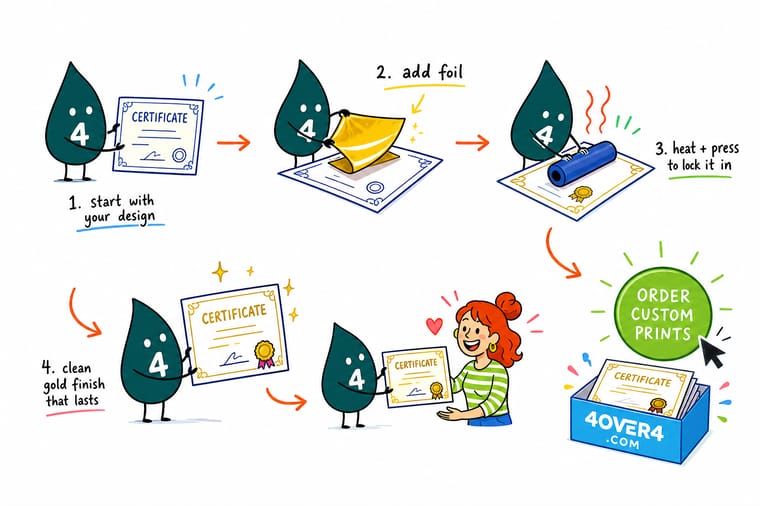
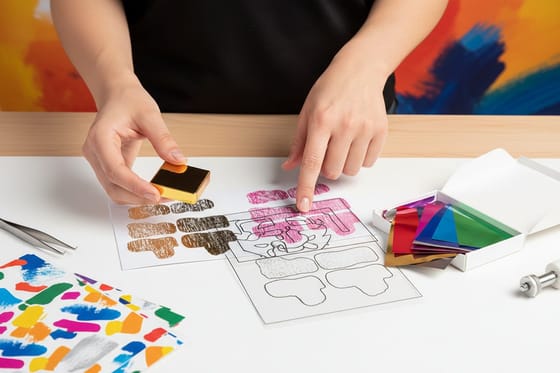
Wally heats a brass die cut from your foil layer, feeds a roll of gold film between the die and the certificate, and presses. Metal lets go of the film only where the die face touches, so the border, the title and the seal come out mirror bright and everything else stays ink. He keeps the name line flat, because toner slides straight off foil. And he asks for smooth stock, since a deep linen finish only lets the die reach the high points and the gold comes out speckled.
Order letterheads →Specs and pricing
Foil certificate options, sizes, and starting prices
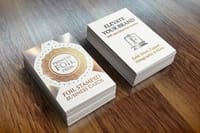
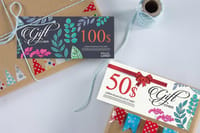
Compare the sheet, the pocket sized certificate and the seal side by side, with live configuration choices and starting prices straight from the 4OVER4.COM configurator.
Print it
Print a certificate worth framing
Explore more
Where to go next


By the numbers
Foil transferred by heated die on our presses
Common Questions
Your foil certificate questions, answered
How do you add foil to a certificate?
Build the foil elements as solid vector shapes on a separate layer named Foil, fill them 100% K, and supply the rest of the certificate as normal artwork. In production a brass die is made from that layer, the die is heated, and it presses a roll of metallised film against the sheet so the metal releases only where the die face lands. Everything else prints as ink. If the run is too small to justify a die, print the certificate flat and add a foil seal instead, which is a foil label applied after printing.
Can I print names on a certificate after it has been foiled?
Yes, as long as the name sits on plain paper rather than on top of the foil. Toner does not bond to a metallised surface and will flake or smear off it, and most pens skate across it too. Design the layout with a clear flat band for the recipient name, the date and the signature lines, keep the foil to the border, title and seal, and you can run the sheets through an office laser printer or hand letter them afterwards.
Does foil work on textured certificate paper?
Not reliably on the deeply textured stocks people reach for first. Foil transfers by contact, so linen, felt, laid and heavy parchment finishes leave the die touching only the peaks of the texture and the line comes out broken and speckled. Smooth coated cover and smooth uncoated heavy stock give a solid, mirror-clean transfer. If the brief really wants texture, use a light texture and expect a slightly softened edge, or move the metallic effect to a seal.
Is gold foil better than metallic gold ink for certificates?
For a certificate, usually yes. Metallic ink is pigment suspended in a vehicle, so it reads as a warm mustard tone that reflects diffusely, while foil is a mirror surface that flashes when the sheet tilts. Ink wins when the gold element is a photograph, a gradient or fine screened detail that no die could hold. Our comparison of gold foil against metallic gold ink walks through both side by side.
What size should a foil certificate be?
The default is 8.5 by 11 inches portrait, because that is what fits a standard certificate frame and a standard document sleeve without trimming. Landscape 11 by 8.5 is the second most common. Whatever size you pick, hold every foil element at least an eighth of an inch inside the trim so that normal cutting variation never clips a foil edge, and never run foil across a fold, because the transfer cracks along the crease.
How many certificates do I need to order to make foil worth it?
Foil stamping carries a die and a setup, so the per-piece cost drops sharply as the run grows and stings on a run of twenty. Below roughly fifty pieces, printing flat and applying a foil seal from a run of Foil Labels at $322.98 usually gives you a better look for the money.
Get Started
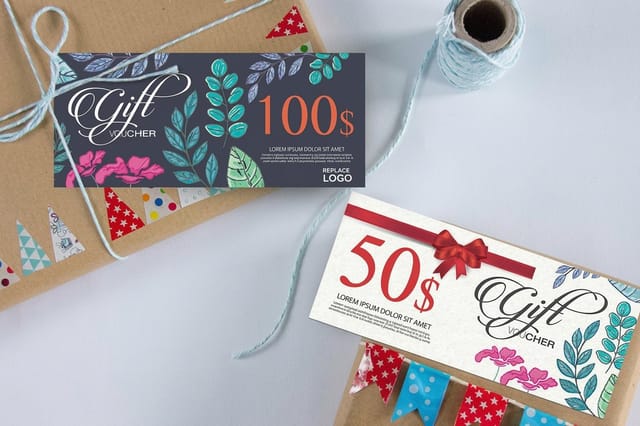
Order 50 gift certificates from $42.84 and add the foil
Pick your stock, mark up the foil layer, and we stamp the border, the title and the seal in metal while the name line stays flat enough to fill in.
Legal Disclaimer
Gold Standard guarantees apply to all standard orders placed through 4over4.com. Price match requires verifiable proof of a competitor's published price for an equivalent product with matching specifications and turnaround time. Satisfaction guarantee covers manufacturing defects and print quality issues. Contact support with order number and documentation. On-time delivery rate based on tracked orders 1999 to 2026. Individual results may vary based on shipping carrier performance.
