
How to Set Up Your Design Files for Foil


Emma is our prepress and print production voice, built from the knowledge of our production team, with over 20 years in printing.
Foil looks expensive because the setup feels intimidating. It is not. Put every shiny element on its own spot color, hand us a matching foil layer, and 4OVER4.COM turns your file into a mirror-bright card, postcard, or label.
To set up a file for foil, treat the foil as its own spot color on a separate layer: build every foiled element as a 100% solid vector, keep lines 0.5pt or heavier, and supply it alongside your full-color CMYK artwork at the same size and eighth-inch bleed. Name the foil color clearly, pull it off anything that should not shine, then export a print-ready PDF. That one separated layer is all a printer needs to lay foil exactly where you want it. Foiled postcards take the same two files at postcard size: metallic foil postcards come in 4 by 6, 4.25 by 5.5, 4.25 by 6 or 5 by 7 inches on 16pt silk laminated or 14pt uncoated, from $421.91 for 500, and raised foil postcards come in 4 by 6 or 5 by 7 on 16pt velvet laminated, from $299 for 100.
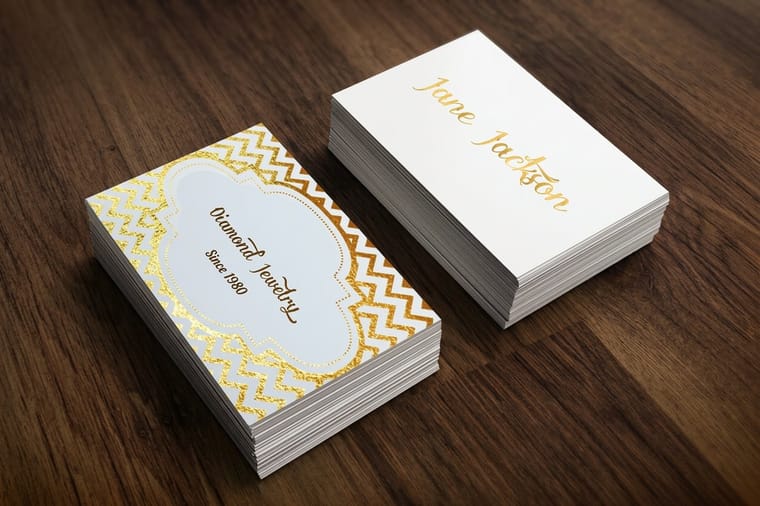
Quick tips
The fast version of foil file setup
Treat foil as its own spot color, not an ink you print. Build every foiled element as a 100% solid vector, keep lines and type bold enough to hold, and supply the foil as a separate layer that matches your full-color artwork in size and bleed. Pull foil off anything that should not shine, keep it clear of folds and edges, then export a print-ready PDF. 4OVER4.COM customers who separate the foil layer cleanly get the shine exactly where they drew it, on the first run.
Why foil files trip up first-time buyers
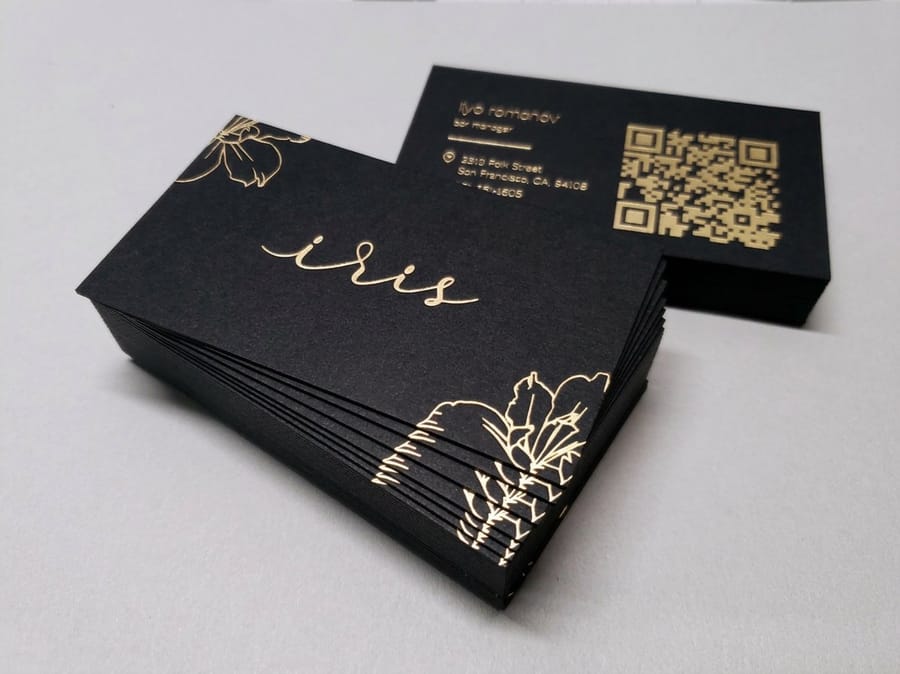
Most people who talk themselves out of foil do it at the file stage, not the ordering stage. They love the look, they price it out, and then they hit a line in the checklist that says "supply a separate foil layer" and quietly switch to plain ink. That is a shame, because the setup is far simpler than it sounds once you see it drawn out.
The whole idea fits in one sentence: foil is a location, not an ink. A printer does not mix a shiny color for you. It presses a thin metallic film onto the exact spots you mark, so your job is to mark those spots clearly and keep them apart from everything else. If you want the background on how the material actually reaches the paper, our guide to what is foil stamping covers the mechanics, and the full foil printing collection shows the range it works on.
Follow the four steps below and you will hand over a file that prints right the first time. If you would rather feel the finish before you build anything, start with a free sample pack from free samples so you know exactly what you are designing for.
Step 1: Treat foil as its own color
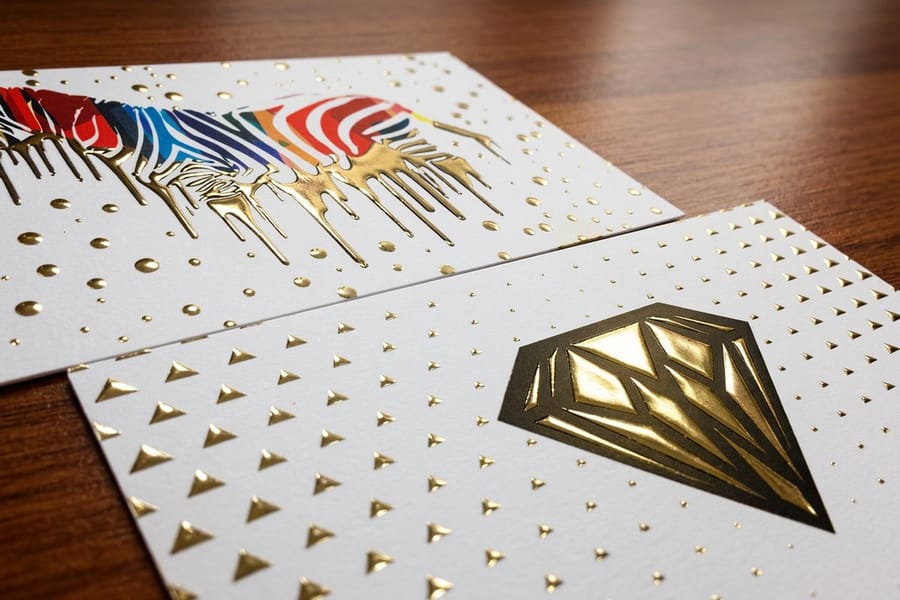
Open your design app and make a single new spot color swatch. Name it something a human can read at a glance, like Foil or SpotFoil. Then fill every element you want shiny with 100% of that swatch and nothing else. That one named color is the entire language you and the press share.
Same size, same bleed, two layers: your ink art stays untouched while the foil rides on one solid spot color.
The rule that trips people up: nothing else in the whole file may use that swatch. If a stray drop shadow or a background box is accidentally set to your Foil color, the press will try to foil it. So keep the swatch reserved for the parts that should catch light and audit it before you export. If the term is new to you, the printing terms glossary explains spot color and overprint.
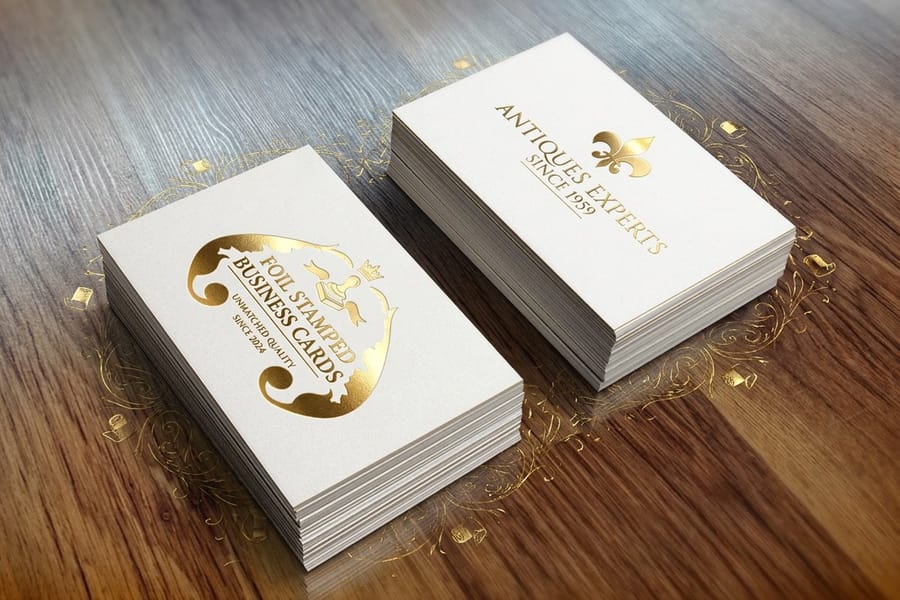
This is exactly how our raised foil business cards and the wider raised foil collection are built: a normal printed card underneath, one clean spot layer on top for the metal.
Step 2: Create your foil elements
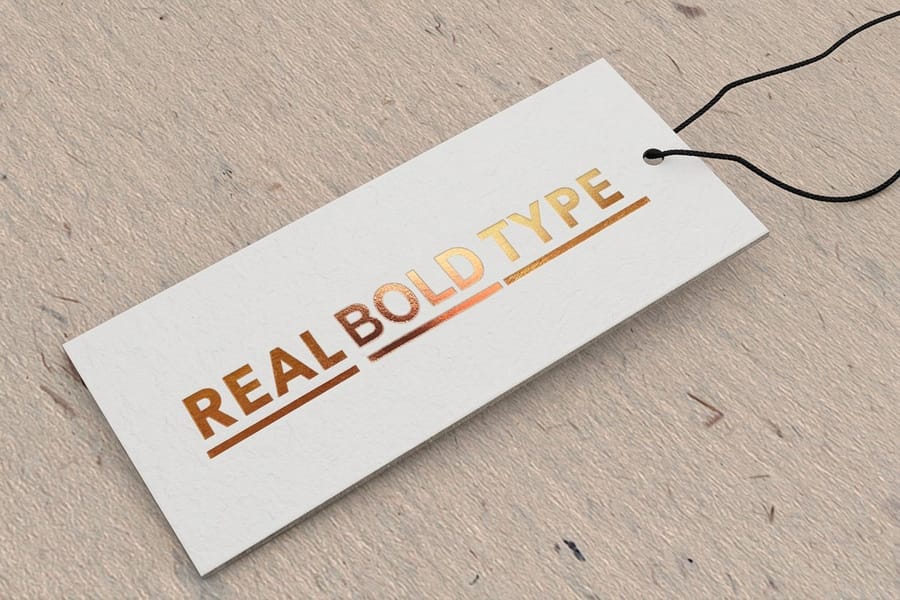
Foil is binary. It is either fully there or it is not there at all, so it cannot fade into a gradient, hold a screened tint, or carry a drop shadow. That single fact decides how you draw everything.
- Use vectors, not photos. Rebuild logos and marks as clean vector shapes. A placed JPG cannot become foil.
- Outline your type. Convert text to outlines so the foil shape does not depend on a font the press may not have.
- Mind the weight. Keep strokes at roughly 0.5pt or heavier and avoid tiny serifs and hairlines that can chip off a crease.
- Fill it solid. Every foil shape is 100% of your spot color, no tints, no transparency.
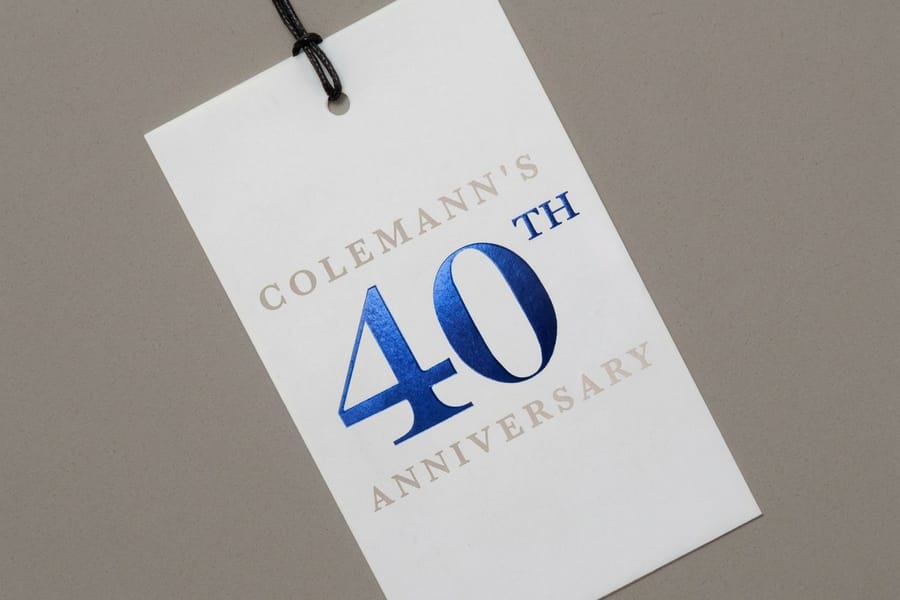
If your artwork leans on small type or fine linework, lean toward the raised process, which sculpts the foil digitally and holds finer detail than a stamped metal die. For a sense of how much a small foil accent changes a piece, read what a foil accent does on a business card. And because foil sits on top of your printed art, your base image still needs to be sharp: our image resolution guide keeps the ink layer crisp. A tag like our metallic foil hangtags is a perfect proving ground for a single bold foiled mark. The Metallic Ink Hangtags story shows one bold mark carrying a whole tag.
Step 3: Build two files, one for ink and one for foil
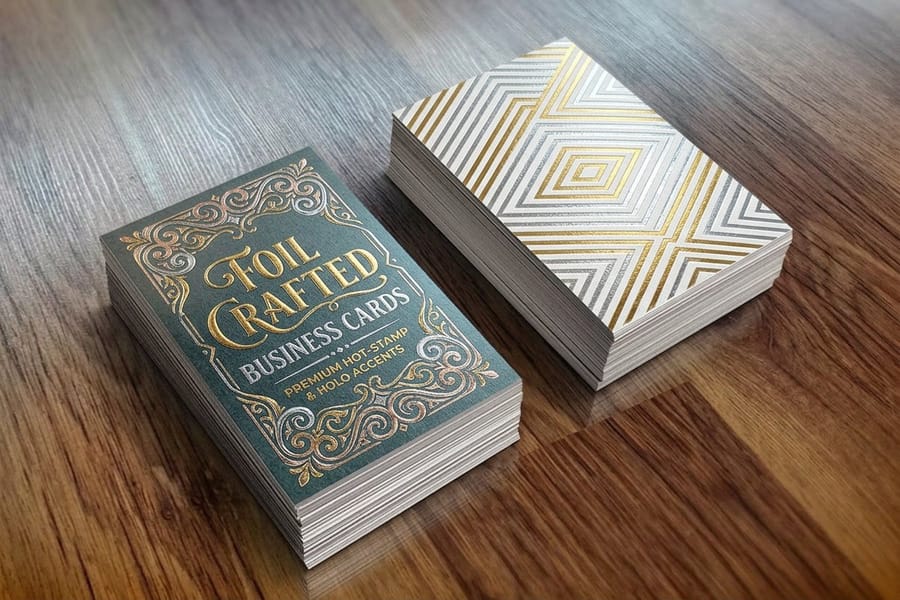
Now you hand the press two views of the same card. One is your full-color print artwork in CMYK. The other is the foil placement, drawn only in your spot color on a blank artboard of the identical size. Think of the second file as a stencil that says "put metal exactly here."
Deliver two matching files or one layered PDF with a named Foil spot layer. Identical trim and bleed keep the shine on target.
You can deliver this as two matching PDFs, front-print and front-foil, or as one layered file with a clearly named Foil spot layer. Either way, the two must share the exact same trim size, the same eighth-inch bleed, and perfect registration. When they line up, the shine lands precisely on your logo. When they drift even a hair, the foil slides off the edge and the piece comes back for a redo.
Not sure your two layers agree? That is what a proof is for. Every order at 4OVER4.COM includes free proofs, so you see the foil placement mapped onto your art before a single sheet runs. Our foil stamped business cards are set up this exact way, and the foil stamped business cards video shows the stamped result.
Step 4: Check your files before you upload
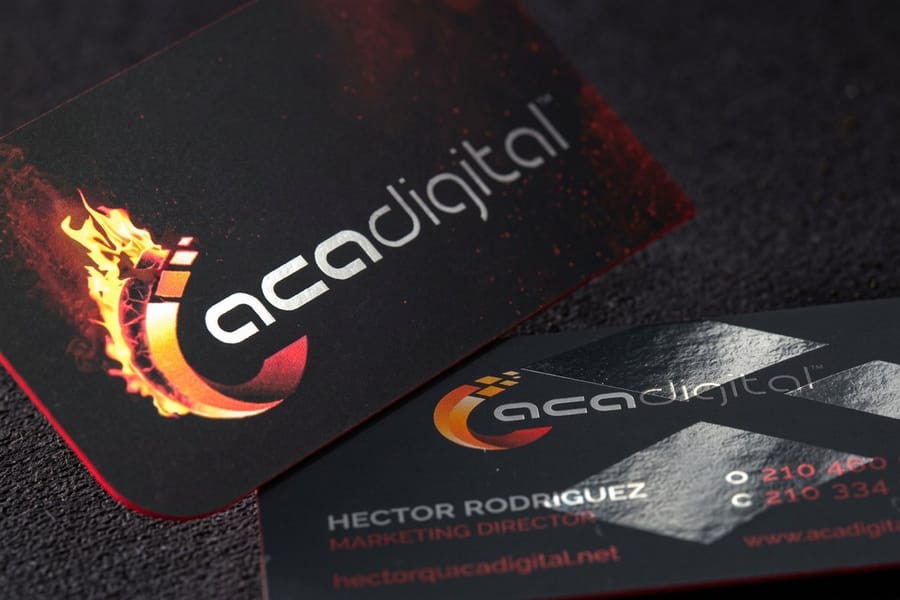
Run this quick pass before you send anything. It takes two minutes and saves a reprint.
- Fonts outlined. All type converted to vector outlines in both layers.
- Foil is 100% spot. Foil elements use only your named swatch, no tints or effects.
- Nothing stray in the foil layer. Backgrounds, shadows, and body copy are not accidentally set to Foil.
- Size and bleed match. Both layers share the same trim and a full eighth-inch bleed all around.
- Base art is CMYK. Convert RGB photos so colors print the way you expect.
- Exported print-ready. A flattened, high-resolution PDF with the foil layer intact.
No design software handy? You can build a clean, print-correct layout right in the browser with our online designer, or start from a proven layout in the design templates library and drop your foil accents where you want them. When you are ready for a premium mirror finish, our silk aluminum foil business cards show off a fully foiled surface. See the silk aluminum foil business cards story for finished cards, and watch the foil print business cards video to see a foil layer land on press.
Foil, raised foil, or metallic: pick the right finish
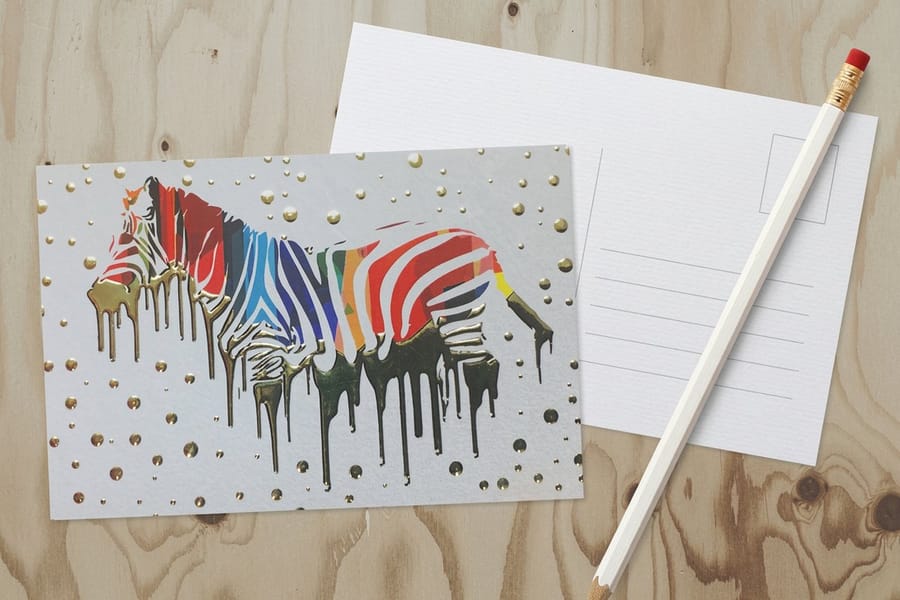
The file setup is nearly the same across finishes, but the look and feel are not. Choosing the finish first makes every other decision easier. The foil layer itself does not change: one spot color, 100% solid, same trim size and eighth-inch bleed as the printed art.
Flat metallic foil gives you the classic mirror shine, smooth to the touch and unmistakably premium, and it is the finish most people mean when they ask for gold or silver on a card. Raised foil sculpts the metal up off the surface so you can feel it with a fingertip, and it holds finer detail because it skips the physical die, which also means no plate and no setup fee on a short run. Standard foil stamping is the dependable choice for logos, borders, and a few words of type. The metallic foil collection and the raised foil collection lay the options side by side.
A quick rule for picking: thin serifs, small type or fine line art go to raised foil, since a metal die chips detail that light; big solid logos, rules and borders are happy on flat foil. If you want the deeper differences between hot stamping and its variations, this breakdown of hot foil stamping types and finishes is the one to read, and our comparison of foil stamping vs raised foil sets the two processes side by side. For a dimensional card that arrives ready to mail, our raised foil postcards are a strong starting point.
Setting up foil on cards, postcards, and beyond
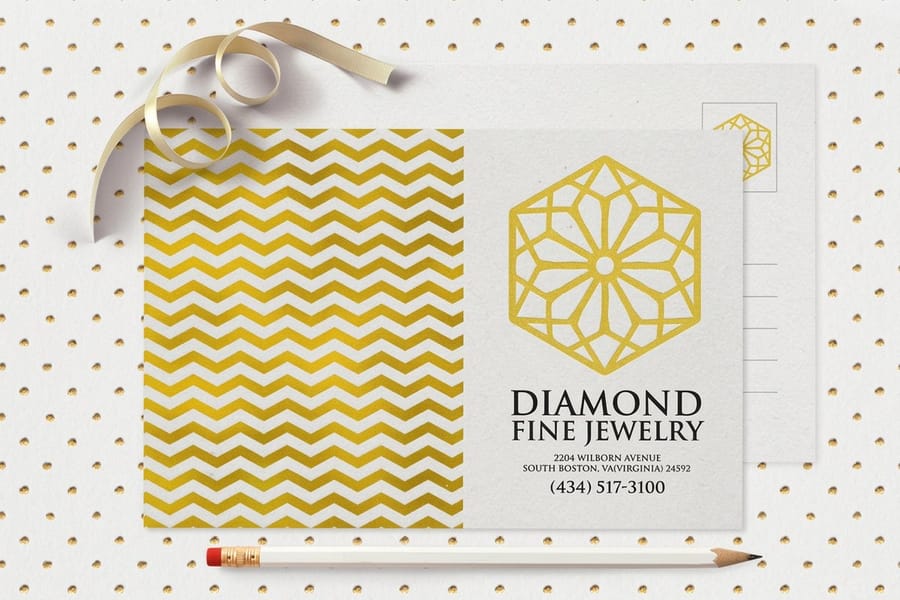
The two-layer method scales to almost anything flat. The only thing that changes from product to product is the trim size and where you keep the foil away from folds and edges.
On business cards, foil a logo or a single line and let the rest breathe. Browse the full range under business cards printing. On postcards, a foiled headline or frame pulls the eye the instant it lands in a mailbox, and our metallic foil postcards plus the wider postcards printing lineup are built for it. If you are new to postcard layout in general, how to make postcards covers the size and bleed basics that your foil layer has to match.
One placement note that applies everywhere: keep foil off scores and creases, and hold it a hair back from the trim so it does not flake at the edge. Solid, generous shapes with a little breathing room foil the cleanest.
What foil design costs and how prices are set
Four choices you control set the price of a foil run.
- Quantity. Like all printing, the per-piece price drops as the run grows: 500 foil business cards start at $222.13 and 1,000 cost $269.14, about 27 cents a card instead of 44.
- Size and stock. Bigger pieces and heavier premium stocks cost more to run, so a 5 by 7 postcard costs more than a 2 by 3.5 card, and 16pt silk laminated sits above 14pt uncoated.
- Foil coverage. One small accent is cheaper than a fully foiled face, and foil on the front only is cheaper than foil on both sides.
- Process. A brand-new hot-stamp shape can carry a die charge, while the digital raised process skips the plate entirely, which is why raised foil postcards start at 100 pieces for $299.
At 4OVER4.COM the price updates live in the configurator as you change options, so there is no guesswork, and bulk discounts apply automatically as your quantity climbs. Want to be sure of the stock and shine before you commit? Grab a free sample pack first.
Foil file mistakes that cause a reprint
Almost every foil redo traces back to one of these. Skim the list before you upload and you will dodge the whole set.
Foil built as a color fill in the print file. Painting something gold in CMYK does not make it foil. It has to live on its own spot layer or the press has no idea where the metal goes.
Mismatched layers. If the print file and the foil file are different sizes or bleeds, the shine registers off your art. Lock both to identical dimensions.
Foil on tiny detail. Hairlines and small serifs chip. Thicken strokes, bump the point size, or move to the raised process for fine work.
Stray elements in the foil layer. A forgotten background or shadow set to your Foil swatch gets foiled too. Audit the layer before export.
Foil across a fold. Metal cracks at a crease. Keep it clear of scores and a touch back from the trim.
Want a human set of eyes on a trickier piece? Our metallic WonderFoil service handles specialty foil work, and the copper foil business card showcase is full of real jobs that got the setup right. Browse more how-tos anytime in the guides hub.
Wally explains the foil layer
One clean spot color is the whole trick
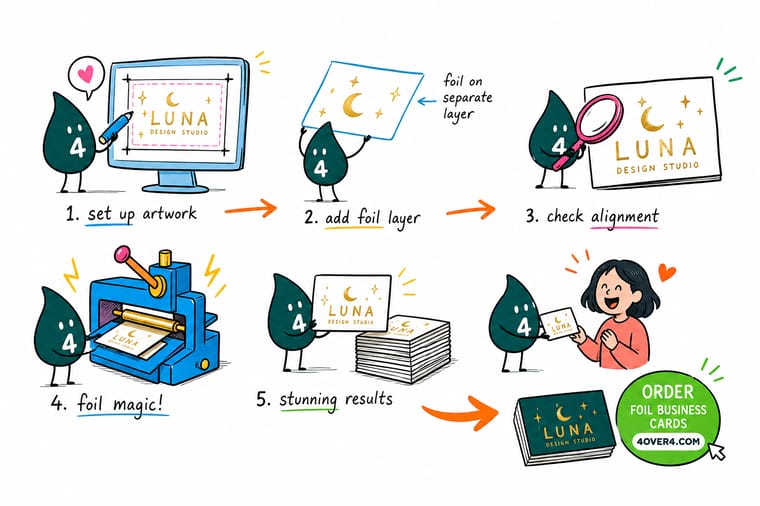
Wally thinks of foil like a spotlight: you do not paint the light onto the stage, you point it. Draw your shiny bits as one solid spot color on their own layer, keep them apart from your ink art, and the press knows exactly where to lay the metal. Get that one layer right and your logo shines precisely where you wanted it. Skip it and the foil wanders. Build it once, order it forever at 4OVER4.
Order foil business cards →
Specs and pricing
Foil business card specs and live pricing
Once your foil layer is ready, here is what a set of foil business cards gives you at 4OVER4.COM: 2 by 3.5, credit card, 1.5 by 3.5 or 2.5 inch square sizes on 16pt silk laminated or 14pt uncoated, seven foil colors from gold and rose gold to black and blue, foil on the front, back or both, from $222.13 for 500 on a 9 business day turnaround. The specs and price-per-unit below come straight from the live configurator.
| Quantity | Price Per Unit | Total |
|---|---|---|
| 500 | 44.4¢ | $222.13 |
| 1,000 | 26.9¢ | $269.14 |
| 2,500 | 20.2¢ | $504.19 |
| 5,000 | 19.7¢ | $986.04 |
| 10,000 | 16.4¢ | $1,644.19 |
| 15,000 | 14.4¢ | $2,161.30 |
| 20,000 | 13.5¢ | $2,701.94 |
| 25,000 | 13.0¢ | $3,242.54 |
Foil cards, labels and aluminum
Popular foil products to order at 4OVER4
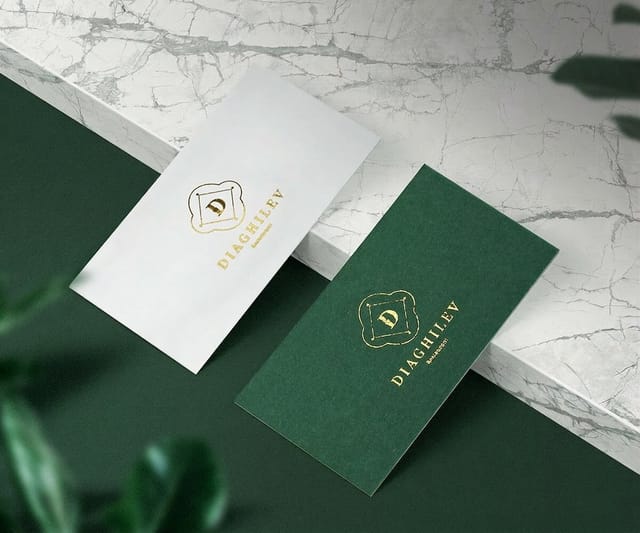
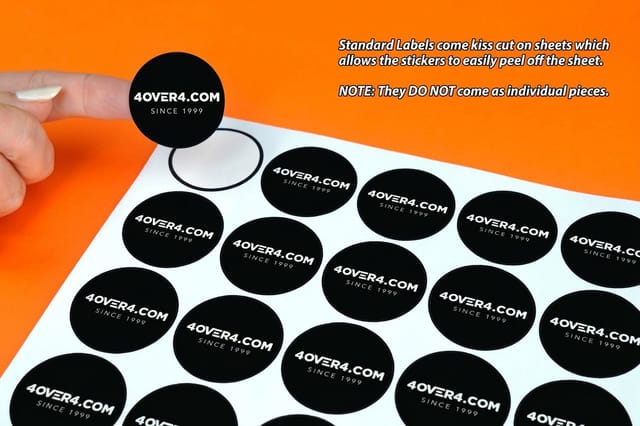
Foil business cards take your foil layer in seven colors, labels start at $23.88 for 25 for the printed pieces around them, and silk aluminum cards print on 28pt shiny aluminum with silk lamination on both sides.


Foil stamping, Canva and print specs
Where to go next

By the numbers
Foil work across 60+ paper types
Common Questions
Common questions about setting up foil files
What is foil design?
Foil design is artwork built so a printer can lay a thin metallic film onto specific parts of your piece. Instead of printing gold or silver as ink, you mark where the shine should go and the press transfers real foil there under heat or through a digital raised process. In practice that means your logo, a border, or a few words become a separate solid shape that the printer reads as a foil placement, kept apart from your regular full-color artwork.
How do I treat foil as its own color? (step 1)
Create a single spot color swatch in your design app, name it something obvious like Foil, and fill every element that should shine with 100% of that swatch. Nothing else in the file should use it. Set the foil elements to overprint off unless your printer asks otherwise. Keeping foil on one named spot color is what lets the press separate the metallic layer cleanly from the ink layer, so the finish lands exactly where you drew it.
How do I create the foil elements? (step 2)
Build them as vector shapes, not photos or effects. Foil is either fully there or not there, so it cannot hold gradients, drop shadows, or screened tints. Convert text to outlines, keep strokes at roughly 0.5pt or heavier, and avoid tiny serifs and hairlines that can chip. Solid, confident shapes foil beautifully. Delicate ink-style detail does not. If you want small crisp lettering, choose the raised foil process, which holds finer detail than a traditional metal die.
Do I really need two separate files for foil?
You need two clearly separated views: the full-color print artwork and the foil placement layer. You can deliver them as two matching PDFs or as one layered file with a named Foil spot layer. What matters is that both share the exact same trim size, the same eighth-inch bleed, and perfect registration, so the foil sits precisely on top of the printed art. If the two do not line up, the shine drifts off your logo, and that is the most common reason a foil job comes back for a redo.
Flat foil or raised foil, which holds fine detail?
Match the finish to the feel you want. Flat metallic foil gives a classic mirror shine and reads as premium on business cards and invitations. Raised foil sculpts the metal up off the surface for a tactile, modern look and holds fine detail without a die. Standard foil stamping is the usual route for logos and borders. Order a free sample pack first so you can see and feel the difference in your own hands before you commit to a full run.
What does foil printing cost and how is the price set?
Price follows quantity, size, stock, how many foil areas you use, and whether foil hits one side or both. Traditional hot stamping can add a die charge for a brand-new shape, while the digital raised process skips the plate entirely, which keeps small runs friendly. At 4OVER4.COM the number updates live in the configurator as you pick options, so you are never guessing. Larger runs bring the per-piece cost down, and bulk pricing kicks in automatically.
Can raised foil hold small text and thin lines?
Raised foil holds finer detail than a traditional metal die because it is applied digitally rather than stamped from a physical plate. It still has limits: keep type readable, avoid true hairlines, and test anything small with a sample first. As a rule, if a line would disappear at arm’s length in plain black ink, it is too thin to foil reliably. When in doubt, thicken the stroke or bump the point size.
Get Started
Send the foil layer and we press the shine
Set your foil layer, pick your stock, and we press a mirror-bright, long-remembered piece that lands the shine exactly where you drew it.
Legal Disclaimer
Gold Standard guarantees apply to all standard orders placed through 4over4.com. Price match requires verifiable proof of a competitor's published price for an equivalent product with matching specifications and turnaround time. Satisfaction guarantee covers manufacturing defects and print quality issues. Contact support with order number and documentation.
