
How Dry Erase Printing Works and What You Can Write On


A dry erase print is your artwork under a whiteboard film. Here is how the film takes and releases marker, which surface to print it on, and the two habits that keep it from ghosting.
Dry erase printing is ordinary full color printing with a clear, non porous whiteboard laminate bonded over the face. Marker ink dries on that film as a loose crust instead of soaking in, so a cloth lifts it off and the printed layout underneath stays exactly as it came. At 4OVER4.COM the same writable face goes on adhesive vinyl from $29, on 4mm coroplast from $31.99, on 30mil magnet stock from $33.99 and on .040 inch aluminum from $47.22.

Quick answer
A normal print with a whiteboard film on top
The print is permanent, the film is what erases. Artwork goes down in full color on vinyl, coroplast, magnet stock or aluminum, then a clear non porous laminate is bonded over it. Dry erase marker dries on that laminate as a crust that a cloth lifts away, so the printed grid, calendar or chart underneath never wears. Everything else follows from it: use dry erase markers only, keep marker off the surface for weeks at a time, and stick the adhesive versions to smooth walls rather than textured ones.
What Makes a Printed Sheet Erasable
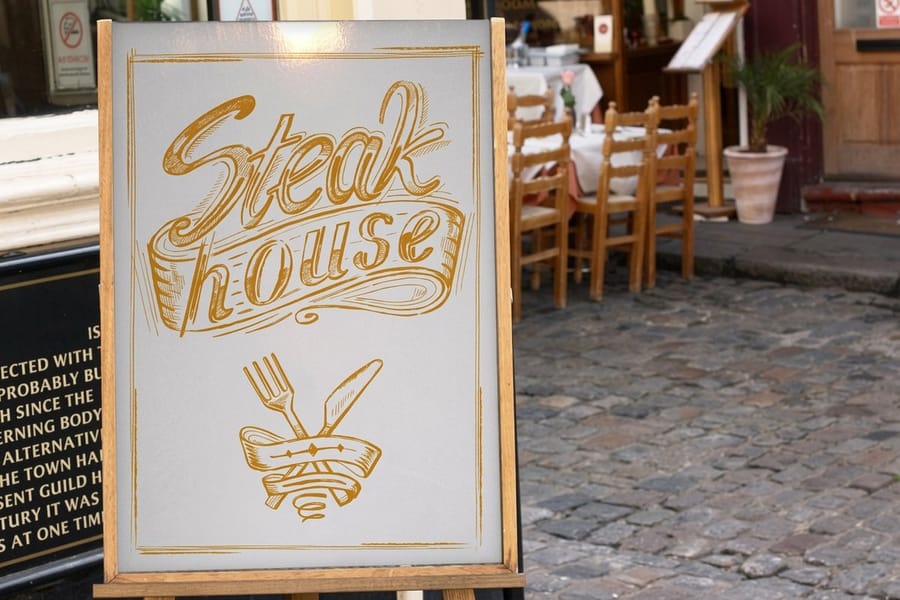
Nothing about the printing is special. Your file goes down in full color on a vinyl face stock the same way a wall graphic or a poster does. The erasable behavior arrives afterward, when a clear dry erase laminate is bonded over the printed face.
That film is non porous and slick. A dry erase marker carries pigment, a solvent that flashes off, and a release resin. When the solvent evaporates the pigment is left sitting on the film as a dry, loosely bound crust with the resin underneath it acting as a parting layer. Drag a cloth across it and the crust breaks and lifts. A permanent marker skips the release resin and uses a solvent that softens the surface enough to grip it, which is why the same wipe does nothing.
Three practical rules fall straight out of that. The print underneath never wears, because the marker never reaches it. The laminate is the consumable part, so anything that scratches or hazes the film is the real enemy. And ink that sits for weeks eventually works into the microscopic texture of the film, which is what people mean by ghosting. If you want the wider picture of how coatings sit over a digital print, the liquid laminate guide covers the alternative and where it differs.
Six Dry Erase Surfaces, and How to Pick One
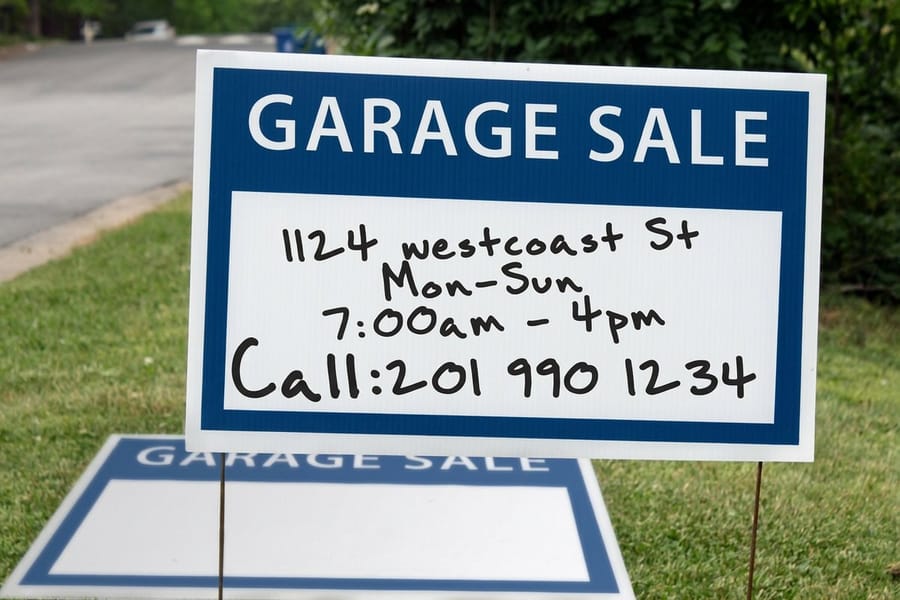
Here is the part most pages skip. Four of our dry erase products are the same build with different size ladders, and the honest way to choose is by where the thing has to live rather than by the product name.
| Product | What is under the film | Sizes | Starts at | Where it belongs |
|---|---|---|---|---|
| Dry Erase Posters | Dry erase face on an adhesive vinyl backer | 11 sizes from 11 by 17 to 18 by 24 inches, plus custom to 48 by 72 | $29 | Desk-side charts and small planners where the size ladder is fine grained |
| Dry Erase Prints | Dry erase face on an adhesive vinyl backer | 5 sizes from 12 by 18 to 48 by 72 inches, plus any custom size | $29 | One large panel, printed layout and all, on a smooth interior surface |
| Dry Erase Wall Graphics | Dry erase face bonded to an adhesive vinyl backer | 5 sizes from 12 by 18 to 48 by 72 inches, plus made to order | $29 | A whiteboard with no frame, no tray and no hardware on the wall |
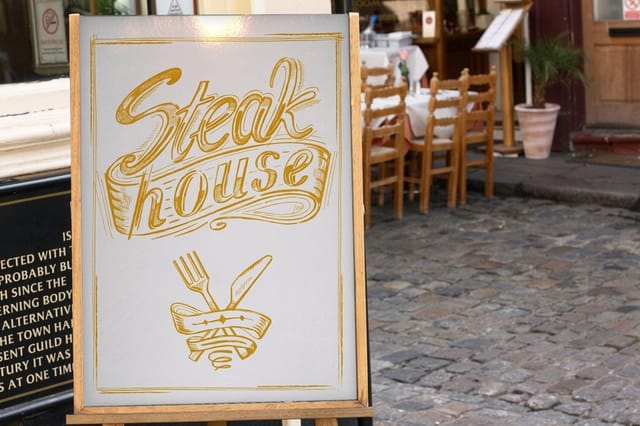
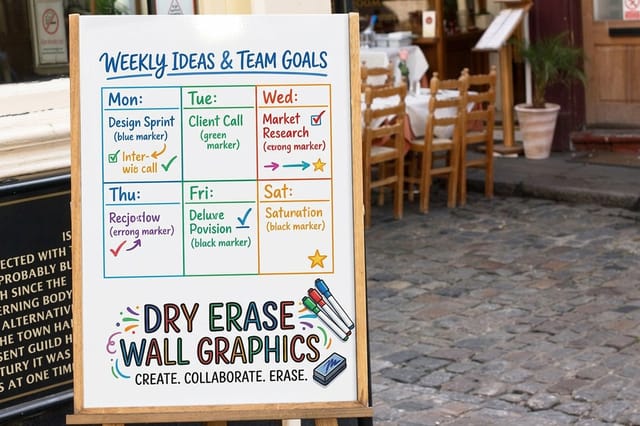
| Dry Erase Coroplast | 4mm white corrugated plastic, weather resistant | Any custom size, one or both sides | $31.99 | Outdoors on an H stake or grommets, for specials and daily rates |
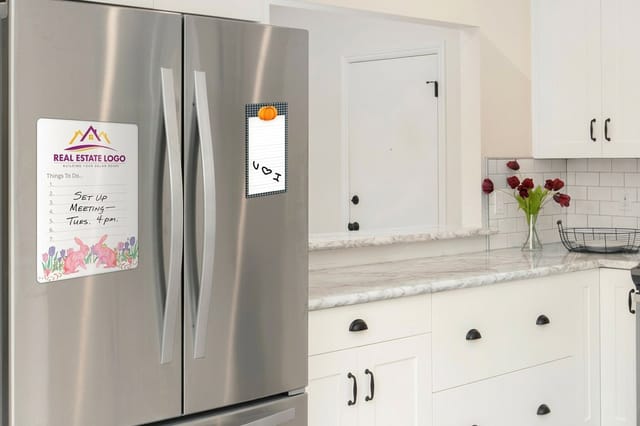
| Dry Erase Magnets | 30mil flexible magnet stock | Any size, square or 0.75 inch rounded corners | $33.99 | Fridges, steel whiteboards, filing cabinets and lockers |
| Dry Erase Aluminum Signs | .040 inch rust proof aluminum | 12 by 18, 18 by 24 and 24 by 36 inches | $47.22 | A permanent board that has to stay flat and sharp for years |
Read the second column, not the first. If the surface has to peel and stick, you are buying the same writable face at four different price points determined only by size, and picking the product whose size ladder lands closest to what you want saves money. If the board has to stand in weather, only the coroplast and the aluminum belong there. If it has to move around a kitchen, the magnet is the only one that comes off without adhesive residue. The full range sits in the dry erase printing collection, and the flat, non writable versions of the same shapes live under poster printing and wall graphics.
Designing a Board People Actually Write On
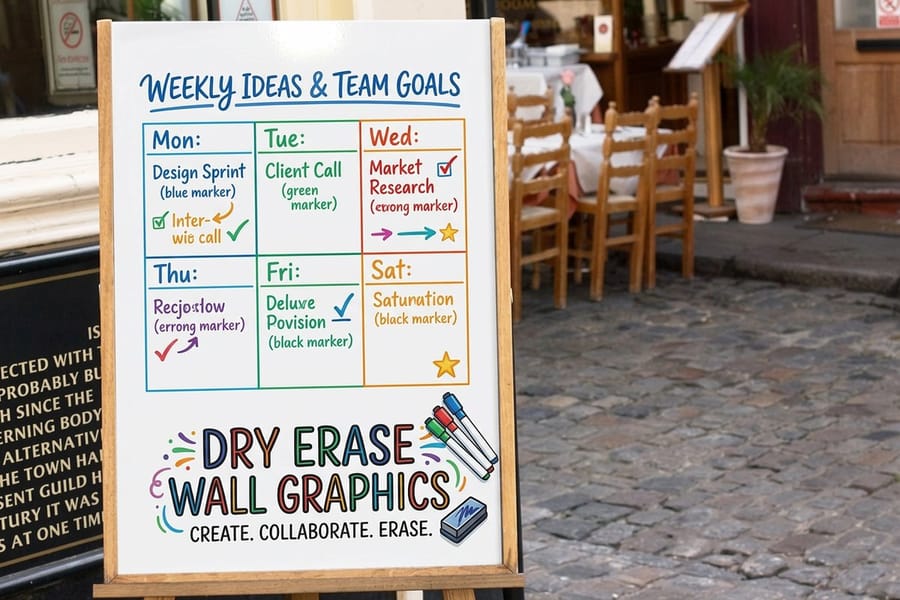
The design mistake we see most often is printing too much. A dry erase print is worth ordering only because part of it changes, so the file should carry the parts that never change and give the rest away.
Print the structure: the grid, the day and month labels, the column headings, section titles, your logo, any rules or house numbers. Leave the writing fields open, and keep them pale. Marker over a saturated printed panel is genuinely hard to read, and every ghost that develops later shows up against a dark field first. A background around 10 percent tint or lighter, with the grid lines carrying the structure, reads well under both black and colored markers.
Size the writing fields for a chisel tip, not for a pen. A comfortable line of adult handwriting with a whiteboard marker needs roughly an inch of vertical room, so a seven day chore chart with four names wants at least a 24 by 36 inch panel before it stops feeling cramped. Kids need more, not less. Our poster size guide is the quickest way to work backwards from wall space to a size on the list.
The layouts that repay a dry erase print rather than a paper one:
- Perpetual calendars. Print the grid and the day names, never the dates. The same panel serves every month of every year, which is the entire argument against a printed wall calendar.
- Chore and shift charts. Names down the left, days across the top, everything inside the grid written in. One board, no reprint when someone leaves.
- Meal and prep planning. A kitchen panel with printed meal slots and a running shopping list column beside it, which is why a dry erase magnet on the fridge door beats a wall panel across the room.
- Kids drawing panels. Print a scene, a road, a face or a maze outline and let them draw over it and wipe. The printed art survives because the marker never reaches it.
- Production and score boards. Printed headers, written numbers, updated hourly. This is where the aluminum version pays for itself over a laminated paper sheet.
Build the file the way you would for any wide format job: full size artwork, fonts converted to outlines, and a bleed. Start from a correctly proportioned layout in the blank template library if you would rather not set the document up from scratch.
Mounting, Care, and What Ruins the Surface

Adhesive dry erase fails at the wall far more often than it fails at the film. The backer wants a smooth, clean, fully cured surface, and it is unforgiving about all three.
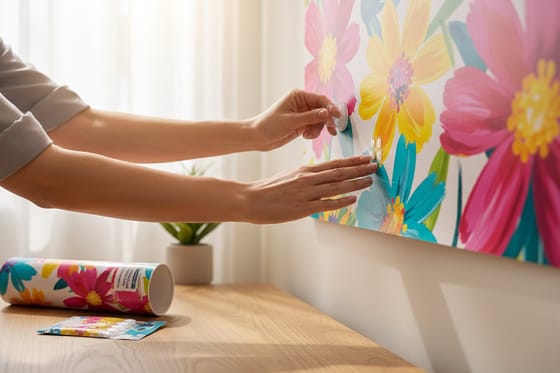
Wipe the wall with a damp cloth and let it dry completely before you peel anything. Skip freshly painted walls for a month, because latex keeps curing long after it feels dry and pulling vinyl off inside that window takes paint with it. Textured walls are the one that catches people out: on orange peel or knockdown texture the panel only touches the high points, the marker skips across the dips, and the corners start lifting within a few weeks. Put the panel on a door, a cabinet face or a primed hardboard sheet instead, or move to dry erase coroplast and hang the board rather than sticking it. The mounting notes in our guide to putting a print on a wall apply here almost line for line, and the no nails wall guide covers the same surface problem from the other direction.
Care is short. Use dry erase markers, not wet erase and not permanent. Wipe with a microfiber cloth, because a dry felt eraser mostly redistributes pigment across the panel. Clear the board completely once a week even if the content is still current, since ghosting is caused by ink sitting rather than by the number of erases. For a stubborn mark, whiteboard cleaner or isopropyl alcohol on a soft cloth. What actually destroys a dry erase print is abrasion and solvent: acetone, nail polish remover, scouring pads and melamine sponges all haze the laminate, and once it is hazed nothing wipes clean again.
Order one small panel before you commit to a 48 by 72 inch wall piece. It costs $29, and it tells you in a week whether your wall, your markers and your handwriting size are what you assumed. If you want to feel the surface first, free samples are the cheaper version of the same test.
Wally explains dry erase printing
Print it once, write on it forever
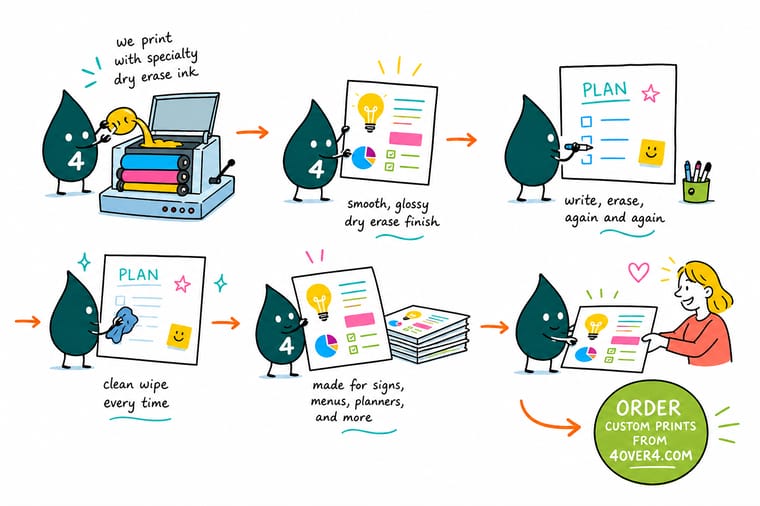
Wally prints the grid, the day names and the logo, then bonds a clear whiteboard film over the whole face. He writes Monday to Friday on the film with a dry erase marker, and on Friday a cloth takes the week off. The printed grid never moved, because the marker never touched it. His two rules: only dry erase markers, and wipe the board clean every week even when you do not need to, because ink that sits is what leaves a ghost.
Order dry erase posters →Specs and pricing
Dry erase sizes, turnarounds and starting prices
Compare the three adhesive backed dry erase products side by side, with live size and turnaround choices and starting prices straight from the 4OVER4.COM configurator.


Print it
Order a board you write on instead of reprint
Explore more
Where to go next


By the numbers
Dry erase printing you can count on at 4OVER4
Common Questions
Your dry erase printing questions, answered
What is dry erase printing?
Dry erase printing is full color printing with a clear whiteboard laminate bonded over the printed face. The artwork goes down first, exactly as it would on any poster or sign. The laminate that follows is non porous, so dry erase marker ink dries on top of it as a loose crust rather than soaking into anything. A dry cloth breaks that crust and lifts it away, and the printed layout underneath is untouched. That is the whole trick, and it is why a printed grid, calendar or chart can be reused for years instead of reprinted every month.
What markers should I use on a dry erase print?
Standard dry erase whiteboard markers, the low odor or chisel tip kind sold for office boards. They contain a release agent that keeps the pigment from bonding to the surface. Wet erase markers, the ones sold for overhead film, need a damp cloth and will not lift dry. Permanent marker carries a solvent that bites into the laminate and stays. If someone does use a permanent marker, trace over the mark with a dry erase marker and wipe both away while the fresh ink is still wet, then finish with whiteboard cleaner.
Will a dry erase print ghost or stain over time?
It can, and time on the surface is the main cause. Ink left for a day wipes clean. Ink left for a month starts to leave a shadow, especially reds and blacks, because the pigment slowly settles into the microscopic texture of the film. Two habits prevent almost all of it: wipe the board fully clean at least once a week, and use a microfiber cloth rather than a dry felt eraser, which mostly smears. For a mark that survives that, whiteboard cleaner or isopropyl alcohol on a soft cloth clears it. Never reach for acetone, a scouring pad or a magic eraser sponge, all of which haze the laminate permanently.
Can dry erase prints go outside?
Two of them can. Dry Erase Coroplast is 4mm corrugated plastic, weather resistant, and takes grommets or an H stake, which is what makes it the daily specials board outside a restaurant. Dry Erase Aluminum Signs are .040 inch rust proof aluminum that stays flat outdoors for years, with drilled mounting holes available. The adhesive vinyl products, Dry Erase Posters, Prints, Wall Graphics and Vinyl, are indoor items. Rain will not dissolve them, but temperature swings and UV work on the adhesive, and a wall graphic that gets cold and damp starts letting go at the corners.
Will a dry erase wall graphic damage my paint?
On sound, fully cured paint it usually peels away cleanly, because the adhesive is designed for smooth interior walls. On fresh paint it is a different story. Latex paint keeps curing for two to four weeks after it looks dry, and pulling adhesive vinyl off a wall inside that window can take flakes of paint with it. Wait a month after painting, wipe the wall with a damp cloth and let it dry fully, then apply. If you expect to move the graphic around, put it on a door, a cabinet face or a sheet of primed hardboard instead of the wall itself.
How much does a dry erase print cost?
Dry Erase Posters, Dry Erase Prints, Dry Erase Wall Graphics and Dry Erase Vinyl all start at $29, with the size you pick setting the price and any quantity from 1 to 100 in a single run. Dry Erase Coroplast starts at $31.99 per sign, Dry Erase Magnets at $33.99 for a custom cut size, and Dry Erase Aluminum Signs at $47.22 for a 12 by 18 inch panel. Standard turnaround is 4 business days across the family, with rush speeds down to same day out of the New York City plant.
Get Started
Ready to print a board you never reprint?
Pick your size, send the grid and the labels, and we bond a whiteboard film over the print so the layout stays and the week wipes away.
Legal Disclaimer
Gold Standard guarantees apply to all standard orders placed through 4over4.com. Price match requires verifiable proof of a competitor's published price for an equivalent product with matching specifications and turnaround time. Satisfaction guarantee covers manufacturing defects and print quality issues. Contact support with order number and documentation. On-time delivery rate based on tracked orders 1999 to 2026. Individual results may vary based on shipping carrier performance.
