
Free Envelope Printing Templates for Every Standard Size


Free templates for number 10, A7, invitation and catalog envelopes, drawn to the same dielines we print on. Every file marks the trim, the flap fold, the glued seams and the mailing clear zones, so your artwork lands inside the safe area on the first run.
An envelope printing template is a layout file drawn to a specific envelope dieline. It marks the finished face, the bleed edge, the scored flap fold, the glued side seams and the zones that must stay empty for postage and the sorting barcode. Choose the template that matches your envelope size, build your art inside the safe area, hide the guide layer, and export a print ready CMYK PDF. Nothing lands on a fold and nothing blocks the address.
Start here
Everything an envelope template does, in one paragraph
A free envelope printing template gives you the dieline before you design. It shows the exact face dimensions of the envelope you are buying, the bleed allowance if the job is converted from a flat sheet, the score line where the top flap folds, the two glued side seams that ink should stay away from, and the mailing zones the postal system expects to find empty. Work inside those marks and the file you upload is already correct, which means no reprints, no surprise trims and no address that a sorting machine cannot read.
Why an envelope template decides whether your print lands clean

Most envelope files fail for the same small reason. The artwork was built to the finished size and nothing else, so the logo ends up sitting on a glued seam, the return address drifts under the flap fold, and the delivery address lands in the strip a sorting machine reserves for its barcode. A template catches all of that before you upload a single file.
An envelope printing template is a layered file that draws the trim, the fold, the seams and the mailing clear zones on top of your working area, so every element you place has a reason to be where it is. Our free design templates follow the same logic across every format, and the companion guides for greeting cards and gift cards cover the pieces that usually travel inside the envelope you are about to print.
The parts of an envelope your template has to respect

An envelope looks like a rectangle and behaves like a folded box. The face is the panel that carries the addresses. Behind it sit the two side seams where the paper wraps and is glued, a bottom flap that laps over them, and a top closing flap hinged along a scored fold. The throat is the opening under that flap, and its depth changes how much of the back panel is usable.
Each of those parts pushes back on design. Ink laid across a glued seam can crack or sit unevenly because the paper is doubled there. Art that crosses the scored flap fold will show a hairline break once the flap is creased. A heavy solid that runs to the very edge of a pre converted envelope will almost always show a thin white sliver on one side, because assembled envelopes do not feed with the precision of a flat sheet.
This is the same discipline that fold heavy formats demand, and the setup logic in our free brochure templates guide transfers directly. Learn where the mechanical lines are, keep the important content inside the flat, unglued middle of the panel, and the press has an easy job.
Envelope sizes and the template that matches each one

Pick the dieline before you open a design program. In the United States envelopes fall into two families. Commercial sizes carry business mail and are named by number, and announcement sizes carry cards and invitations and are named with an A. Choosing from the wrong family is the fastest way to end up with an insert that does not fit.
- Number 6 3/4, 3.625 by 6.5 inches. Statements, remittance mail and short reply pieces.
- Number 9, 3.875 by 8.875 inches. The classic reply envelope that nests inside a number 10.
- Number 10, 4.125 by 9.5 inches. The workhorse for letterhead folded in thirds, invoices and sales letters.
- A2, 4.375 by 5.75 inches. Thank you notes and small enclosure cards.
- A6, 4.75 by 6.5 inches. A tidy fit for a 4 by 6 photo card.
- A7, 5.25 by 7.25 inches. The standard for a 5 by 7 invitation, the size most wedding suites use.
- A9, 5.75 by 8.75 inches. Larger announcements, certificates and press kits.
- 6 by 9 booklet and 9 by 12 catalog. For material that should arrive flat rather than folded.
The rule of thumb is a quarter inch of clearance on every side of the insert, so a 5 by 7 card belongs in an A7 rather than an A6. If the enclosure is a card you are printing yourself, size it first with the free business card templates guide, then choose the envelope template that gives it room to slide in without catching a corner.
Where the safe zones sit and why the post office cares

Mail is read by machines before it is read by a person. Automated sorting equipment scans the middle band of the envelope face for the delivery address, then sprays a routing barcode into a clear strip that runs along the bottom right of the piece. If your design occupies that strip, or if a dark background sits behind the address, the equipment can fail to read it and your mail gets handled by hand.
The reliable layout puts the return address in the upper left, reserves the upper right for postage or an indicia, holds the delivery address in the central band with plenty of light space around it, and leaves the bottom right corner completely empty. Keep meaningful artwork about a quarter inch inside every trimmed edge, and keep the address block on white or a very light tint rather than a photo or a solid.
Shape matters too. Square envelopes and unusually stiff or rigid pieces are treated as non machinable and are surcharged, so a square invitation envelope costs more to mail than a rectangular A7 carrying the same card. If you are mailing a certificate or a voucher, the flat sizes suggested in the gift certificate templates guide stay comfortably inside machinable limits.
How to use a free envelope printing template step by step

The whole process takes minutes once you know the order of operations. Work top to bottom and do not skip the proof step, because a template only protects you if you actually export from it.
- 1. Choose the size. Match the template to the envelope you intend to buy, not to the artwork you already have.
- 2. Open the template and lock the guide layer. Trim, bleed, fold and clear zone marks live there. Lock it so you cannot nudge it while you design.
- 3. Build on the artwork layer only. Place the corner card, the logo and any back panel art inside the marked safe area.
- 4. Set the address zones aside. Leave the central band and the lower right corner clean if the envelope will be mailed rather than hand delivered.
- 5. Convert color and images. Work in CMYK, keep raster art at 300 dpi at final size, and treat rich blacks carefully on uncoated envelope stock.
- 6. Hide the guide layer and export. Print ready PDF, fonts embedded or outlined, bleed included only if the job is converted from a flat sheet.
- 7. Read the proof at 100 percent. Check the address band, the seam clearance and the flap line one last time before approving.
If you want more practice on the export step with a smaller, cheaper piece first, the free bookmark templates guide walks through the same bleed and outline routine on a format that is quick to reprint.
File setup that survives the press

Envelope stock is almost always uncoated, and uncoated paper drinks ink. Colors dry back a little duller than they look on a backlit screen, fine reversed type can fill in, and heavy solids show every bit of surface texture. Design with that in mind rather than fighting it later.
Four settings do most of the work. Build the document in CMYK so nothing has to be converted for you. Keep photographs and logos at 300 dpi at the size they will actually print, since scaling a 72 dpi web logo up to a corner card is the single most common cause of a fuzzy proof. Outline or embed every font. Export a flattened print ready PDF rather than a native design file, so the layout you approved is the layout that goes to plate.
One extra caution for envelopes specifically. Small reversed type under about 8 points tends to lose its counters on textured stock, so a linen or felt finish is a poor place for a delicate script logo. If the brand mark has hairlines, test it on smooth wove first, or move the fine detail onto the enclosure instead of the envelope. The reverse type notes in the free door hanger template guide apply exactly the same way here.
Stocks, closures and finishes worth knowing before you print
Weight sets the first impression. A 24 lb bond envelope is the everyday business standard, 28 lb feels noticeably more substantial in the hand, and invitation envelopes usually run on 70 lb text or heavier so they match the card inside. Anything lighter than 24 lb starts to show the contents through the paper, which matters for statements and anything confidential.
Surface changes the personality. Smooth wove is neutral and prints the most detail. Linen adds a woven texture that reads as formal and traditional. Felt is softer and slightly more porous. Kraft looks handmade and warm but shifts every color you print on it, so proof kraft before you commit a brand palette to it.
Then there are the mechanical choices. A window saves you from printing addresses twice and forces the insert to be laid out so the address shows through, which is why window templates block that opening out. Peel and seal closures speed up hand assembly for a mailing party. Printed liners on the inside of the flap are a small luxury that photographs beautifully for an invitation suite. Whichever combination you choose, order the enclosure and the envelope together so the paper tones match, and the same principle applies to companion items such as free business cards that go out in the same package.
Common envelope template mistakes and what printing actually costs
The recurring errors are easy to name. Designing to the envelope size with no bleed on a converted job. Running a background color under the address block. Forgetting the barcode strip in the lower right. Using the A6 template when the card is 5 by 7. Placing a logo so it straddles a side seam. Sending an RGB file with a 96 dpi logo and hoping for the best. Every one of them is caught by simply keeping the guide layer visible while you work.
Cost follows five levers: quantity, size, stock, ink coverage and whether the envelope is printed flat and then converted or printed on stock that is already assembled. Larger runs drop the unit price quickly because setup is amortized across more pieces. One color corner cards on a smooth white number 10 sit at the low end, while full coverage art on a converted A7 in a textured stock sits at the top. Configure the piece you want and the live price appears before you commit, the same way it does on every other product we run.
Wally explains envelope safe zones
The envelope is not a blank rectangle, it is a folded machine part
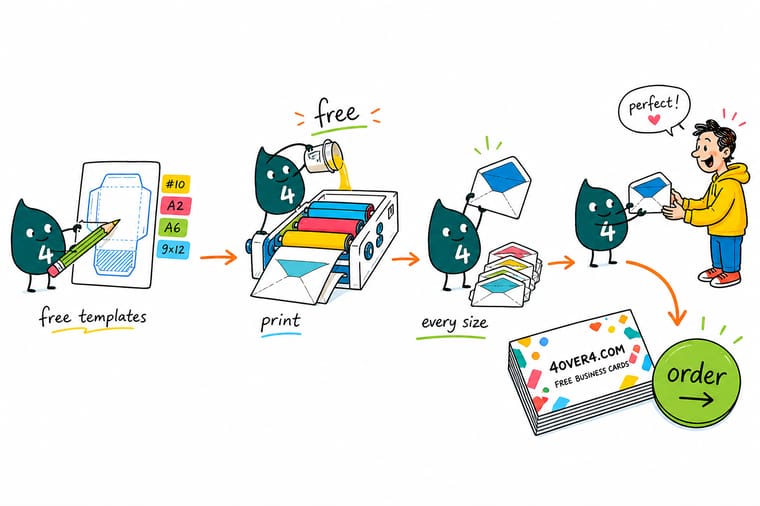
Wally starts every envelope file by drawing three boxes he refuses to touch: the postage corner, the address band in the middle, and the clear strip along the bottom right where the sorting barcode gets sprayed. Then he pulls the art a quarter inch off every glued seam and off the flap score. Whatever room is left is where the design lives, and it prints right the first time.
Print with 4OVER4 →Safe zone template
The envelope face, zone by zone
One frame that shows where postage, the return address, the delivery address and the sorting barcode belong on a standard envelope face, plus the seam and flap clearances.
The zones do not move between sizes, only the proportions do. Print this frame or keep it open beside your layout, and check the four corners of the face before you export the final PDF.
Specs and pricing
Live specs and pricing before you commit
Templates answer the layout question. These panels answer the production question, with the real stock, size and quantity options and the live price that updates as you configure the job.
Print it
Round out the mailing with the rest of your print

See it in use
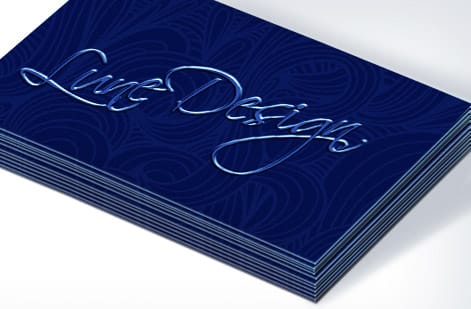
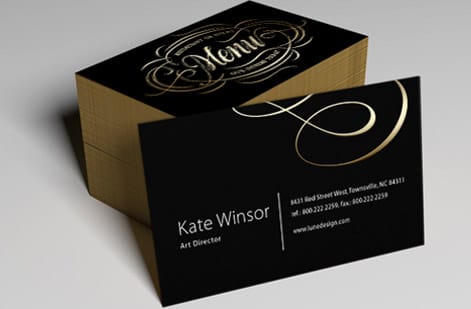
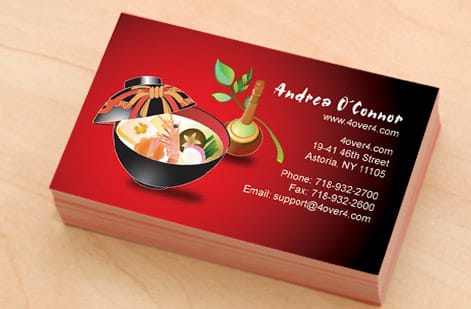
Real customer print work, produced in house




Explore more
Where to go next


By the numbers
Printing you can count on at 4OVER4.COM
Common Questions
Common questions about envelope printing templates
What is an envelope printing template?
An envelope printing template is a ready made layout file drawn to a specific envelope dieline. It shows the finished face size, the bleed edge, the flap fold, the glued side seams and the areas that have to stay clear for mailing. You drop your artwork into the working layer, hide the guide layer, and export. Nothing has to be measured by hand, and nothing lands on a fold by accident.
How do I choose the right envelope printing template?
Start with the piece that goes inside. A folded letter or a tri fold sheet calls for a number 10 template. A 5 by 7 invitation or photo card calls for an A7. A flat brochure or a certificate that should not be folded calls for a 9 by 12 catalog template. Then check the closure and the window. A window envelope template blocks out the die cut opening, so you know exactly where your art cannot go.
What does envelope printing cost and how are prices set?
Price is driven by quantity, envelope size, paper weight, how many ink colors you use, and whether the design covers one panel or wraps across the back. Larger runs bring the unit cost down sharply because the setup is spread across more pieces. Full coverage art and specialty stocks such as linen or kraft cost more than a simple corner card on a smooth white envelope.
What sizes, stocks and finishes are available for envelope printing?
The common commercial sizes are number 6 3/4, number 9, number 10, 6 by 9 booklet and 9 by 12 catalog. The announcement family runs A2, A6, A7 and A9 for cards and invitations. Stocks are usually 24 lb or 28 lb bond for business mail and 70 lb text or heavier for invitations. Finishes include smooth wove, linen, felt, kraft, plus options such as windows, peel and seal closures and printed inside liners.
How long does envelope printing take to print and ship?
Production time depends on the run size and whether the envelopes are printed flat and then converted or printed on pre converted stock. Simple one color and digital jobs move fastest, while custom converted runs with full coverage art take longer because the sheet is printed, die cut, folded and glued. The exact production window and the shipping options are shown on the product page before you check out.
Where do the safe zones sit on a number 10 envelope?
The return address block sits in the upper left corner, the postage area is reserved in the upper right, and the delivery address belongs in the middle band of the face where scanners look for it. A clear strip along the bottom right of the envelope stays empty so the sorting barcode can be sprayed on and read. Keep meaningful artwork about a quarter inch away from every trimmed edge.
Can I print full bleed on an envelope?
Yes, but only on converted printing, where the flat sheet is printed first and then die cut, folded and glued. Printing edge to edge on an envelope that is already assembled is not reliable because the press cannot lay ink cleanly over the glued seams and the flap step. Choose a converted template if the design has to run off the edge.
Get Started
Ready to print with the safe zones already handled?
Build your file on the template, then bring it to 4OVER4.COM. Real stock, live pricing and a proof you can check before anything goes on press.
Legal Disclaimer
Gold Standard guarantees apply to all standard orders placed through 4over4.com. Price match requires verifiable proof of a competitor's published price for an equivalent product with matching specifications and turnaround time. Satisfaction guarantee covers manufacturing defects and print quality issues. Contact support with order number and documentation. On-time delivery rate based on tracked orders 1999 to 2026. Individual results may vary based on shipping carrier performance.
