
Eyeletting That Lets Banners Hang Tight Without Tearing


Tobias is our voice for cutting, binding and large format, built from the knowledge of our production team, with over 20 years in printing.
Eyeletting is the finishing step that turns a printed banner into something you can actually hang: reinforced metal grommets, pressed into the hem, so a rope or bungee pulls against metal instead of tearing your vinyl. This page covers the spacing, the grommet metals, and how to add eyeletting to a banner order.
Eyeletting is the process of pressing reinforced metal rings, called eyelets or grommets, into the hemmed edge of a banner so it can be hung without tearing. The rings give you clean, load-spreading holes for rope, zip ties, bungees, or hooks. The standard placement is one grommet in each corner plus one every 24 to 36 inches along the edges, in weather-ready brass or nickel. At 4OVER4.COM you choose grommets and their spacing right in the banner configurator, and the price updates as you go.

Start here
How a grommet keeps a banner from tearing
Eyeletting presses reinforced metal grommets into a banner's hem so you can hang it without the material tearing. The rings give you clean holes for rope, zip ties, bungees, or hooks, spread the pull of the wind across metal instead of a single point of vinyl, and come standard on outdoor banners at 4OVER4.COM. Get the spacing right for your spot, match the grommet to a weather-ready stock, and your banner goes up flat and stays there. The diagram further down shows the placements we set most often.
Eyeletting on a 4OVER4 banner order
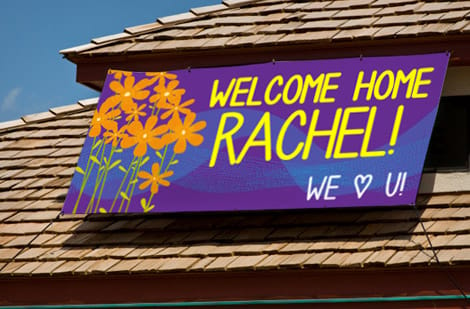
Eyeletting at 4OVER4.COM is a finishing option on the banner itself. On vinyl banners you print on 13 oz outdoor vinyl or 15 oz blackout vinyl, in sizes from 2 by 4 up to 8 by 20 feet, then choose the grommets and the hem on the same order page. The hem runs top and bottom or on all four sides, and the rings go in after the banner is printed and cut.
Vinyl banners finish production in 3 business days with the grommets already set, so the banner arrives ready to tie up. The price you see in the configurator is the ready-to-hang price.
Where the eyelets go on a banner

On a banner, the eyelets sit in the hem, inside the edge. The order page gives you two layouts: corners only, for a small or indoor banner, and every 2 feet, for a banner that faces wind. That matches the default this page recommends, a grommet in every corner and then one every 24 to 36 inches along the edges.
For a windy fence or railing, mesh banners on 8 oz perforated vinyl take the same two grommet layouts and let air through the face. If the banner slides onto a pole instead of tying down, pick a pole pocket in place of the eyelets: 2 or 4 inches on vinyl banners, top and bottom or left and right.
Why eyeletting decides whether your banner survives its first windy day
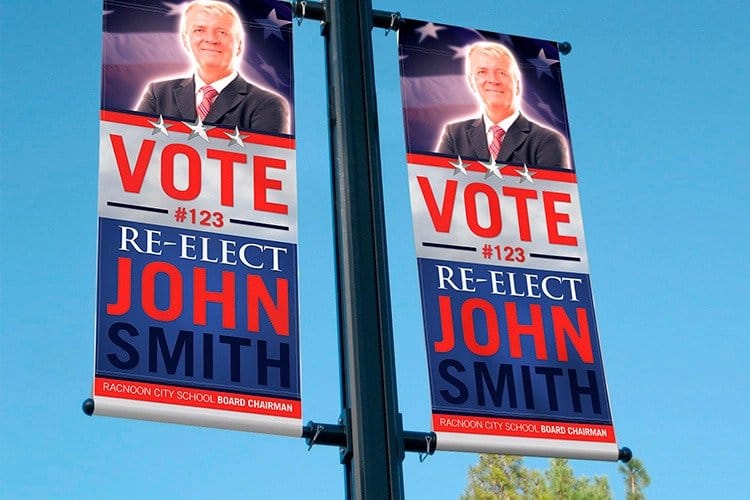
A banner is only as good as the way it hangs. You can print a flawless design on heavy scrim vinyl, a full 3 by 8 feet of it, then lose the whole thing in an afternoon because it was tied up through holes cut straight into the face. The first strong gust finds the weakest point, the vinyl splits, and your message is on the ground.
Eyeletting is the quiet finishing step that prevents exactly that. Pressing a reinforced metal ring into the hem gives every hanging point a protected, load-spreading anchor, so a rope or bungee pulls against metal and a folded edge instead of a single thread of material. It is the difference between a banner that reads as a one-day prop and one that stays up, flat and legible, for a full season.
This page walks through what eyeletting actually is, the materials and spacing that matter, when to skip it in favor of another finish, and how to add it to a banner order at 4OVER4.COM. If you already know you want grommeted vinyl banners, you can jump straight to the specs and live pricing further down.
What is eyeletting, and what is a grommet?
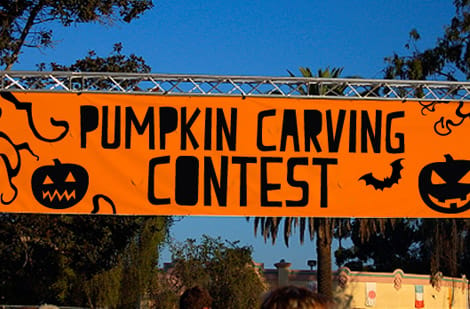
Eyeletting is the process of installing eyelets, more commonly called grommets, into the finished edge of a banner. A grommet is a small two-piece metal ring: it clamps through the material and leaves a clean, round, reinforced hole. That hole is where your rope, zip tie, bungee, or hook goes when it is time to hang the piece.
The ring never sits on bare print. It goes into a hem, the doubled-over, welded, or taped border that runs around the edge of a proper banner, so the metal is anchored in the strongest part of the material. The result is a hanging point that shrugs off the pull of wind and tension instead of tearing under it.
Grommets are standard on outdoor vinyl banners and heavy two-sided blockout banners, and they are one of the reasons those products can go straight from the box to a fence line. If the artwork is still on your to-do list, our online designer and banner templates let you build the print first, then choose the finish. For the wider view of what a banner even is, the how to make banners guide sets the stage.
The metal matters: brass, nickel, and why plating is not a detail
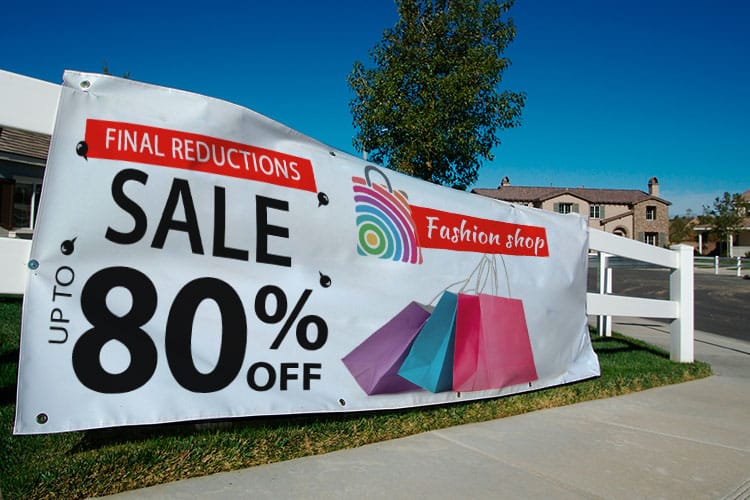
Not all grommets are equal, and the metal is the reason. We set brass and nickel-plated rings into our banners because they are built to live outdoors. Plain steel would corrode, and a corroding grommet does two ugly things at once: it weakens the hanging point and it streaks rust down the face of your artwork after the first heavy rain.
Brass and nickel plating resist that corrosion, so the hanging points stay clean and strong through sun, rain, and temperature swings. On a banner that will hang for weeks or months, that weather resistance is not a luxury, it is what keeps the piece looking intentional rather than tired. Pair the right ring with a heavier scrim stock and you have a display built to last a full outdoor run.
The finishing decision does not stop at the grommet, either. Reinforced hems, pole pockets, and wind slits are all part of the same finishing service that gets a banner ready for real conditions, and our team handles them alongside the print. Explore the whole set of finishing services, or compare stocks first with the banner material types guide so the ring and the material are matched from the start.
Grommet placement and spacing: the setting people get wrong

Where the grommets go is the single choice that most affects how a banner hangs, and it is the one people overthink or ignore. The reliable default is simple: one grommet in every corner, then one every 24 to 36 inches along the top and bottom edges. That spread holds the banner flat and stops it bowing or sagging between anchor points.
From there you tune for the location. A banner in a sheltered lobby can live at the wider 36-inch spacing. A banner strapped to a rooftop railing or an open fence needs the tighter 24-inch setting, and often grommets down the left and right sides too, so the entire perimeter is anchored instead of just the top rail. More hanging points mean the wind load is shared, and shared load is survivable load.
Size changes the math as well. A small event sign and a wide highway-facing banner are not spaced the same way, which is why it helps to settle your dimensions first with the banner sizes guide. The diagram below shows the three placement patterns we set most often, so you can picture your banner before you configure it.
Eyelets, pole pockets, or mesh: choosing the right hang
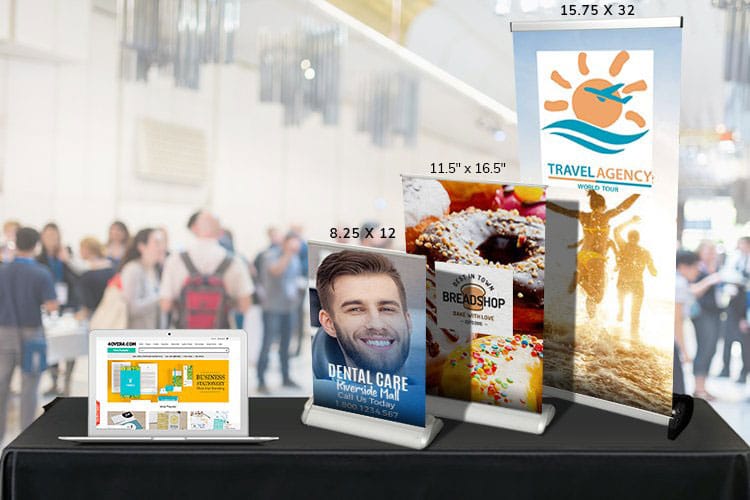
Grommets are the default, not the only answer. The best finish depends on how the banner mounts and how much wind it will face, and picking the wrong one is the usual reason a display looks amateur or fails early.
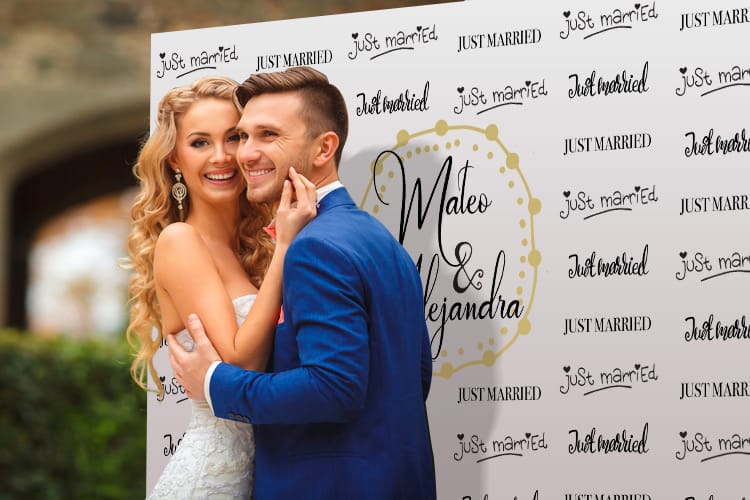
Eyelets win when the banner ties to something: a fence, a railing, a frame, a wall with anchor points. They are versatile, fast to hang, and easy to move. Pole pockets are sewn sleeves the banner slides onto, used for hanging bars, boulevard displays, and step-and-repeat backdrops where you want a clean edge and no visible hardware. Mesh is a different lever again: a perforated material that lets wind pass through, so a big mesh banner on a building face fights the gust instead of catching it like a sail.
Most projects still land on grommeted vinyl because it is the flexible, dependable choice. When they do not, it is usually a wind or mounting reason, and that is worth getting right before you print. The types of banners guide lays out the styles side by side, and our team can confirm the finish for your exact display if you are on the fence.
When you need eyeletting (and the displays it was made for)
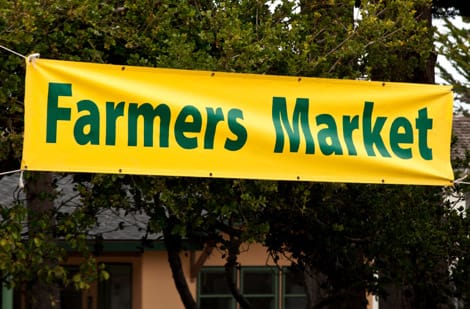
Reach for eyelets any time the banner has to be tied down rather than slid onto a bar, from a 2 by 4 foot sale sign to a 3 by 8 foot sponsor banner. Grand-opening and sale banners strapped across a storefront, event and sponsor banners lashed to a fence, construction-site and real-estate banners zip-tied to scaffolding or railings: all of them hang through grommets.
Outdoor is where the reinforcement earns its keep, because outdoor means wind, and wind is what turns a weak hanging point into a torn banner. Trade-show and retail banners that live indoors still benefit from grommets when they hang from hooks or a frame, giving you clean, repeatable mounting points every time the banner goes up and comes down.
If your display is more of a standing setup than a tied-down one, the finish shifts. Retractable and pole-based displays pull from our banner stands range instead, and the broader banners collection covers everything in between. For a sense of how real customers place and hang their work, the vinyl banner placement guide is a useful next read.
How 4OVER4.COM eyelets your banner

On our end, eyeletting is part of a finishing routine that runs after the print is done and cut. The banner gets a reinforced hem around the edge first, which is what gives the grommet something strong to bite into, and then the rings are pressed in at the spacing you selected, corners only or every 2 feet. The hem runs top and bottom or on all four sides, and vinyl banners finish production in 3 business days. It ships ready to hang, no tools or extra hardware store trip required to make it usable.
On your end, it is a checkbox and a choice. Open a banner product like our vinyl banners, set the size and stock, and select grommets as your finishing option along with the placement you want. Because the configurator prices live, you see the ready-to-hang total before you commit, with no surprise finishing fee tacked on at the end. It is the same order flow behind our whole signs and banners range.
Prefer to have the decision confirmed before you buy? Our team reviews banner setups every day and is glad to sanity-check your spacing, stock, and hang method for the spot you have in mind. Start a note through contact, or read what other buyers say in our banner printing reviews.
Setting up your artwork so the grommets never cover it
Grommets sit in from the edge, and they are opaque, so the one file mistake to avoid is running important artwork all the way into the hem where a ring will punch through it. Keep your logo, headline, phone number, and any critical detail inside a safe margin, usually a couple of inches off every edge, so nothing you care about lands under a grommet or gets lost in the fold of the hem.
Everything else follows normal banner prep: build the file at the finished size with bleed, use high-resolution artwork so it stays crisp when scaled up, and keep the layout readable from the distance the banner will actually be seen. Our banner templates already build in the safe margins, which is the easy way to keep your design clear of the hardware.
Once the file is right, the finish is the fast part. Choose your banner, pick grommets and spacing, and let our finishing team turn the print into something you can hang the day it arrives. When it is up, the how to hang banners guide covers the ropes, hooks, and tension that get the most out of every eyelet you paid for.

Placement diagram
Three grommet layouts we set most often
Corners are non-negotiable. From there, tighten the spacing as the wind picks up, from 36 inches in a sheltered lobby to 24 inches on an open fence; on the order page that is corners only or every 2 feet. Use this as a checklist when you configure your banner.
The right layout is the one that matches your spot. In doubt, add grommets rather than remove them: closer spacing shares the wind load and keeps the banner flat.
Specs and pricing
Vinyl banner specs and live pricing
Grommets are a finishing option on our banners, so the price you build here is the ready-to-hang price. Vinyl banners print on 13 oz outdoor or 15 oz blackout vinyl, with grommets at the corners or every 2 feet, hems top and bottom or on all sides, and 3 business days of production. Here are the live specs and cost per unit for vinyl banners at 4OVER4.COM, straight from the configurator.

| Quantity | Price Per Unit | Total |
|---|---|---|
| 1 | $79.00 | $79.00 |
Order it
Banners built to be grommeted and hung
All three take the same two grommet layouts: vinyl banners on 13 oz or 15 oz vinyl from 2 by 4 to 8 by 20 feet, mesh banners on 8 oz perforated vinyl from 24 by 72 inches, and double-sided blockout banners on 15 oz blackout vinyl from 2 by 3 feet.
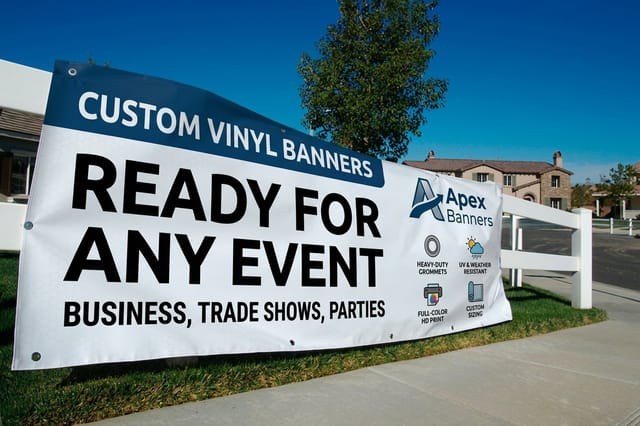
Wally explains eyeletting
The little metal ring that decides whether your banner stays up
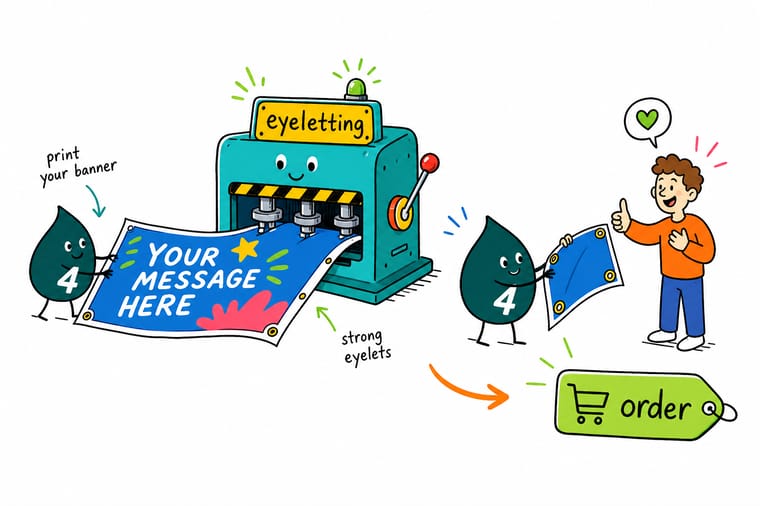
Wally treats a grommet like the seatbelt of a banner: it takes the pull of the wind and spreads it across metal and a reinforced hem instead of a single thread of vinyl. Get four in the corners, then one every couple of feet, and even a big outdoor banner rides out a gust without tearing. Pick your size and stock, choose grommets and spacing, and let 4OVER4 finish it ready to hang.
Configure your banner →See it in use
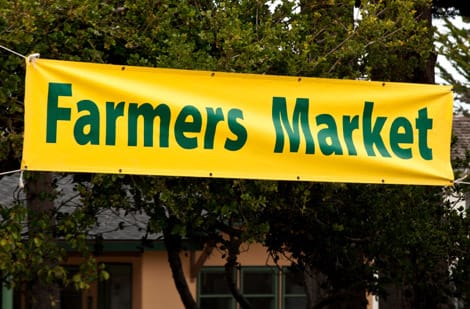
Real vinyl banners, printed and finished in-house




Get Started
Ready to hang a banner that survives the wind?
Bring your design to 4OVER4.COM, pick your size and stock, and add grommets and the spacing your spot needs. Watch the ready-to-hang price update live as you go.
Explore more
Where to go next


By the numbers
Every grommet set under our own roof
Common Questions
Common questions about eyeletting and banner grommets
What is eyeletting?
Eyeletting is the finishing step of pressing reinforced metal rings into the edge of a banner so it can be hung. Each ring, called an eyelet or grommet, creates a clean, protected hole you can pass a rope, zip tie, bungee cord, or hook through. Without it you would be punching holes straight through the vinyl, and those tear the first time the wind pulls on them. Eyeletting turns a printed sheet into something you can actually put up outdoors and trust to stay there.
Are eyelets and grommets the same thing?
In banner printing, yes. The two words get used interchangeably for the same part: a two-piece metal ring pressed through the hem to reinforce a hanging hole. Some trades draw a fine distinction (a grommet being the heavier two-part version and an eyelet the lighter single-flange type), but when you order a banner from us and see either word, you are choosing the same reinforced hanging point.
How far apart should banner grommets be?
The standard we use is one grommet in each of the four corners, then one every 24 to 36 inches along the top and bottom edges. That spread keeps the banner flat and stops it sagging between hang points. For a spot that catches real wind, tighten the spacing toward every 24 inches, and consider grommets down the sides too so the whole edge is anchored rather than just the top rail.
Do all banners need eyelets?
No. Eyelets are the right call for most outdoor vinyl banners that get tied to a fence, railing, or frame. But a banner going into a pole-pocket display slides onto a bar instead, so it needs sewn pockets rather than rings. Indoor banners hung from a bar or double-sided rig, and mesh banners built for high wind, may use different hardware entirely. Match the finish to how and where the banner will actually hang.
What are grommets made of, and will they rust?
Our banner grommets are brass or nickel-plated metal, chosen because they hold up to weather far better than a plain steel ring. The plating resists corrosion, so a banner left out through rain and sun keeps clean hanging points instead of streaking rust down your artwork. For long outdoor runs, pairing weather-ready grommets with a heavier scrim vinyl is the combination that lasts.
Will grommets weaken or damage my banner?
The opposite. A grommet is set into a folded, welded, or taped hem, which is already the strongest part of the banner, and the metal ring then spreads any pulling force across a washer instead of concentrating it on one thread of vinyl. That reinforcement is exactly why a properly grommeted banner survives wind that would shred a banner hung by holes punched straight through the face.
How do I add eyeletting to my banner order?
You choose it right in the product configurator. Set your size, stock, and print options on a banner like our vinyl banners, then select grommets as the finishing option and the placement you want. The live price updates as you go, so there is no guessing what the finished, ready-to-hang banner costs. If you are unsure which spacing fits your display, our team can point you to the right setup before you order.
How do I hang a banner once it has eyelets?
Feed a rope, bungee cord, zip tie, or S-hook through each grommet and secure it to your frame, fence, or wall anchors, working corner to corner first so the banner sits square before you tension the middle points. Leave a little slack so the banner is not drum-tight, which helps it ride out gusts. Our guide on how to hang banners walks through the knots, tools, and spacing in detail.
Legal Disclaimer
Gold Standard guarantees apply to all standard orders placed through 4over4.com. Price match requires verifiable proof of a competitor's published price for an equivalent product with matching specifications and turnaround time. Satisfaction guarantee covers manufacturing defects and print quality issues. Contact support with order number and documentation.
