
Vinyl Banner Placement for Maximum Impact


Tobias is our voice for cutting, binding and large format, built from the knowledge of our production team, with over 20 years in printing.
A banner works when it faces the way your audience already moves, sits at reading height, and is sized for the distance people see it from. Reading height beats height itself, which is why most banners hang too high.
For maximum impact, place a vinyl banner where eyes already travel: face it into the direction your audience walks or drives, set the message at eye level or just above, and keep the sight line clear of parked cars, planters, and open doors. Size the letters to the viewing distance, then finish the banner with hems and grommets so it stays taut and readable through wind and weather.
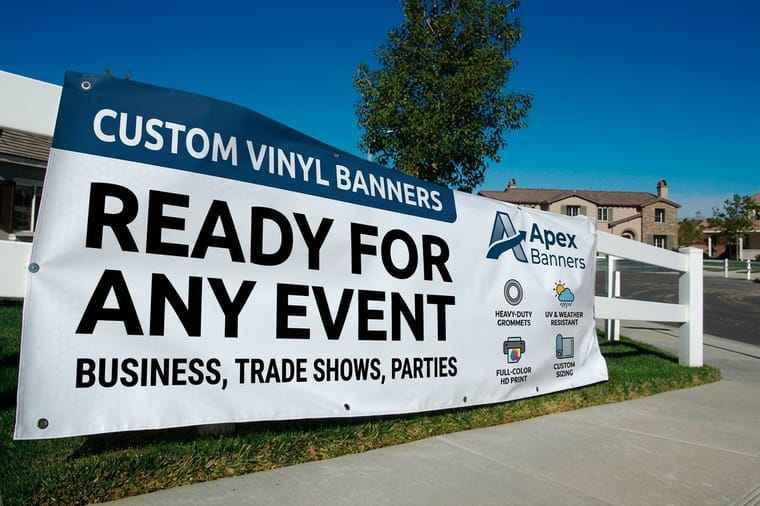
Quick tips
Quick tips for placing your vinyl banner
Hang a vinyl banner on the surface your audience already faces on the approach, facing the direction they move, at eye level or just above, with a clear sight line and nothing blocking the view at busy times. For walking traffic that puts the center of the message about four to eight feet off the ground. For road traffic, mount higher, roughly 8 to 12 feet, so the view clears parked cars, hedges, and crowds, and angle the banner toward the side people arrive from. Size the letters to the viewing distance, roughly one inch of height for every ten feet away, and finish outdoor banners with hems, grommets every two to three feet, and a wind plan so they stay taut. 4OVER4.COM customers who place banners this way get more reads from the same print.
Ranked by visibility
The 7 best places to hang a vinyl banner
Ordered from most read to least on a typical storefront, lot, or event site. Work down the list and stop at the first spot you can anchor securely, because a great sight line with nowhere to tie off is not a placement.
- 1. The building face that meets oncoming traffic. The wall, fascia, or window band people see first on the approach, with the message centered roughly 8 to 12 feet up. Read from about 50 feet, that wants letters around 5 inches tall and a 4 ft x 8 ft hemmed and grommeted vinyl banner.
- 2. The road-facing fence line. Angled toward the direction cars arrive from, not flat to a wall nobody faces. Tie off at every grommet, corners plus every two to three feet, and expect the fence to funnel wind.
- 3. The entrance, doorway, or archway people pass through. Center of the message at four to eight feet, right where the eye already sits at the threshold. A 3 ft x 6 ft banner with 3 inch letters reads cleanly at 25 to 30 feet.
- 4. A repeating run of poles down the approach. Pole banners on brackets read from both directions of travel. Keep each panel to a logo and one short line and let the repeat do the work.
- 5. The lot-facing wall people turn toward when they step out of the car. Short viewing distance, unhurried reader, so this is where a longer offer or an address and phone line actually gets finished.
- 6. The interior wall directly opposite the entry. At eye level and read from 10 to 15 feet, 1.5 inch letters on a 2 ft x 4 ft banner are plenty, and indoors you can skip the wind plan.
- 7. The upper wall or rooftop edge for highway distance. At 150 to 200 feet you need 15 to 20 inch letters and something close to 8 ft x 20 ft, and at that size and exposure a perforated mesh banner or an outdoor banner with wind slits is the only version that survives a season.
Why placement decides whether your banner works
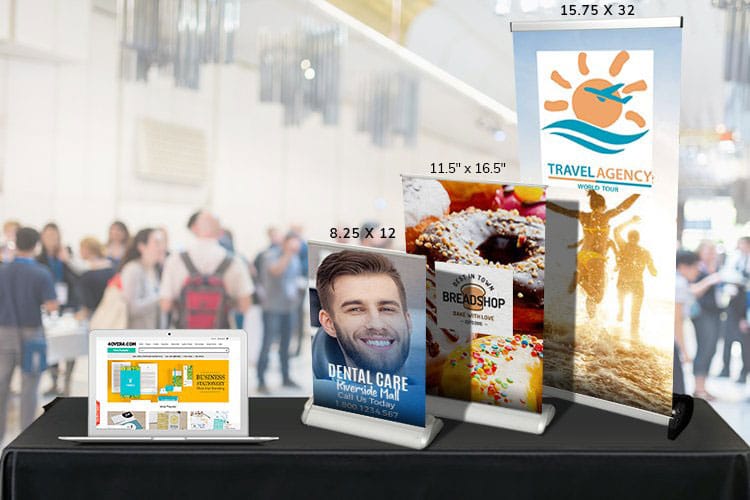
You can print the sharpest banner in the world, and if it faces the wrong way it does nothing. Hang two identical prints: one angled into oncoming traffic with its center four to eight feet off the ground, the other flat against a wall nobody faces. People read the first and walk straight past the second, and the only thing you changed was placement.
Think of placement as three overlapping decisions: where the banner lives, how high and at what angle it hangs, and how big it needs to be for the distance people read it from, about one inch of letter height for every ten feet. Get those three right and even a modest vinyl banner outperforms a huge one hung on autopilot.
This guide maps the high-visibility spots worth chasing, the tactics that keep a banner readable, and how to size it to the location. If you are still choosing a material, the full vinyl banner printing range covers indoor, outdoor, and mesh options, and the broader vinyl printing collection keeps the same look across signage, decals, and displays.
The best high-visibility spots for an outdoor banner
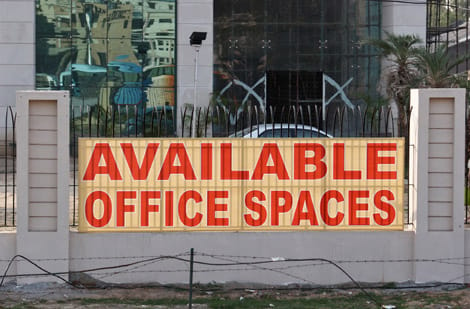
Outdoor placement is a fight for attention against everything else in the scene. The spots that win share one trait: they face the direction your audience is already moving.
- Road-facing fences and railings. A banner along the approach to your location catches drivers while they still have time to react. Angle it slightly toward oncoming traffic rather than flat to the road.
- Building fronts and entrance arches. The face of the building that greets the busiest approach beats the largest wall. An archway or overhead span puts the message directly in the path of everyone walking in.
- Parking lot edges and light poles. Perimeter placement works because people scan the edges as they park and walk. This is where pole banners shine, repeating your message down a row of poles.
- Rooftop and second-story lines. Higher mounting clears cars, hedges, and crowds, which is ideal for a message meant to be read from a distance.
For events and festival grounds, an outdoor event banner earns the most eyes at gates, stage flanks, and the main walkway crossings. When wind is a factor, a mesh banner lets air pass through so the print stays put in the same exposed spot.
Where to place banners inside a store or event

Indoors, the physics change but the principle holds: place the message where the eye lands without hunting for it. Ceilings are lower, distances are shorter, and lighting is controlled, so you can go smaller and more detailed than you would outside.
At entrances and check-in. The first three seconds inside a space set the tone, so a banner above or beside the entry does the most work. A step-and-repeat banner behind a check-in or photo spot doubles as branding in every picture guests take.
Along the path of travel. Aisle ends, stair landings, and the wall people face while waiting in line all sit in natural sightlines. An indoor banner hung at these decision points nudges people toward the offer at exactly the right moment.
Above eye level for crowds. In a packed room, mount slightly higher so heads do not block the message. If you are staging a booth or trade show, a banner stand keeps a vertical banner upright and readable in tight floor space.
Placement tactics: height, angle, and sight lines

Once you have the location, a handful of tactics turn a decent spot into a great one. Work through them in order before you commit the mounting hardware.
- Stand where your viewer will stand. Walk or drive the real approach and look at the wall from that exact point. If the whole banner does not read in one glance, adjust before you hang it.
- Set the center in the reading zone. For foot traffic that is roughly four to eight feet off the ground. For road traffic, raise it to clear obstructions and tilt it toward the flow.
- Clear the sight line. Check for parked cars, planters, open doors, and other signs that block the view at busy times, not just when the space is empty.
- Anchor for tension, not sag. Pull the banner taut across all grommets so it stays flat. A sagging banner reads as neglected and loses half its message to shadow and curl.
- Light it if it works after dark. A spot that carries traffic in the evening needs the banner lit, or its prime hours go dark with it.
For the hardware side of the job, the guide to how to hang banners covers ropes, zip ties, bungees, and wall anchors, and how to pick the right one for each surface.
Sizing the banner to the spot and the viewing distance
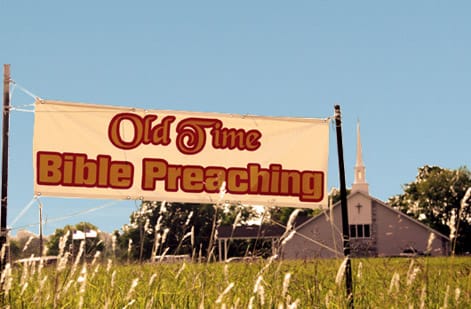
Size is not about filling the wall. It is about the distance between the banner and the eyes reading it. The farther away your audience, the taller your letters, and the letters set the overall dimensions.
A dependable starting point is roughly one inch of letter height for every ten feet of viewing distance, with a little extra when the banner competes with a busy background. A headline meant to read from 100 feet wants letters around ten inches tall, and once you add supporting lines and margins, that sets your minimum banner size fast.
Read your spot straight off this table. Pick the mounting height you actually have, then the distance people read from, and the letter height and banner size fall out of the one inch per ten feet rule.
| Mounting height | Viewing distance | Minimum letter height | Recommended banner size |
|---|---|---|---|
| Eye level, message centered 4 to 5 ft | 10 to 15 ft | 1.5 in | 2 ft x 4 ft |
| 8 ft | 25 to 30 ft | 3 in | 3 ft x 6 ft |
| 12 ft | 50 ft | 5 in | 4 ft x 8 ft |
| 20 ft | 100 ft | 10 in | 4 ft x 10 ft |
| Rooftop or upper wall, 25 ft and up | 150 to 200 ft | 15 to 20 in | 8 ft x 20 ft |
Round up rather than down. The letter height in the table is the minimum that reads at all, so add a size step when the banner sits against a busy background, when the reader is moving past in a car, or when the headline has to share the banner with a phone number and an address.
From there, match the finished dimensions to the spot. A fence panel, a doorway, and a light pole each have a natural size that keeps the banner taut and proportional. The guides to typical banner sizes for events and displays and standard banner sizes break down the common dimensions by use case, so you can pick a size the spot can actually hold.
Mounting for wind, weather, and long runs

A great outdoor spot is only great if the banner survives it. Wind is the usual culprit, and it is the one you plan for at order time, not after the first storm.
Hem the edges. A folded, welded hem stops fraying and gives the grommets something strong to bite into. Skip it on an exposed banner and the corners tear within days.
Add grommets on a tight spacing. Corners plus every two to three feet along the edges spreads the load so no single anchor point takes the whole gust.
Beat the wind, do not fight it. For breezy locations, choose a perforated mesh banner that lets air flow through, or add wind slits so the banner vents instead of ballooning. This is what keeps a large outdoor banner from acting like a sail.
For a run of poles or a repeating fence line, order matching sizes so each panel tensions the same way and the row reads as one clean system: bracketed pole banners for the street run, hemmed and grommeted vinyl banners for the fence panels, and mesh banners for the wind-funneled gaps between buildings. A wall or fence panel that faces the road all day is an outdoor banner for the road-facing wall, hemmed on all four sides with grommets every two to three feet. If you are combining banners with other signage, the signs and banners hub keeps materials and finishes consistent across the whole setup.
Pole banners and street-level placement
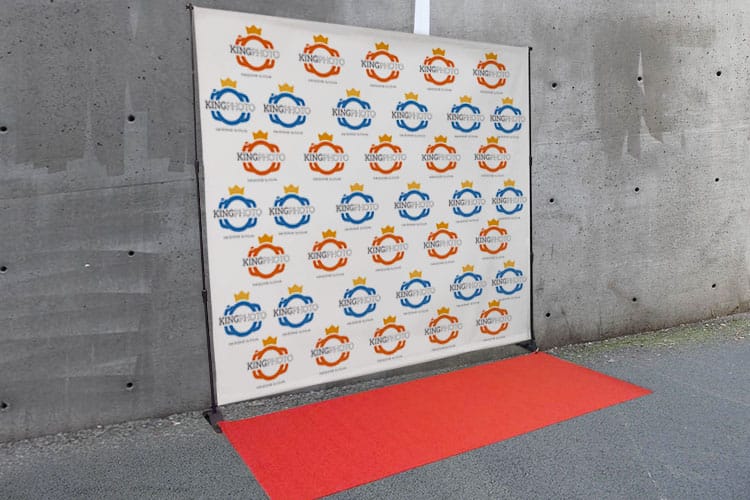
Some of the highest-impact placement is not a single big banner at all. It is a series of smaller ones repeating down a street, a plaza, or a parking row. Repetition does the heavy lifting: a viewer who catches one panel catches the next, and the message compounds.
Pole banners mount to light poles and posts with brackets that hold them out at an angle, so they read from both directions of travel. Because each panel is seen briefly and from a moving position, keep the design to a logo and one short line, and rely on the repeat to reinforce it.
Space them evenly and keep the bottom edge high enough to clear pedestrians and vehicles. The same thinking applies to a fence line of matched vinyl panels: consistent size, consistent height, and a single message split into a rhythm the eye can follow. For a store or venue, this street-level layer works alongside a hero banner on the building to guide people from the road all the way to the door.
Placement mistakes that quietly kill visibility
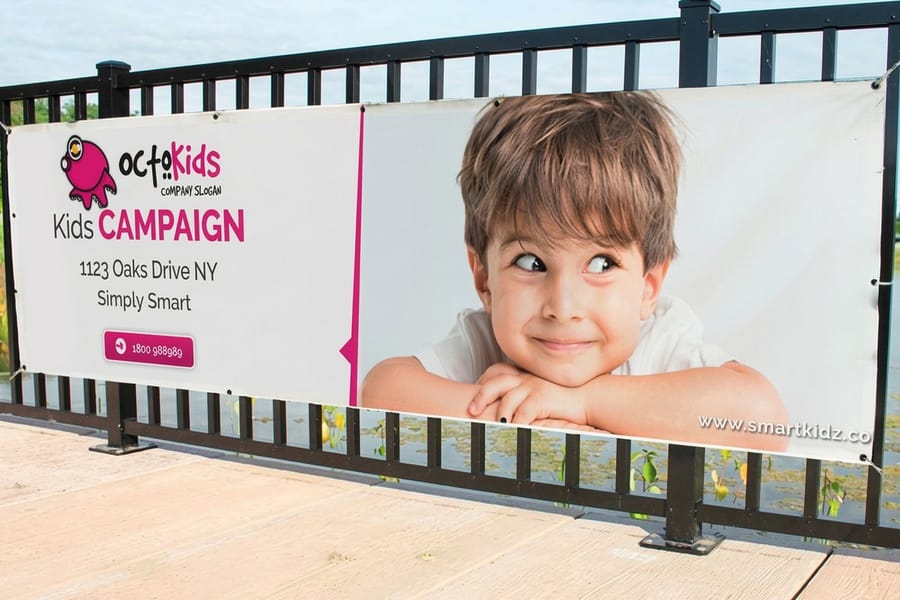
Most banner disappointments trace back to placement, not print quality. Avoid these and your banner earns every dollar it cost.
Hanging it where it is convenient, not where it is seen. The easiest wall to reach is rarely the one your audience faces. Choose the sight line first, then solve the mounting.
Crowding the message. Too many words at the wrong size turn into a gray smudge from a distance. Size the headline for the viewing distance and cut everything that does not support it.
Ignoring what blocks the view. A banner that is clear at 8 a.m. can vanish behind parked cars and open umbrellas at noon. Check the spot when it is actually busy.
Letting it sag. A loose banner curls, shadows, and reads as an afterthought. Tension it across every grommet so it stays flat and sharp.
Skipping outdoor finishing. No hems, no grommets, no wind plan, and the banner tears itself off the spot you chose. Finish it for the location before you order.
When you are ready to design, the online designer lets you lay the banner out at true proportions so your headline is sized right for the distance, and how to make banners walks through the setup end to end.
Wally explains banner placement
The right spot beats a bigger banner every time
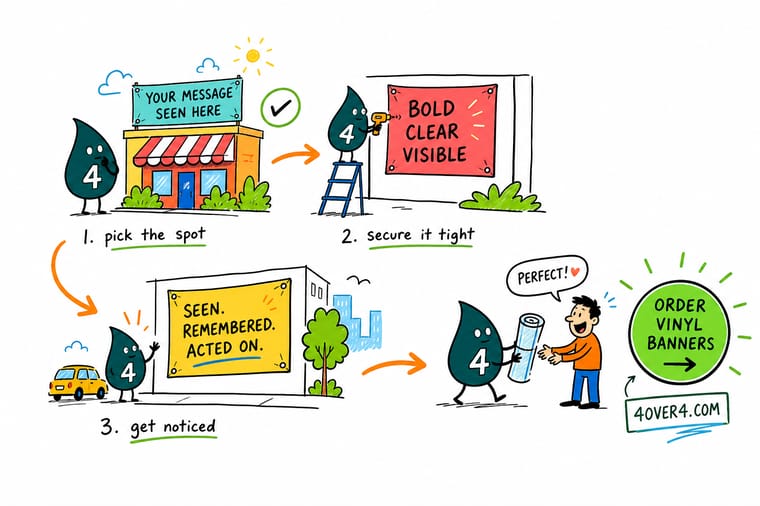
Wally treats a banner like a billboard on a budget: it only pays off where people already look. Face it into the traffic, set the message at reading height, keep the sight line clear, and size the letters to the distance. Nail the placement and a modest vinyl banner pulls more eyes than a giant one hung wherever there was room. When you know the spot, print it to fit at 4OVER4.
Order vinyl banners →
Specs and pricing
Vinyl and pole banner specs and pricing
Once you know the spot, size the banner to fit it. Pole banners run $97.76 and business banners $43.92, with live specs and price-per-unit below.

| Quantity | Price Per Unit | Total |
|---|---|---|
| 1 | $79.00 | $79.00 |
Print it
Banners sized for the spot at 4OVER4
Business banners come in 2 x 6, 3 x 9 and 4 x 12 feet on 13oz outdoor or scrim vinyl from $43.92, with hems and grommets every 2 feet as options. Pole banners run 13 sizes from 18 x 24 to 30 x 72 inches on double sided 18oz blockout vinyl from $97.76, and indoor banners go from 12 x 24 inches up to 48 x 96 or any size you measure.


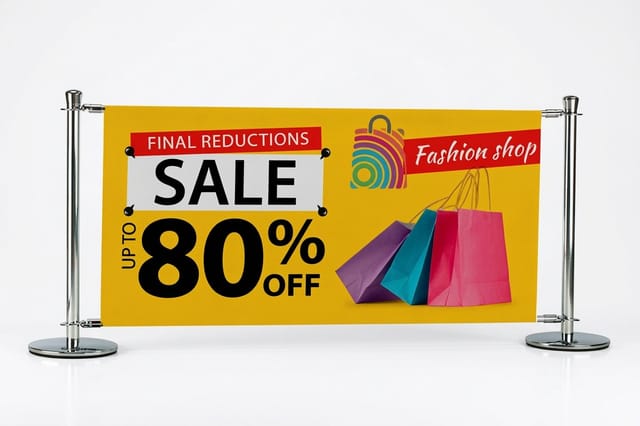
See it in use
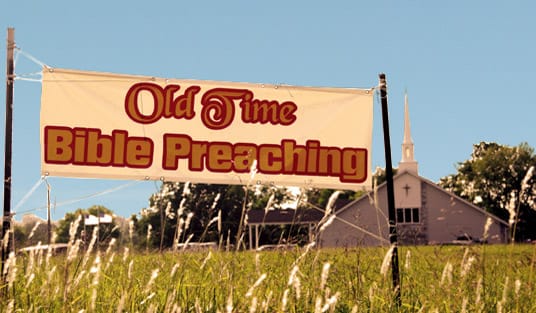
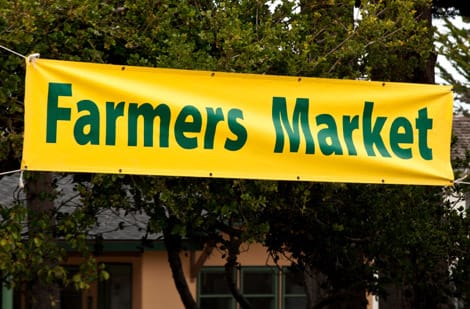
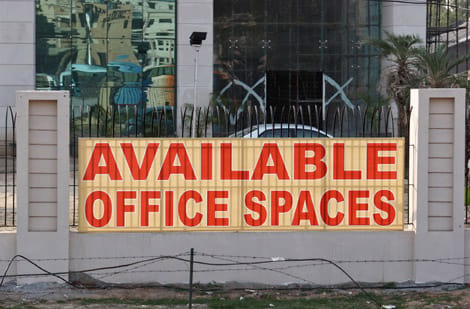
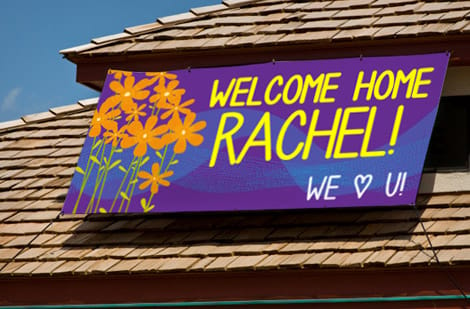
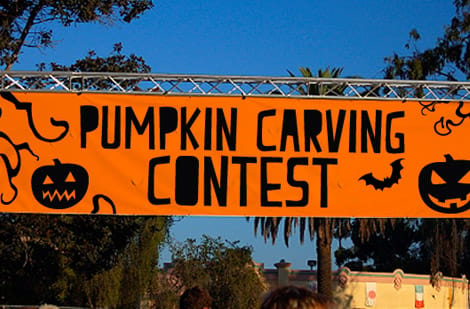
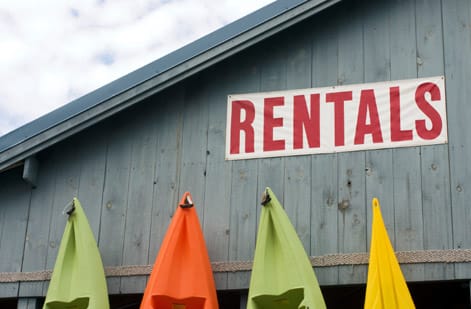
Banners we sized for a specific wall



Explore more
Where to go next




By the numbers
Indoor in 2 days, mesh in 3
Common Questions
Common questions about vinyl banner placement
Where should I hang a vinyl banner for the most visibility?
Hang it where your audience is already looking. That usually means a spot along the main traffic flow, at or slightly above eye level, with a clear line of sight and nothing parked, planted, or stacked in front of it. A storefront facing the busiest approach, a fence line along a road, or an entrance archway at an event all beat a technically larger wall that people never face. Test the angle by standing where your viewers will actually be and checking whether the whole banner reads in one glance.
What exactly does banner placement mean?
Banner placement is the decision of where and how you mount a banner so the right people see and read it. It covers the location, the height, the viewing angle, the distance the message travels, and the mounting method that keeps the banner flat and secure. Good placement is why two identical banners can perform completely differently: one is angled into foot traffic at reading height, the other is flat against a wall nobody faces.
How do I choose the right spot for my banner?
Start with three questions: which direction is my audience moving, how far away will they be when they read it, and is anything blocking the view. Walk or drive the actual approach. Pick the surface that faces oncoming traffic, sits in the readable height zone, and stays unobstructed by parked cars, signage, or landscaping. Then confirm you can mount it securely there, since the best sightline is useless if there is nowhere solid to anchor the grommets.
How high off the ground should a banner hang?
For pedestrians and indoor spaces, keep the center of the message roughly four to eight feet off the ground, which lands it in the natural line of sight. For road-facing outdoor banners, mount higher so the view clears cars, hedges, and crowds, and tilt the banner slightly toward oncoming traffic. The rule underneath both cases is the same: the message should sit where a viewer looks without having to search up or down for it.
Where should I place a banner for the most views?
Rank the spots you have and take the highest one you can anchor securely. First is the building face that meets oncoming traffic, message centered around 8 to 12 feet up. Second is the road-facing fence line, angled toward the side cars arrive from. Third is the entrance or archway people walk through, message at four to eight feet. After those come a repeating run of pole banners down the approach, the lot-facing wall people turn toward when they get out of the car, and the interior wall opposite the door. Match the letter height to the distance at about one inch for every ten feet, then check the sight line at your busiest hour rather than early morning when the lot is empty and nothing blocks the view.
How high should a banner hang off the ground?
Set the center of the message where the eye already sits, and keep the bottom edge out of the way. Over a walkway, hold the bottom edge at seven to eight feet so people pass under it. On a wall or window band read from the sidewalk, the center of the message works best at four to eight feet. On a road-facing banner, center it around 8 to 12 feet, and go higher when parked cars, hedges, or crowds sit between the banner and the driver. Pole banners hang with the bottom edge clear of pedestrians and delivery vehicles, and every panel in a run sits at the same height so the row reads as one system.
What size banner do I need for how far away people will be?
A reliable rule of thumb is about one inch of letter height for every ten feet of viewing distance, and a little more if the banner competes with a busy background. A headline read from 100 feet wants letters around ten inches tall, which quickly sets your overall banner size once you add supporting lines and margins. For a full breakdown by use case, see the guide to typical banner sizes for events and displays.
How much does a vinyl banner cost and what sets the price?
Custom vinyl banners at 4OVER4.COM start around $79, and the final price is driven by the finished size, the material, the finishing you add, and the quantity. Larger dimensions use more material, and finishing like reinforced hems, grommets, and pole pockets adds durability for outdoor placement. You see the exact price per unit update live in the configurator as you set those options, so there are no surprises before you order.
Can a vinyl banner survive being placed outdoors?
Yes, when it is finished for the spot. Outdoor placement calls for hemmed edges so the banner does not fray, grommets at the corners and along the edges for secure anchoring, and either wind slits or a perforated mesh material for windy locations so air passes through instead of dragging the banner down. Finished that way, a vinyl banner holds up to sun, rain, and wind through a full outdoor run.
Get Started
Order an indoor banner, printed in 2 business days
Pick your dimensions, choose the finishing the location needs, and we print a crisp, weather-ready vinyl banner that reads clean from the distance that matters.
Legal Disclaimer
Gold Standard guarantees apply to all standard orders placed through 4over4.com. Price match requires verifiable proof of a competitor's published price for an equivalent product with matching specifications and turnaround time. Satisfaction guarantee covers manufacturing defects and print quality issues. Contact support with order number and documentation.
