
What a Border Print Is and How to Print With a Clean Border


A border print is any print with a frame of white or color between the design and the edge of the paper. Decide whether you want that frame, then set up the file so the cut leaves the edge you designed.
A border print keeps a frame around the design; a borderless or full bleed print runs color off every edge. For borderless, extend the background 0.125 inch past the trim on every side. For a border, make it at least 1/4 inch wide and even on all four sides, because commercial cutting can move about 1/16 inch and a thin frame shows it.
Quick tips
Choose the edge first, then build the file for it
There are three edges you can ask for. Full bleed with no border, an even white border, or a printed frame line inside the trim. Each one needs a different file setup, and the diagram shows which settings go with which edge.
Watch it printed
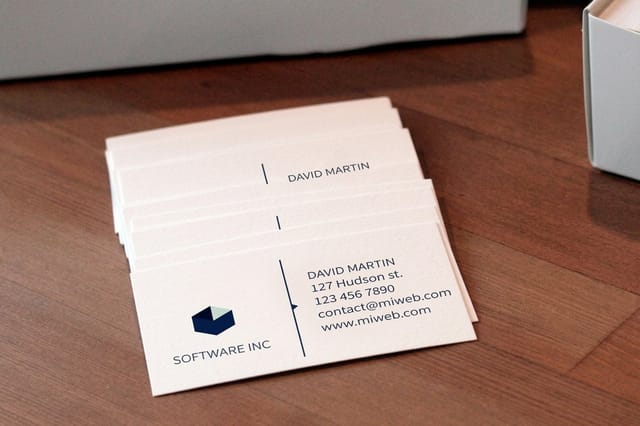
See business cards printed and trimmed, in 167 seconds
What border means in printing
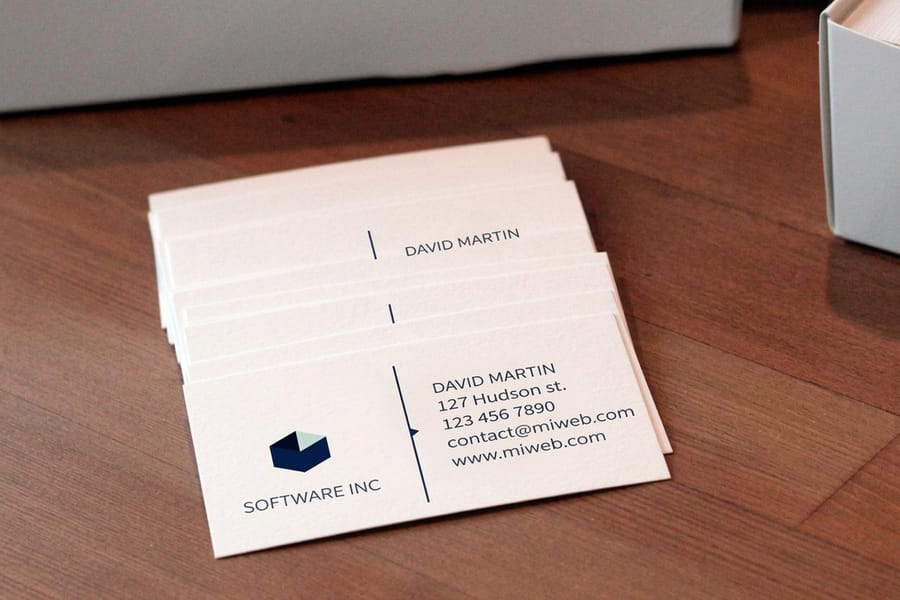
In printing, the border is the space between the edge of the design and the edge of the paper. A border print keeps that space on purpose, either as plain white paper or as a printed frame. A borderless print, also called full bleed, has no space at all: the color or photo reaches every edge of the finished piece.
The word also covers the white margin a desk printer leaves when it cannot print to the edge of the sheet. That margin is a limit of the machine, not a design choice. A commercial press prints on a larger sheet and trims it down, which is how it gives you either a clean border or no border at all.
- Bordered. A white or colored frame of even width around the design.
- Borderless or full bleed. The design runs past the trim, so no paper shows at the edge.
- Framed. A printed line or box inside the trim, with color or white outside it.
Bordered, borderless and full bleed side by side
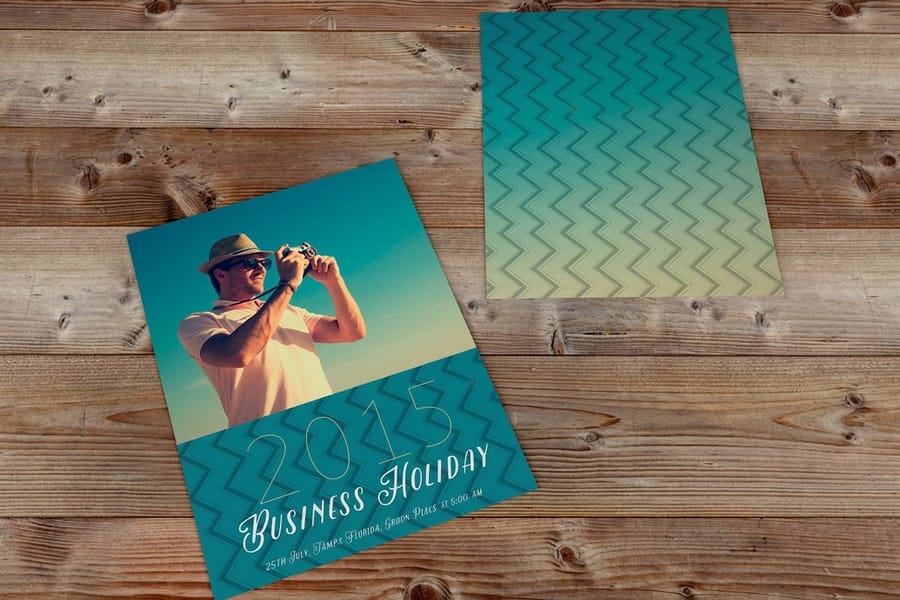
Borderless is the safer choice when the design must look centered. Commercial cutting happens in stacks, and each stack can move up to about 1/16 inch either way. On a full bleed card that movement disappears into the background. On a card with a thin border, the same movement turns an even frame into a thick side and a thin side.
A border still has its place. A photo print with a white frame reads as a photo, a menu with a wide margin leaves room for a thumb, and a quote card with a frame looks deliberate. The rule in our help center: if you want a border, make it at least 1/4 inch wide and equal on all four sides, and avoid the 1 or 2 point hairline frame that shows every shift. If you are printing a photo at a standard size, the 4x6 photo size guide covers the file size a bordered or borderless 4x6 needs.
Why printers ask for bleed and a safe zone

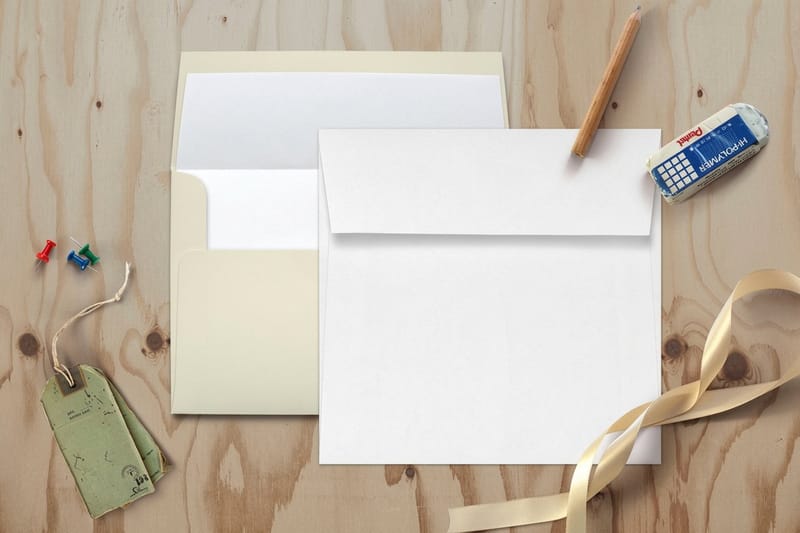
Bleed is the part of the design you print past the trim line so the cut never exposes paper. Most products take 0.125 inch, 1/8 inch, on every side, so a 4 by 6 inch piece is built at 4.25 by 6.25 inches. Some products differ: the postcard file help asks for 0.25 inch as the preferred bleed, and envelopes print no bleed at all and keep art 0.25 inch from every edge. The product template always shows the right number, and our guide to what bleed is and how much each product needs sets it up tool by tool.
The safe zone is the mirror of bleed. Keep text, logos and anything important at least 0.125 inch inside the trim, so the same small shift that bleed hides cannot clip a letter. On a 4OVER4 template the safe zone shows in green, and the online proof marks the cut line in red. Bleed is included in every price, so there is no reason to skip it.
How to add a border in Word and in design tools
Draw the border as its own object so you can measure it. In Word, Canva, Illustrator or InDesign, set the document to the finished size plus bleed, then draw a rectangle with no fill, a line weight you can see at reading distance, and its edges placed by the numbers, not by eye. For a white border, leave the rectangle white and fill only the inner area with your design.
Settings that give an even frame:
- Border width. At least 1/4 inch from the trim line on all four sides.
- Background. If the border is a color, extend that color into the 0.125 inch bleed.
- Centering. Align the inner design to the page center, then check each side measures the same.
- Export. A PDF with the bleed included; the Word route is in how to convert a Word doc to a print ready PDF.
For Photoshop, the steps to extend the canvas and add crop marks are in how to add bleed and crop marks in Photoshop.
How to print with no border at all
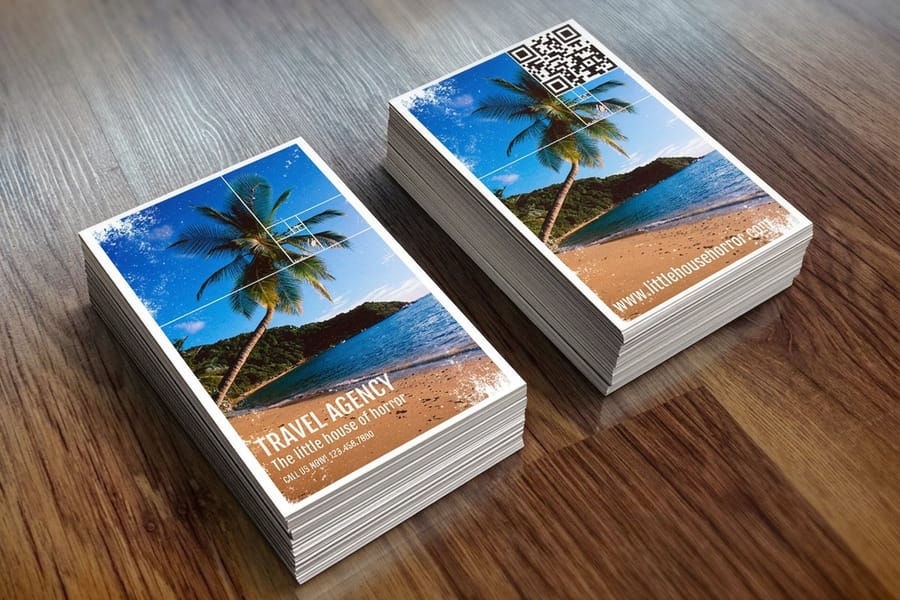
For a borderless print, build the file larger than the finished piece and let the background run off every side. Place the photo or color so it covers the full bleed size, 4.25 by 6.25 inches for a 4x6 or 3.75 by 2.25 inches for a 3.5 by 2 inch business card, and keep every word inside the safe zone.
Then leave the trimming to the press. A desk printer cannot reach the edge of the sheet, which is why a borderless job at home ends with scissors and a crooked line. 4OVER4 business cards, postcards and flyers all support full bleed, and 100 standard business cards cost $17.57. If you start from a blank template, the bleed and safe zone are already drawn.
Set up a file for a clean edge, step by step
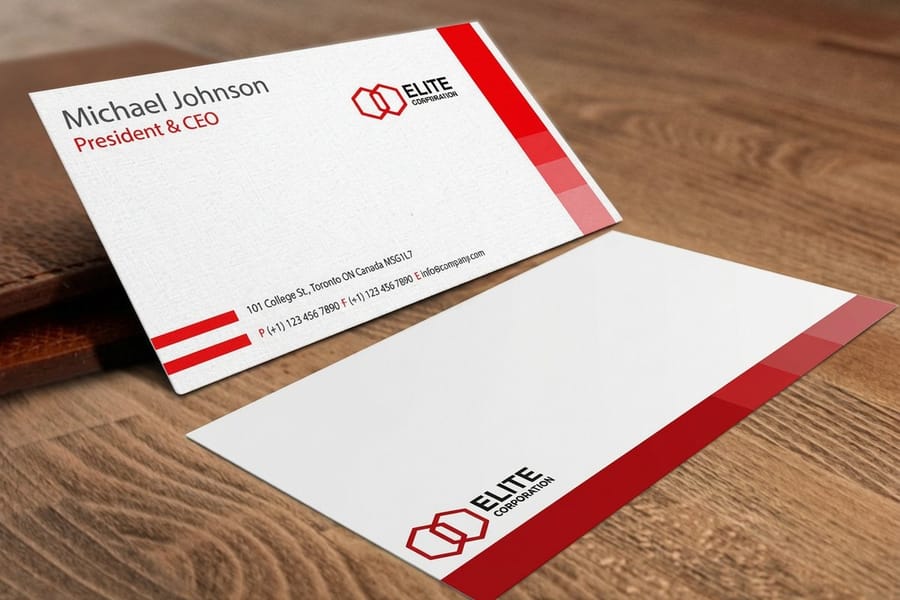
Run through this before you upload. Most edge problems on a printed piece start in the file, not on the press.
- Size. The document equals the finished size plus 0.125 inch on every side, or the bleed the product template shows.
- Edges. Borderless art reaches the outer bleed line; a border is at least 1/4 inch wide and even.
- Safe zone. Text and logos sit 0.125 inch or more inside the trim.
- File. A PDF in CMYK at 300 DPI, with the version that includes bleed, not the one cropped to trim.
- Proof. Choose the free online proof and check where the red cut line falls against your border.
Every order also gets a free file check, so a missing bleed is flagged before the job prints. If a centered frame must be exact, ask about die cutting, which holds a tighter tolerance than straight trimming.
Wally makes the border wide or makes it vanish
A quarter inch frame, or full bleed
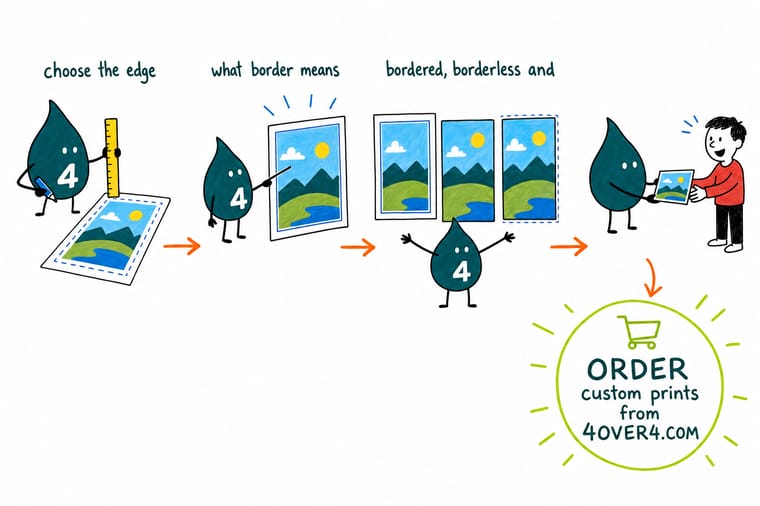
Wally never prints a hairline frame, because the cutter can move about 1/16 inch and the frame shows it. He either runs the design 0.125 inch past every edge for a borderless card, or he draws a border at least 1/4 inch wide on all four sides, then checks the red cut line on his free online proof.
Get a blank template →
Edge styles side by side
Bordered, borderless and framed prints compared
Pick the edge that fits the design, then use the file setup in its row. The numbers come from the 4OVER4 file specs.
| Edge style | What prints | File setup | Watch for | Best for |
|---|---|---|---|---|
| Borderless, full bleed | Design to every edge | Art 0.125 in past the trim on all sides | Text too close to the cut | Photos, bold color, business cards |
| Even white border | A white frame around the design | Border at least 1/4 in, equal on four sides | A thin border looking uneven | Photo prints, menus, art prints |
| Printed frame line | A line or box inside the trim | Frame set well inside the safe zone | Hairline frames showing a shift | Certificates, quote cards, invitations |
| No bleed product | Art inside a margin | Keep art 0.25 in from every edge | Backgrounds meant to reach the edge | Envelopes |
Specs and pricing
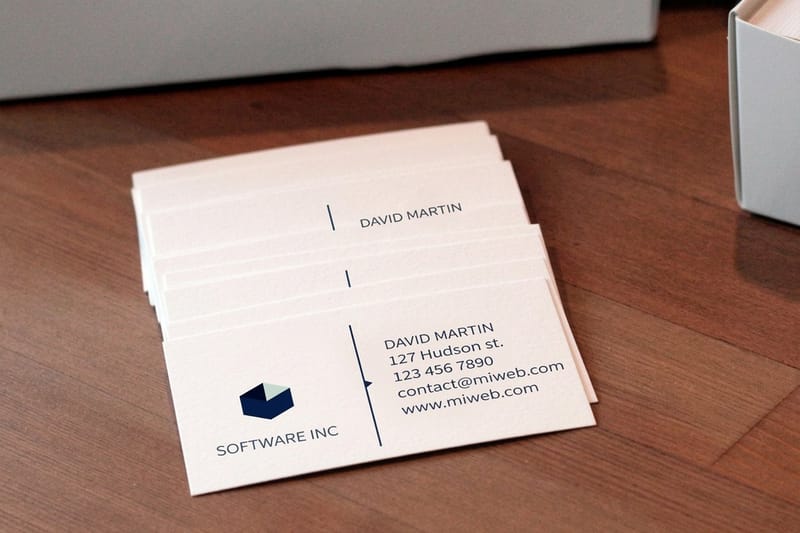
Standard business card specs and pricing
The live sizes, stocks and quantity ladder for standard business cards, the piece where a border shows every fraction of an inch.
| Quantity | Price Per Unit | Total |
|---|---|---|
| 100 | 17.6¢ | $17.57 |
| 200 | 11.5¢ | $23.07 |
| 300 | 9.15¢ | $27.46 |
| 400 | 7.96¢ | $31.86 |
| 500 | 7.25¢ | $36.26 |
| 600 | 6.77¢ | $40.64 |
| 700 | 6.43¢ | $45.04 |
| 800 | 6.18¢ | $49.43 |
Print it
Print it borderless or with a clean frame
Ready-made layouts
Blank business card templates with bleed and safe zone
Download a blank with the trim, the 0.125 inch bleed and the safe zone drawn in, so your border or your full bleed background lands where you placed it.








Explore more
Where to go next


By the numbers
The measurements behind a clean edge
Common Questions
Border prints, answered
Does a border print cost more than a borderless print?
No. At 4OVER4 there is no extra charge for bleed, and a border costs nothing extra either. The price depends on the product, size, stock and quantity. What changes is the file setup: a borderless design needs 0.125 inch of bleed, and a border needs to be wide enough to survive the cut.
Why did my border come out uneven?
Commercial trimming cuts stacks of sheets, and a stack can shift up to about 1/16 inch. On a thin border that shift turns one side thicker than the other. Make the border at least 1/4 inch wide and equal on all four sides, or switch to a full bleed design, which hides the shift.
How much bleed should I add?
Most products take 0.125 inch on every side, so a 4 by 6 inch piece is built at 4.25 by 6.25 inches. The postcard file help prefers 0.25 inch, and envelopes print without bleed. The blank template for your product shows the exact number.
Can I print a design with no white edge at home?
Most desk printers leave a white margin because they cannot print to the edge of the sheet. You can print larger and trim by hand, but a straight, even edge on a stack of pieces is the job a press and a cutter do well.
What is the red line on my proof?
The red border on the online proof marks where the piece will be trimmed. It does not print. Check that your background reaches past it for a borderless design, and that your frame sits evenly inside it for a bordered one.
What is the safe zone on a template?
The safe zone is the area inside the trim where text and logos are protected from the cut, shown in green on 4OVER4 templates. Keep anything important at least 0.125 inch inside the trim line, and let only background color run into the bleed.
Get Started
Print the edge you designed
Start from a blank template with the bleed and safe zone drawn, choose full bleed or a quarter inch border, and check the red cut line on your free proof.
Legal Disclaimer
Gold Standard guarantees apply to all standard orders placed through 4over4.com. Price match requires verifiable proof of a competitor's published price for an equivalent product with matching specifications and turnaround time. Satisfaction guarantee covers manufacturing defects and print quality issues. Contact support with order number and documentation.
