
Printable Card Templates That Print Sharp Every Time


Trim size, bleed, safe zones, resolution, color mode, and export settings, explained the way a press actually reads them. Set the template up once and your business cards, gift cards, and greeting cards come back looking exactly like the file you sent.
A printable card template is a pre-measured layout that fixes three things before you design: the bleed area artwork must fill, the trim line where the card is cut, and the safe zone that keeps text away from the blade. Standard US cards are 3.5 by 2 inches with 0.125 inch bleed on every side and a 0.125 inch inner margin. Build inside those guides, place images at 300 DPI, work in CMYK, and export a PDF with fonts embedded.

Start here
The whole idea in one paragraph
A printable card template is a measurement contract between your design and the press. It defines the finished trim size, the 0.125 inch bleed your artwork extends into, and the safe margin that keeps type away from the cutting blade. Everything else follows from those three numbers: images at 300 DPI so detail survives, CMYK color so what you see is what ink can reproduce, and a PDF export with fonts embedded so nothing substitutes at the last second. Get the template right and the printing part becomes routine.
Why the template you start with decides whether the cards come back right
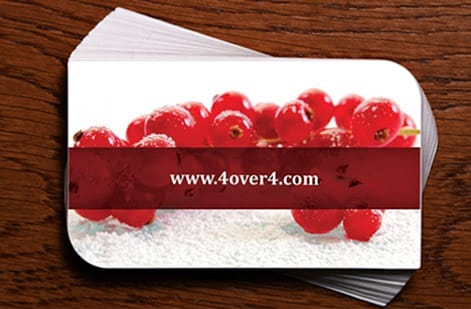
Almost every reprint we see starts the same way. Someone opens a blank document sized exactly 3.5 by 2 inches, builds a beautiful card, sends it off, and gets back a stack with a hairline of white along one edge and a phone number sitting a little too close to the cut. Nothing was designed badly. The file simply never accounted for how paper moves through a cutter.
A printable card template solves that before you start. It carries three separate rectangles: the bleed edge your artwork must fill, the trim line where the blade lands, and the safe zone where type is guaranteed to survive. Design inside those guides and the outcome stops being a gamble.
This guide covers how to pick a template, how to set it up correctly, and where do-it-yourself printing stops paying off. If you want ready-built layouts for the most common formats, the walkthroughs on free business card templates and free greeting card templates pair directly with everything below.
What is a printable card template?

A printable card template is a layout file built to a specific finished size, with the print production guides already drawn in. It is not a design. It is the container the design has to live inside so that the press, the cutter, and your screen all describe the same card.
Open one and you will usually find three nested boxes. The outer box is the bleed, typically 0.125 inches beyond the finished edge on all sides. The middle box is the trim, the size the card will actually be. The inner box is the safe zone, roughly 0.125 inches inside the trim, where anything you cannot afford to lose belongs.
Templates ship in whatever format the tool expects. Vector files for Illustrator and InDesign, layered files for Photoshop and Affinity, sized canvases for Canva and Figma, and flat PDFs when you only need the measurements. The format matters less than the guides being correct and clearly labeled. A roundup of the tools that handle this well sits in our look at free business card design tools.
How to choose the right printable card template

Choose the format before the aesthetic. Ask where the card ends up. A card headed for a wallet needs the standard footprint, because anything wider gets bent. A card handed out at a trade show competes with dozens of identical rectangles, so a square or a rounded corner earns its keep. A card meant to stay visible for months should be a magnet.
Second, match the template to software you actually use. A gorgeous InDesign template is worthless if you do not own InDesign, and converting it usually breaks the guides. Pick the version built for your tool.
Third, check that the template lists its bleed and safe-zone measurements in writing rather than assuming you will infer them from colored lines. If the file does not say, it was probably built for screen and resized later.
Once the format is settled, the design direction is the fun part. Two galleries worth borrowing from: 15 stylish business card examples and 30 amazing business card designs.
Sizes, stocks, and finishes to settle before you download anything

Size comes first because it changes the template file itself. The US standard card is 3.5 by 2 inches. Square cards typically run 2.5 by 2.5 or 2 by 2 inches. European cards are slightly narrower and taller. Folded cards double one dimension and add a fold line the template has to mark, which is a different setup from a flat card.
Stock is chosen after the layout, but it changes how the layout reads. Uncoated stock absorbs ink, so fine type stays crisp while photos go slightly soft and muted. Coated stock holds saturation and detail, which flatters imagery but shows fingerprints on dark backgrounds. Heavier weights read as more expensive the instant someone picks the card up, and that impression happens before they read a word.
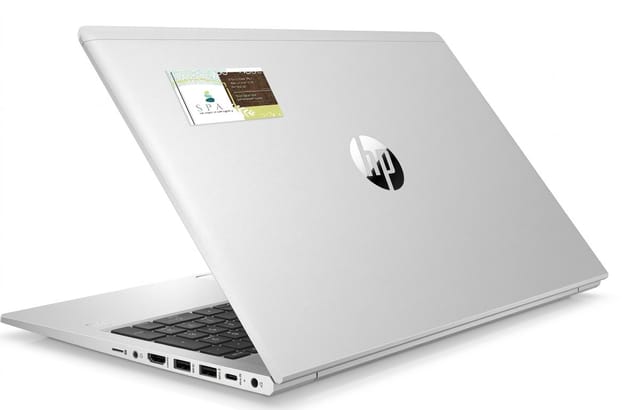
Finish is the last layer. Matte lowers contrast and feels calm. Gloss deepens color and adds shine. Soft touch adds a velvet surface that people notice physically. Spot UV and foil highlight one element by making it different from everything around it. Specialty substrates change the rules entirely: Business Card Magnets start at $19.68 and turn the card into something that stays on a fridge, while Business Card Stickers start at $10.76 and let the card be applied to packaging, laptops, or storefront glass.
Bleed, trim, and safe zone explained in plain language
Cards are printed many-up on a large sheet and cut down in stacks. Blades are precise, but paper compresses slightly and stacks shift by a fraction of a millimeter. Every production step in printing is designed around that small, unavoidable movement.
Bleed absorbs it. By extending background color and images 0.125 inches past the finished edge, you guarantee that a blade landing slightly inside the intended line still cuts through your artwork instead of through blank paper. Without bleed, that same shift leaves a white line, and it will only appear on some cards in the stack, which looks worse than if it appeared on all of them.
The safe zone protects the other direction. Keep text, logos, and any element that must not be clipped at least 0.125 inches inside the trim line. Borders are the classic trap: a thin frame drawn right at the edge exaggerates every shift, so a border that looks even on screen can print visibly thicker on one side.
One more habit worth building. Set the document to the trim size and let the bleed extend outward, rather than building at bleed size and trying to remember where the real edge was. The first approach makes it obvious when something is in danger.
Printable gift card templates and the point where paper stops working

A printable gift card template follows the same geometry as a business card, with a few extra fields that decide whether the card actually works at the counter. Reserve space for a value or denomination, an expiry or terms line, a code or serial area, and the redemption instruction. Leave that space in the template even if you have not written the copy, because retrofitting a code field into a finished design usually breaks the balance.
Numbering is the detail most people miss. If each card carries a unique code, the design needs a clear, uncluttered area with enough contrast for staff to read quickly, or for a scanner to resolve if you are using barcodes. Dark artwork behind a code is a support ticket waiting to happen.
Then be honest about durability. A gift card gets carried in a wallet, handed over, sometimes handed back with a balance remaining. Home-printed cardstock softens at the corners after a week of that. This is where DIY should hand off to a press: heavy coated stock, a laminated or plastic finish, and consistent color across the whole batch. Our free gift card templates guide walks through the layout side in more detail.
Color and resolution, the two settings that spoil most home-printed cards

Screens emit light and build color from red, green, and blue. Presses lay down ink and build color from cyan, magenta, yellow, and black. Some screen colors, particularly electric blues and neon greens, simply have no ink equivalent, so they shift when converted. Working in CMYK from the start means you see the achievable version while you are still able to change it, instead of being surprised after the run.
Blacks deserve their own note. A single-channel black prints as a flat dark gray on coated stock. For solid black backgrounds, a rich black mix gives real depth, while small text should stay on plain black so it does not go fuzzy if the plates shift slightly.
Resolution is the simpler rule with the harsher penalty. Every placed image needs to be 300 DPI at the size it appears on the card. A logo pulled from a website is typically 72 DPI, which looks fine on screen and prints as visible mush on a card people hold six inches from their face. Use vector artwork for logos and type wherever you can, since vectors stay sharp at any size and never need a resolution check at all.
How to export a card template so the press reads it correctly
The export step is where a careful layout either survives or quietly falls apart. Work through it the same way every time.
Export a PDF, not an image. A PDF keeps vector type sharp and carries bleed information. JPGs and PNGs flatten everything to pixels and usually drop the bleed entirely.
Embed or outline fonts. If a font is not embedded, the press substitutes something else and your careful spacing collapses. Outlining is the belt-and-braces version and works when licensing blocks embedding.
Include 0.125 inch bleed and turn crop marks off unless asked. The bleed is what matters. Extra marks inside the document can confuse an automated preflight.
Flatten transparency and check the total ink. Heavy overlapping effects can behave unpredictably, and very dense ink coverage takes longer to dry and can offset onto the next sheet.
Open the finished PDF and look at it once more. Zoom to the corners, confirm the bleed reaches the edge, and read the phone number out loud. Most last-minute catches are typos, not technical faults.
If you would rather skip the export ritual, an online designer applies the correct bleed and resolution rules for you, which is also why the pricing comparison in our Vistaprint alternative breakdown matters: template access should never be the thing you are paying for.
What printed cards cost, and how fast they arrive

Templates are free. The cost sits entirely in production, and it follows five levers: quantity, size, stock, finish, and turnaround. Quantity moves the number most. Setup work is the same whether you print 50 cards or 1,000, so the per-card price falls sharply as volume rises, which is why ordering a realistic year of cards usually beats reordering quarterly.
Format sets the floor. Business Card Stickers start at $10.76, Business Card Magnets start at $19.68, and heavier retail formats such as the Backing Card start at $218.30 because they are built for packaging runs rather than pocket handouts. Finishes such as soft touch, spot UV, and foil sit on top of the base and are worth pricing against the quantity you actually need.
Turnaround is counted in business days after your file clears preflight, and transit time is separate. That distinction is the reason file preparation is worth the extra twenty minutes: a file kicked back for missing bleed or a low-resolution logo restarts production, and no shipping upgrade recovers a day lost at the preflight stage. Build the template right, export once, and the schedule takes care of itself.
Wally explains card templates
Three lines decide everything else
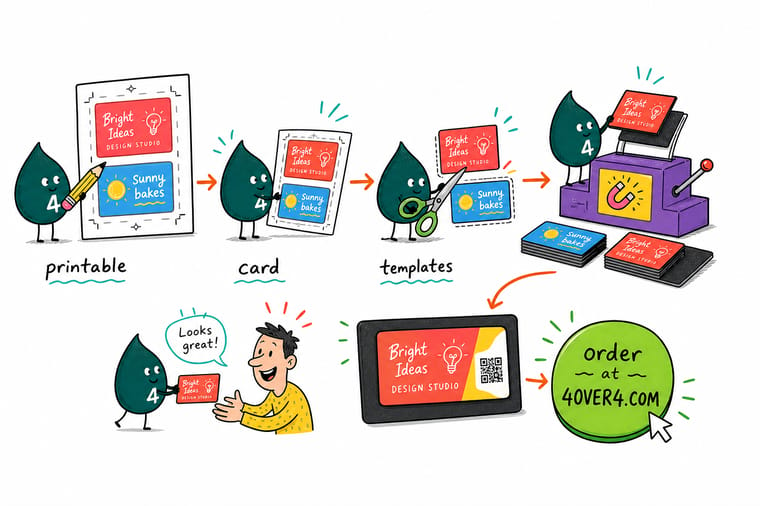
Wally never designs a card until the three lines are drawn. The outer line is bleed, and background color has to reach it. The middle line is trim, where the blade lands. The inner line is the safe zone, and every word lives inside it. Once those are set, he stops worrying about the cut and gets on with the design.
Design and print your cards →Template diagram
The 7 checks every printable card template needs
One frame, seven checks. Run through it before you export and you will catch almost every problem that sends a card order back for a second attempt.
Work top left to bottom right. The first three checks control geometry, the middle three control image and type quality, and the last one packages all of it into a file the press can print without a single question.
Specs and pricing
Card magnet specs and live pricing
When the template is filled in and exported, these are the real production options and current prices for the card format that keeps working long after the meeting ends.

| Quantity | Price Per Unit | Total |
|---|---|---|
| 1 | $19.68 | $19.68 |
Print it
Take your card template to press at 4OVER4
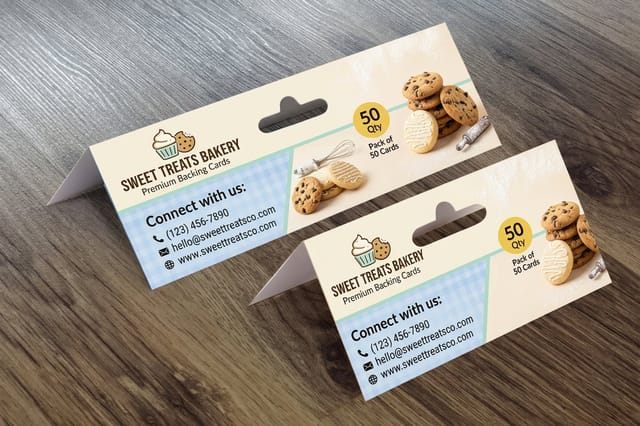

See it in use
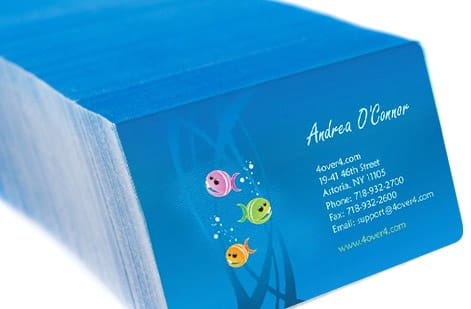
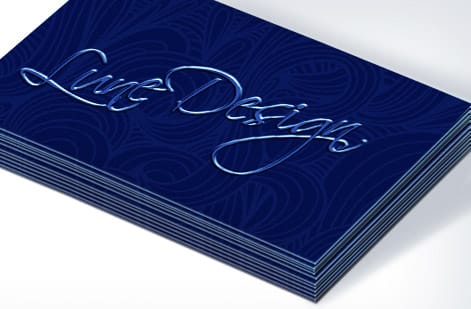
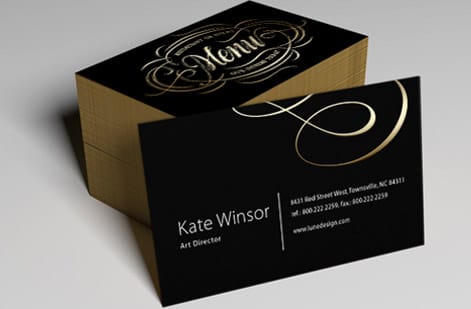
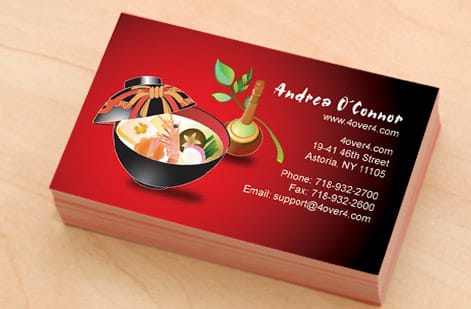
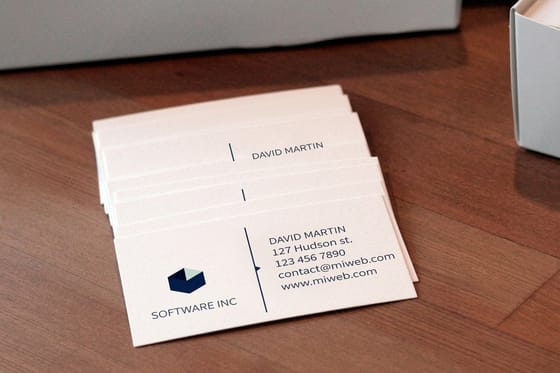
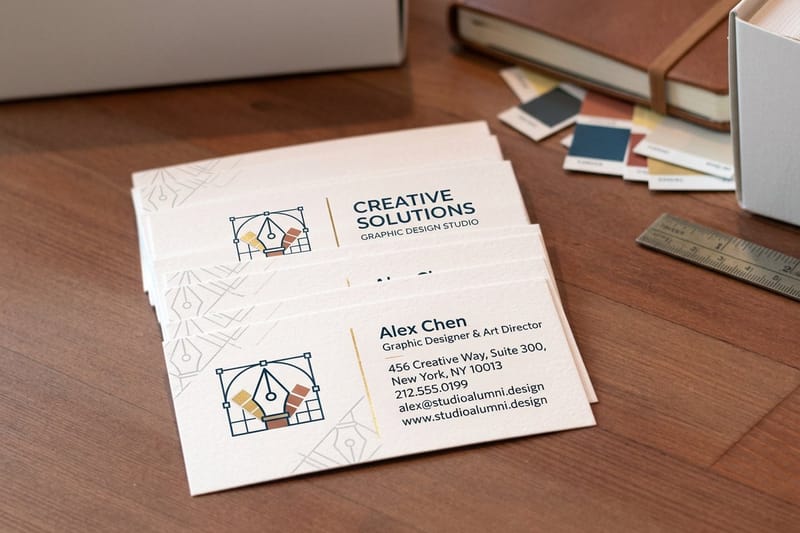
Real card work, printed in-house




Explore more
Where to go next



By the numbers
Printing you can count on at 4OVER4.COM
Common Questions
Common questions about printable card templates
What is a printable card template?
A printable card template is a pre-measured layout file that already contains the finished card size, the bleed area that extends past the cut line, and the safe zone where text stays clear of the blade. You drop in your own type, logo, and images, and the geometry stays correct. Templates come as InDesign, Illustrator, Photoshop, Canva, Word, or plain PDF files, and the good ones label every guide so you know which line the cutter follows.
How do I choose the right printable card template?
Start with the job the card does, then work backward to the format. A card that lives in a wallet needs the standard 3.5 by 2 inch footprint. A card that hangs on a fridge or a filing cabinet wants a magnet. A card that gets stuck onto packaging wants an adhesive face. Once the format is settled, pick a template built for that exact trim size and for the software you already own, so you spend your time on the design instead of rebuilding guides.
What does a printable card cost and how are prices set?
Price is driven by quantity, size, stock, finish, and turnaround rather than by the template itself. Templates are free. Printing scales down fast with volume because setup is spread across the run, so the per-card price at 500 is far below the price at 50. Business Card Stickers start at $10.76 and Business Card Magnets start at $19.68, with coated and specialty finishes adding to the base.
What sizes, stocks, and finishes are available for printable cards?
The standard US card is 3.5 by 2 inches, with square, mini, and European variants for anyone who wants the format itself to be memorable. Stocks run from lightweight coated sheets up to heavy uncoated boards, plus magnet and adhesive substrates. Finishes include gloss, matte, soft touch, spot UV, and foil. Each finish changes how ink reads, so a color that looks rich on matte can look darker under gloss.
How long does printing and shipping take?
Production time is counted in business days after your file passes preflight, and it is separate from transit time. Most standard card products move through the press in a few business days, with faster options available when a launch or an event will not wait. Uploading a correctly built template on the first try is the single biggest factor, because a file sent back for bleed or resolution problems restarts the clock.
Can I print card templates on a home printer?
You can, and for a one-off place card or a rehearsal proof it is the sensible choice. What a home printer cannot do is bleed to the edge, hold consistent color across a run, or reproduce a coated finish. Desktop cutting also drifts, so trim lines wander card to card. Use home printing to test a layout, then send the same file out when the cards represent your business.
Do I need bleed if my design has a white border?
If the background is white on all four sides and nothing colored reaches the edge, a small cutting shift is invisible, so bleed matters less. Even then, keep your text inside the safe zone, because trim tolerance moves the border width slightly and off-center type is far more noticeable than an uneven margin. Building bleed anyway costs nothing and protects you if the design changes later.
Get Started
Ready to print the cards your template was built for?
Upload your print-ready file or start from a layout that already has bleed and safe zones set. Choose the stock and finish, and we handle the press work.
Legal Disclaimer
Gold Standard guarantees apply to all standard orders placed through 4over4.com. Price match requires verifiable proof of a competitor's published price for an equivalent product with matching specifications and turnaround time. Satisfaction guarantee covers manufacturing defects and print quality issues. Contact support with order number and documentation. On-time delivery rate based on tracked orders 1999 to 2026. Individual results may vary based on shipping carrier performance.
