
Print Finishing Techniques That Turn Flat Prints Into Premium Pieces


Finishing is everything that happens after the ink: cutting, scoring, folding, binding, laminating, and the decorative accents like foil, spot UV, and embossing. Here is what each technique does and how to add it at checkout.
Print finishing techniques are the steps applied after the ink to turn a printed sheet into a finished piece. Bindery techniques shape and assemble it, cutting, scoring, folding, perforating, and binding, while decorative techniques add surface, lamination, foil, spot UV, and embossing. Match the technique to the format, lead with one decorative finish, and add each option in the configurator at 4OVER4.
Start here
Bindery first, decoration second
Print finishing is every step applied to a printed sheet after the ink hits it, in four families: cutting and shaping, scoring and folding, coating and lamination, and decorative accents like foil, spot UV, and embossing. Together they turn a flat, oversized press sheet into a usable piece. Bindery techniques (cutting, scoring, folding, perforating, binding) shape and assemble it, while decorative techniques (lamination, foil, spot UV, embossing) add to the surface. The format sets which bindery steps you need, and a single decorative finish is what people notice. The map below sorts every technique by family, and the comparison table further down puts cost and added lead time next to each one.
What print finishing actually covers
Print finishing is everything that happens to a sheet after the ink dries and before it reaches your hands. The printing lays down the design, but finishing is what turns a flat, oversized sheet into the trimmed, folded, coated, and decorated piece you actually use. It is the difference between a printed rectangle and a folded brochure, a die-cut card, or a foil-stamped invitation.
The techniques split into two families. Bindery techniques shape and assemble the piece: cutting, scoring, folding, perforating, and binding. Decorative techniques add to the surface: lamination, foil, spot UV, and embossing. Bindery gets the structure right, decoration makes it feel premium, and most finished pieces use a few of each.
Two questions come up before almost every order. The difference between spot UV and foil is what gets applied: spot UV is a clear gloss varnish cured over chosen areas of the artwork, so the effect is shine and contrast in the same color that is already printed underneath, while foil is an actual metallic film stamped on with heat and a die, so it changes the color to gold, silver, or copper and reflects like metal. Spot UV reads sharp and modern on a matte card and needs a separate mask file marking the glossy areas, foil reads expensive and needs a die. And whether lamination is worth it on business cards: on any card that lives in a wallet or gets handed out at a show, yes, because the film stops edge wear, fingerprints, and moisture from aging the card, and it is the cheapest upgrade on this page. The one time to skip it is when people need to write on the card, since ink beads on a laminated surface.
What makes this practical is that every technique below is a checkout option at 4OVER4, not a custom job you brief and wait on. You pick the product, select the finishing in the configurator, and order online, or lean on our finishing services when a job needs extra hands. The sections that follow walk the techniques in the order a piece moves through them.
Cutting and die-cutting: getting to the final shape
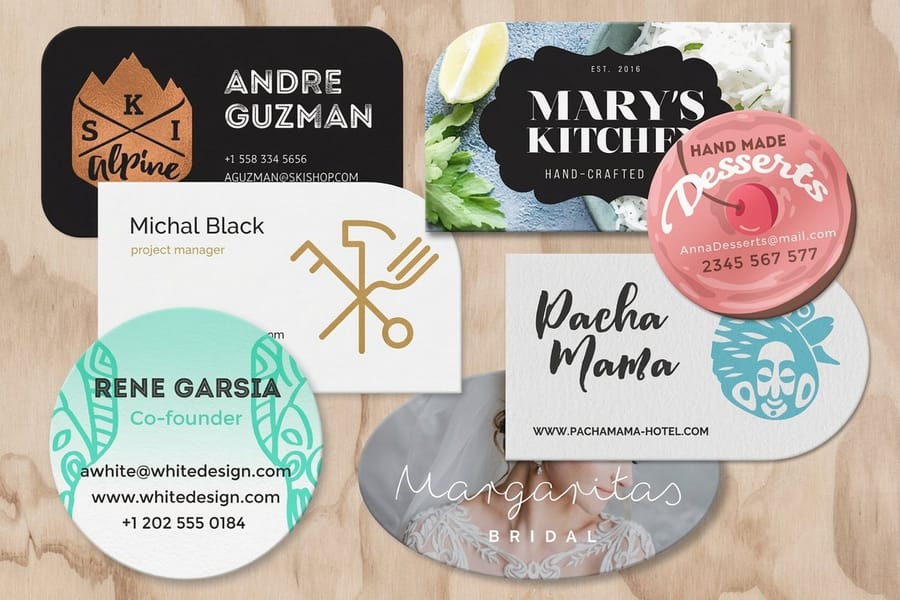
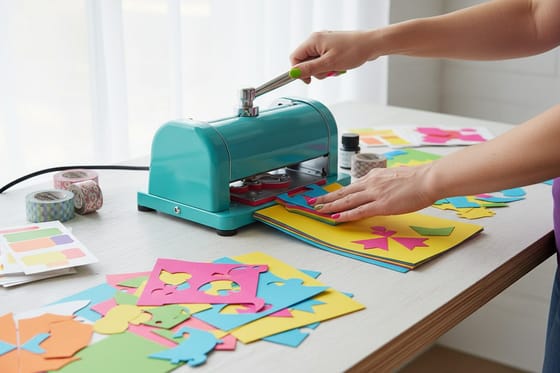
Every finished piece starts with a cut. Presses run artwork on larger sheets, then trimming brings each piece down to its final size. Straight cutting produces the standard rectangles you know, cards, flyers, postcards, while die-cutting uses a shaped steel die to trim any outline you want: rounded corners, circles, arches, or a cutout window.
Cutting is why file setup matters. Because the blade can shift by a hair, artwork is built with bleed so color runs past the trim line and no white sliver appears at the edge. Die-cutting adds a cut-path layer that tells the die exactly where to travel, which is how a card becomes a shape that stands out in a stack.
Related to cutting is perforation, a dotted cut that lets part of a piece tear away cleanly, which is what coupons, tickets, and reply cards need. For the full mechanics of custom shapes, see our guide to die-cutting, and browse the die-cutting collection to order.
Scoring, creasing, and folding: adding dimension
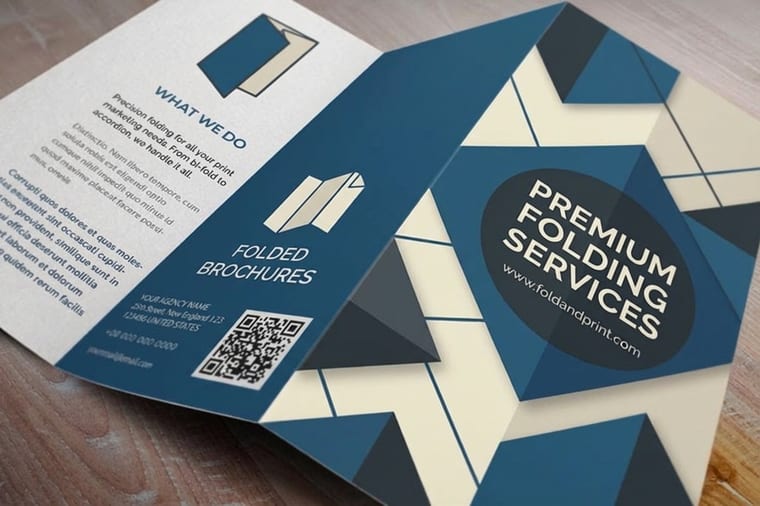
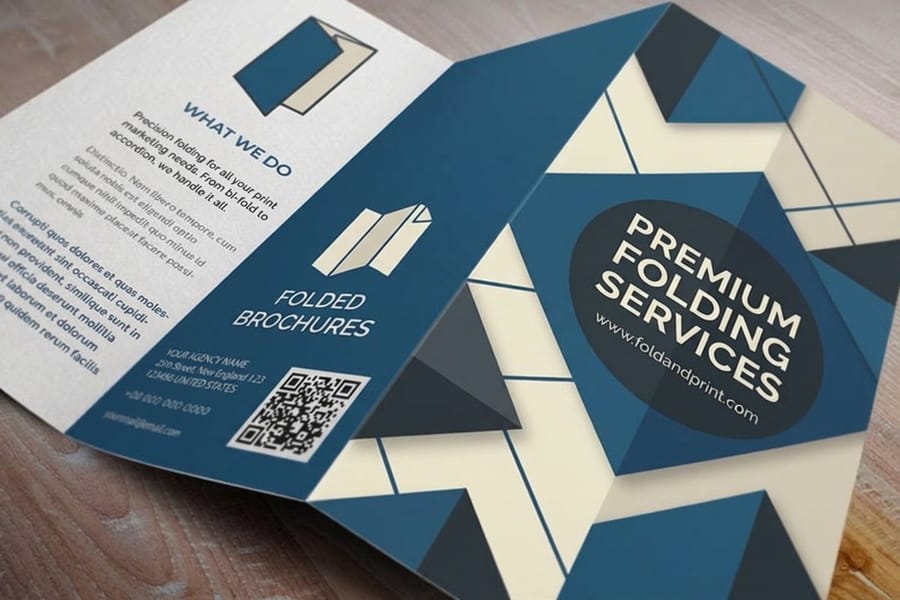
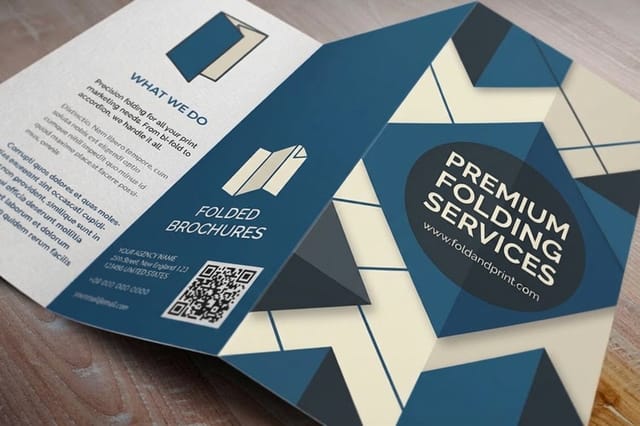
Folding is the technique that turns a flat sheet into panels that open and reveal. A tri-fold brochure, a z-fold, a gate fold, or a simple folded card each paces your message across panels. But folding heavy stock cleanly depends on a step that happens first: scoring, also called creasing.
Scoring presses a channel into the stock along the fold line so the paper bends without cracking. On lighter paper you can skip it, but on cardstock and coated covers a fold made without a crease splits the surface and looks rough. The crease compresses the fibers along a precise line so the finished fold sits flat and sharp, which is why folded brochures and folded flyers always include it.
Because folded pieces think in panels, the file setup matters: each panel behaves like its own small page. Our guide to creating print-ready files covers measuring panels and placing fold guides so nothing creeps across a crease.
Lamination and coating: sealing the surface
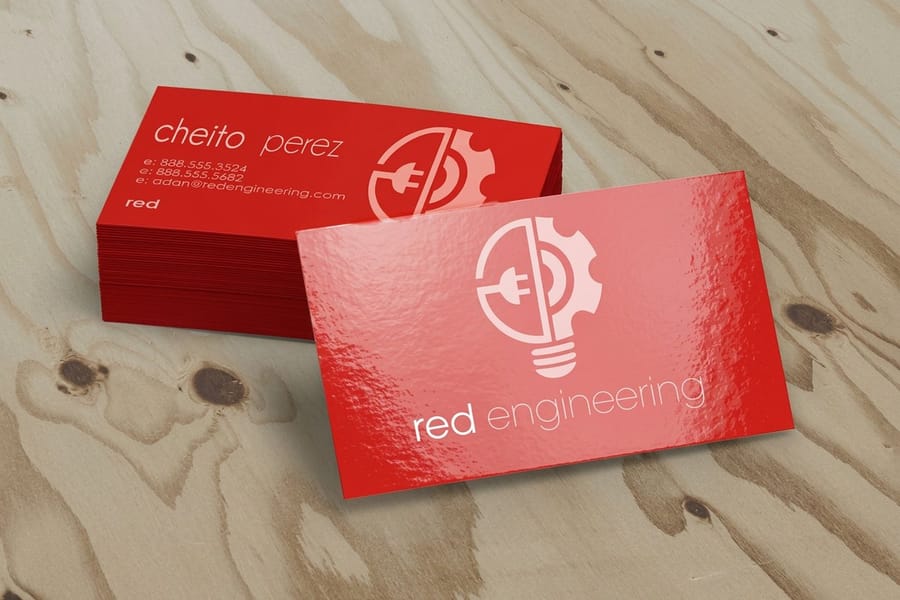
Once a piece is cut and folded, coating decides its surface and durability. Lamination seals the printed piece under a thin film in gloss, matte, or silk. Gloss deepens color and adds shine, matte calms glare for an elegant read, and silk sits between the two with a smooth, warm feel. Beyond looks, a laminate makes a piece tougher, more water-resistant, and far more resistant to fingerprints.
Reach for lamination whenever a piece gets handled, mailed, or has to last: menus, cards, tags, and field materials. It is also the best base for decorative finishes, since a laminated surface holds foil and spot UV cleanly. See it on gloss laminated cards and silk laminated cards.
Coating is the most affordable way to make a standard print feel finished, since it covers the whole surface evenly. Browse the laminated printing collection to compare gloss, matte, and silk on the products you print most. If you already know the look you want, go straight to gloss laminated business cards when the artwork is photo heavy and you want color to pop, or silk laminated business cards when you want the soft low sheen that kills glare on text and still takes a spot UV accent cleanly on top.
Foil, spot UV, and embossing: the premium accents
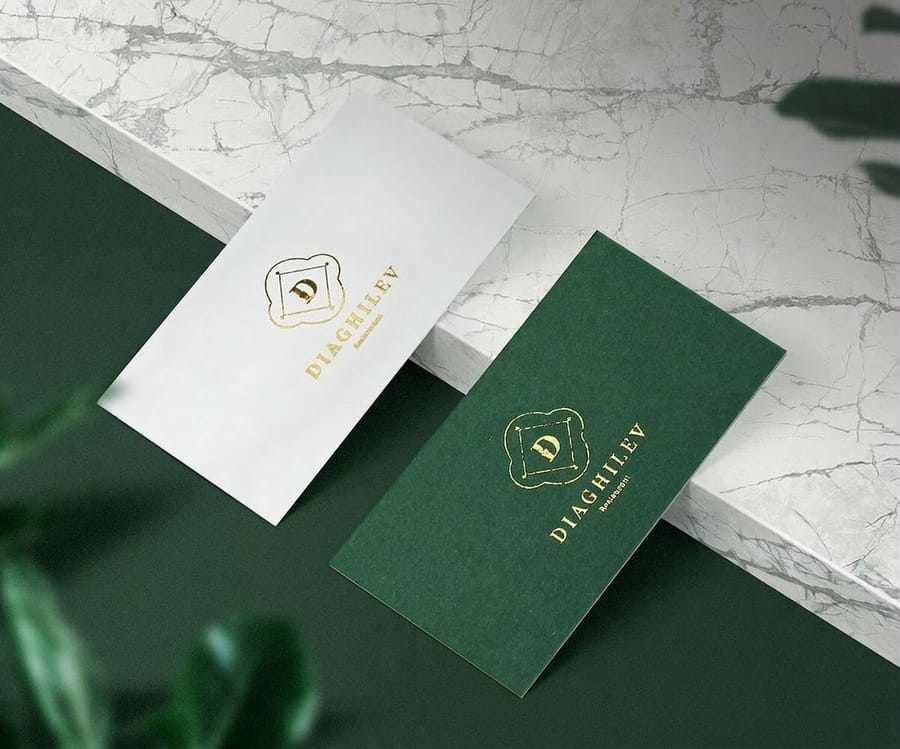
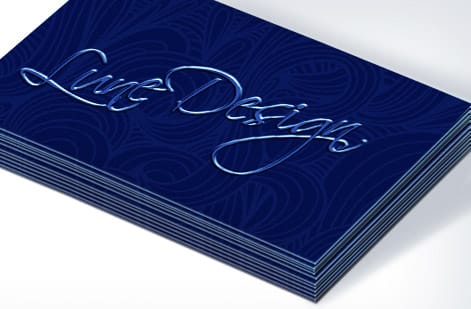
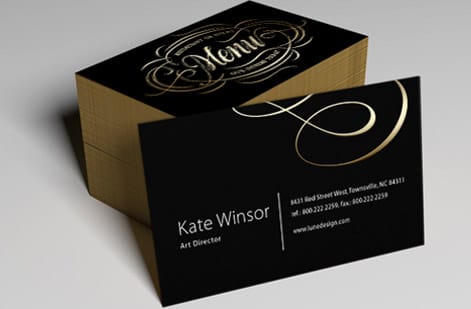
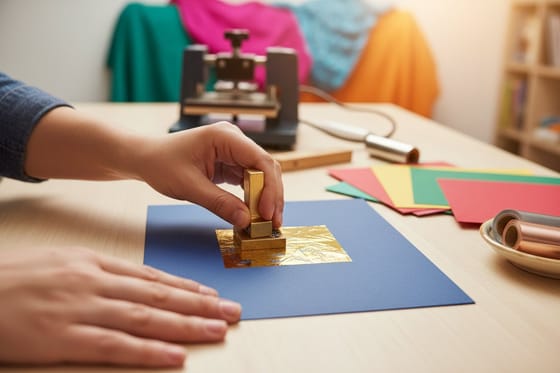
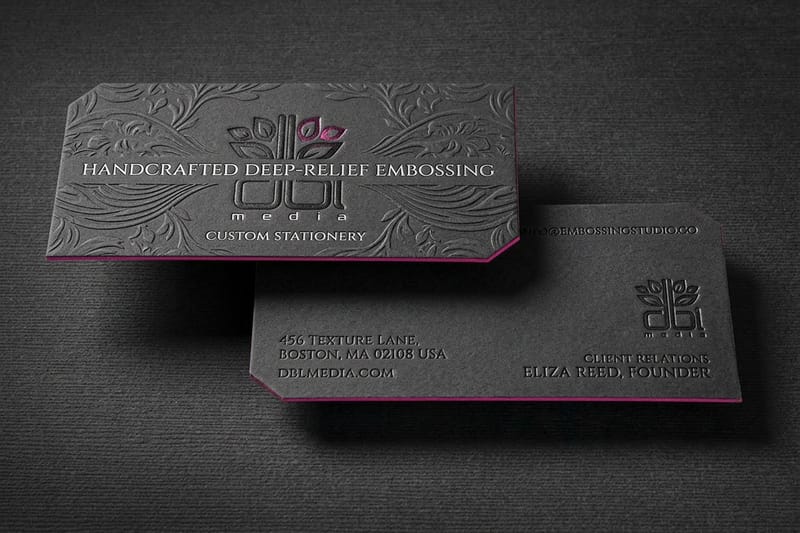
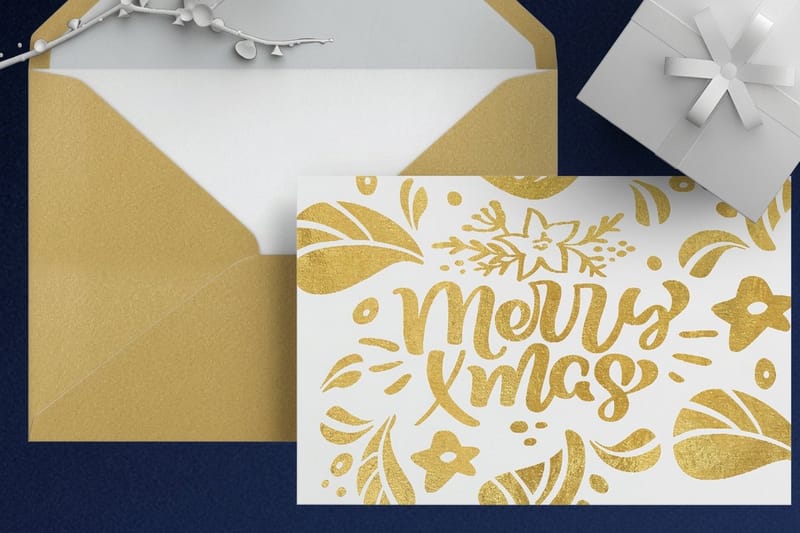
The decorative finishes are the ones people remember. Foil stamping presses a thin metallic film onto the sheet with heat, leaving a reflective layer of gold, silver, or color that reads instantly as luxury. Spot UV applies a clear high-gloss coat over chosen areas of a matte card, so a logo catches the light while the rest stays flat. Embossing shapes the paper itself, raising a design up off the surface so you can feel it.
These three combine into signature looks: foil registered on top of an emboss lifts a mark off the card in metal, and glossy spot UV over a matte base gives sharp contrast. The trick is restraint. Let one hero finish carry the piece so it feels deliberate rather than busy, and put it on heavier stock so the effect holds cleanly.
Choosing between them depends on the mark you are decorating. A logo with fine lines or small type holds best under spot UV, which adds no thickness and cannot fill in detail. A solid mark that has to be seen across a room belongs in foil. A monogram or a wordmark you want people to run a thumb over belongs in embossing, on the heaviest stock in the configurator so the raise does not flatten in a pocket. All three sit happily on a silk laminated base, which is the usual reason a spot UV card looks so sharp: the matte film underneath is what makes the gloss read.
For a deeper tour of each decorative option and when to use it, pair this with our guide to the seven best print finishes, then explore the embossing collection and foil collection to order.
Wally finishes the sheet, not just prints it
Bindery gives it shape, decoration gives it shine
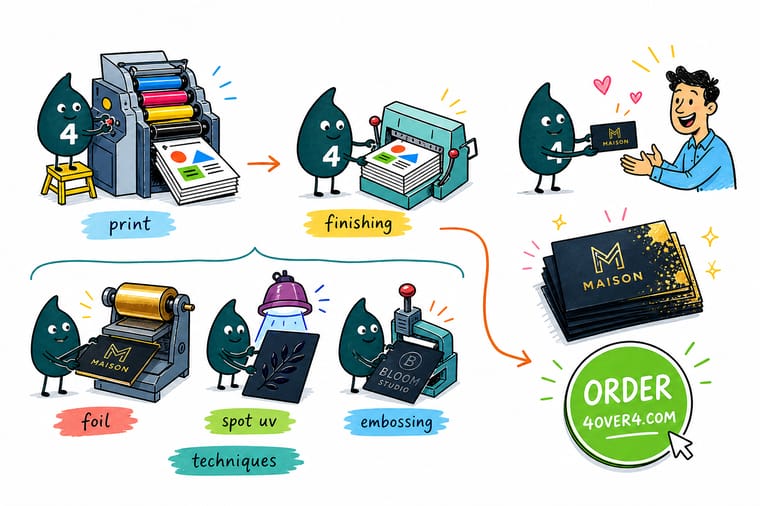
Wally walks the sheet through the line: trim it to size, score and fold it into panels, seal it under a laminate, then add one hero accent like foil, spot UV, or an emboss. Match the bindery steps to the format, lead with a single decorative finish, and add every option right in the configurator. 4OVER4 prints and finishes it in-house.
Add a finishing option →Quick reference
The main finishing techniques, sorted by family
Bindery shapes and assembles the piece, decorative finishing adds surface. Here is what each technique does.
Read the comparison left to right: what the technique actually does to the sheet, what it does to the price, the job it suits, and whether it adds a step after the press. Cost tiers are relative to the same job printed with no finishing, so $ is a small add across the run and $$$ is the premium tier that usually carries a one time die or setup charge on top of the per unit price.
| Technique | What it does | Cost tier | Best for | Added lead time |
|---|---|---|---|---|
| Die cutting | Trims the sheet to a custom outline with a shaped steel die: rounded corners, circles, arches, or a cutout window. | $$$ plus a one time die | Cards, tags, and menus that have to break the rectangle | Adds a die build and a separate cutting pass |
| Scoring | Presses a crease into the stock so the fibers bend instead of cracking along the fold. | $ | Any cover stock that folds, and every folded card | None to plan for, it runs in the same bindery pass as the fold |
| Folding | Turns a flat sheet into panels: half fold, tri fold, gate, or roll. | $ | Brochures, menus, mailers, folded invitations | Runs with scoring in one bindery pass |
| Gloss lamination | Bonds a shiny plastic film over the whole sheet, deepens color and shrugs off water and tearing. | $$ | Menus, postcards, and cards that get handled hard | One laminating pass after printing |
| Matte and silk lamination | Same film, low sheen. Matte kills glare and reads quiet, silk sits between matte and gloss and keeps color rich. | $$ | Text heavy pieces, and cards you want to feel soft rather than shiny | One laminating pass after printing |
| Soft touch | A velvet feel film. The effect is in the hand more than the eye, and it makes a good base for a gloss accent on top. | $$$ | Premium cards and covers where the first impression is tactile | One laminating pass, same as the other films |
| Spot UV | Cures a clear high gloss varnish over chosen areas only, so a logo catches the light while the rest of the card stays flat. | $$$ | A matte or soft touch card with one mark, pattern, or logo to highlight | Needs a spot mask built from your file, then a second pass through the coater |
| Foil stamping | Presses a thin metallic film into the sheet with heat and a die, leaving gold, silver, or color that reflects like metal. | $$$ plus a one time die | Invitations and cards that have to read premium the second they are handed over | Adds a stamping pass, and a die per foil area |
| Embossing | Squeezes the sheet between a matched die pair so the design stands up off the surface and you can feel it. | $$$ plus a one time die | Logos and monograms on heavier stock, where the raise holds cleanly | Adds a press pass, and a matched die pair |
| Debossing | The same die pair reversed: the design is pressed down into the sheet instead of raised. | $$$ plus a one time die | A quieter mark, or a shape that has to sit flush so the cards still stack | Adds a press pass, and a matched die pair |
The same techniques sorted by family, bindery first and decoration after:
| Technique | Family | What it does |
|---|---|---|
| Cutting and trimming | Bindery | Trims the printed sheet down to its final size, the base step behind every finished piece. |
| Die-cutting | Bindery | A custom steel die trims the piece to any shape or cuts a window, beyond a plain rectangle. |
| Scoring and creasing | Bindery | Presses a channel into the stock so it folds cleanly without cracking, essential on heavy cards and covers. |
| Folding | Bindery | Turns a flat sheet into panels: tri-fold, z-fold, gate fold, and folded cards that open in sequence. |
| Perforating | Bindery | A dotted cut line lets part of a piece tear away cleanly, ideal for coupons, tickets, and reply cards. |
| Binding | Bindery | Assembles multi-page pieces: saddle-stitch, perfect bound, and spiral for booklets and catalogs. |
| Numbering | Bindery | Prints sequential numbers on tickets, forms, and raffle stubs for tracking and security. |
| Lamination and coating | Decorative | Seals the surface in gloss, matte, or silk for durability and a chosen sheen. |
| Foil stamping | Decorative | Presses metallic film onto the sheet for a reflective, luxury accent. |
| Spot UV | Decorative | A selective high-gloss coat over chosen areas for contrast and shine. |
| Embossing | Decorative | Raises or recesses the paper to add tactile, dimensional relief to a logo or seal. |
Step by step
How to finish a print job in 7 steps
- Decide the format firstA card, a folded brochure, a booklet, and a mailer each demand different finishing. The format sets which bindery steps you need before you think about decoration.
- Plan the bindery steps the format requiresFolding needs scoring on heavy stock, booklets need binding, tear-off replies need perforation. Get these structural steps right so the piece assembles cleanly.
- Choose one decorative finish to leadPick a single surface finish (foil, spot UV, or embossing) to carry the piece. One hero effect reads as intentional, three fight each other.
- Add lamination if the piece gets handledMenus, cards, and mail pieces last longer under a gloss, matte, or silk laminate, which also makes an ideal base for foil or spot UV.
- Build a separate layer for each decorative finishFoil, spot UV, and embossing each need artwork that marks exactly where the effect goes. Keep those shapes crisp and vector.
- Proof on the real stockFinishing reads differently on paper than on screen. Order free samples or a proof to confirm the fold, the shine, and the feel before a full run.
- Select the finishes at checkout and orderOpen the product, choose the finishing options in the configurator, watch the price update live, and order online with no minimum.
Specs and pricing
Foil business card specs and live pricing
See how a decorative finish prices out. Here are the live specs and price-per-unit for foil business cards at 4OVER4, straight from the configurator.
| Quantity | Price Per Unit | Total |
|---|---|---|
| 500 | 44.4¢ | $222.13 |
| 1,000 | 26.9¢ | $269.14 |
| 2,500 | 20.2¢ | $504.19 |
| 5,000 | 19.7¢ | $986.04 |
| 10,000 | 16.4¢ | $1,644.19 |
| 15,000 | 14.4¢ | $2,161.30 |
| 20,000 | 13.5¢ | $2,701.94 |
| 25,000 | 13.0¢ | $3,242.54 |
Budget
What print finishing costs
The live price table above is the number to trust, because prices move with stock and quantity. What does not move is the shape of the cost. On a 500 piece business card run, coatings ride along with the stock option and barely lift the per unit price, while the decorative finishes add a per unit charge plus, in most cases, a one time setup or die charge that pays for the tooling behind the effect.
| Finish | What it does to a 500 piece business card run | One time setup or die |
|---|---|---|
| Gloss, matte, or silk lamination | The smallest add on this page. It is priced into the stock option in the configurator, so the run cost moves a little and the card survives a great deal longer in a wallet. | None |
| Soft touch | A step above the standard films, same whole sheet coverage, priced as a premium stock option rather than as an extra pass you add on. | None |
| Spot UV | Mid tier. You are paying for the second pass through the coater and for the mask that tells it where the gloss lands, so the add sits on the run rather than on how much of the card you cover. | Yes, the spot mask is built from your file |
| Foil stamping | Top tier. Heat, metallic film, and a die for each foil area, which is why one hero mark in foil costs far less than foil spread across the whole card. | Yes, a die per foil area |
| Embossing and debossing | Top tier, same tooling logic as foil. The matched die pair is the bulk of the first order, so a reprint of the same design is the cheaper one. | Yes, a matched die pair |
| Die cutting | Depends entirely on the shape. Rounded corners are the cheap end, a cutout window or an irregular outline costs more because the die takes more work to build. | Yes, one die per shape |
| Scoring, folding, perforating | The cheapest lines here. They are machine passes rather than added material, and 500 pieces go through in a single setup. | None |
Two rules keep the bill sensible. Quantity is your friend on anything with a die, because the setup spreads across the run and 500 cards carry it far better than 100 do. And one hero finish beats three: a single foil mark on a laminated card costs a fraction of foil plus spot UV plus an emboss, and it looks deliberate instead of busy. Price your exact combination on foil business cards, spot UV business cards, or embossed business cards in the configurator, or start cheap with gloss laminated business cards and add the accent on the next run.
Order it
Add finishing to your next job
See it in use
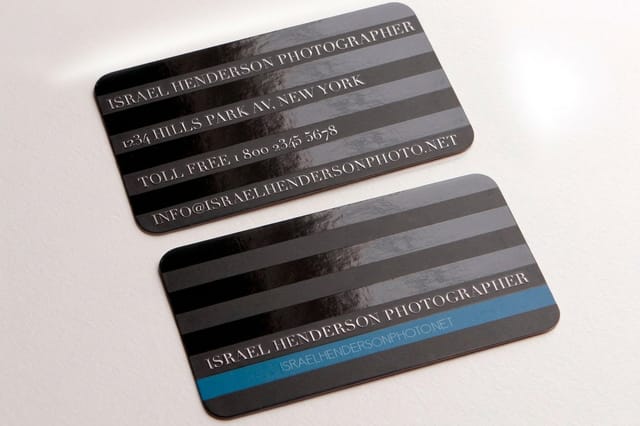
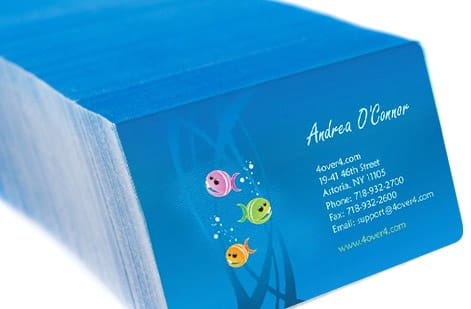
Finished work, produced in-house




Explore more
Where to go next

By the numbers
Foil, spot UV, and the stocks that take them
Common Questions
Common questions about print finishing
What is cutting in print finishing?
Cutting is the bindery step that trims a printed sheet down to the final size of the piece. Presses run artwork on larger sheets, then a guillotine cutter or a custom die trims each piece to its finished dimensions. Straight trimming produces standard rectangles like business cards and flyers, while die-cutting uses a shaped steel die to create custom outlines, rounded corners, and cutout windows. Because the blade can shift slightly, files are set up with bleed so artwork runs past the trim line, which is why cutting is the base step that every finished print job depends on.
What is creasing in print finishing?
Creasing, also called scoring, presses a channel into the stock along a fold line so the paper folds cleanly without cracking. On lighter paper you can fold without it, but on heavier cardstock and coated covers a fold made without a crease will split the surface and look rough. The crease compresses the fibers along a precise line so the sheet bends predictably and the finished fold sits flat and sharp. It is essential on folded brochures, folded cards, and any heavy piece that opens, and it is applied automatically as part of the folding setup for those products.
What are print finishing techniques?
Print finishing techniques are all the steps applied to a printed sheet after the ink to turn it into the finished piece. They fall into two families. Bindery techniques shape and assemble the piece: cutting, die-cutting, scoring and creasing, folding, perforating, binding, and numbering. Decorative finishing techniques add to the surface: lamination and coating, foil stamping, spot UV, and embossing. Bindery makes the piece the right shape and structure, while decorative finishing makes it feel premium. At 4OVER4 each technique is a checkout option you select in the configurator, not a custom quote.
Should I pick foil, spot UV, or embossing for this logo?
Start from the format, since it dictates the bindery steps you need: folding requires scoring on heavy stock, booklets require binding, tear-off sections require perforation. Once the structure is set, add decoration with restraint. Choose a single hero finish, foil for luxury, spot UV for selective shine, or embossing for tactile relief, so the piece reads as intentional. Add lamination if the piece will be handled or mailed. Heavier stocks hold decorative finishes best, and each surface effect needs its own artwork layer. When unsure, order free samples so you can feel the finished result before committing to a run.
What do print finishing techniques cost and how are prices set?
Finishing is priced as an add-on to the base print job, and the total scales with quantity, size, stock, and the specific techniques you choose. Bindery steps like folding and scoring are usually modest additions, lamination is a small upgrade, and decorative finishes like foil, embossing, and spot UV cost more because they involve extra tooling and press passes. You select the finishing options in the configurator and the price updates live as you go, so you can compare a plain card against a foil one, or a flat sheet against a folded piece, and see exactly what each choice adds before you order.
Get Started
500 foil business cards cost $222.13 and run 9 business days
Pick your product, add the bindery and decorative finishing you need in the configurator, and watch the price update live. Order online with no minimums.
Legal Disclaimer
Gold Standard guarantees apply to all standard orders placed through 4over4.com. Price match requires verifiable proof of a competitor's published price for an equivalent product with matching specifications and turnaround time. Satisfaction guarantee covers manufacturing defects and print quality issues. Contact support with order number and documentation. On-time delivery rate based on tracked orders 1999 to 2026. Individual results may vary based on shipping carrier performance.
