
Microwave Safe Labels That Survive Steam, Heat and Grease


Which facestocks and adhesives hold up on a container that gets reheated, why the glue gives out before the plastic, and the four line specification to put on your order.
A microwave safe label needs a polypropylene or polyester facestock, a permanent high temperature acrylic adhesive, and no metal anywhere in the artwork. The adhesive is what fails, not the plastic: a reheated container puts roughly 212°F of steam and conducted heat against the label, which is above the service limit of the general purpose acrylic most labels ship with. That is why a bad label lifts at the corner rather than melting, and why foil or metallized film sparks in seconds.
Quick answer
212°F of steam, and the glue is the weak link
Specify a polypropylene or polyester facestock with a permanent high temperature acrylic adhesive, laminate the print, and keep every trace of metal out of the artwork. A microwave heats the water in the food, so the container tops out near the boiling point rather than anywhere close to oven temperature. That ceiling is easy for film and hard for adhesive, which is why labels curl at the edge instead of melting, and why the fix is almost always a better glue rather than a thicker face.
What Actually Gets Hot, and Why It Is Not the Label
A microwave does not heat the label. It agitates water molecules, so the food heats, then the food heats the container, then the container heats whatever is stuck to it. That chain is the single most useful thing to understand here, because it tells you the ceiling.
Water boils at 212°F and will not go higher while there is liquid left, so a reheated soup, a pasta bowl or a frozen entree parks the container wall somewhere just under that. Fat and sugar break the rule. Oil in a sauce and sugar in a glaze both climb past the boiling point of water in local hot spots, which is why a greasy lasagna is harder on a label than a chowder. The second load is condensation: the outside of a hot container sweats, and that water sits right where the label edge meets the wall.
So the design target is not 400°F. It is roughly 212°F with wet edges, repeated. That is a temperature almost every plastic film shrugs off and almost every cheap adhesive does not, which is why the failure you see is a lifted corner rather than a melted label. The comparison of paper, vinyl and clear facestocks covers how those materials behave at room temperature, and heat simply widens the gaps already there.
One line before anything else: none of this is a food contact claim. A pressure sensitive label belongs on the outside of the container. We print label stock for packaging, not liners or wraps meant to sit against food.
Facestocks Ranked for Heat, Steam and Grease
Four materials cover almost every label quote you will be given. Only two of them belong on a container that goes in a microwave.
| Facestock | Heat behavior | Moisture and grease | Microwave verdict |
|---|---|---|---|
| Polypropylene film | Softens around 250°F, melts near 320°F. Comfortable margin over a reheat. | Waterproof. Conforms well to curves so the edge stays down when it sweats. | The default. Best balance of cost, flexibility and heat headroom. |
| Polyester film | Melts near 490°F, the only common facestock with oven-range headroom. | Waterproof and the most chemical resistant of the four. | Use when the same pack sees an oven, a steam table or harsh cleaning. Stiffer and dearer. |
| Vinyl | Goes soft with heat and can pull back from its own edges over repeated cycles. | Waterproof, and excellent outdoors where UV is the enemy rather than heat. | Wrong tool. Keep vinyl labels for cold, wet and outdoor work. |
| Coated paper | Handles the temperature without complaint. Heat is not what breaks it. | Wicks condensation, cockles, curls at the edge, and smears if the print is unlaminated. | Single reheat only, and only laminated. Not for a container the customer keeps. |
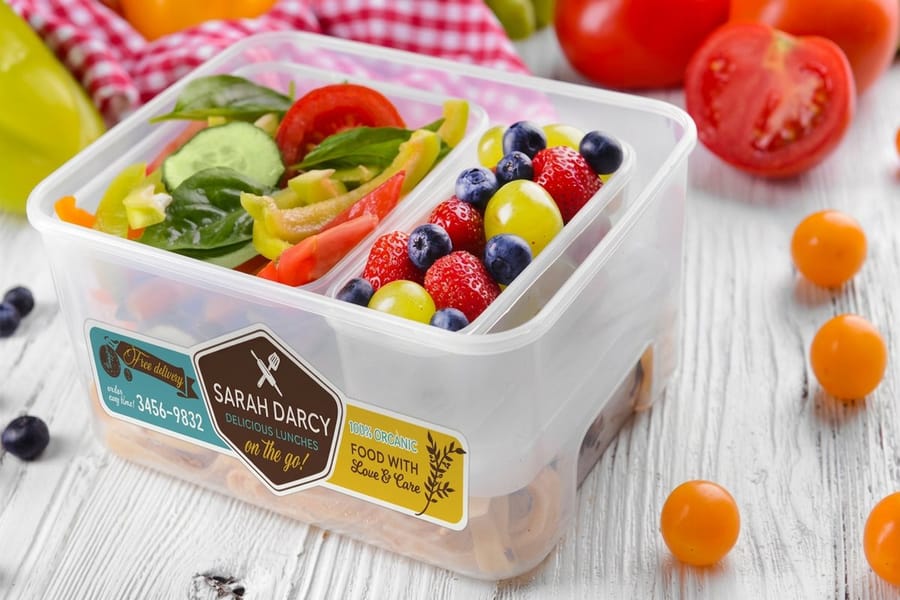
Read the third column before the second. Nine failures in ten are moisture and edge lift, not melting, and that reorders the shortlist immediately. Premium Waterproof Labels start at $84.68 and are the film to specify when a container is reheated more than once. For a food brand set where the pack is opened, emptied and binned, Premium Food Labels start at $29.16 and carry the print quality without the film premium. On a clear deli container where you want the contents to show, Premium Clear Labels start at $86.17.
Then there is the rule that overrides every column above. No metal. Foil stamping, metallized film and metallic inks loaded with aluminum flake all reflect microwaves, build charge at their edges and arc. It takes seconds and it scorches the container. If the brand wants shine on a reheatable pack, get it from a high gloss laminate or a metallic-effect ink with no metal in it.
The Adhesive Is the Part Nobody Specifies and Everybody Blames
Ask most people to describe a label and they describe the printed side. The layer that decides whether the job works sits underneath it, and there are three you will meet.
- Rubber hot melt. Aggressive, grabby, cheap, and standard on commodity roll stock. It starts to soften near 150°F, which is below anything a microwave produces. What you see is ooze at the edge, and once adhesive squeezes out it collects grease and grit and turns into a grey line around the label.
- General purpose permanent acrylic. The common default. Its service limit sits near 200°F, which is right at the edge of what a reheat delivers. It survives a single pass and starts lifting at the corners after a few.
- High temperature acrylic. What you actually want. It is a specification you have to ask for by name, because nobody offers it unprompted, and it is the difference between a label that holds for the life of a reusable container and one that curls after the third reheat.
Application temperature matters more than the rating on the datasheet. Acrylic adhesive builds its bond by flowing into the surface, and it does that at room temperature over roughly the first day. Label a container that just came out of a chiller and the adhesive never wets out. It looks perfect leaving the line and lets go a week later, which is why freezer-to-microwave labels usually fail in the freezer rather than the microwave. Apply warm, give it a day, then chill.
Container shape does the rest. A stiff polyester on a small jar keeps constant peel force on both ends, while polypropylene conforms and relaxes. Size the label so its ends do not meet around the curve, because a lifting end with nothing to pry against usually settles back down. Our guide to choosing the right label size walks through measuring a curved container properly, and roll labels versus sheet labels explains why an applicator changes the format before it changes the material.
How to Specify It, and the Test That Settles the Argument
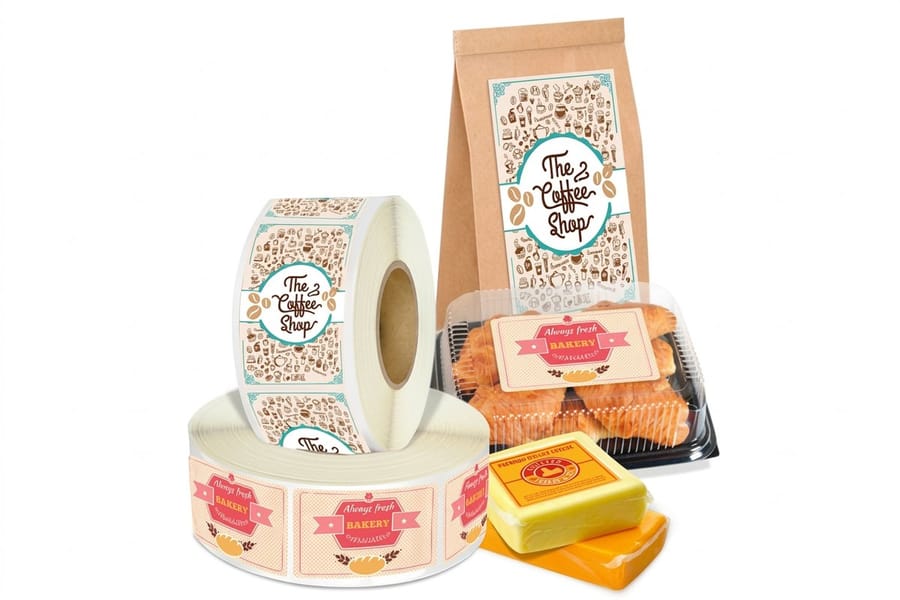
Write the specification in four lines and there is nothing left to misread: polypropylene or polyester facestock, permanent high temperature acrylic adhesive, gloss laminate or UV varnish over the print, and no foil or metallic ink anywhere in the artwork. That is the whole brief.
Then test it, because a datasheet describes a material and your container is a system. Apply a sample at room temperature and leave it a full day so the adhesive reaches bond. Fill the container the way a customer would, with something that has fat in it rather than plain water, and microwave it as long as the pack instructions say. Let it cool completely, then run a fingernail under each corner. Repeat five times for anything reusable. You are looking for four things: edge lift, adhesive squeezing out past the die cut, ink smearing under a wet thumb, and any dulling or clouding of the laminate.
Two placement habits fix most of what is left. Put the label on the side wall rather than the lid, because the lid is where steam collects and the film gets the worst of both heat and condensation. And keep the label off any seam or flange that flexes when the container is opened, since a bond that survives heat can still be broken by a hinge.
One more trap worth naming. Direct thermal labels, the kind a desktop label printer produces for date and batch codes, darken with heat by design. Put one on a container that gets reheated and it greys out into an unreadable block. Thermal transfer ribbon, or a printed label with the variable data added separately, avoids it entirely. For high volume lines, Roll Food Labels start at $322.98 and arrive wound for an applicator, and if the artwork is anything other than a rectangle, die-cut labels start at $93.37. When the shelf face matters as much as the survival, optimizing food labels for shelf appeal and the FDA food labeling guide cover the other half of the job.
Wally explains microwave safe labels
The steam gets the glue before the heat gets the plastic
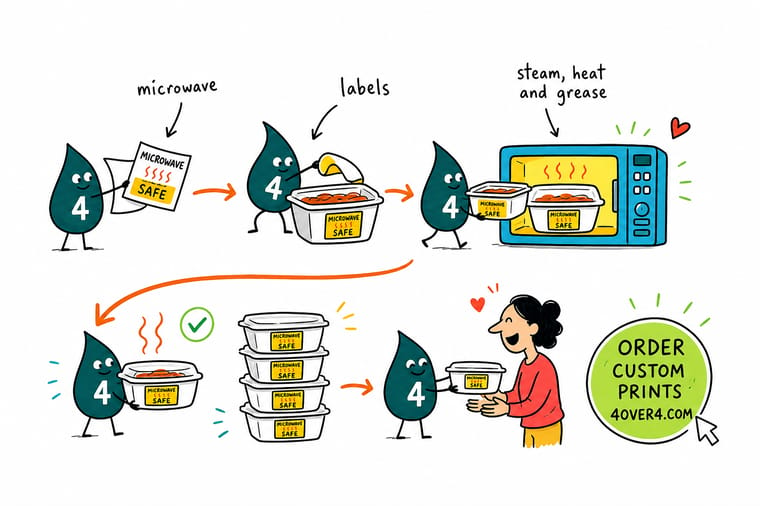
Wally puts a container in the microwave and watches the label, not the food. The microwave heats water, the water heats the container, and the container hands about 212°F to the label edge along with a film of condensation. Polypropylene and polyester shrug that off. Cheap rubber adhesive softens near 150°F and oozes, and general purpose acrylic is already at its limit. So Wally asks for high temperature acrylic, sticks the label on a room-temperature container, gives it a day to grip, and keeps every scrap of foil out of the artwork before it ever meets a microwave.
Order premium waterproof labels →Specs and pricing
Label materials, sizes, and starting prices
Compare the film and food label options side by side, with live configuration choices and starting prices straight from the 4OVER4.COM configurator.

Print it
Order labels that hold through the reheat
Explore more
Where to go next
By the numbers
Label printing you can count on at 4OVER4
Common Questions
Your microwave safe label questions, answered
What makes a label microwave safe?
Three things together. A facestock that does not soften at the temperature a hot container reaches, which in practice means polypropylene or polyester rather than vinyl or paper. A permanent acrylic adhesive rated above the roughly 212°F that steam off reheated food produces, rather than the rubber hot melt used on cheap roll stock. And no metal anywhere in the construction, which rules out foil stamping, metallized film and metallic inks that carry real aluminum flake. Miss any one of the three and the label lifts, blurs or sparks.
Are microwave safe labels the same as oven safe labels?
No, and treating them as the same is how brands end up with scorched packaging. A microwave heats the water in the food, so the container and the label mostly sit near the boiling point of water. An oven heats the air around the package to 350°F or more and holds it there, which is above the softening point of polypropylene and well past the service limit of almost every pressure sensitive adhesive. Oven-ready packaging uses polyester or a printed board that was designed for the heat, not a label applied afterward.
Can a foil or metallic label go in the microwave?
No. Metallized film and foil reflect microwaves instead of letting them pass, charge builds at the edges of the metal, and the discharge shows up as sparking and scorch marks on the container. It happens with a thin metallized polyester as readily as with a foil stamp. If you want a metallic look on a container that gets reheated, get it with a metallic-effect ink that contains no metal flake, or with a clear label on a container that already reads as premium.
Will a paper label survive being microwaved?
The heat is not the issue, the water is. Paper handles 212°F without trouble, but the outside of a reheated container sweats, and a paper facestock draws that condensation in. The sheet cockles, the edges curl away from the container, and inkjet or toner printing smears under a finger. If the container will only ever be reheated once before it is thrown away, a laminated paper label often gets through it. For anything the customer keeps and reheats repeatedly, use a film.
Why did my label peel off in the freezer instead of the microwave?
Almost always because it was applied to a cold or damp container. Acrylic adhesive needs to flow into the surface to build its bond, and it does that at room temperature over roughly the first day. Apply to a chilled container and the adhesive never wets out, so it holds just well enough to look fine on the line and lets go a week later in the freezer. Label the containers warm, give them a day before they go cold, and most freezer-to-microwave failures disappear.
What do microwave ready labels cost at 4OVER4.COM?
Premium Waterproof Labels start at $84.68 and are the film option to reach for when a container gets reheated repeatedly. Premium Food Labels start at $29.16 and cover the everyday food brand sets. Roll Food Labels start at $322.98 and are priced for volume, since roll format is what a labeling machine needs. Order a sample of whichever one you are considering and put it through a real reheat before you commit to a production run.
Get Started
Ready to print a label that holds through the reheat?
Pick a film facestock, ask for high temperature acrylic adhesive, and we print food labels that stay flat and readable after the fifth trip through a microwave.
Legal Disclaimer
Gold Standard guarantees apply to all standard orders placed through 4over4.com. Price match requires verifiable proof of a competitor's published price for an equivalent product with matching specifications and turnaround time. Satisfaction guarantee covers manufacturing defects and print quality issues. Contact support with order number and documentation. On-time delivery rate based on tracked orders 1999 to 2026. Individual results may vary based on shipping carrier performance.
