
Banner Sizes and Templates for a Print Ready Vinyl Banner


Pick the right banner size, start from a template with correct bleed and safe area, and set resolution to the viewing distance. A banner read from 20 feet needs far fewer pixels per inch than a card read at arm's length.
Choose the banner size first, then set up your file from a template at that exact size. Run art past the trim for bleed, keep text inside the safe area away from hems and grommets, and match resolution to how far away the banner is read. Export a print-ready PDF, pick your finishing, and order.
Start here
Start from a template, not a blank page
A print-ready banner starts with the right size and a template set to it. Pick a size such as 2 by 4 ft or 4 by 8 ft, set your document to those exact dimensions, run backgrounds past the trim for bleed, and keep text inside a generous safe area clear of hems and grommets. Match resolution to the viewing distance, export a print-ready PDF in CMYK, and choose your finishing. The template diagram below shows every line.
Common banner sizes and when to use each
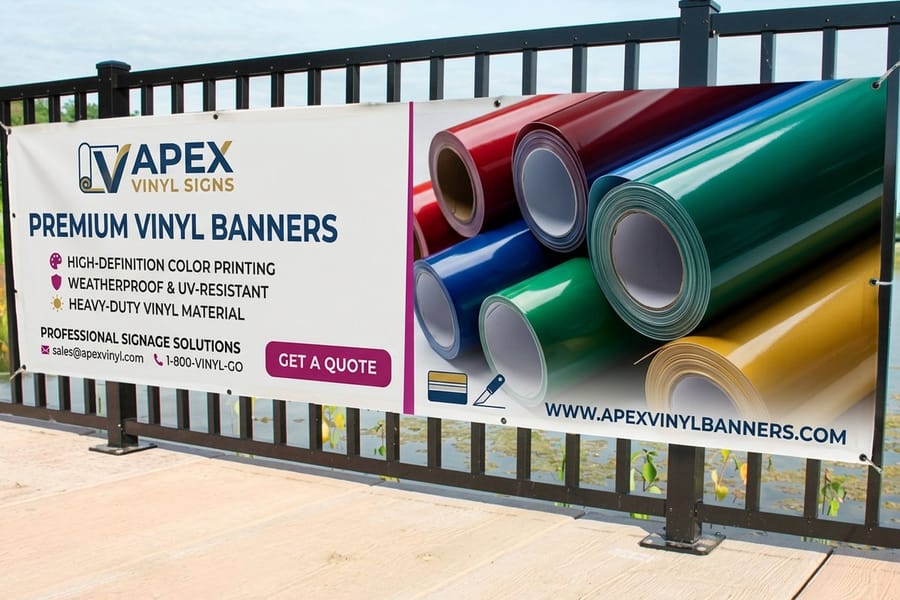
Every banner project starts with a size, because the dimensions set up your whole file. The common horizontal sizes cover most needs: a 2 by 4 ft banner suits booths, windows, and small indoor signage, a 3 by 6 ft banner is a flexible middle size for events and storefronts, and a 4 by 8 ft banner is the go-to for outdoor advertising that must read from a distance.
Vertical formats have their own place. A tall 2 by 6 ft banner fits entrances, light poles, and narrow wall spaces where a wide banner will not go. Whatever the orientation, measure the mounting spot first and leave room for the banner to hang without crowding whatever surrounds it.
When a standard size does not fit the space, order a custom size and match the banner to the wall exactly. Our vinyl banners print in every standard size plus custom dimensions, so the size guide is a starting point, not a limit.
Horizontal versus vertical orientation
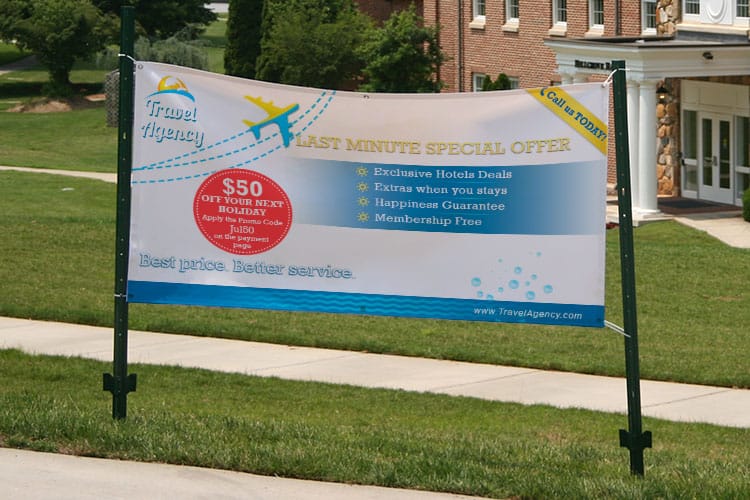
Orientation is not just aesthetics, it follows the space and the message. Horizontal banners give a headline room to stretch and read at speed, which is why they dominate roadside and storefront advertising. They suit a short, bold message that a passerby takes in at a glance.
Vertical banners fit tall, narrow spots, entrances, columns, pole mounts, and stack their message top to bottom. They work well beside doorways and in retail aisles where floor space is tight but height is available. The same content laid out vertically reads very differently from its horizontal version.
Decide orientation early, because it shapes the layout, the hierarchy, and even the size you choose. If you need both a wide and a tall version, design them separately rather than cropping one from the other. Our mesh banners and standard vinyl banners both come in horizontal and vertical formats, and our design tool previews each in place.
Print-ready templates and how they work

A template is the fastest path to a clean banner file. It is a document already set to your exact banner size with the trim, bleed, and safe-area guides in place, so you drop your art onto it instead of measuring margins by hand. Run backgrounds out to the bleed line, keep text inside the safe area, and the file lines up with what the press expects.
Using a template, or simply setting your document to the precise banner dimensions, prevents the two most common banner mistakes: a half-cut logo at the edge and text crowded against a hem. It also keeps your proportions honest, so a 4 by 8 ft design does not get stretched or squeezed on press.
If you would rather not build from a blank canvas, start from a layout in our design templates, then swap in your content at the right size. Either way, the template does the tedious setup so you can focus on the design itself.
Setting bleed, safe area, and resolution
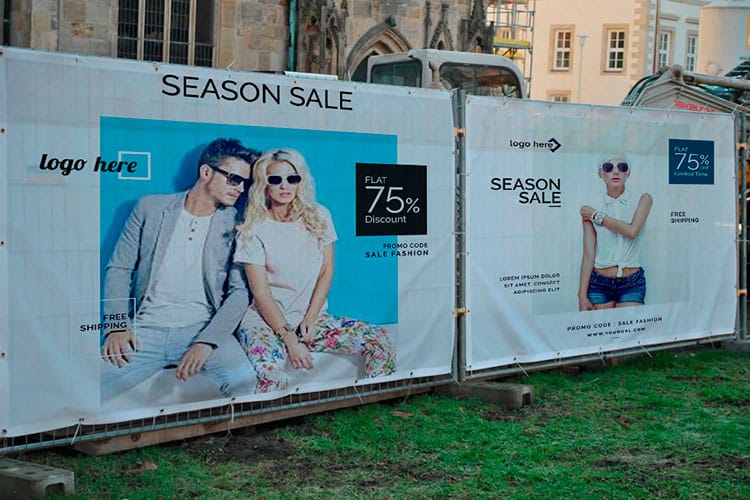
Three settings make a banner print-ready. First, bleed: extend any edge-to-edge art past the trim so a slight cut never leaves an unprinted sliver. Large-format work uses more generous bleed than a business card, so give the edges room. Second, the safe area: hold all text and logos well inside the trim, further in than you might think, because hems and grommets consume the border.
Third, resolution, and here banners break the 300 DPI rule. Resolution scales with viewing distance. A banner read from across a lot prints cleanly at a much lower resolution than one read up close, so a giant file is usually unnecessary. Design at full size at a moderate resolution, or at a clean fraction of the size at a proportionally higher one, and let the press scale it.
The diagram in this guide shows the trim, bleed, and safe-area relationship on a banner. For the underlying mechanics that apply to every print job, pair this with our guide on bleed and trim.
Designing for viewing distance
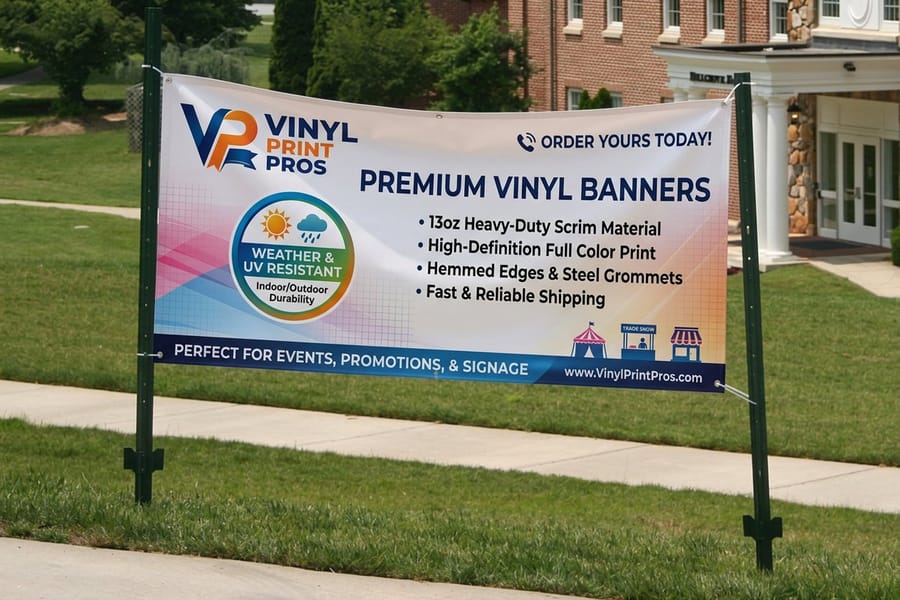
A banner has one job at its viewing distance: to be read instantly. That distance should drive your type size, your word count, and your contrast. A banner meant to be seen from a passing car needs a few large words in a heavy weight, while a booth banner read from a few feet can carry more detail and smaller supporting text.
A useful habit is to design for the farthest point a viewer will read from. Make the headline large enough to land at that distance, keep the message short, and use strong color contrast so it reads in bright outdoor light. If you have to squint at the design on your screen when it is zoomed out, it will be worse in the real world.
Resolution follows the same logic, which is why a far-viewed banner can print at a lower resolution without looking soft. Match the detail to the distance, and the banner does its job whether it hangs over a highway or behind a trade-show table. Our vinyl banners hold color and sharpness across every size.
File formats for banners
The format you supply matters as much as the design. A flattened, print-ready PDF with fonts embedded or outlined is the most predictable choice for most banners, because it travels self-contained and prints without relinking. It is the safe default when your design is finished and you just need it printed as drawn.
Export settings that make a PDF press-ready. Set the document to the finished banner size before you export, not after. Embed or outline every font so a missing typeface cannot substitute itself, leave images at their placed resolution rather than letting the export preset downsample them, and flatten transparency so drop shadows, glows, and blend modes cannot reflow on a different RIP. If the product calls for bleed, include it, and run background art out into it so a hem never exposes a white edge.
Vector or raster, and why it matters at 8 feet wide. Logos, type, and flat shapes drawn as vector have no fixed resolution: they redraw at whatever size the press needs and stay hard-edged. Photographs are raster, locked to the pixels they were shot with, so they are the only part of the file that can go soft when a banner scales up. Keep the type and the logo vector, and let the photo be the one element whose resolution you actually have to check.
The resolution rule. Build the artwork at the full banner size at about 150 dpi, or at one tenth scale at 1500 dpi, which lands on press as the same image and keeps the upload to a manageable size. Resolution scales with viewing distance, so a banner read from across a parking lot holds up below that with no visible loss, while a booth backdrop read from a few feet away is the case where the full 150 dpi earns its file size.
Color: work in CMYK, not RGB. Screens are RGB and presses are CMYK, so a file converted at the last second can shift, most visibly in saturated blues and oranges. Convert to CMYK while you can still adjust the artwork, and if a brand color has to match across every banner, specify it as a spot color rather than hoping the build lands on it.
Layered source files like a design-application document or a layered image file are useful when a design still needs adjustment or when specialty finishing depends on separate layers. If you supply one, make sure all fonts and linked images travel with it so nothing goes missing on press.
Whatever the format, export at the full banner size or a clean scaled fraction with the resolution set for the viewing distance, and confirm the color is in CMYK so it prints as designed. Our guide on bleed and trim and the live specs below cover the rest of the print-ready checklist.
Grommets, hems, and finishing
Finishing is what turns a printed sheet into a banner that hangs straight and lasts. A hem folds the edge over and stitches it for strength, so the banner resists tearing at the corners where tension is highest. Because the edge wraps around the fold, keep your design's key elements away from that outer strip.
Grommets are the metal rings punched through the hemmed edge for hanging, usually placed at the corners and spaced every couple of feet along the sides. Plan their placement to match how you will mount the banner, since even spacing and corner grommets keep it taut and level rather than sagging. Keep logos and text out of the grommet path.
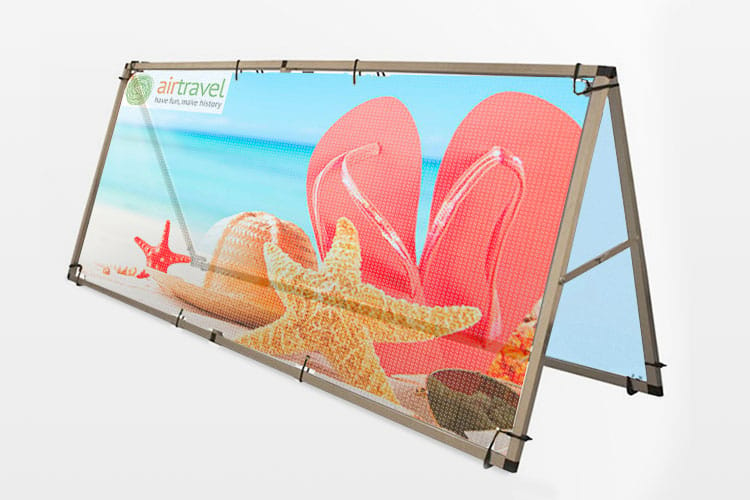
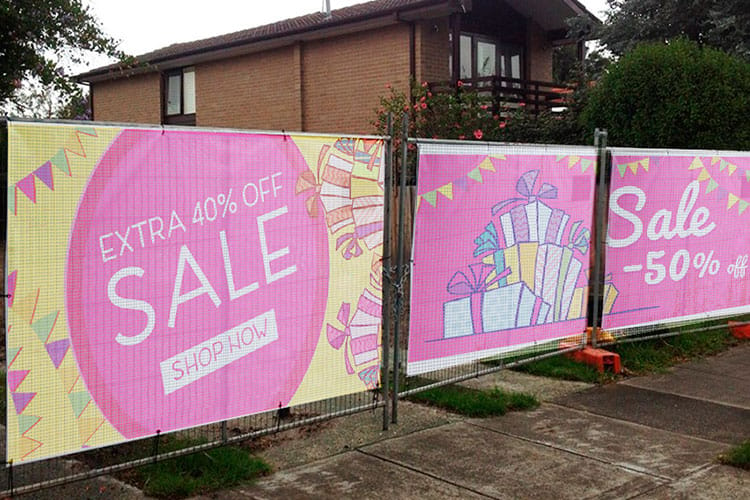
For outdoor banners in windy spots, consider mesh material that lets air pass through, or add more grommets so the banner holds against gusts. Finishing choices like these are set in the configurator alongside the size, so you build the whole banner in one place.
Ordering your custom banner

With the size chosen, the template set, and the file exported, ordering is the easy finish. Upload your print-ready file, confirm the banner size and orientation, and choose your finishing, hems and grommet placement to match how you will hang it. The price updates live as you adjust size, material, and finishing, so there are no surprises.
Order with the event or campaign date in mind, building in a comfortable turnaround buffer, and consider ordering a spare if the banner is central to a repeated event. Because your file stays tied to the order, reprinting the same banner later is quick.
Use the live specs and pricing panel below to build your vinyl banner, compare styles across the banners collection, or start from a layout in our design templates.
Wally drops the art onto the template
Right size, real bleed, text in the safe area
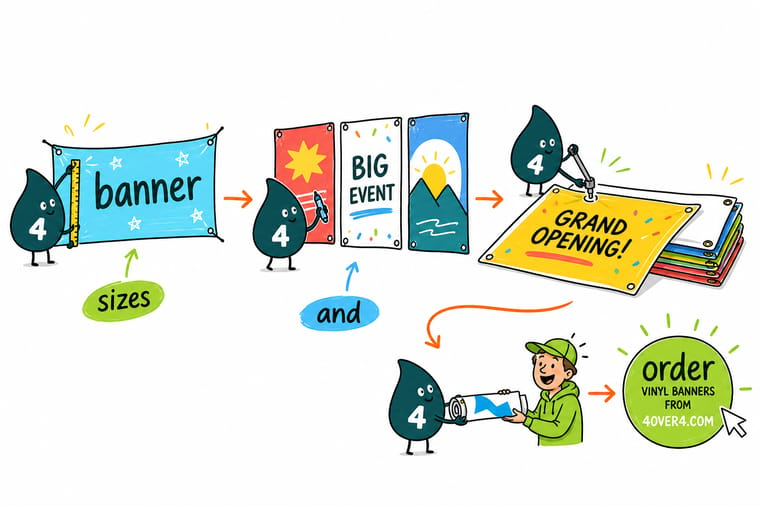
Wally picks the banner size for the space, starts from a template so trim, bleed, and safe area are already drawn, and keeps text clear of the hems and grommets. He matches the resolution to the viewing distance, exports a print-ready PDF in CMYK, and picks the finishing. Set it up right once, and 4OVER4 prints a banner that reads sharp from the first glance.
Print your vinyl banner →Quick reference
Common banner sizes, at a glance
The standard banner dimensions and where each one fits. Match the size and orientation to your mounting space.
| Size | Orientation | Best for |
|---|---|---|
| 2 x 4 ft | Horizontal | Compact banners for booths, storefront windows, and small indoor signage. |
| 3 x 6 ft | Horizontal | A flexible middle size for events, promotions, and building fronts. |
| 4 x 8 ft | Horizontal | The popular large size for outdoor advertising and high-visibility displays. |
| 2 x 6 ft | Vertical | Tall banners for entrances, light poles, and narrow wall spaces. |
| Custom | Any dimensions | Set an exact width and height when your space calls for a non-standard banner. |
Step by step
Set up a print-ready banner in 7 steps
- Choose the banner size Decide the finished dimensions first, whether a 2 by 4 ft indoor banner or a 4 by 8 ft outdoor one, since the size sets your whole file up. Match it to the space where the banner will hang.
- Start from a template at that size Set up your document at the exact banner dimensions, or start from a template that already carries the trim, bleed, and safe-area guides so you are not measuring margins by hand.
- Add bleed past the trim Extend any background or edge-to-edge art beyond the trim line so a slight cut never leaves an unprinted strip along the edge.
- Keep text in the safe area Pull all text, logos, and key elements well inside the safe area, clear of the edges where hems fold and grommets punch through.
- Set resolution for the distance Match your file resolution to how far away the banner will be read. Close-up banners need more detail, far-viewed banners need less, which keeps the file manageable at large sizes.
- Export the right file format Export a print-ready PDF with fonts embedded or outlined, or supply a layered file if your design calls for it, at the full size or a clean scaled fraction.
- Pick finishing and order Choose hems and grommet placement to match how you will hang it, then upload the file, set the quantity, and order your custom banner.
Infographic
The print-ready banner setup
Four things make a banner file print sharp: the right size, bleed, a generous safe area, and resolution matched to distance.
A template lays down the trim, bleed, and safe-area lines for you, so the only decisions left are the design and the finishing.
Specs and pricing
Vinyl banner specs and live pricing
Once your file is set up, size, material and finishing are what is left, and vinyl banners ship in 3 business days.
| Quantity | Price Per Unit | Total |
|---|---|---|
| 1 | $79.00 | $79.00 |
Print it
Print your custom banner at 4OVER4
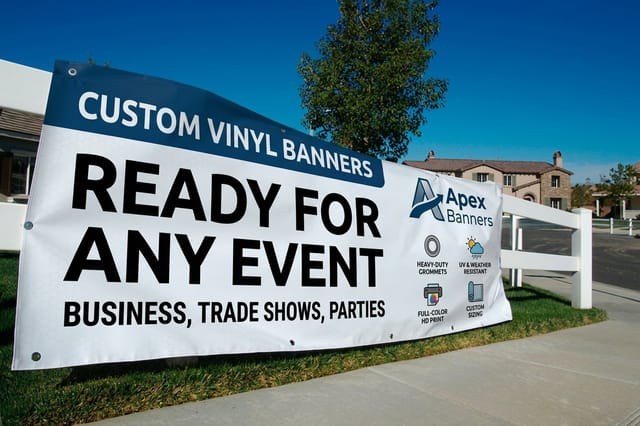
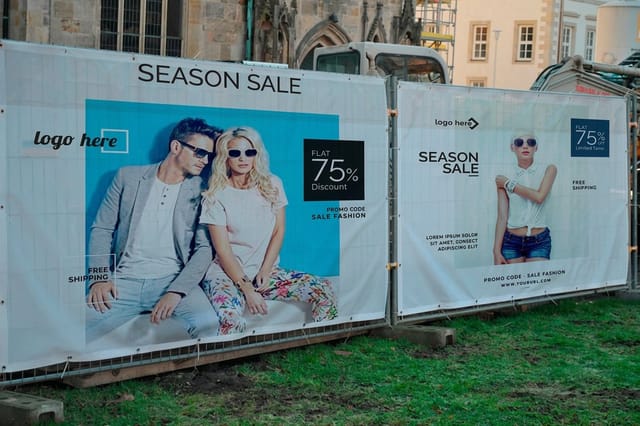
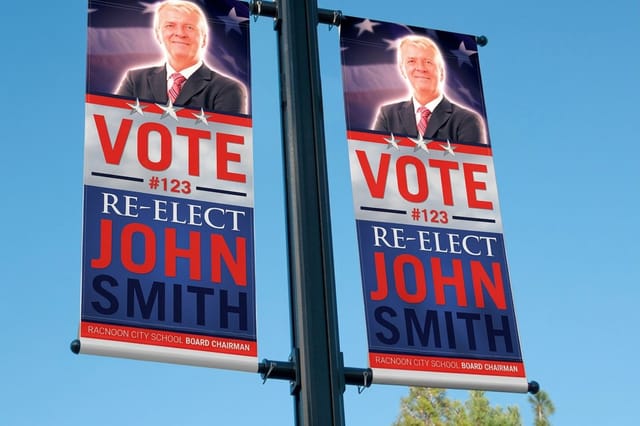
See it in use
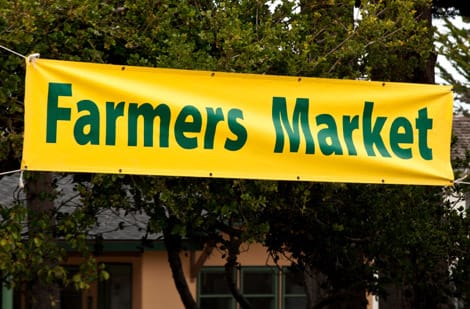
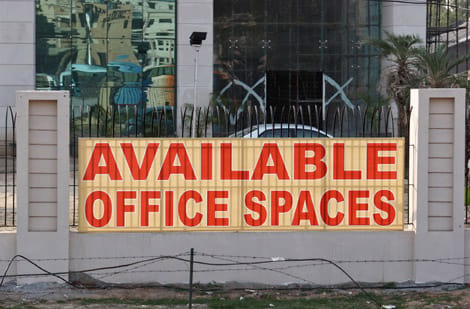
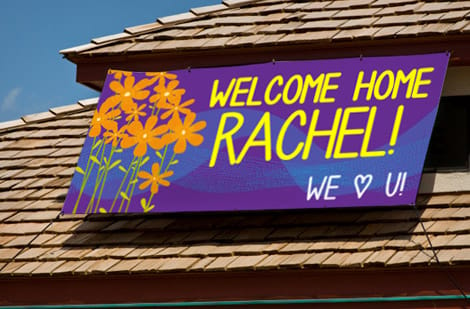
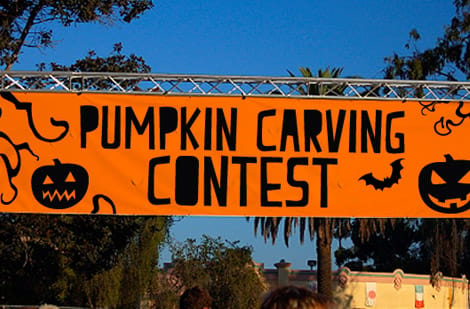
Custom banners we have printed



Explore more
Where to go next



By the numbers
Banner media count, product range, and the delivery record
Common Questions
Common questions about banner sizes and templates
What is a banner template?
A banner template is a pre-built document set to a specific banner size with the trim, bleed, and safe-area guides already in place. Instead of measuring margins by hand, you drop your artwork onto the template, run backgrounds out to the bleed line, and keep text inside the safe area. The template guarantees your file matches the exact dimensions the press expects, which is what keeps a banner from printing with a half-cut logo or text crowded against a hemmed edge. Starting from the right template, or setting your document to the exact banner size, is the single easiest way to make a large-format file print-ready.
How far away will the banner be read from?
Match the size to where the banner will hang and how far away people will read it. Compact 2 by 4 ft banners suit booths, windows, and small indoor signage. A 3 by 6 ft banner is a flexible middle size for events and storefronts, while a 4 by 8 ft banner is the go-to for outdoor advertising that has to read from a distance. Vertical formats like 2 by 6 ft fit entrances, poles, and narrow walls. Measure the mounting space first, leave room for the banner to hang without crowding, and choose a custom size whenever a standard one does not fit the spot.
What does a custom banner cost, and how are prices set?
Banner price scales with the size, the material, the finishing you add such as hems and grommets, and the quantity, where larger runs lower the unit price. A small indoor vinyl banner costs far less than a large outdoor one, and heavier or specialty materials add to the total. You set the size, material, and finishing in the configurator and the price updates live as you go, so you can see exactly what a bigger banner or extra grommets does to the number before you commit. Getting the size and finishing right up front avoids a reprint.
What sizes, materials, and finishes are available for banners?
Vinyl banners come in standard sizes from compact indoor formats up to large outdoor spans, plus custom dimensions, with finishing options like hemmed edges, grommets for hanging, and pole pockets. Beyond standard vinyl, mesh banners let wind pass through for outdoor and fence use, and blockout banners prevent show-through on double-sided prints. Use the live specs and pricing panel below to see the current sizes, materials, and finishing options for vinyl banners, then match them to where and how your banner will hang.
How long does it take to print and ship a banner?
Turnaround depends on the size, material, and finishing you choose, and the estimated production time appears in the configurator as you build the order. Standard vinyl banners on common sizes move quickly, while large custom banners with special finishing add time. Because banners often support a dated event, order with a buffer and check the live turnaround and shipping options on the product page before checkout, so your banner arrives well ahead of when you need to hang it.
What resolution does a banner file need?
Less than most people expect, because resolution scales with viewing distance. A banner read from a few feet away, like a booth backdrop, benefits from higher detail, while a banner read from across a parking lot can print cleanly at a much lower resolution without any visible loss. A common approach is to design at the full size at a moderate resolution, or to design at a clean fraction of the size, say one tenth scale, at a proportionally higher resolution, then let the press scale it up. The goal is enough detail for the distance without an unmanageably huge file.
What is the best file format for banner printing?
A flattened, print-ready PDF is the best file format for banner printing, because it travels self-contained and prints as drawn with no relinking. Build the document at the finished banner size, embed or outline the fonts, keep logos and type as vector so they stay hard-edged at any width, leave placed images at their resolution rather than downsampling them on export, flatten transparency, and convert the file to CMYK before you export rather than after. Aim for about 150 dpi at full size, or one tenth scale at 1500 dpi, which lands on press as the same image with a far smaller upload. Layered source files are fine when the design still needs adjustment or when finishing depends on separate layers, as long as every font and linked image travels with the file.
How do grommets and hems affect my design?
Both reinforce the banner and both eat into your usable area, so they change where art can safely go. A hem folds the edge over and stitches it for strength, which means the outermost strip of your design wraps around the fold. Grommets are metal rings punched through the hemmed edge for hanging, usually spaced every couple of feet. Keep text, logos, and anything you cannot afford to lose well inside the safe area, away from the hems and out of the path of the grommets. Plan the grommet placement to match how you will hang the banner, since corners and regular spacing keep it taut and level.
Get Started
Print a 2-sided blockout banner at $108.75
Pick your size, start from a template, and print a print-ready vinyl banner at 4OVER4.COM. 2-sided blockout banners run $108.75 and ship in 4 business days.
Legal Disclaimer
Gold Standard guarantees apply to all standard orders placed through 4over4.com. Price match requires verifiable proof of a competitor's published price for an equivalent product with matching specifications and turnaround time. Satisfaction guarantee covers manufacturing defects and print quality issues. Contact support with order number and documentation. On-time delivery rate based on tracked orders 1999 to 2026. Individual results may vary based on shipping carrier performance.
