
How to Get a Clean Sticker Printout, From File Setup to Final Cut


Sharp edges and true color come from the file, not the printer. Here is the cut-line setup that survives a real die-cutter, and where a home print stops being worth it.
A clean sticker printout comes from three things in the file: the shape drawn as one closed vector path in its own spot swatch, artwork bleeding 1/8 inch past that path, and type held 1/8 inch inside it. Build raster elements at 300 DPI measured at final print size, in CMYK. Then match the material to the job: paper indoors, laminated vinyl anywhere it gets touched or rained on, clear vinyl on glass with a white underlayer under the parts that must stay opaque.
Quick answer
Three lines in the file, four layers in the sticker
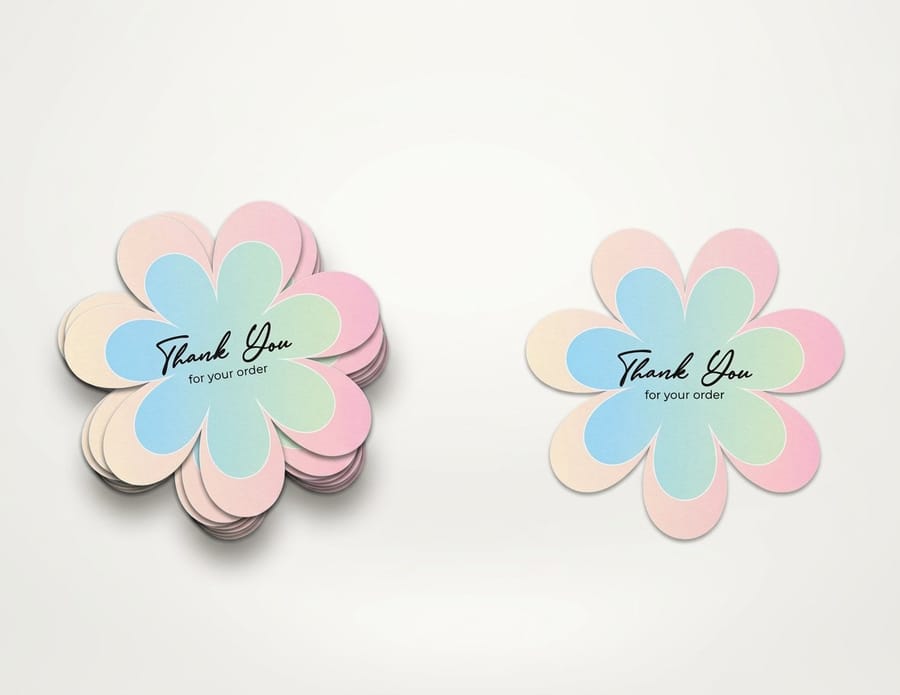
The file needs a bleed, a die line and a safety margin, and the sticker needs a laminate. The die line is one closed vector path in a spot swatch set to overprint. Artwork runs 1/8 inch past it, type stops 1/8 inch inside it, and those two margins absorb the roughly 1/32 inch of drift any die-cutter has. Above the adhesive sits the printed vinyl face and the laminate, and the laminate is what actually resists sun, water and thumbnails.
What to Decide Before You Print Anything
Four decisions control how a sticker turns out, and all four happen before a file is exported. Get them wrong and no amount of print quality rescues the result.
- Size, in inches, at final scale. Sticker artwork gets built at the size it prints. A 3 inch circle is a 3 inch circle in the file plus bleed, not a large graphic that somebody will shrink later.
- Shape, as a real path. Circle, rounded square, or a contour that hugs the artwork. The shape has to exist as a closed vector path, because that path is what drives the blade.
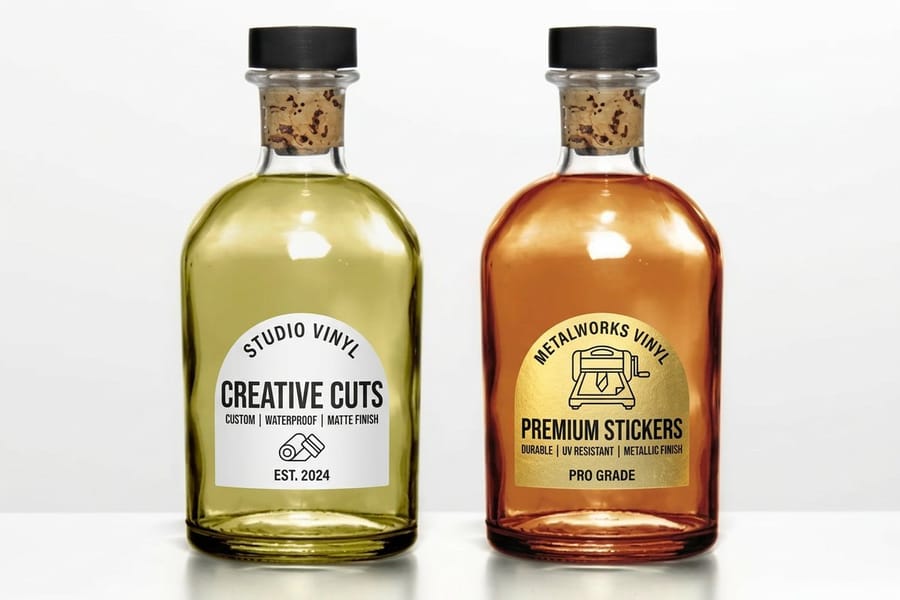
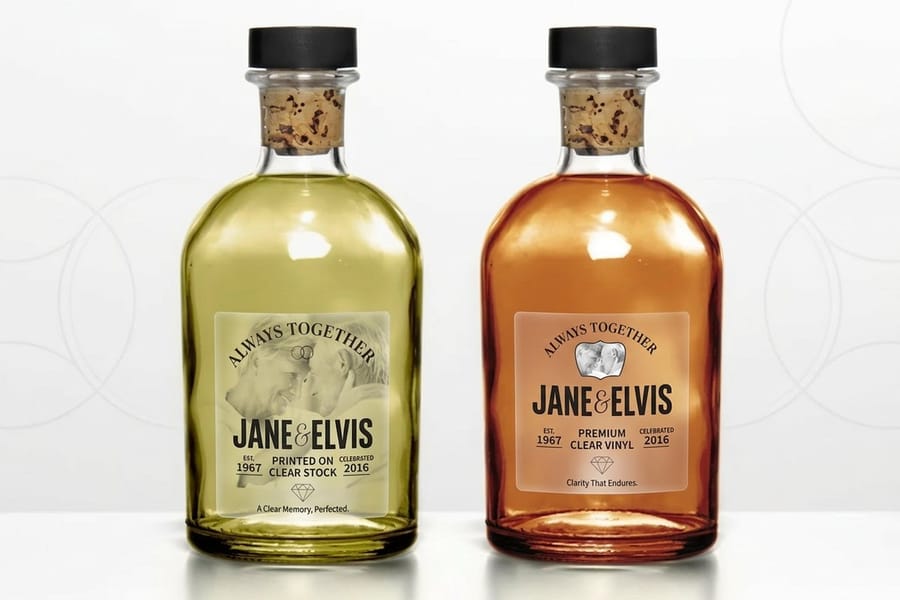
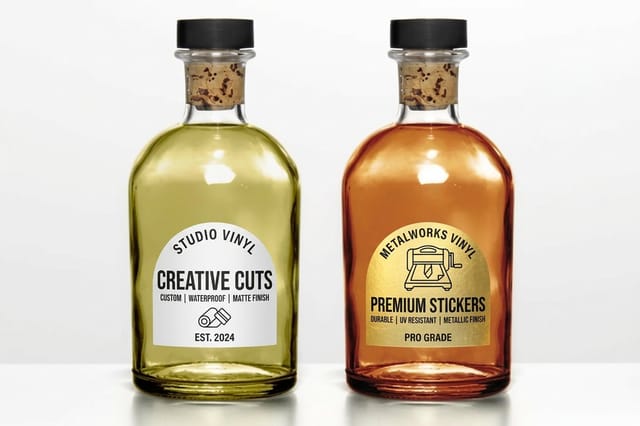
- Material. Paper for indoor, short-life, low-cost work. White vinyl for anything that gets touched, carried or rained on. Clear vinyl for glass and bottles where you want the surface to show through.
- Cut type. Kiss cut for sheets and giveaways, contour die cut when the silhouette is the whole idea. Our guide to die-cut stickers covers where the difference shows up in use.
The material choice is the one people underestimate. Paper stock is genuinely fine on a product box that ships once and gets opened once. Put the same stock on a laptop lid and the corners lift within two weeks. If you are torn, read the comparison in vinyl versus paper stickers before you commit, and if the sticker has to live outdoors, go straight to laminated vinyl stickers.
Setting Up the File and the Cut Line
A sticker file carries one thing a flyer file does not: a cut line the machine has to follow. Build it as its own layer, on top of finished artwork, and it stops being the part of the job that goes wrong.
Draw the die line as one closed path. Not a shape with a fill, not a traced outline of a JPG. One path, no gaps, no stray anchor points left over from a pathfinder operation. Give it a stroke of about 0.5 point in a new spot color swatch, name that swatch something obvious such as CutContour or Dieline, and set it to overprint so it never knocks a hole in the artwork underneath.
Bleed 1/8 inch past that path, and hold type 1/8 inch inside it. These are not the same margin serving twice. The bleed covers the blade landing outside the line, the safety margin covers it landing inside. A production cutter registers to roughly 1/32 inch, and that small drift is exactly what eats a border or a letter when neither margin exists. The same three-line logic runs through every print job we take, and the bleed, cut line and safety checklist lays it out for other products too.
Resolution is measured at final size. Place raster art at print size and check the effective DPI in the links panel, not the DPI the file claims. Anything under 300 at final size prints soft, and a sticker is held at arm length, so soft is visible in a way it is not on a poster.
Two extras catch people out. On clear stock, add a white underlayer as a separate spot channel wherever the artwork needs to stay opaque, and leave it off wherever you want to see through. On a sheet, gang the stickers with at least 1/8 inch between adjacent die lines so the kiss cut does not clip a neighbour. There is more on ganging in the sticker sheet design guide, and you can start from a correctly sized artboard in the vinyl sticker blank template.
Home Printer Versus a Commercial Sticker Press
Both routes make a sticker. They fail in different places, and the honest answer depends on how many you need and where the sticker ends up.
| What matters | Home printer and craft cutter | Commercial sticker press |
|---|---|---|
| Ink | Inkjet dye or pigment on sticker paper. Dye lifts in water, pigment scuffs. | UV-cured or latex ink on vinyl, cured hard before it leaves the press. |
| Water and sun | Needs a laminate sheet applied by hand, and the hand-cut edges still let water in. | Factory laminate bonded across the full sheet, sealed at the die line. |
| Cut accuracy | Optical sensor reads a printed mark, so drift builds across a sheet. | Registration marks read per sheet, drift held to about 1/32 inch. |
| Color | RGB driver conversion, and no proof to check against. | CMYK profile with a proof, so a second run matches the first. |
| Cost shape | No setup, high per-sticker cost that never drops. | Setup baked into the first order, per-sticker cost falls hard with quantity. |
| Best at | One to fifty stickers, needed today, indoor use. | Hundreds or thousands, repeat orders, anything outdoors. |
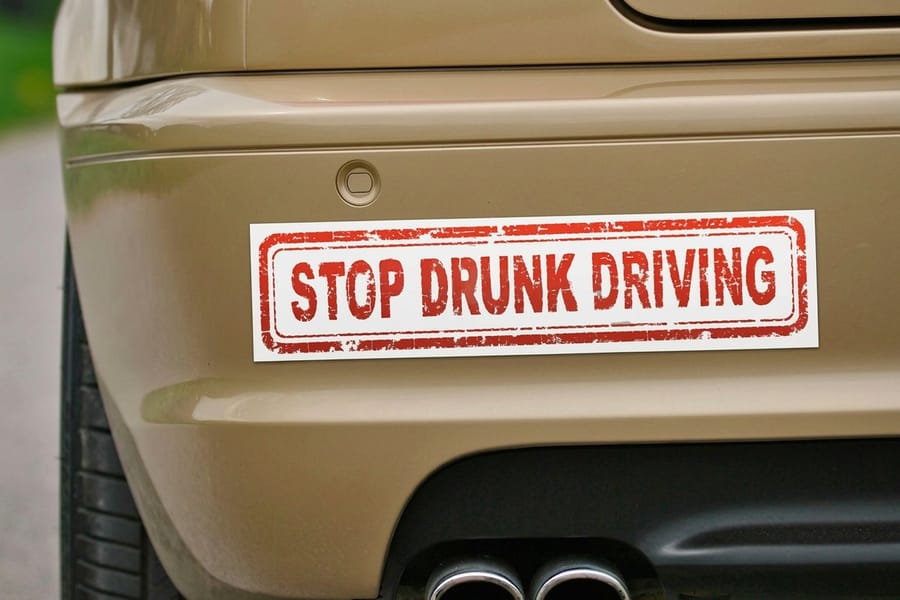
Read the last row first. A craft cutter earns its place for a market stall test batch or a set of jar labels for one weekend, and if that is your case, the Cricut sticker walkthrough is the faster read. What a desktop setup cannot do is hold color across two batches printed a month apart, or survive a car wash. Bumper stickers start at $38.44 because they are printed on outdoor vinyl and laminated for UV, and that laminate is the part no home workflow replicates.
The cost crossover is quantity, not quality. Sticker paper and a cutter are cheap for ten pieces. At two hundred, the sheet cost, the wasted misfeeds and the hours spent weeding put the desktop route ahead of a printed order on price as well as on finish. The custom sticker pricing guide shows where that line sits for each size.
Picking the Material and Placing the Order
Material is the decision that determines whether the sticker still looks printed in a year. Here is how the four we print most often actually behave.
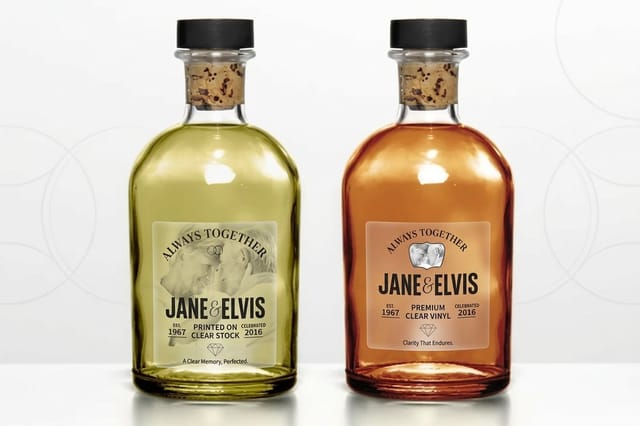
Vinyl stickers start at $25 and are the default for anything handled: laptops, bottles, hard hats, toolboxes. White vinyl with a laminate takes a thumbnail without marking. Clear stickers also start at $25 and are for glass, where you want the shopfront or the bottle to read through the artwork. Add the white underlayer only under the parts that must stay solid.
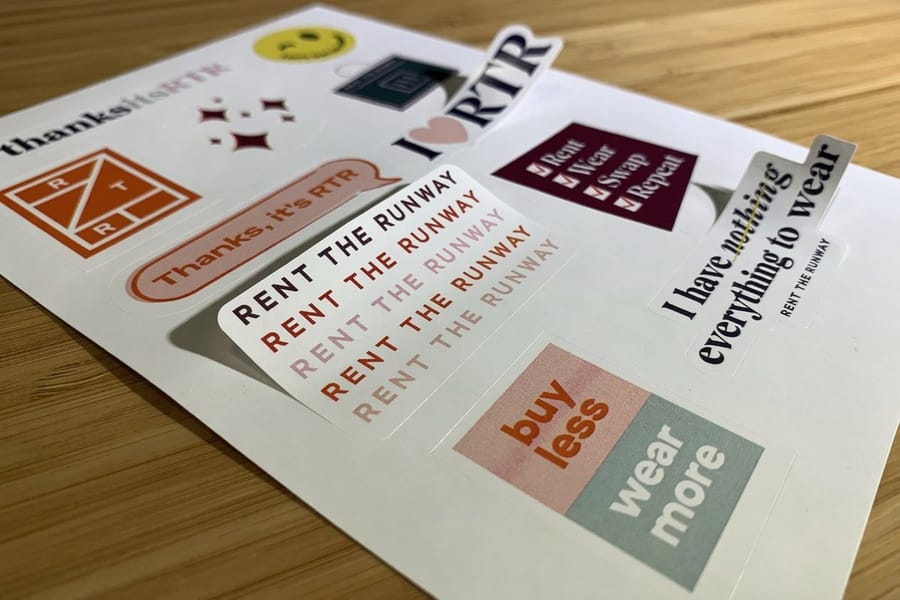
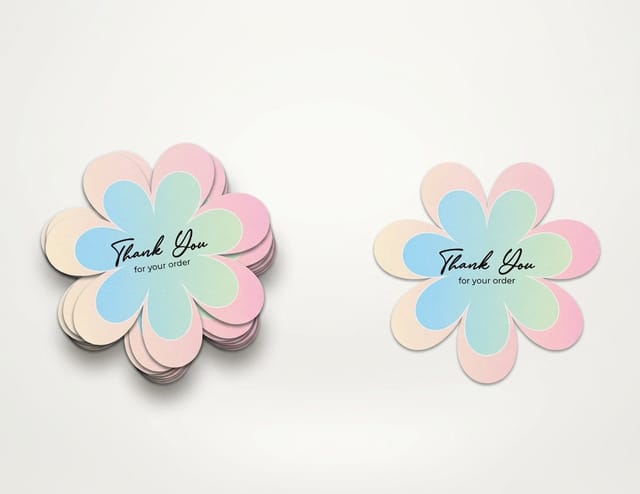
Die-cut stickers start at $93.37 and are the contour option, cut to the outline of the art rather than to a rectangle. The premium buys the shaped die and the cutting pass, so it earns its cost on a logo with a recognizable silhouette and wastes money on a plain circle. Sticker sheets start at $181.24 and put many kiss-cut stickers on one backing, which is the cheapest way to hand somebody twelve stickers at once.
For outdoor stock, bumper stickers at $38.44 are built for weather and adhesive strength rather than for shape. If you are still weighing a sticker against a label or a decal, the distinction changes the adhesive as much as the look, and stickers versus labels versus decals sorts it out. The full range sits on the sticker printing page, and if the artwork is going onto a product rather than a laptop, the label printing range uses food-safe and waterproof stocks instead.
Wally explains the clean cut
One path, one eighth of an inch either side
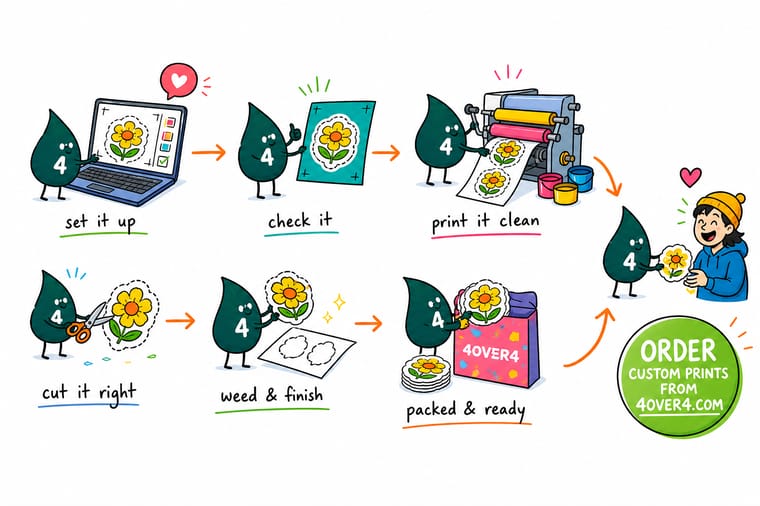
Wally draws the sticker shape as a single closed path and puts it in its own spot color, so the blade has something real to follow. Then he pushes the artwork an eighth of an inch past that path and pulls the type an eighth of an inch inside it. The cutter drifts about a thirty-second of an inch on every job. Those two margins are what stop the drift showing up as a white sliver on one edge or a shaved letter on the other.
Order die-cut stickers →Specs and pricing
Sticker materials, sizes, and starting prices
Compare the cut types and materials side by side, with live configuration choices and starting prices straight from the 4OVER4.COM configurator.


Print it
Order stickers that cut clean and stay put
Explore more
Where to go next


By the numbers
Sticker printing you can count on at 4OVER4
Common Questions
Your sticker printing questions, answered
Why do my sticker edges come out fuzzy or off-register?
Almost always one of three things. The artwork had no bleed, so a fraction of a millimeter of blade drift left a white sliver on one side. The cut file was raster rather than vector, so the cutter guessed. Or the printed sheet was rescaled between printing and cutting, which throws registration marks out of alignment. Fix the first two in the file: 1/8 inch of bleed past the die line and a real closed path for the shape. The third is a machine problem, and it is the main reason a commercial die-cutter with optical registration beats a desktop cutter reading a printed crop mark.
What resolution and color mode should a sticker file be?
Raster elements at 300 DPI measured at final print size, and CMYK rather than RGB. The scaling trap catches people constantly: a 300 DPI photo dropped into a layout and enlarged to four times its size is effectively 75 DPI, and it will print soft no matter what the original file said. Vector logos and type have no resolution at all, so keep them vector and convert fonts to outlines before export. Bright RGB greens and blues shift noticeably once converted, so preview in CMYK before you approve a proof.
Do clear stickers need a white ink layer?
Only where you want the artwork to stay opaque. On clear stock, ink is translucent, so a red logo over a dark bottle reads brown unless a white layer prints underneath it. Build that layer as a separate spot channel matching the shapes you want backed, and leave it off anywhere you want the surface behind the sticker to show through. Skipping it on purpose is a legitimate design choice on glass. Skipping it by accident is the most common reason a clear sticker order looks washed out.
Can a home-printed sticker survive a water bottle?
Not for long without help. Inkjet dye ink lifts in water, and even pigment ink scuffs on a surface that gets handled daily. Sticker paper plus a self-adhesive laminate sheet gets you a few months if you seal the edges well. Printed vinyl with a factory laminate is a different product entirely, which is why bottles, coolers and laptops are the case where ordering beats printing. Vinyl stickers start at $25 at 4OVER4.COM.
What is the difference between kiss cut, die cut and through cut?
A kiss cut slices the vinyl face and adhesive but stops at the release liner, so the sticker peels off a backing that stays whole. That is how sticker sheets work, and how a single sticker gets a square backing with a border you can pick at. A die cut, in the way most sticker shops use the term, is a contour cut all the way through both the vinyl and the liner, so the sticker takes the exact shape of the artwork. Through cut is the same thing described from the machine side. Ask for kiss cut when the sticker will sit on a sheet or be handed out, and die cut when the silhouette itself is the point.
How small can text go on a sticker before it fails?
Six point is the practical floor for solid dark type on white vinyl, and eight point is where it stays comfortable. Reversed type, white text on a dark fill, needs to be a point or two larger and a weight heavier, because ink spread closes up thin counters. Anything you would set in a hairline serif at small size belongs on a business card, not on a two inch sticker viewed from arm length. When legal text has to fit, set it in a clean sans at eight point and give it real space from the die line.
Get Started
Ready to print stickers that cut clean?
Pick your material, set the die line, and we print on laminated vinyl that holds color in the sun and takes a thumbnail without marking.
Legal Disclaimer
Gold Standard guarantees apply to all standard orders placed through 4over4.com. Price match requires verifiable proof of a competitor's published price for an equivalent product with matching specifications and turnaround time. Satisfaction guarantee covers manufacturing defects and print quality issues. Contact support with order number and documentation. On-time delivery rate based on tracked orders 1999 to 2026. Individual results may vary based on shipping carrier performance.
