
How to Design Sticker Sheets (With Expert Tips)


Jordan is our labels, packaging and sustainability voice, built from the knowledge of our production team, with over 20 years in printing.
Lock your sheet size and cut style, arrange your stickers on an even grid with real spacing, set bleed and a vector kiss-cut line, then export a 300 DPI CMYK file. The gutter is the number people get wrong, and a quarter inch is the floor.
To design a sticker sheet, start with the cut: choose kiss-cut or die-cut and set your sheet size, then place each sticker on an even grid with a consistent gutter. Add an eighth of an inch of bleed around every shape, keep text inside a safe margin, and draw the cut line as its own spot-color vector path. Export at 300 DPI in CMYK, and your sheet prints sharp and peels clean.
Quick tips
Grid, gutter, bleed, cut line
Design a sticker sheet around its cut lines. Set your sheet size and choose kiss-cut or die-cut first, then lay every sticker on an even grid with matching gutters. Add an eighth of an inch of bleed, keep text inside a safe margin, and draw the cut path as its own spot-color vector. Export at 300 DPI in CMYK, and 4OVER4.COM prints a sheet that reads sharp and peels clean.
What a sticker sheet actually is
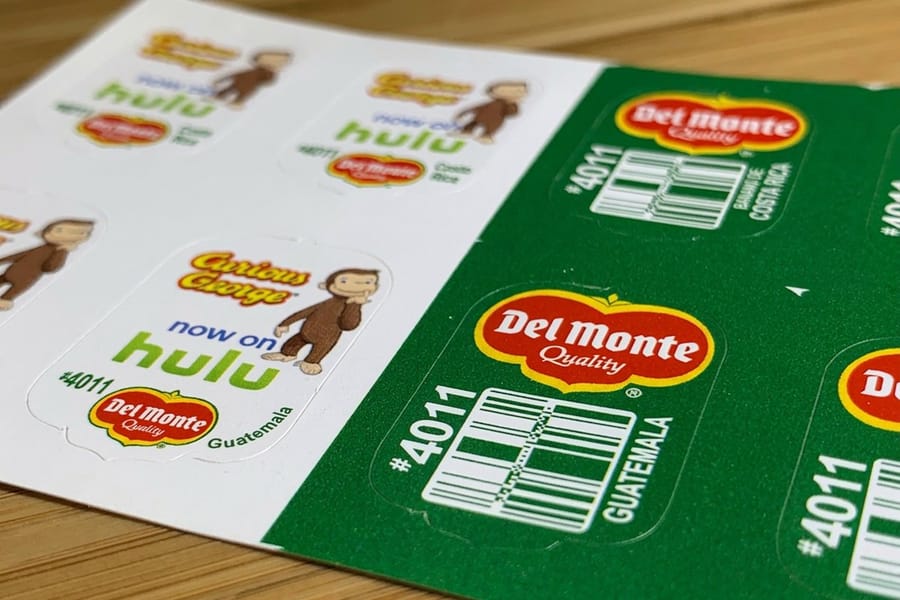
A sticker sheet is a single backing sheet that carries several stickers at once, each one cut so it lifts off on its own. It is the format behind brand kits, planner packs, kids' reward charts, and the little swag sheets tucked inside a product box. Instead of loose singles, your whole set travels together and stays organized.
Most sheets are kiss-cut, which means the blade slices through the vinyl but leaves the paper backing intact, so every sticker peels cleanly while the sheet stays flat. That is different from a die-cut sticker, where the cut goes all the way through the shape. If you are still weighing formats, our guide to making stickers walks through the trade-offs.
Design a sheet well and it does double duty: it looks like a considered product, and it costs less per sticker than ordering each design alone. This guide covers the layout, the file, and the small setup details that separate a clean sheet from a crooked one. When your art is ready, you can print it on 4OVER4.COM sticker sheets.
The one decision to make before you draw anything
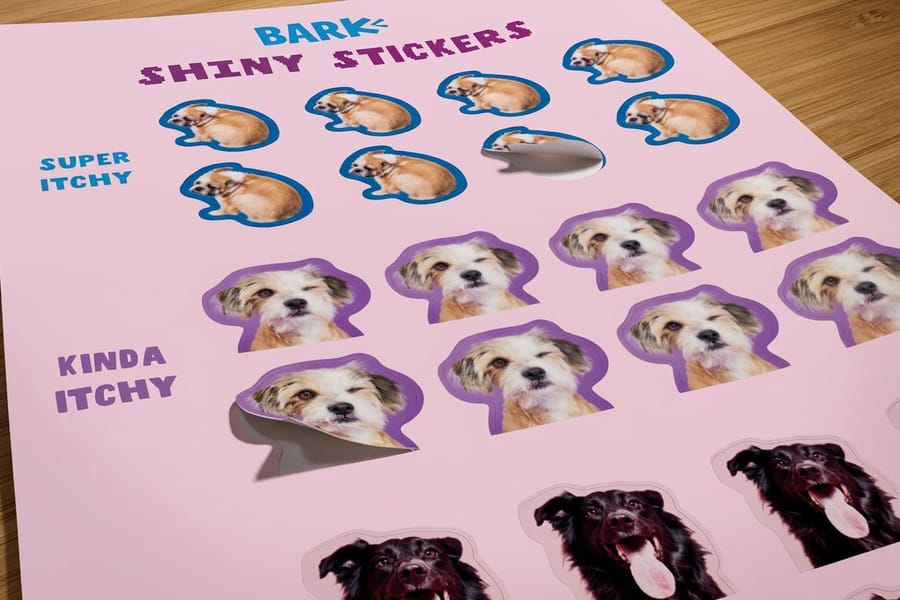
One decision comes before the artwork: kiss-cut or die-cut. Kiss-cut means the blade cuts the vinyl and stops at the paper backing, so all the stickers stay on one flat sheet until someone lifts them, which is what most people mean by a sticker sheet. Die-cut means the blade goes all the way through, so each sticker comes away carrying its own backing. Every strong sticker sheet starts with that boundary, not a graphic. Before you place a single icon, settle three things: the sheet size, the cut style, and where your bleed and safe zone sit. Lock those and the rest of the design falls into place. Skip them and you spend the evening nudging artwork.
Pick the sheet dimensions next, because they set your canvas. A letter-size sheet holds a generous set. A smaller card-size sheet suits a tight, premium pack. Kiss-cut gives you a peel-and-stay sheet, while full die-cut is the one to choose if each sticker should come away with its backing. Unsure how big the individual stickers should be? The sticker sizes chart gives you real dimensions to plan around, and it is easier to size the stickers to the sheet than to stretch a sheet around stickers you already drew.
Finally, commit to bleed and safe margins up front. Bleed is the sliver of art that runs past the cut so no white edge shows if the blade drifts a hair, an eighth of an inch on every side of every sticker. The safe zone is the calm space inside the cut where text and logos live. Treat both as walls you design within, and browse finished 4OVER4.COM stickers to see how real sheets handle those edges.
Planning the layout: grid, gutters, and breathing room
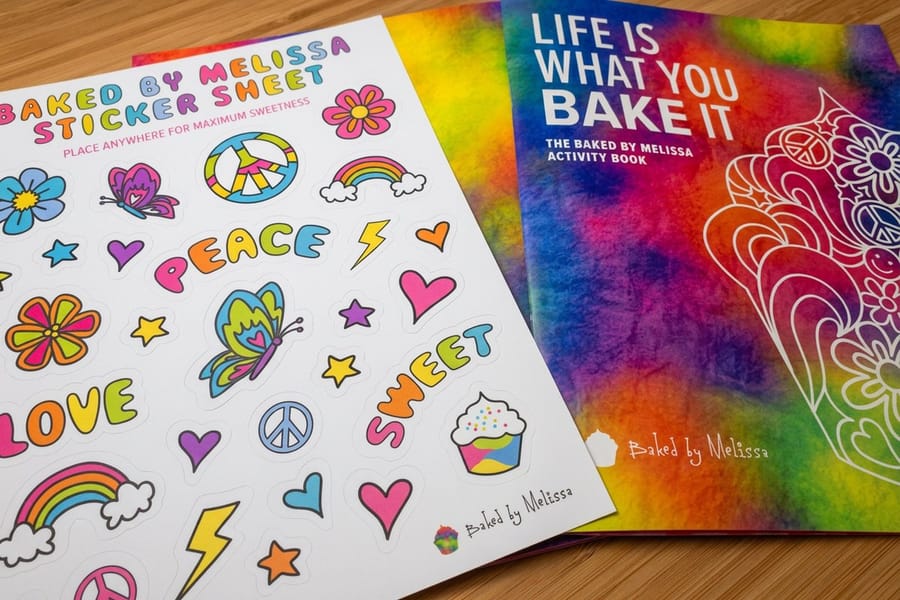
A sheet reads as professional when the spacing is even. Start with a simple grid, line your stickers up on shared rows and columns, and keep a consistent gutter between them. Because each sticker carries an eighth of an inch of bleed on every side, two neighbors need at least a quarter inch between their cut lines before the gutter starts doing any work for you. That gutter does more than look tidy. It gives fingers room to peel and gives the blade a clean lane so one cut never clips its neighbor.
Mix shapes with intent. A row of circles beside a few rounded rectangles feels lively, but only if the gaps stay equal. Anchor the biggest sticker, then arrange the smaller ones around it so the eye has somewhere to land. Leave a margin around the whole group as well, so no sticker sits tight against the sheet edge where it is awkward to lift. The diagram below shows how the sheet edge, the bleed, the safe zone, and the individual kiss-cut lines all stack up.
If you would rather start from a proven arrangement, 4OVER4.COM design templates give you print-ready layouts to drop art into, and the online designer lets you snap stickers to a grid right in the browser.
File setup for a kiss-cut sheet, step by step
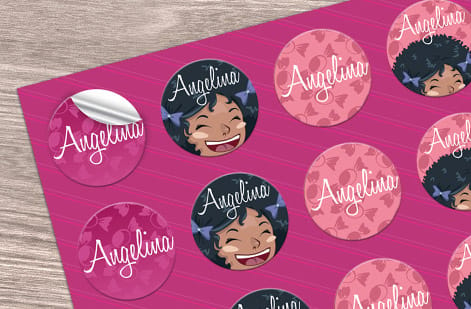
This is where good sheets are won or lost. The press needs two things from your file: the artwork, and a separate line that tells the blade where to cut. The setup below prints clean every time.
- Work at 300 DPI. Anything lower and fine linework or small text turns fuzzy once it is printed at real size.
- Build in CMYK, not RGB. Screens glow in RGB. Presses print in CMYK. Convert early so the color you approve is the color you get.
- Add an eighth of an inch of bleed around every sticker, and pull text and logos a similar margin inside the cut so nothing important sits on the edge.
- Draw the cut line as a vector path on its own layer, set to a spot color, which many printers label CutContour or Thru-cut. It should be a clean outline, never a rasterized glow.
- Export a print-ready PDF or the native vector file with the cut layer intact, so the shapes and the blade path stay in register.
If terms like bleed, spot color, or registration are new, the printing terms glossary defines them. And if you are setting up decals with a similar cut path, the same rules carry straight over in our custom decals guide.
Common sticker sheet mistakes, and how to dodge them
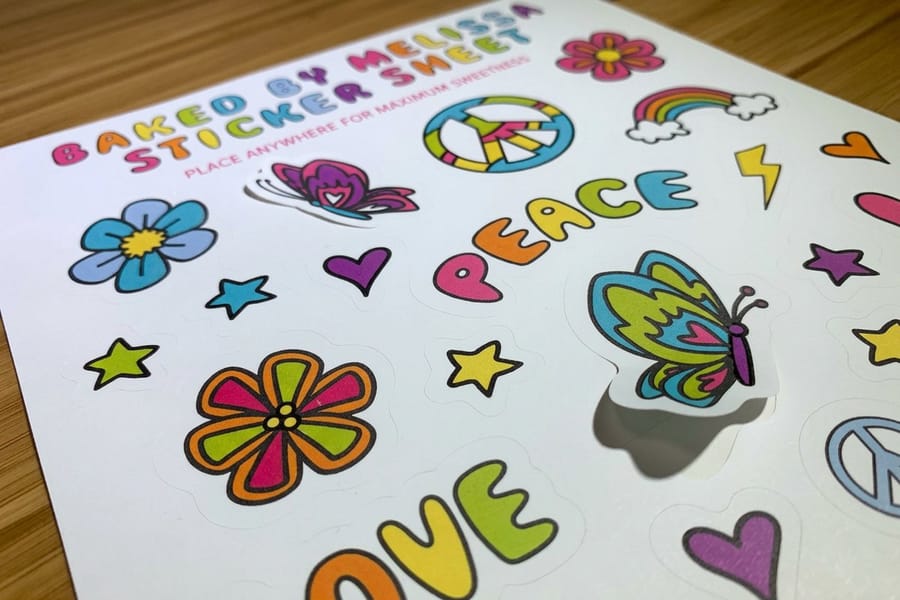
Most sheet problems trace back to a handful of repeat offenders. Learn them once and you will catch them in your own files long before they reach the press.
No bleed. Art that stops exactly at the cut line leaves a thin white halo the moment the blade shifts. Extend every design past its edge.
Text crammed against the cut. Names and taglines that hug the border get clipped. Keep them inside the safe zone with room to spare.
Uneven gutters. Stickers packed at random spacing look amateur and make peeling awkward. A shared gap fixes both at once.
A rasterized cut line. If your cut path is a flattened pixel outline instead of a vector, the press cannot follow it. Keep it a live spot-color path.
RGB files at screen resolution. They look fine on your monitor and dull and soft in print. Design at 300 DPI in CMYK from the first stroke.
Want a sanity check before you buy? Read real 4OVER4.COM sticker reviews to see how finished sheets hold up in the wild.
One tip that makes a first sheet look designed, not decorated
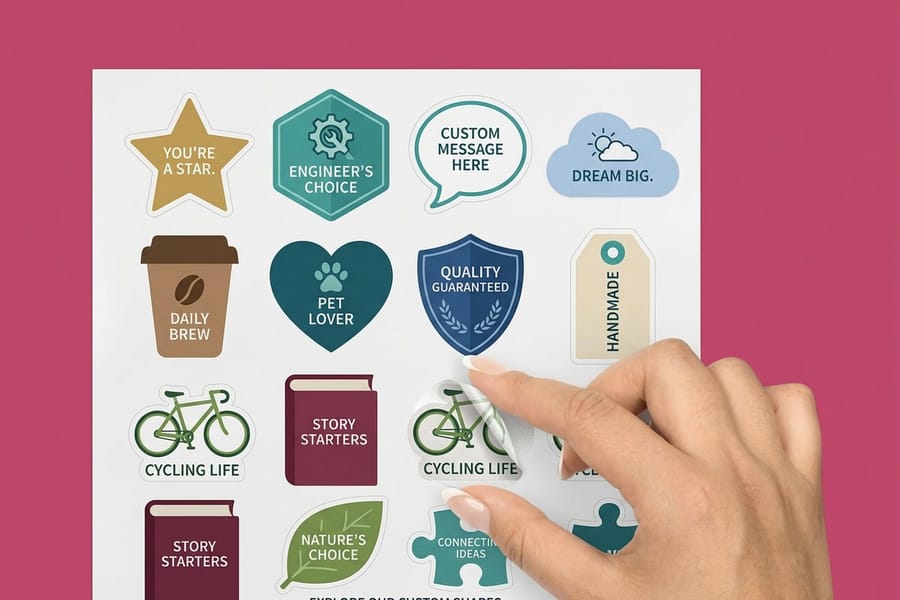
If you take a single idea from this guide, take this: pick one visual thread and repeat it. A shared color palette, one consistent line weight, or a matching outline around every sticker ties an assorted set into a collection instead of a pile of clip art.
Beginners often reach for maximum variety, five fonts, eight colors, three styles, and the sheet ends up noisy. Restraint reads as intention. Choose two or three brand colors, one accent, and let the shapes do the talking. For inspiration, browse creative logo sticker ideas and notice how simple, repeated cues carry a brand.
A clean white or thin colored keyline around each sticker helps, too. It defines the kiss-cut edge, hides tiny cut variance, and makes every shape pop off the backing. When you want those outlines cut precisely, the custom shape die-cut collection shows what is possible.
Choosing the right sheet: material, finish, and shape
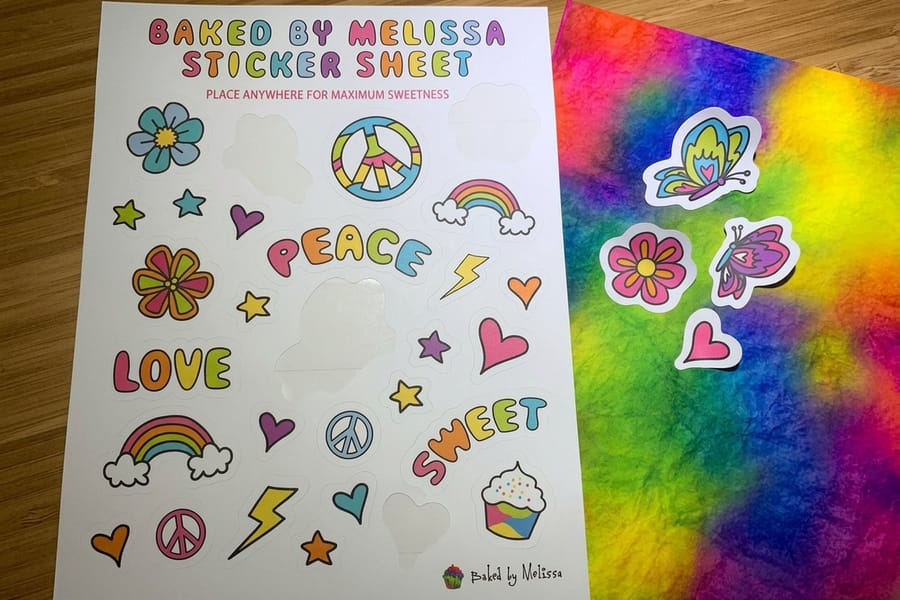
The design is only half the sheet. Material and finish decide how it feels and how long it lasts, so match them to where the stickers will live.
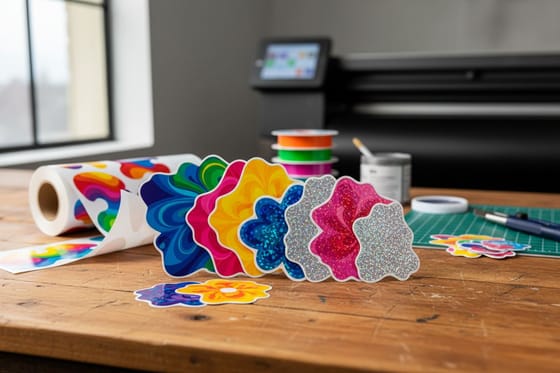
Paper suits indoor, short-life uses like packaging seals and planner sets. Vinyl is the pick for anything that meets water, sun or a laptop lid, and it is worth the small upgrade for durability. For a premium touch, a holographic finish throws rainbow shimmer that is hard to fake. If you are curious how that effect is produced, we break it down in how holographic stickers are made.
Shape matters as well. Simple rounded rectangles and circles are forgiving and affordable. Detailed silhouettes shine as full die-cut stickers or across the die-cutting collection. When you want a whole set of custom outlines, the custom shape hub is the place to start.
What sticker sheets cost, and how the price is set
Sticker sheet pricing is not a single number. It is a stack of choices: six sheet sizes from 5 by 7 to 11 by 11 inches, five label stocks from uncoated paper to repositionable white vinyl, and a cut priced by how many stickers share the sheet, in steps from one to 26 or more. Quantity moves it most: 25 sheets work out to $7.25 each, while 200 sheets come to $236.36, about $1.18 a sheet. Understanding what moves the price helps you design a sheet that fits your budget without trimming the wrong corner.
The biggest levers are sheet size, material, finish, and quantity. A larger sheet uses more stock, vinyl costs more than paper, specialty finishes like foil or holographic add a premium, and, as with all printing, the per-sheet price drops sharply as your quantity climbs. Fitting more small stickers onto one sheet is often cheaper than spreading them across several. For a full breakdown across every sticker type, see how much custom stickers cost.
The fastest way to get real numbers is to configure a sheet and watch the price update live. The specs and price table below pull straight from the 4OVER4.COM configurator, so you can compare options before you commit.
Wally lines up your sheet
A tidy grid and a clean cut line do most of the work
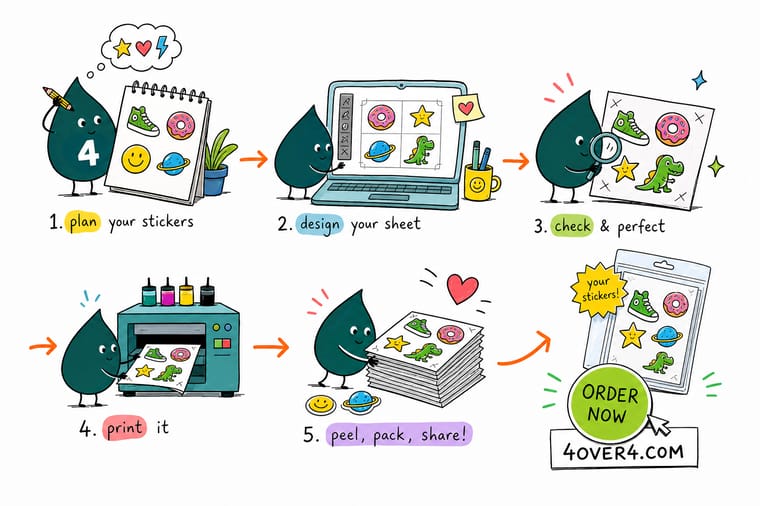
Wally treats a sticker sheet like a seating chart: give every sticker its own spot, an equal gap, and a clean kiss-cut line, and the whole set peels off happy. Nail the bleed and the safe zone so nothing important meets the blade, then let 4OVER4 print it on the material that matches where your stickers will live.
Order sticker sheets →
Specs and pricing
Sticker sheet specs and live pricing
Sticker sheets run 25 for $181.24, which is $7.25 a sheet, with live specs and price-per-unit below. Adjust size, material, and quantity to see your number.

| Quantity | Price Per Unit | Total |
|---|---|---|
| 25 | $7.25 | $181.24 |
| 50 | $3.89 | $194.42 |
| 100 | $2.05 | $205.18 |
| 200 | $1.18 | $236.36 |
| 300 | 89.2¢ | $267.56 |
| 400 | 74.7¢ | $298.76 |
| 500 | 65.8¢ | $328.86 |
| 600 | 60.7¢ | $364.23 |
Print it
Order sticker sheets and singles at 4OVER4
Kiss-cut sticker sheets run from 5 by 7 to 11 by 11 inches on uncoated, semi-gloss, hi-gloss or white vinyl label stock. Bumper stickers print as singles on permanent white vinyl with a UV coating, from 2 by 5 inches to any size, and holographic stickers come in shapes from a quarter inch strip to a 5 inch circle on white gloss, BOPP or silver metallic foil.

See it in use
Sheets we kiss-cut for customers
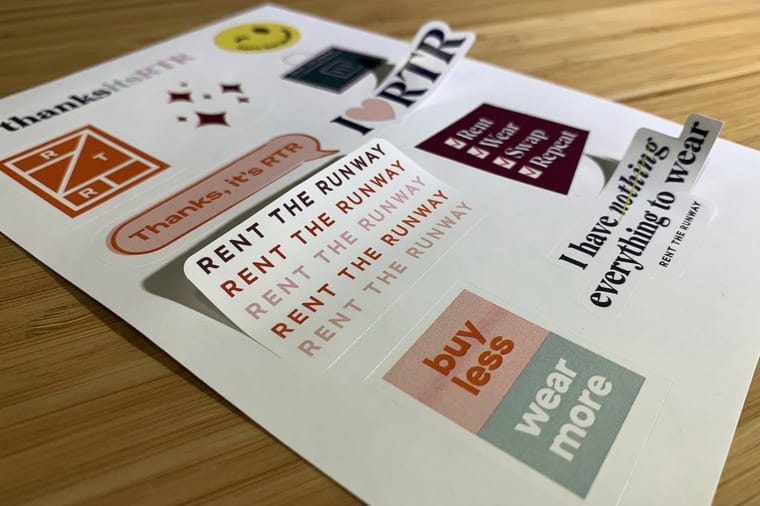
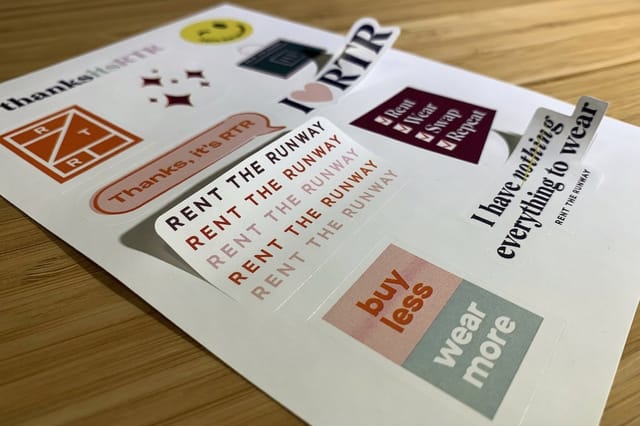
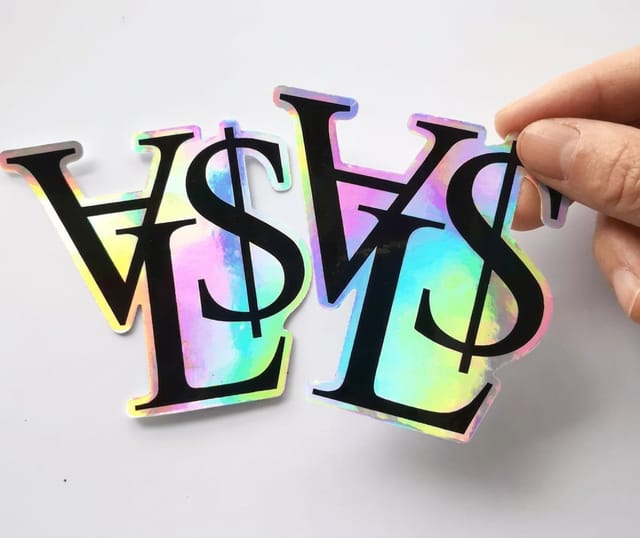
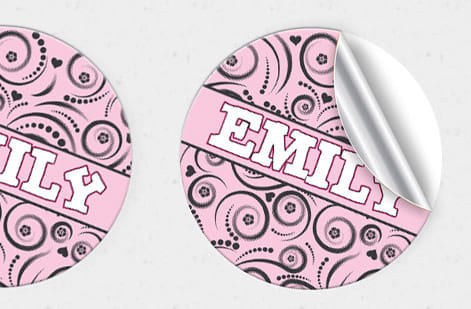
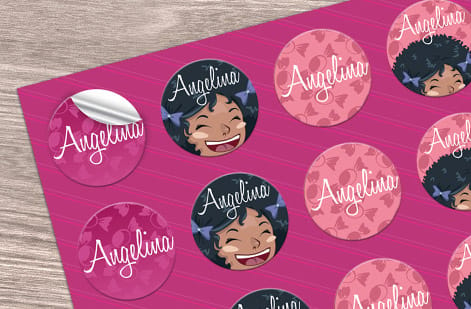
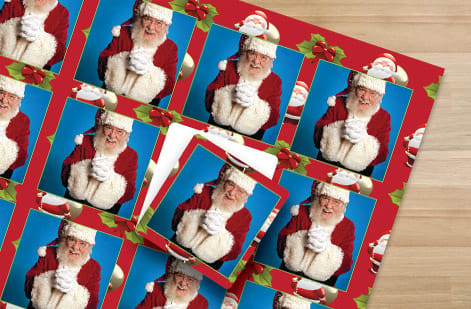
Every sheet below is a kiss-cut layout, where the blade cuts the sticker and leaves the backing whole. Look at the gutters between shapes and at how many stickers share one sheet, from a single sticker up to 26 or more.






Explore more
Where to go next


By the numbers
Paper, vinyl, BOPP and holographic film
Common Questions
Common questions about designing sticker sheets
What is a sticker sheet?
A sticker sheet is a single backing sheet that holds several individual stickers, each cut so it peels off on its own. Most are kiss-cut, meaning the blade cuts the vinyl but not the paper backing, so the stickers stay put until you lift them and the whole sheet stays flat. It is a tidy, cost-effective way to ship a full set of designs together.
What file setup do I need for a kiss-cut sticker sheet?
Design at 300 DPI in CMYK, add an eighth of an inch of bleed around each sticker, and keep text and logos inside a safe margin away from the cut. Draw the cut line as a vector path on its own layer, set to a spot color, then export a print-ready PDF or vector file with that cut layer intact. That hands the press both the artwork and a clean path to kiss-cut.
What is the most important thing to get right before I start designing?
The cut. Decide your sheet size and whether you want kiss-cut or die-cut before you place any artwork, then design inside those boundaries. When the cut lines, bleed, and safe zone are set first, every sticker lands where it should and you skip hours of nudging art later.
How do I design a sticker sheet step by step?
Seven steps, in this order. One, choose kiss-cut, where the blade cuts the vinyl and stops at the paper backing, or die-cut, where each sticker comes away with its own backing. Two, lock the sheet size: a letter-size sheet holds a generous set, a card-size sheet suits a tight, premium pack. Three, size the individual stickers against the sticker sizes chart so the grid is planned, not improvised. Four, lay them out on shared rows and columns with one consistent gutter between them. Five, extend art an eighth of an inch past every cut for bleed and hold text and logos inside the safe zone. Six, draw the cut line as a vector path on its own layer in a spot color. Seven, build at 300 DPI in CMYK and export a print-ready PDF or vector file with the cut layer intact.
How much space should I leave between stickers on a sheet?
Start from the bleed and work up. Each sticker carries an eighth of an inch of bleed on every side, so two neighbors need at least a quarter inch between their cut lines before the gap is doing anything for the person peeling. Give the gutter a little more than that and a fingernail can get under an edge without lifting the sticker beside it. The number matters less than the consistency: keep the same gutter across every row and column, keep the same margin around the outside of the whole group so nothing sits tight against the sheet edge, and give die-cut sheets more room than kiss-cut sheets because the blade goes all the way through.
What are the most common sticker sheet design mistakes?
The big five are no bleed, text crammed against the cut, uneven gutters between stickers, a rasterized cut line the press cannot follow, and RGB files at screen resolution. Each is an easy fix in setup: extend art past the cut, keep text in the safe zone, use equal spacing, keep the cut path a live vector, and design at 300 DPI in CMYK.
Kiss-cut or die-cut, which one do I ask for?
Start with how the sheet will be used and how many stickers it needs to hold, then pick a size that fits that set with even spacing. A letter-size sheet suits a generous kit, while a smaller sheet suits a premium pack. Lay the stickers on a shared grid with matching gutters and anchor the largest one first. The sticker sizes chart is a good reference for individual dimensions.
How much do sticker sheets cost, and what drives the price?
Price depends mainly on sheet size, material, finish, and quantity. Vinyl costs more than paper, specialty finishes like foil or holographic add a premium, and the per-sheet price drops as your quantity climbs. Fitting more small stickers onto one sheet is usually cheaper than ordering them separately. The live price table on this page shows real numbers as you change options.
Get Started
Order 25 sticker sheets from $181.24 with the layout locked
Set your size, drop in your grid of stickers, and we print a crisp, clean-peeling sheet on the material you choose.
Legal Disclaimer
Gold Standard guarantees apply to all standard orders placed through 4over4.com. Price match requires verifiable proof of a competitor's published price for an equivalent product with matching specifications and turnaround time. Satisfaction guarantee covers manufacturing defects and print quality issues. Contact support with order number and documentation.
