
How to Customize a Restaurant Menu Design Without Reprinting Every Week


A working method for turning a template into your own menu: what to fix once, what to change every season, and how the stock you pick decides the cost of your next price rise.
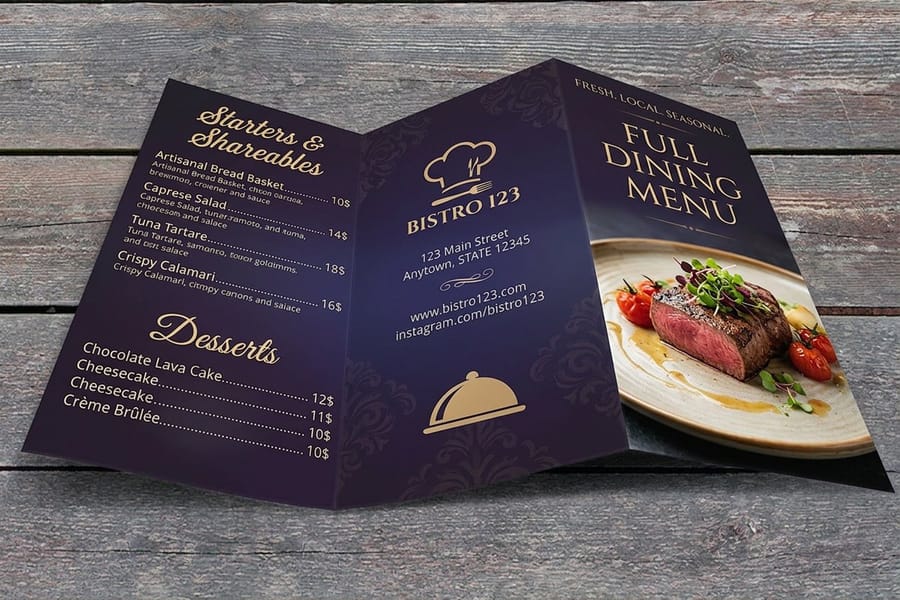
To customize a restaurant menu design, fix the trim size and margins first, then change only four things: the item rows, the prices, the section order, and the stock. Pick one of the 7 menu sizes we print, build each course as a fixed block with room to spare, set the price right after the description instead of in a right hand column, and choose the material by how often your prices move. Laminated survives months of handling but turns any change into a full reprint. Uncoated is the cheapest set to redo.
Quick answer
Lock the frame, change the contents
A custom menu is a fixed frame with movable parts. The trim size, the margins, the type scale and the section blocks are set once and left alone. The dish names, the descriptions, the prices and the material are what you actually customize. Get that split right and a seasonal update takes an afternoon instead of a rebuild, and a price change never reflows the page.
Lock the Frame Before You Change a Single Dish
Customizing a menu goes wrong in the same place almost every time: someone starts typing dishes into a page that has no fixed size, then discovers at ordering time that the layout does not fit any trim we print. Do the boring part first and the rest is quick.
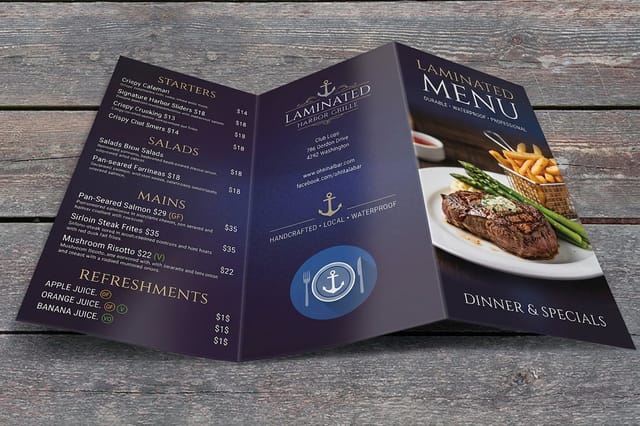
Pick the trim. We run restaurant menus in 7 sizes, from a 4.25 by 11 inch strip up to an 11 by 25.5 inch spread, with custom sizing up to 11 by 26 inches. A 4.25 by 11 inch sheet holds a drinks list or a takeout list. An 11 by 17 inch sheet folded in half gives you four 8.5 by 11 inch panels, which is the standard dine-in format. The menu size guide walks through what fits on each one.
Draw the margins. Add an eighth inch of bleed past the trim on every edge for anything that runs to the paper edge, and keep all type at least an eighth inch inside the cut. Menus get trimmed in a stack, and a page number or a rule sitting right on the trim line is the first thing to disappear. Bleed and trim explained covers the setup in detail, and the blank template library already has both guides drawn at every size we print.
Set two type sizes and stop. One size for dish names, one smaller size for descriptions, and the price in the description size. Three sizes across a menu already reads busy. Two typefaces is the ceiling.
Build sections as fixed blocks. Starters, mains, sides, desserts, drinks: name them, give each block a little more room than it needs today, and treat the block boundaries as walls. Swapping a dish inside a block takes minutes. Adding a whole section pushes everything down and you are laying the page out again.
Where Guests Actually Look, and Where the Money Items Go
A menu is read in a hurry by someone who is also talking to the table. That single fact decides most of the layout, and it is why the fashionable advice about eye paths matters less than the order of your own list.
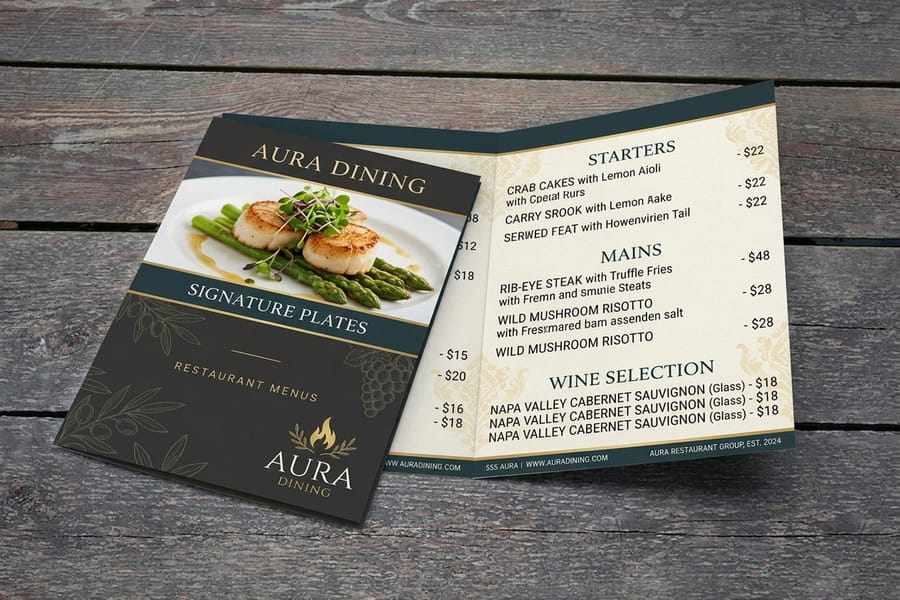
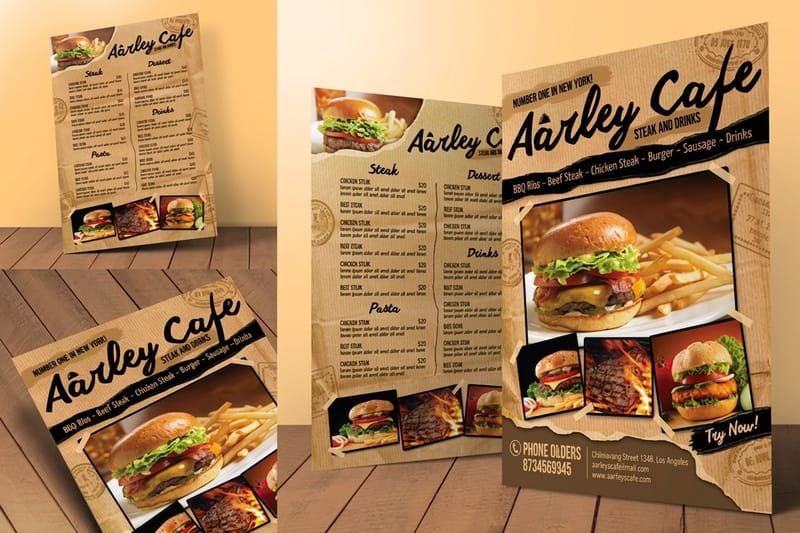
Guests read a section top to bottom and remember the first and the last item best. The dish with the margin you want goes first in its section, not floated in a decorative box in the middle of the page. Boxes and photos do pull attention, but they cancel each other out: one boxed item on a panel gets read, five boxed items are just noise, and a photo next to every dish makes the page look like a diner placemat whether or not that is your concept.
The other lever is the price. Set it right after the description, same size, same weight, no dollar sign, no dot leaders running to the margin. A right aligned price column turns your menu into a spreadsheet, and a guest reading down that column is choosing on price rather than on the dish. Whole numbers help for the same reason, because a page of odd cents draws the eye to the digits.
Descriptions earn their space when they name something concrete. Where the fish comes from, what is in the sauce, how long the shoulder was braised. Adjectives that could sit on any dish on any menu in the country are filler and they cost you the room a real detail would have used. For the deeper version of this argument, including course order and the panel that gets read first on a fold, read our guide on how to lay out a menu that sells.
Stock, Fold and Finish, and What Each Choice Costs You
The material is the decision that outlives the design, because it sets how long the menu survives and how much a change costs. Here is the honest comparison across the four ways most kitchens go.
| Option | Stock | Starts at | Lives for | What it costs you |
|---|---|---|---|---|
| Standard menus | 100# gloss text or 70# uncoated text, flat, half fold or trifold | $57.11 per 50 | Weeks of service | Nothing durable. A spill ends that copy. |
| Restaurant menus | Same two stocks, with optional high gloss UV coating | $57.11 per 50 | A season with the coating | The coating resists pen, so no hand edits. |
| Laminated menus | 100# gloss or 70# uncoated sealed under laminate | $57.11 per 50 | Months on the table | Any price change means reprinting the set. |
| Kraft menus | 18pt kraft uncoated cover, 100% post-consumer waste | $166.04 per 100 | Weeks, and it ages on purpose | Brown stock shifts every color you print. |
Read the last column first. Gloss makes food photography look its best and takes a UV coating that shrugs off fingerprints. Uncoated reads matte, feels closer to paper in the hand, and accepts a pen, which matters more than it sounds when a server has to strike a sold-out dish at seven on a Friday.
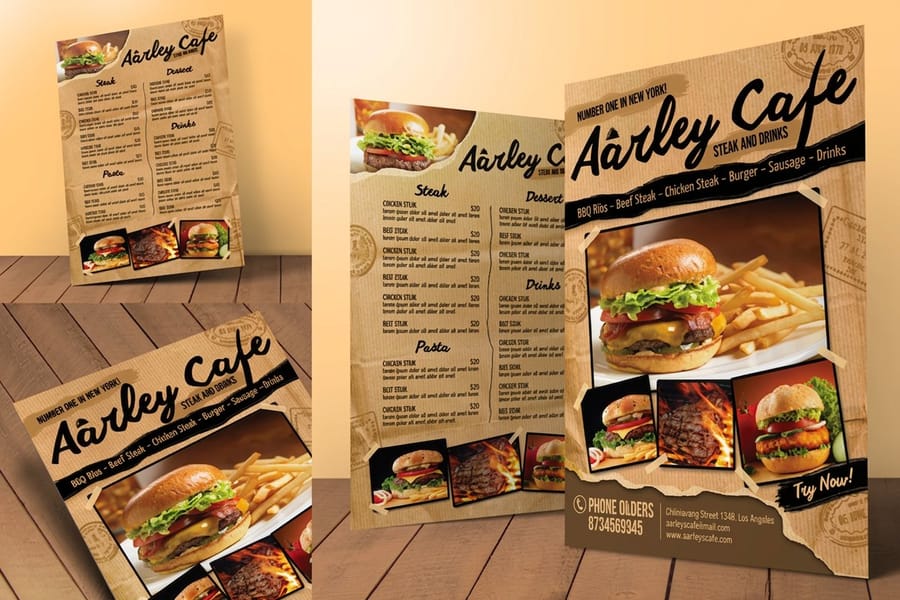
Kraft is the one with a real technical catch. Printing on a brown recycled sheet means every ink sits over brown rather than white, so pale colors go muddy and white simply does not exist unless you order the CMYK plus white setup. Design for it deliberately, in a limited palette, and it looks intentional. Convert an existing full color menu to kraft without adjusting anything and it looks like a bad photocopy. Our note on converting files from RGB to CMYK is the first step for any of these.
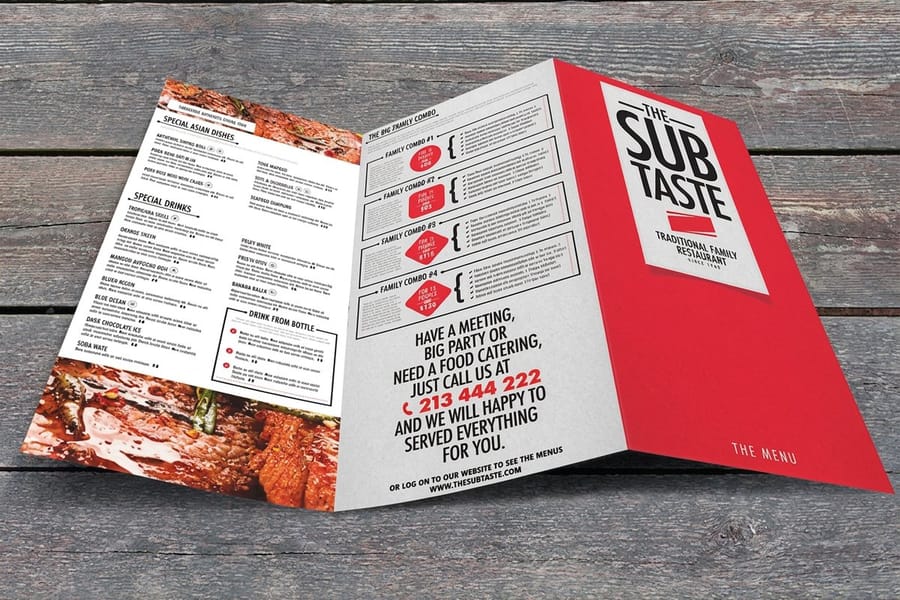
Folds change the reading order more than they change the price. A half fold gives four panels and a clear front cover. A trifold gives six narrower panels and works when your sections are short lists rather than long descriptions. If the menu will get wet, wiped, or handled by every table, the waterproof menu options are worth the read before you pick a stock.
Plan the Reprint Before You Print the First One

The question that decides your whole setup is not what the menu should look like. It is how often your prices move. A kitchen that reprices twice a year and a kitchen that reprices whenever the fish market does need different menus, even with identical designs.
If prices hold, go durable. A laminated menu at $57.11 for 50 stays on the table for months and wipes clean between guests, and the cost per service is tiny. If prices move, print flat and uncoated, keep the run modest, and reprint. A set of 50 at $57.11 is cheap enough to treat as a consumable, and the per-menu price keeps dropping across the quantity tiers up to 25,000, so the real question is how many copies you can commit to before the next change.
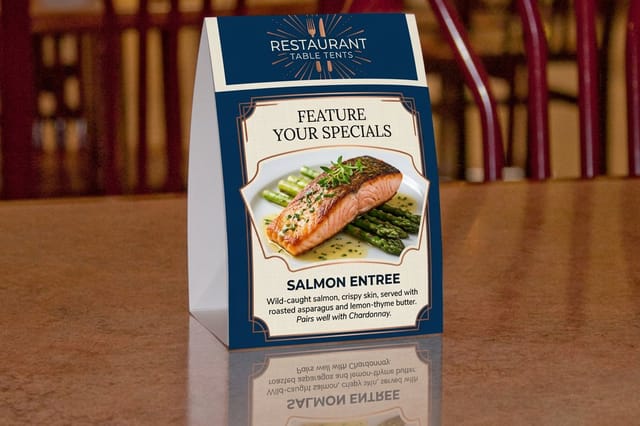
The middle path is a split menu, and it is what most rooms end up doing. Core dishes go on the printed menu. The parts that move go somewhere replaceable: restaurant table tents print flat at 4 by 16.25 inches and fold into a self-standing 4 by 6 inch tent at $554.39 per 250, on 14pt gloss cover with a UV coating, so a seasonal cocktail or a dessert push changes weekly while the menu stays put. A tear-off strip is the other option, since standard menus offer optional perforation.
Give yourself the lead time too. Standard production is 5 business days, with 2-day, next-day and same-day rush available when a change cannot wait. Order the reprint before the current set looks tired rather than after, because a rush charge on a menu you knew was coming is money spent on nothing. When you are ready to build the rest of the room, the restaurant printing collection has the table tents, flyers and signage that carry the same design, and the takeout menu guide covers the version that leaves with the food.
Wally customizes a menu
Same frame, new dishes, no redesign
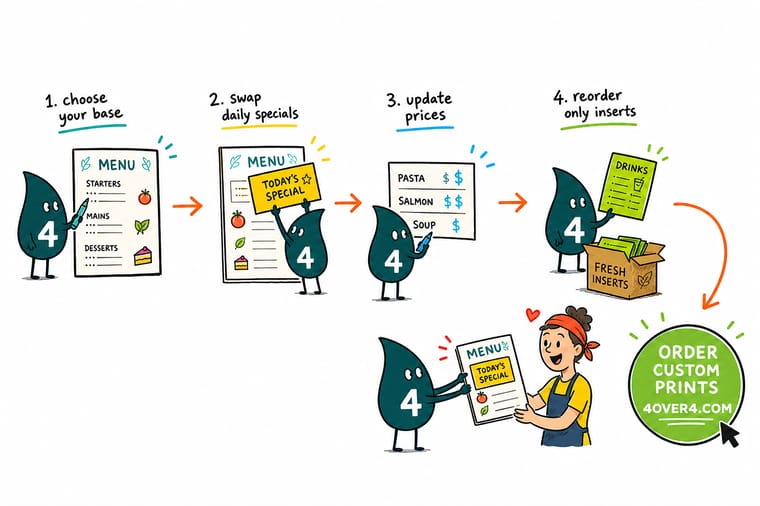
Wally sets the trim size once, draws the bleed and the safety margin, then blocks out starters, mains and desserts with a little air to spare. After that he only ever changes what is inside the blocks. New dish, new price, same page. When the specials move every week he keeps them off the menu entirely and puts them on a table tent, so the laminated menu can stay on the table for months without a reprint.
Order custom restaurant menus →Specs and pricing
Menu sizes, stocks and starting prices
Compare the three menu builds side by side, with live size, stock and fold choices and starting prices straight from the 4OVER4.COM configurator.

Print it
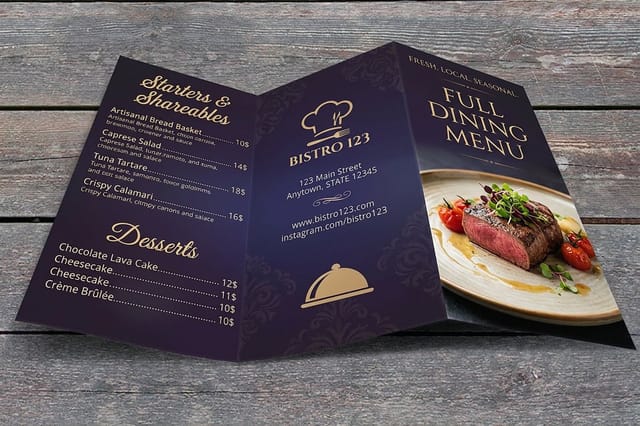
Order the menu you just designed
Explore more
Where to go next

By the numbers
Menus run in seven trims up to 11 by 26 inches
Common Questions
Your custom menu questions, answered
How do I customize a menu without hiring a designer?
Start from a template built at the exact trim you plan to order, so nothing shifts when the file goes to press. Pick two typefaces at most, one for dish names and one for descriptions, and set only two type sizes in the body. Then build your sections as fixed blocks and pour the dishes in. The blank template library at 4OVER4.COM has correctly sized layouts with the bleed and safety margins already drawn, which removes the part most people get wrong.
What size should a custom restaurant menu be?
It depends on how many dishes you list and where the menu lives. A 4.25 by 11 inch strip fits a drinks list or a takeout sheet and slides into a bag. An 8.5 by 11 inch page suits a single course menu. An 11 by 17 inch sheet half folded gives you four 8.5 by 11 panels for a full dine-in menu, and an 11 by 25.5 inch sheet trifolded gives six panels for courses, sides and drinks in one piece. We print 7 standard sizes plus custom sizing up to 11 by 26 inches.
Should I laminate a custom menu?
Laminate when the menu is handled all day and the prices hold for months. The sealed surface wipes clean after a spill and keeps a menu on the table for a season or more instead of a week. The catch is that lamination makes every change expensive, because you cannot pen in a new price on a laminated sheet and you cannot reprint one page of the set. If your prices move with the market, print uncoated and reprint often.
How do I add prices without turning the menu into a price list?
Set the price immediately after the description, in the same size and weight as the description, with no currency symbol and no dot leaders running across the page. Dot leaders and a right aligned column line every number up so a guest can scan the cheapest option in one pass, which is the opposite of what the menu is for. Rounding to whole numbers helps for the same reason.
Can I change the menu seasonally without reprinting everything?
Split the menu in two. The core dishes go on the printed menu, and the parts that move go on a table tent, a loose insert, or a small flyer clipped to the front. Restaurant table tents print flat at 4 by 16.25 inches and fold into a self-standing 4 by 6 inch tent, so a seasonal cocktail or a dessert push changes at the table without touching the menu. Standard menus also offer optional perforation if you want a tear-off section.
What file do you need to print a custom menu?
A print-ready PDF at final trim size with an eighth inch bleed on every edge, artwork in CMYK, fonts converted to outlines, and images at 300 dpi. Keep text at least an eighth inch inside the trim so nothing gets clipped when the sheet is cut. Kraft menus are the one exception worth planning for: printing on brown recycled stock changes every color, so use the CMYK plus white ink setup if you need light colors to read.
Get Started
Order 50 menus from $57.11
Pick your size, choose gloss, uncoated, laminated or kraft, and we print menus that hold up through a full service and reprint cheaply when the prices move.
Legal Disclaimer
Gold Standard guarantees apply to all standard orders placed through 4over4.com. Price match requires verifiable proof of a competitor's published price for an equivalent product with matching specifications and turnaround time. Satisfaction guarantee covers manufacturing defects and print quality issues. Contact support with order number and documentation. On-time delivery rate based on tracked orders 1999 to 2026. Individual results may vary based on shipping carrier performance.
