
How to Use a Free Sticker Maker to Design and Print Custom Stickers


Free design tools handle the layout well and the print file badly. Here is what to set before you draw, what to change before you export, and which sticker to order once the artwork is done.
A free sticker maker is a browser layout tool, and every one of them stops at the export. Designing costs nothing. What decides whether the file prints is three numbers you set first: the finished size in inches, 0.125 inch of bleed on every edge, and artwork at 300 pixels per inch at that size. Get those right in any free app and the file prints. Skip them and you get a white sliver on one edge, soft type, or a transparent background that arrives as blank white vinyl.
Quick answer
Three numbers turn a free design into a printable sticker
Set the canvas in inches at the finished sticker size, add 0.125 inch of bleed on all four edges, and keep every image at 300 pixels per inch at that size. Then keep type and logos 0.125 inch inside the trim, flatten the layers, and export full size rather than at the social-post preset. Free tools do the layout well. They just default to screen settings, and screen settings are what produce a white edge, soft type, or a transparent background that prints as blank white vinyl.
What a Free Sticker Maker Does, and Where It Hands Off
A free sticker maker is a layout tool. It gives you a canvas, shapes, type, image upload and a background remover, and it hands you a file at the end. Everything upstream of the export is genuinely free. Everything downstream, the material, the cut and the ink, is the print order.
That handoff is where most first sticker jobs go wrong. The app is built for screens, so its defaults are screen defaults: a canvas measured in pixels, colors in RGB, an export sized for a social post. None of those are wrong for the tool. They are wrong for a plotter that has to cut a physical shape out of vinyl to a tolerance of about a millimetre.
So treat the free app as the drawing stage and set three things by hand before you draw anything. The finished size in inches. A bleed of 0.125 inch past every edge so the cut never lands on bare white. Artwork at 300 pixels per inch at that finished size, which is a different thing from 300 ppi at thumbnail size. Our bleed and trim explainer covers why that margin exists on every press in the building.
If the tool cannot do those three, you are not stuck. Start instead from a layout that already has them drawn in: the blank template library gives you the trim line, the bleed and the safe zone at the real product size, and the free sticker templates guide walks through which one matches which sticker.
Designing a Sticker in a Free Tool, Step by Step
Six moves, in this order. Doing them out of order is what forces a redesign.
- Set the size in inches, then add bleed. A 3 inch round sticker means a 3.25 by 3.25 inch canvas. The extra eighth of an inch is trimmed away, and it is there so a slight shift on the cutter takes background instead of a white edge.
- Draw the safe zone yourself. Most free tools have no safe zone guide. Add a shape 0.125 inch inside the trim, keep every word and every logo edge inside it, then delete the shape before export.
- Upload artwork at full size. Check the pixel width of any logo or photo you import. Finished inches multiplied by 300 is the minimum. A 500 pixel logo lifted from a website is fine at 1.5 inches and mushy at 3.
- Keep the shape simple. A cutter follows an outline, not a whisker. Narrow spikes, thin tails and hollow letters break at the edge or peel first. Round the tight corners slightly and the sticker lasts longer on a bottle.
- Watch the small type. Stay at 6 point or larger, and avoid strokes below 0.5 point. Reversed white text on a dark fill needs more weight than the same text in black, because ink spreads slightly into the white.
- Export flat and full size. Flatten layers, export a print ready PDF if the tool offers one, otherwise a 300 ppi PNG or JPG at final dimensions. Then zoom to 100 percent and look at it once more.
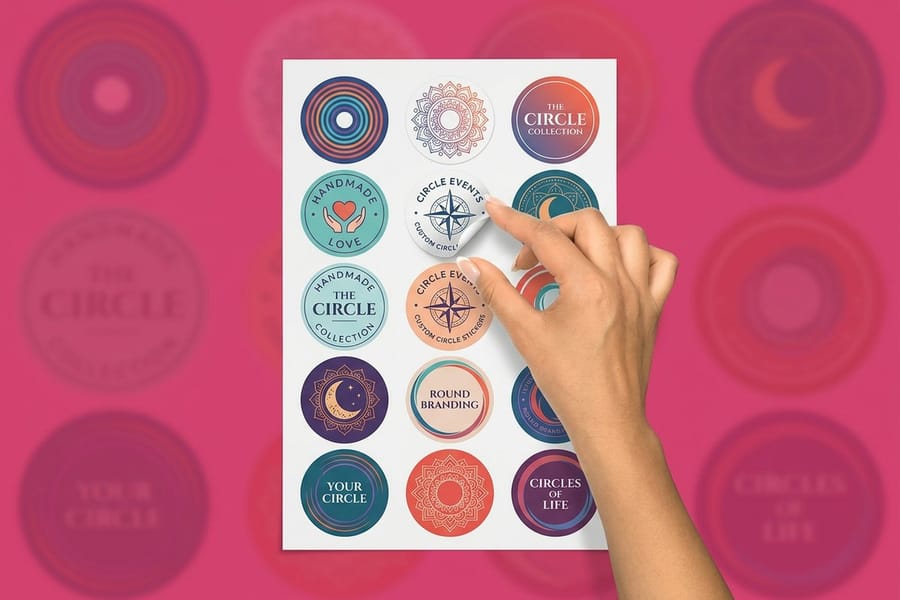
Working from a photo rather than a drawn design changes step three, because a phone picture has no clean edge to cut against. The picture to sticker guide deals with that specific problem. If your plan is a page of small stickers rather than one big one, building a sticker sheet follows a different layout logic and lands on sticker sheets, which start at $181.24.
The Export Settings Free Apps Get Wrong for Print
Every free design tool ships with defaults tuned for a screen. Here is what each default does to a printed sticker, and what to change it to.
| Setting | Typical free-app default | What print needs | What goes wrong if you skip it |
|---|---|---|---|
| Canvas units | Pixels, sized for a post | Inches, at the finished sticker size | The file gets scaled up on our end and softens. |
| Bleed | None | 0.125 in past the trim on all four edges | A hairline of white paper along one side. |
| Resolution | 72 to 150 ppi | 300 ppi at final size | Type looks fuzzy and photo edges break into blocks. |
| Color mode | RGB | CMYK aware artwork | Electric greens, blues and oranges print duller than the screen showed. |
| Background | Transparent PNG | A real background, or clear material chosen on purpose | The transparent area prints as blank white vinyl. |
The color one surprises people the most. A screen makes color with light and a press makes it with ink, so the brightest RGB values simply have no ink equivalent. Nothing is broken when a neon green arrives slightly muted. Converting from RGB to CMYK before you approve the proof is how you see the real color while you can still adjust it.
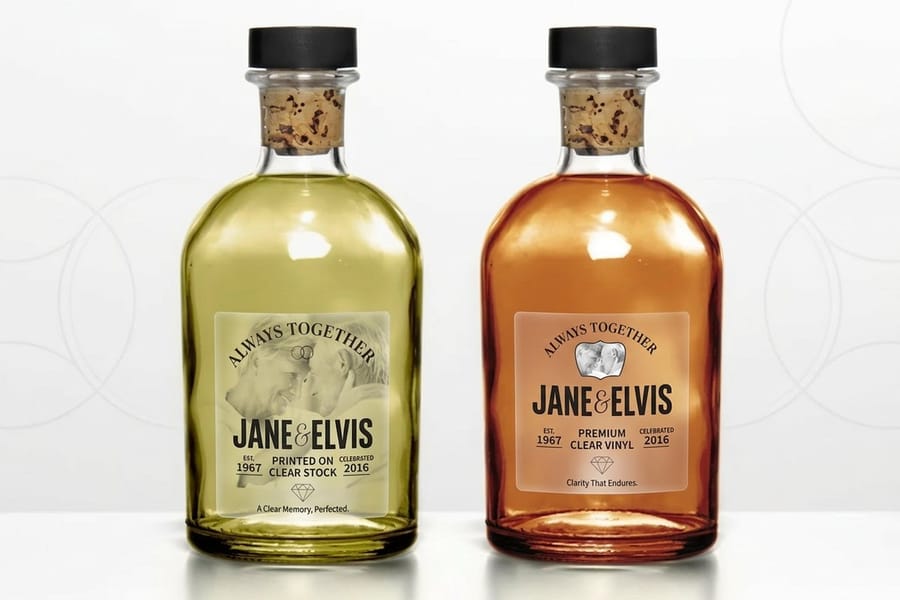
The background row is worth reading twice. If you want ink to sit on a transparent window, that is a material decision, not a file decision, and it means ordering clear stickers from $25. Design them dark and bold. Pale colors on clear film disappear against anything but a light surface.
Pick the Cut and the Material Before You Upload
The design file is only half the order. The other half is what the sticker is made of and how it gets cut, and those two choices move the price more than anything you do in the design app.
| Sticker | Cut | Best for | Starts at |
|---|---|---|---|
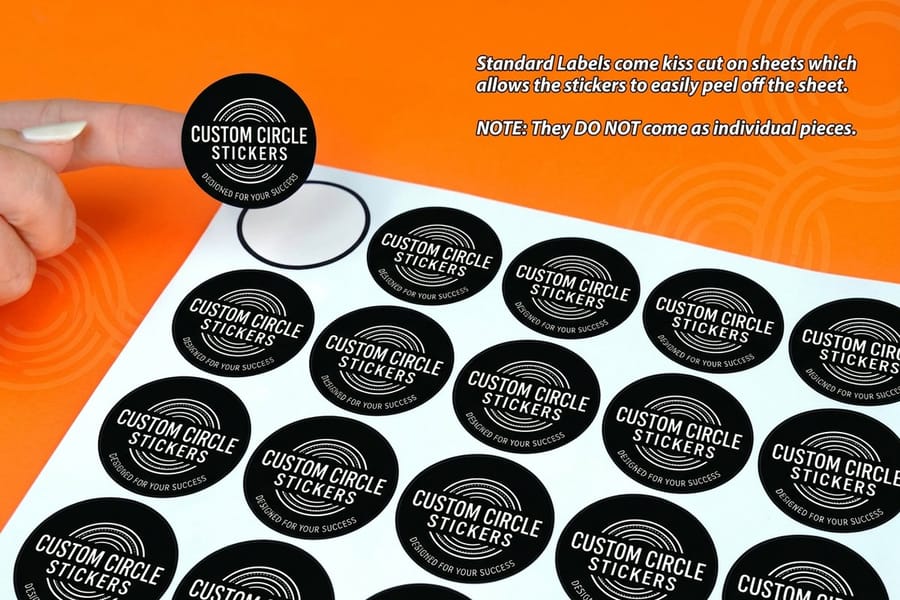
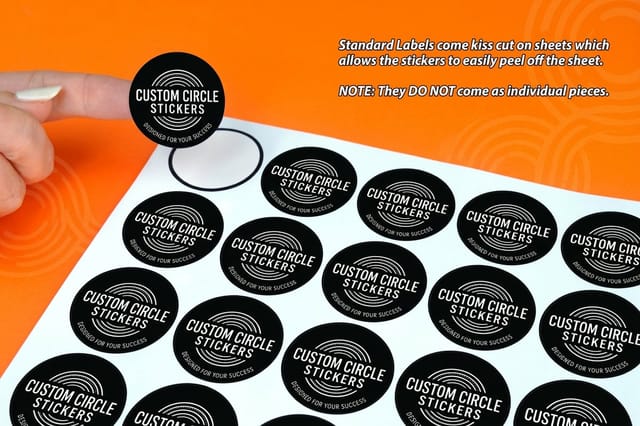
| Circle stickers | Standard round | Product seals, packaging closures, event giveaways. | $23.88 |
| Vinyl stickers | Standard shapes | Anything handled, washed or left outdoors. | $25.00 |
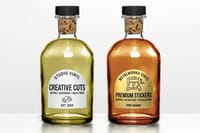
| Clear stickers | Standard shapes | Windows and glass jars where you want no visible edge. | $25.00 |
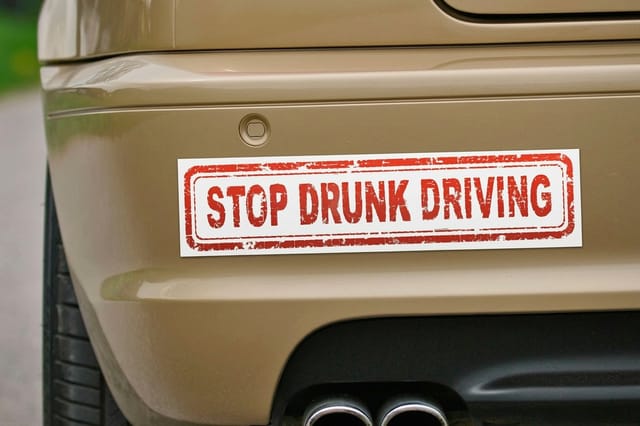
| Bumper stickers | Long rectangle | Vehicles, laptops and anything read at a distance. | $38.44 |
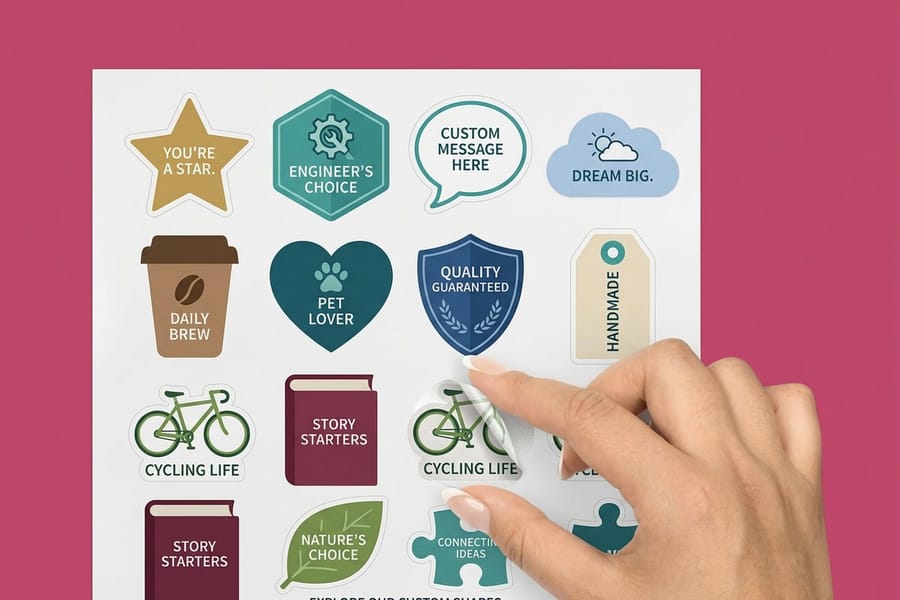
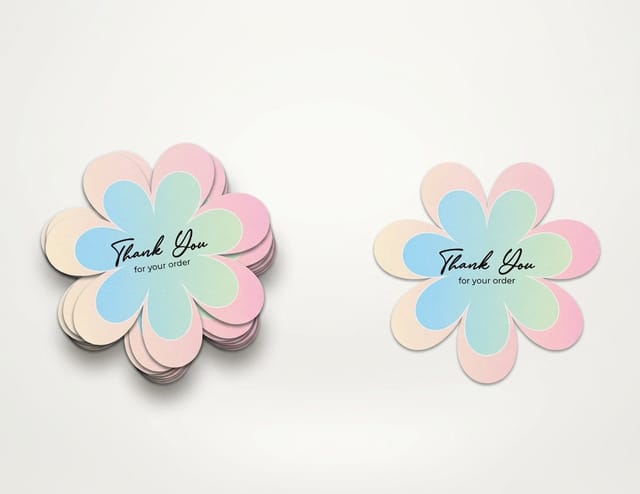
| Die-cut stickers | Follows your outline | Logos and mascots where the shape is the whole point. | $93.37 |
| Sticker sheets | Many stickers, one backing | Packs, kids sets and multi-design merchandise. | $181.24 |
Read the last column against the second. The jump from a round sticker to a die-cut one is not about quality, it is about the cutter following a path taken from your artwork instead of a shape it already knows. If your logo sits happily inside a circle, the round version gets you the same vinyl and the same ink for a third of the entry price. If the silhouette is the brand, die cutting is worth the difference.
Material matters most where the sticker lives. Indoors on a folder, almost anything works. On a bottle that goes through a dishwasher, or on a truck door in July, the stock and the laminate are the whole story. Choosing sticker material and the BOPP versus vinyl comparison lay out which film survives what.
From a Free Design to a Box of Printed Stickers
Once the export is clean, ordering takes a few minutes. Choose the product, set size and quantity, upload the file, then check the online proof at full zoom rather than glancing at the thumbnail. The proof is the last moment a wrong size or a low resolution logo is free to fix.
Two habits save money at this stage. First, decide the quantity honestly. Sticker printing carries a setup regardless of how many you order, so a small run and a slightly larger one are closer in price than people expect, and a second order later starts that setup again. Second, order one design well rather than four designs thinly. Four half-finished designs across small quantities cost more and represent you worse than a single sticker that is right.
If you are still comparing what a run should cost before you commit, the custom sticker pricing guide breaks down where the money actually goes. When you are ready, the sticker printing category lists every shape and material together, and the wider custom printing collection covers the other pieces that usually ship alongside a sticker order.
Wally explains the free sticker maker
Free to design, three numbers to get it printed
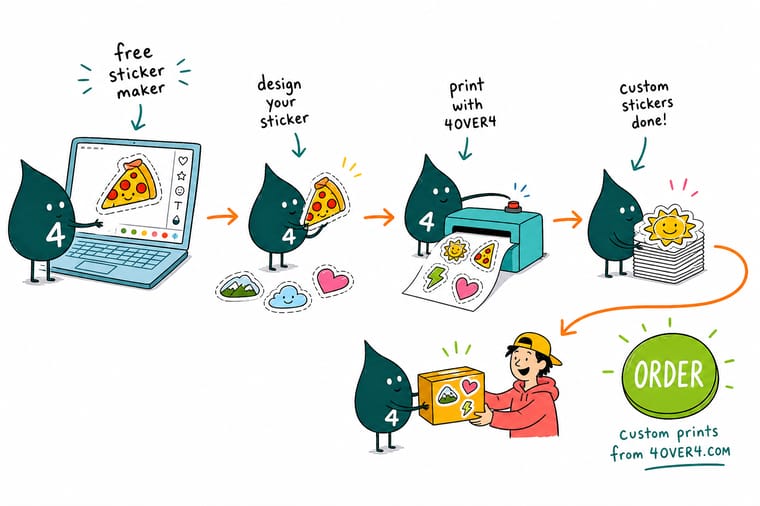
Wally opens the free app and does the boring part first. He switches the canvas from pixels to inches, types the finished sticker size, then adds an eighth of an inch of bleed all the way round so the cutter never lands on bare white. He drags in a logo and checks its pixel width, because inches times 300 is the number that has to be there. Text and logo edges stay an eighth of an inch inside the trim. Then he flattens it, exports full size, and picks the cut. Round if the artwork fits a circle. Die-cut if the shape is the brand.
Order die-cut stickers →Specs and pricing
Sticker sizes, materials and starting prices
Compare the cuts and materials side by side, with live configuration choices and starting prices straight from the 4OVER4.COM configurator.

Print it
Send the design to a press that cuts it properly
Explore more
Where to go next

By the numbers
Sticker printing you can count on at 4OVER4
Common Questions
Your free sticker maker questions, answered
Is there a genuinely free sticker app, or does it cost money in the end?
The design step is genuinely free in most browser tools. What you pay for is the sticker itself, plus whatever the app charges to remove watermarks or to export at print resolution instead of screen resolution. Read the export panel before you spend an hour designing. If the free tier only exports a small PNG, the design will look fine on a phone and soft on a 3 inch sticker. At that point you either upgrade the app or rebuild the file in a tool that exports full size, which is why starting from a correctly sized layout in the free template library saves the most time.
What size should I make my sticker before I start designing?
Pick the finished size first, because everything else follows from it. Laptop and water bottle stickers sit comfortably between 2 and 3 inches. Product and jar labels usually land between 1.5 and 2.5 inches. Bumper stickers are long and narrow so they read from a car length away. Whatever you choose, build the canvas at that size plus 0.125 inch of bleed on each edge, and keep logos and text 0.125 inch inside the trim line so a small shift on the cutter never clips them.
Will my transparent PNG print with a see-through background?
No, not on a standard white sticker. Transparency in a PNG means the area carries no ink, and on white vinyl no ink means the white material shows through. If you want a real window, order clear stickers, and design for the fact that ink on clear film is translucent. Dark, saturated artwork holds up on a shop window. Pale yellows, light greys and thin white lines mostly disappear.
Can I print stickers made in a free app on a home printer instead?
You can, on sticker paper, and it is fine for a school project or a one-off label on a gift box. It is not fine on a water bottle, a car or anything that lives outdoors. Home inkjet ink is water soluble and paper stock swells and lifts at the edge within days of getting wet. Vinyl printed commercially and cut on a plotter survives washing, sun and a dishwasher rack, which is the whole reason people order rather than print at home.
What file should I upload once the design is finished?
A print ready PDF is the safest, because it carries the page size and keeps vector shapes crisp. A flattened PNG or JPG at 300 pixels per inch at final size works too, and it is what most free tools export. Flatten the layers, convert fonts to outlines if the tool offers it, include the bleed, and check the artwork one more time at 100 percent zoom. That last check catches the low resolution logo that looked acceptable on a laptop screen.
Why do die-cut stickers cost more than round ones?
Because the machine has to be told a new path. A circle or a square is a standard cut the equipment already knows, so circle stickers start at $23.88. A custom outline means the cut line comes from your artwork and the plotter follows that shape, which puts die-cut stickers and shaped stickers at $93.37 to start. If the budget is tight and the artwork will fit a round or square boundary, the round version buys you the same material and finish for less.
Get Started
Ready to print the sticker you just designed?
Upload the file, pick vinyl or clear, choose a standard shape or a cut that follows your outline, and check the proof at full zoom before it goes to press.
Legal Disclaimer
Gold Standard guarantees apply to all standard orders placed through 4over4.com. Price match requires verifiable proof of a competitor's published price for an equivalent product with matching specifications and turnaround time. Satisfaction guarantee covers manufacturing defects and print quality issues. Contact support with order number and documentation. On-time delivery rate based on tracked orders 1999 to 2026. Individual results may vary based on shipping carrier performance.
