
How to Turn Pictures Into Stickers That Cut Clean


The pixel maths, the background removal that actually holds up, the cut line offset, and how to choose between a contour cut, a circle and a sheet.
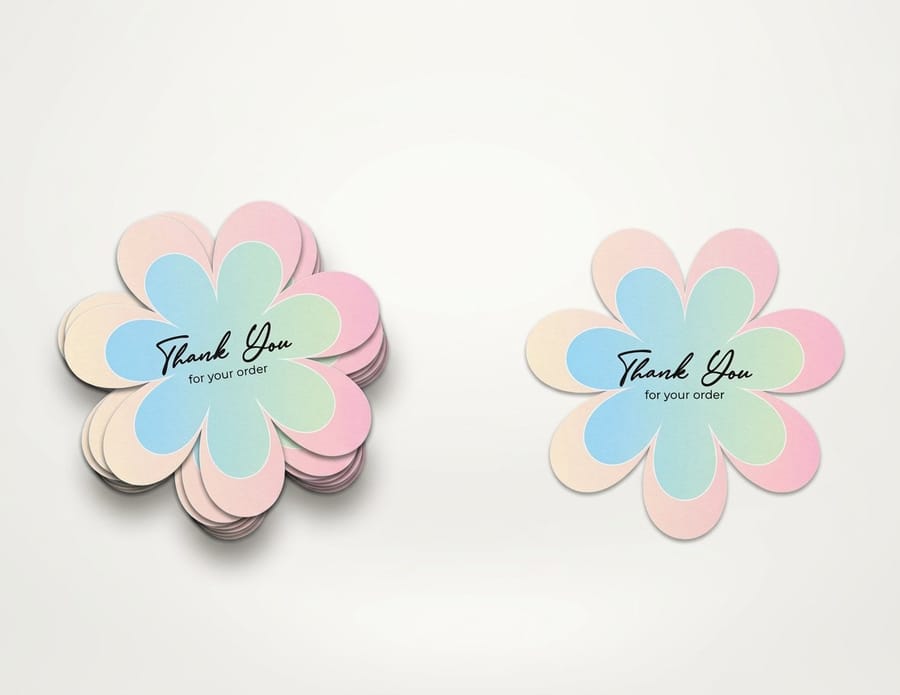
To turn a picture into a sticker you need three things: 300 pixels for every finished inch, a background that is deleted rather than painted white, and a vector cut line offset about an eighth of an inch outside the subject. Save the artwork as a transparent PNG or a PDF at the finished size with an eighth of an inch of bleed, then pick the cut. Hard-edged subjects take a contour die-cut, soft or fuzzy ones take a circle or a shape, and a set of pictures takes one kiss-cut sheet.
Quick answer
Pixels, a real transparency, and a cut line with room to move
Crop the picture first, then check it has about 300 pixels for every finished inch. Delete the background to genuine transparency instead of filling it white, because a white fill becomes a visible rectangle on any dark surface. Draw the cut as a vector path offset roughly an eighth of an inch outside the subject, and run the artwork another eighth past that as bleed, since blade registration drifts by about a sixteenth of an inch. Hard edges suit a contour cut, fur and hair do not, and photographs generally want gloss laminate rather than matte.
Start With the Pixels, Not the Design
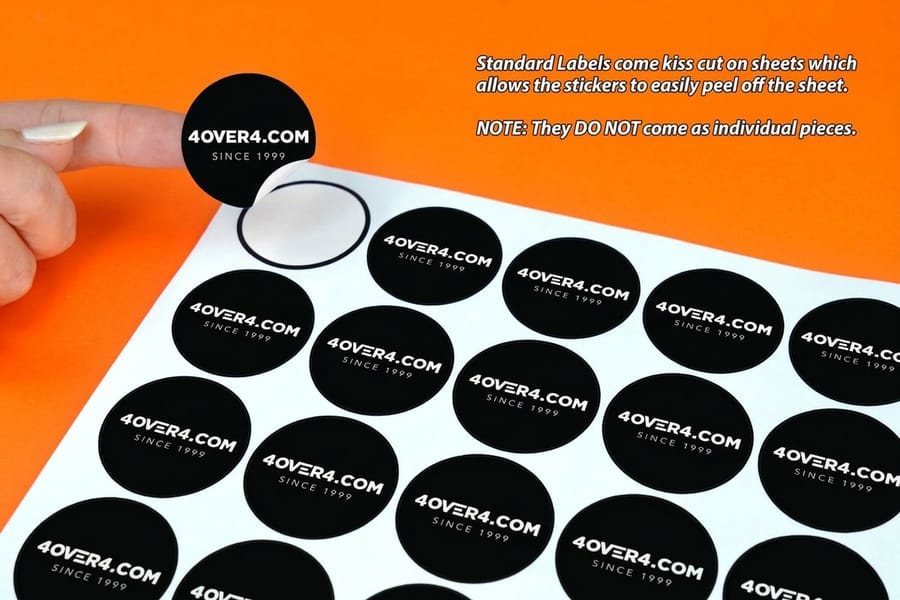
Everything downstream depends on one number: how many pixels wide the subject is after you crop it. Print wants 300 pixels per finished inch, so a 3 inch sticker needs about 900 pixels across, a 4 inch sticker about 1200, and a 2 inch one about 600.
Camera files clear that easily. A phone shooting 4032 by 3024 pixels covers roughly 13 inches at 300 dpi. The trouble starts with cropping, because a subject that filled a quarter of the frame leaves you a quarter of the pixels. Crop first, read the width in pixels, then decide the size of the sticker. Doing it in the other order is how people end up asking a 640 pixel image saved from a social feed to fill 4 inches, where it lands near 160 dpi and looks visibly soft in the hand.
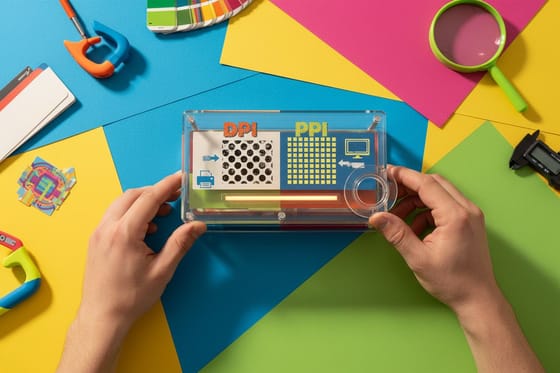
You can go below 300 dpi, and for a large decal seen from across a room 150 dpi is genuinely fine. A sticker is not seen from across a room. It sits six inches from someone's face on a laptop or a bottle, which is the least forgiving viewing distance in printing. Treat 300 dpi as the target and 200 as the floor for anything held.
Colour is the other pre-flight check. Phone and screen images are sRGB, and press ink is CMYK, so the electric blues, hot pinks and neon greens that glow on a display come back calmer on vinyl. Our guide to converting RGB files to CMYK covers the conversion, and DPI vs PPI explains the resolution numbers if the arithmetic above felt fast.
Remove the Background So the Blade Has an Edge to Follow
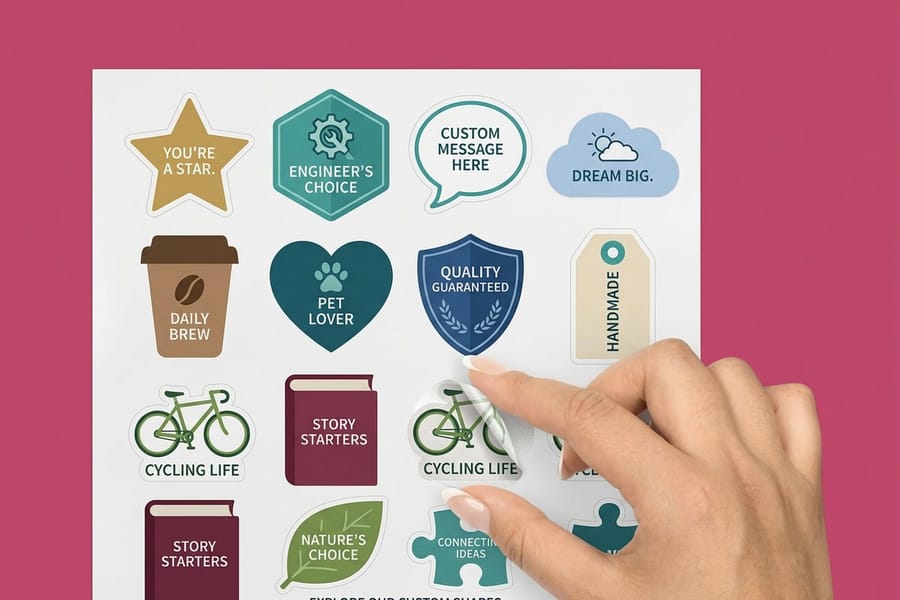
A die-cut sticker is cut to the outline of what is in the file, which means the file has to actually end where you want the sticker to end. Delete the background and export a PNG with real transparency. Painting the background white is not the same thing: it looks correct on a white screen and then shows as a white rectangle the moment the sticker goes on a black laptop lid or a dark water bottle.
Some subjects mask cleanly and some never will. Hard-edged things such as a product, a logo painted on a wall, a car, a pet with short coat, a piece of lettering: those select well and cut well. Hair, fur, feathers, smoke, chain-link fence and anything backlit into a soft halo do not. A blade tracking a fuzzy outline produces thin plastic whiskers that catch on a pocket and start peeling within a week, and no amount of masking skill changes that, because the problem is mechanical rather than digital.
The fix for a soft subject is to stop fighting it. Put the photo inside a shape instead: a circle, a rounded rectangle, or a contour that follows the subject loosely rather than hair by hair. Adding a 2 to 4 point white keyline around the cut-out does the same job and hides small selection errors at the same time, which is the reason so many photo stickers have that white border. It was never only a style choice.
One habit that catches most mistakes: after masking, drop a solid black layer behind the subject and zoom to 100 percent. Any pale rim, any leftover sky between strands of hair, any soft feathered edge will jump out immediately. If you would rather start from a correctly sized file, the blank template library and our free sticker templates guide give you the finished dimensions with the bleed already in place.
Draw the Cut Line as Vector, Offset From the Picture
The photograph stays raster. The cut has to be vector, because the plotter follows a path rather than pixels. If you supply the path yourself, draw it in Illustrator as a separate spot-colour stroke on its own layer, and do not leave it as a black line in the artwork or it prints as a black line.
Offset that path about an eighth of an inch outside the subject. Registration between the printed image and the blade drifts by roughly a sixteenth of an inch across a full press sheet, which is nothing on a poster and everything on a sticker: a contour drawn tight against the photo will shave the picture on whichever side the drift lands. Then run the artwork an eighth of an inch past the cut line as bleed, so a drift in the other direction exposes vinyl rather than white backing.
Three shapes to avoid when you draw the contour. Spikes narrower than about an eighth of an inch, which tear during weeding and peel first in use. Deep inside corners, where the blade has to reverse and tends to overshoot. Interior holes, such as the gap in the handle of a mug, which need a second cut and are almost always better filled in. Simplify the path until it reads as the subject from arm's length and no further.
If none of that appeals, send the transparent PNG and we generate the contour, offset correctly, and show it to you on a free proof before the job runs. Check the proof at full zoom rather than glancing at the thumbnail. Our explainer on bleed and crop marks covers the same tolerances across the rest of the catalog, and what die-cut stickers are goes deeper into how the cut itself is made.
Pick the Cut and the Stock the Picture Actually Needs
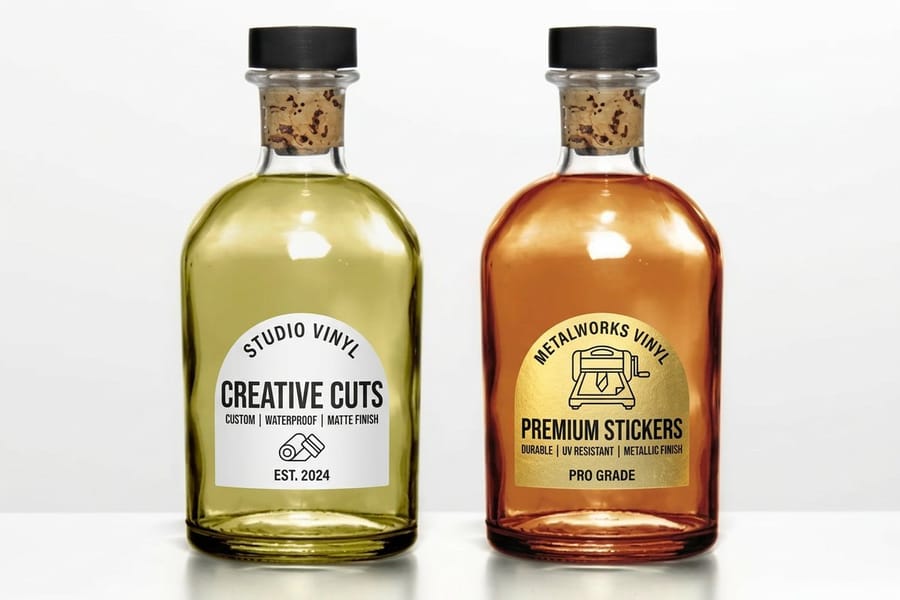
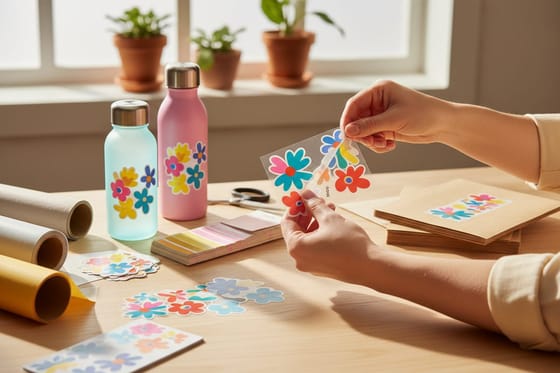
Once the file is right, the decision is a cut and a material, and the picture itself usually points at the answer. A single strong subject on transparency wants a contour cut. Twelve small photos for a laptop or a giveaway want one sheet with individual kiss cuts. A face or a landscape with no clean outline wants a circle, because a contour has nothing to follow.
| Option | How it cuts | The picture it suits | Starts at |
|---|---|---|---|
| Die-cut stickers | Blade follows a custom contour through backing and all. | One subject on a genuinely transparent background, hard edged. | $93.37 |
| Shaped stickers | Cut to a chosen outline rather than a traced one. | Photos with soft or busy edges that need a shape around them. | $93.37 |
| Circle stickers | Fixed round cut, cheapest setup of the group. | Portraits, logos and any crop that reads well in a roundel. | $23.88 |
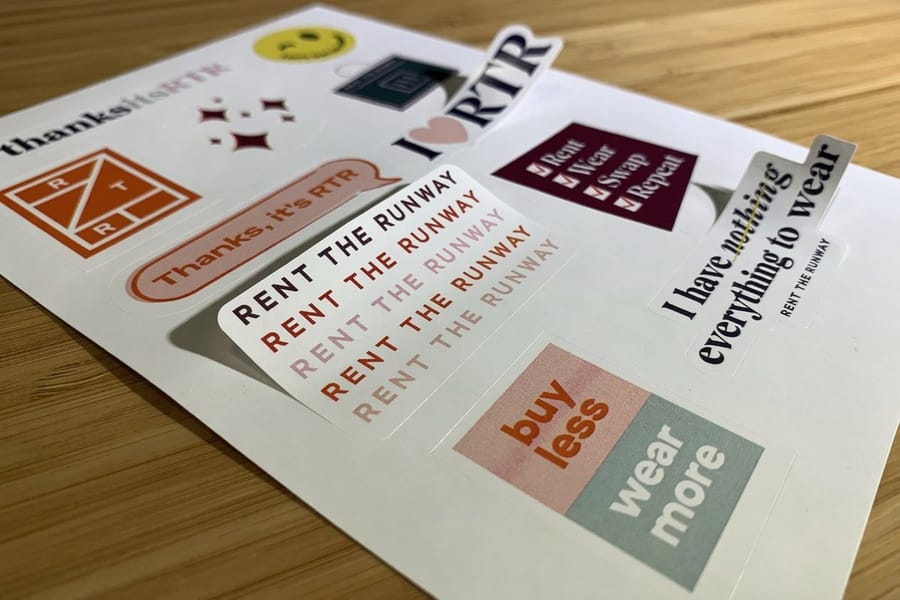
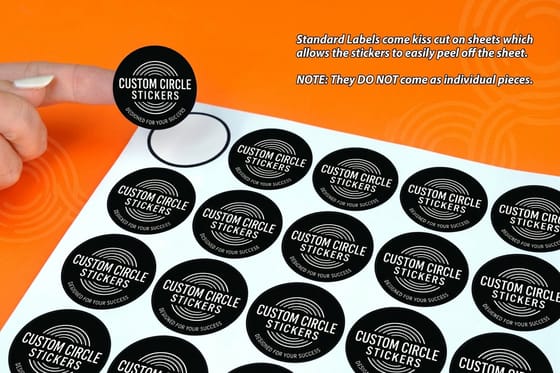
| Sticker sheets | Several kiss cuts on one shared backing sheet. | A set of pictures handed out or packed together. | $181.24 |
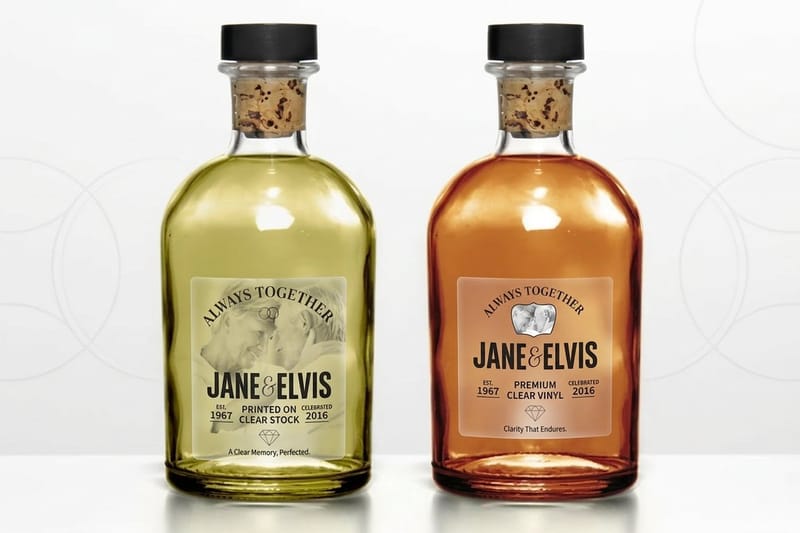
| Clear stickers | Contour or shape on transparent vinyl. | Photos with dark, saturated subjects, printed over white ink. | $25.00 |
Stock matters as much as cut. Vinyl stickers at $25.00 shrug off water, sunlight and a dishwasher cycle, which is what a photo sticker on a bottle or a car window needs. Paper is cheaper and fine indoors on a folder or a mailer, and it will pulp the first time it gets wet. Our comparison of vinyl against paper stickers lays out where the extra cost pays back, and the outdoor material guide covers UV fade, which hits photographs harder than flat graphics because skin tones shift first.
Finish is the last call and the one people get backwards on photographs. Gloss laminate holds contrast and saturation, which is exactly what a picture is made of. Matte kills glare and feels lovely under a thumb, but it lifts the black point and mutes the deep tones, so a moody photograph goes slightly grey. For text-led designs matte usually wins. For a photograph, choose gloss unless you have a specific reason not to, and browse the full range in sticker and label printing to see the finishes on each product.
Proof It, Print a Few, Then Print a Thousand
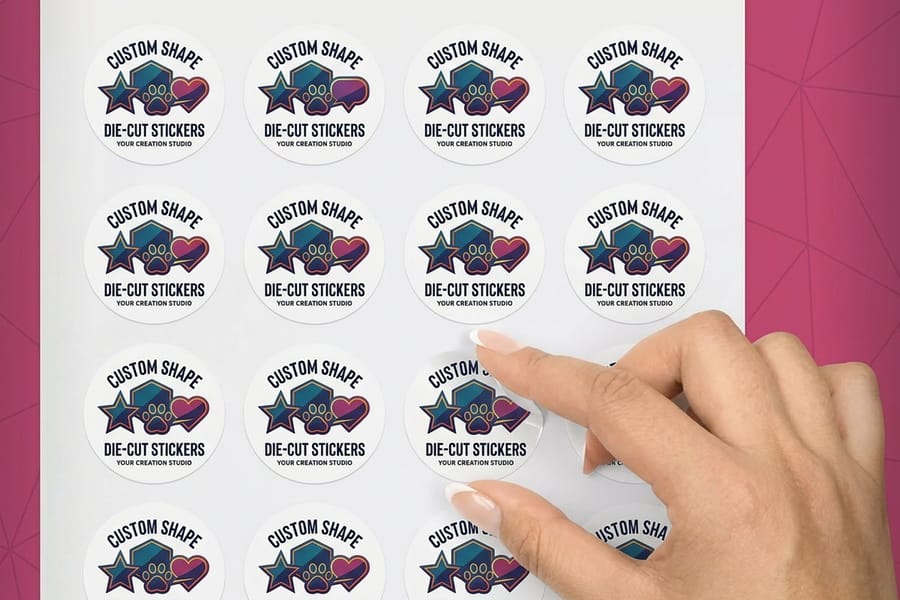
Four things to check on the proof, in this order. Does the cut line sit outside the subject everywhere, including the tightest point. Is there any pale fringe at the masked edge when you zoom to 100 percent. Has the bleed been extended, or does the artwork stop dead at the cut. Do the darkest areas of the photograph still separate, or has the shadow detail collapsed into one block after the CMYK conversion.
Then order a small quantity before a large one. A photo behaves differently in ink than on a backlit screen, and the only reliable test is a printed sticker in your hand under normal light. Once it looks right, repeat orders of the same file are predictable and the unit cost drops sharply with quantity, which the custom sticker pricing guide breaks down tier by tier.
One thing that is worth saying plainly before you send anything: a photograph you did not take belongs to whoever took it, and a face in a photograph belongs to that person. Stock images, film stills, band photos, cartoon characters and logos all carry rights that printing does not transfer. We have written up where the lines fall in the guide to copyright on stickers and labels. For personal pictures of your own it is a non-issue; for anything you plan to sell, it is the first question to settle.
Wally turns a photo into a sticker
Crop, cut out, offset the blade, then choose the stock
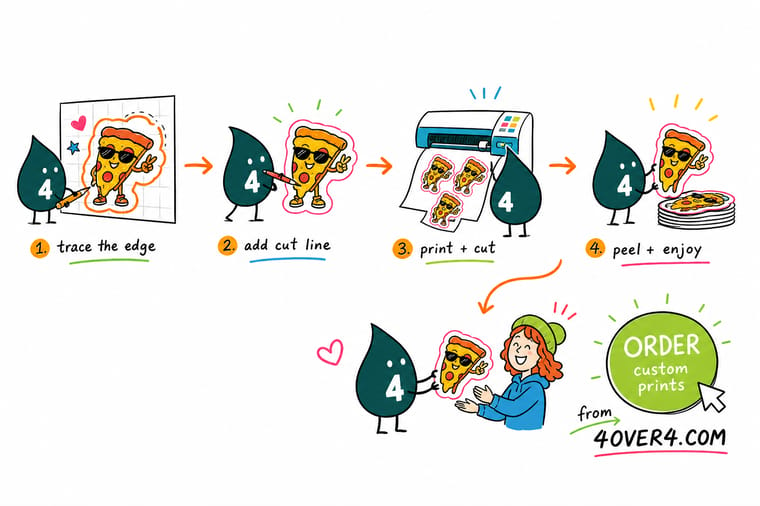
Wally crops the picture until the subject fills the frame, counts the pixels, and knocks the background out to real transparency rather than white. Then he draws the cut line an eighth of an inch clear of the subject and pushes the artwork another eighth past it, because the blade never lands exactly where the screen promised. Hand him a crisp product shot and he contour cuts it. Hand him a fluffy dog and he puts it in a circle, which is the honest answer.
Order die-cut stickers →Specs and pricing
Sticker cuts, sizes, and starting prices
Compare the three stocks a photo usually lands on, with live size, quantity and finish choices straight from the 4OVER4.COM configurator.


Print it
Send the picture, get the sticker
Explore more
Where to go next



By the numbers
Sticker printing you can count on at 4OVER4
Common Questions
Your photo sticker questions, answered
Can I turn a phone photo into a sticker?
Usually yes, because a modern phone shoots around 4032 by 3024 pixels, which is roughly 13 inches wide at 300 dpi. The catch is cropping. If you crop down to a face that occupied a quarter of the frame, you are left with about 1000 pixels, which still covers a 3 inch sticker but nothing larger. Shoot or pick the picture so the subject fills the frame, crop, then check the pixel width against the finished size before you commit.
Do I have to remove the background myself?
No. Send a PNG with a transparent background if you have one, and we cut to the shape of what is left. If the background is still there, tell us what to cut around and we draw the contour, or choose a shaped cut such as a circle or rounded rectangle and the photo simply fills it. Either way the free proof shows the cut line sitting over your artwork before anything runs.
Why does my photo sticker have a pale outline around the subject?
That is mask fringe. When the background is removed with a soft or feathered selection, a rim of the old background pixels survives at partial opacity and prints as a halo, which is most visible when a dark subject was lifted off a light background. Redo the selection with a hard edge, contract it by a pixel or two, then check it at 100 percent zoom against a black layer. The alternative is to lean into it and add a deliberate white keyline of 2 to 4 points, which is exactly why classic photo stickers have that border.
What file should I send for a photo sticker?
A PDF or a PNG at the finished size, 300 dpi, in CMYK if you have converted it, with an eighth of an inch of bleed past the cut. Vector cut paths belong in the PDF as a separate spot-colour path rather than as a drawn black line, because a drawn line prints. A flattened JPEG works for shaped cuts but cannot carry transparency, so it is the wrong choice for a custom contour.
Can a photograph print on a clear sticker?
It can, but it behaves differently from what the screen suggests. Clear vinyl has nothing behind the ink, so mid tones go translucent and anything light almost disappears against a dark surface. A white underprint layer fixes it and is what we would recommend for a photo on clear. If the picture has large pale areas, white vinyl is the safer stock and the colours land where you expect.
How small can a photo sticker be before it stops reading?
A recognisable face needs roughly 1.5 inches of sticker, and a full scene needs 2.5 to 3 inches. Below that the eye reads a colourful blob rather than a picture, no matter how sharp the file is. If the piece has to be small, crop hard to one element instead of shrinking the whole photograph.
Get Started
Ready to see your picture cut out and printed?
Upload the file, pick a contour cut or a shape, choose vinyl or paper, and we send a free proof with the cut line drawn over your artwork before anything runs.
Legal Disclaimer
Gold Standard guarantees apply to all standard orders placed through 4over4.com. Price match requires verifiable proof of a competitor's published price for an equivalent product with matching specifications and turnaround time. Satisfaction guarantee covers manufacturing defects and print quality issues. Contact support with order number and documentation. On-time delivery rate based on tracked orders 1999 to 2026. Individual results may vary based on shipping carrier performance.
